Love this? Save it for later!
Share the inspiration with your friends
“Hand me that bowl,” my next-door neighbor called from her kitchen, the afternoon sun casting a lazy glow over her cluttered counter. I wasn’t there for anything fancy—just dropping off a book I’d promised her—but as soon as I stepped inside, the unmistakable scent of sweet strawberries and buttery cookies pulled me toward the oven. She wasn’t fussing over the cookies or making a big deal out of them, just casually stirring the dough like it was no big deal. It was honestly mesmerizing—how something so simple could smell so inviting and look so perfect without any grand effort. I remember the cracked ceramic bowl she used, chipped just enough to show it had seen years of use, much like the recipe itself.
She shrugged off my praise, saying it was just an old recipe she threw together when she had a craving for something sweet. Maybe you’ve been there, craving something homemade but without the hassle. That’s exactly why this Easy Sweet Strawberry Jam Thumbprint Cookies recipe stuck with me. It’s that kind of recipe you don’t have to think twice about, yet it always delivers a lovely, nostalgic taste that makes you want to keep coming back for more. Honestly, it’s become my go-to whenever I want that quiet comfort of home baking without the drama.
Why You’ll Love This Recipe
This Easy Sweet Strawberry Jam Thumbprint Cookies recipe is a little gem that I’ve tested on many busy afternoons and laid-back weekends. It’s straightforward, forgiving, and always yields delicious results. Here’s why I trust it so much:
- Quick & Easy: Comes together in under 30 minutes, perfect for those last-minute sweet tooth moments or a casual afternoon baking session.
- Simple Ingredients: You likely have all the ingredients in your pantry or fridge—no need for specialty shopping.
- Perfect for Homemade Treats: Great for casual get-togethers, school snacks, or just a cozy coffee break.
- Crowd-Pleaser: Kids adore them, and adults nod approvingly after that first bite.
- Unbelievably Delicious: Buttery, tender cookie base paired with the bright, fruity pop of strawberry jam is pure comfort food.
What sets this recipe apart is the balance—the dough isn’t too sweet or dense, letting the strawberry jam shine through without overwhelming. I’ve tried other thumbprint cookies, but this one nails that melt-in-your-mouth texture every time. Plus, the jam filling stays perfectly nestled, no spills or mess. It’s like the recipe quietly knows how to impress without shouting.
If you’ve ever wished for a cookie that feels homemade but doesn’t take hours, this is it. Let me tell you, after the first bite, you might just find yourself sneaking a couple more before anyone notices.
What Ingredients You Will Need
This recipe uses simple, wholesome ingredients to deliver that classic thumbprint cookie flavor with a sweet strawberry twist. Most are pantry staples, making it easy to whip up whenever the craving hits.
- Unsalted butter, softened (about 1 cup / 226g) – I prefer using European-style butter for extra richness.
- Granulated sugar (½ cup / 100g) – adds the right amount of sweetness without overpowering.
- Large egg yolk, room temperature – helps bind the dough and adds tenderness.
- Pure vanilla extract (1 tsp) – enhances the cookie’s warmth and depth.
- All-purpose flour (2 cups / 250g) – the base for a soft but sturdy cookie.
- Salt (¼ tsp) – balances the sweetness and brings out the flavors.
- Strawberry jam (½ cup / 160g) – use your favorite brand or homemade jam; I recommend a slightly chunky jam for texture (like Smucker’s Natural Strawberry Jam).
- Powdered sugar (optional, for dusting) – adds a delicate finish once cookies have cooled.
Substitution tips: For a gluten-free option, swap the all-purpose flour with a 1-to-1 gluten-free baking flour blend. If you prefer dairy-free, use a plant-based butter alternative and ensure your jam is free from animal products. For a twist, try swapping the strawberry jam with raspberry or apricot to match seasonal availability.
Equipment Needed
- Mixing bowls: One large bowl for the dough and a smaller one for the egg yolk.
- Electric mixer or sturdy hand whisk: I usually grab my stand mixer with the paddle attachment, but a hand whisk works fine with a bit more elbow grease.
- Baking sheet lined with parchment paper or silicone baking mat: Keeps the cookies from sticking and makes cleanup a breeze.
- Measuring cups and spoons: Precision helps here, especially with the flour and butter.
- Teaspoon or small melon baller: For making those classic thumbprint indentations.
- Cooling rack: Essential for letting the cookies cool evenly without sogginess.
If you don’t have a stand mixer, no worries—just chill the dough a bit longer to make it easier to handle. I once forgot my mixer was broken and hand-mixed this entire batch; it took longer but tasted just as good. For budget-friendly options, silicone mats are reusable and save money over time compared to parchment paper.
Preparation Method
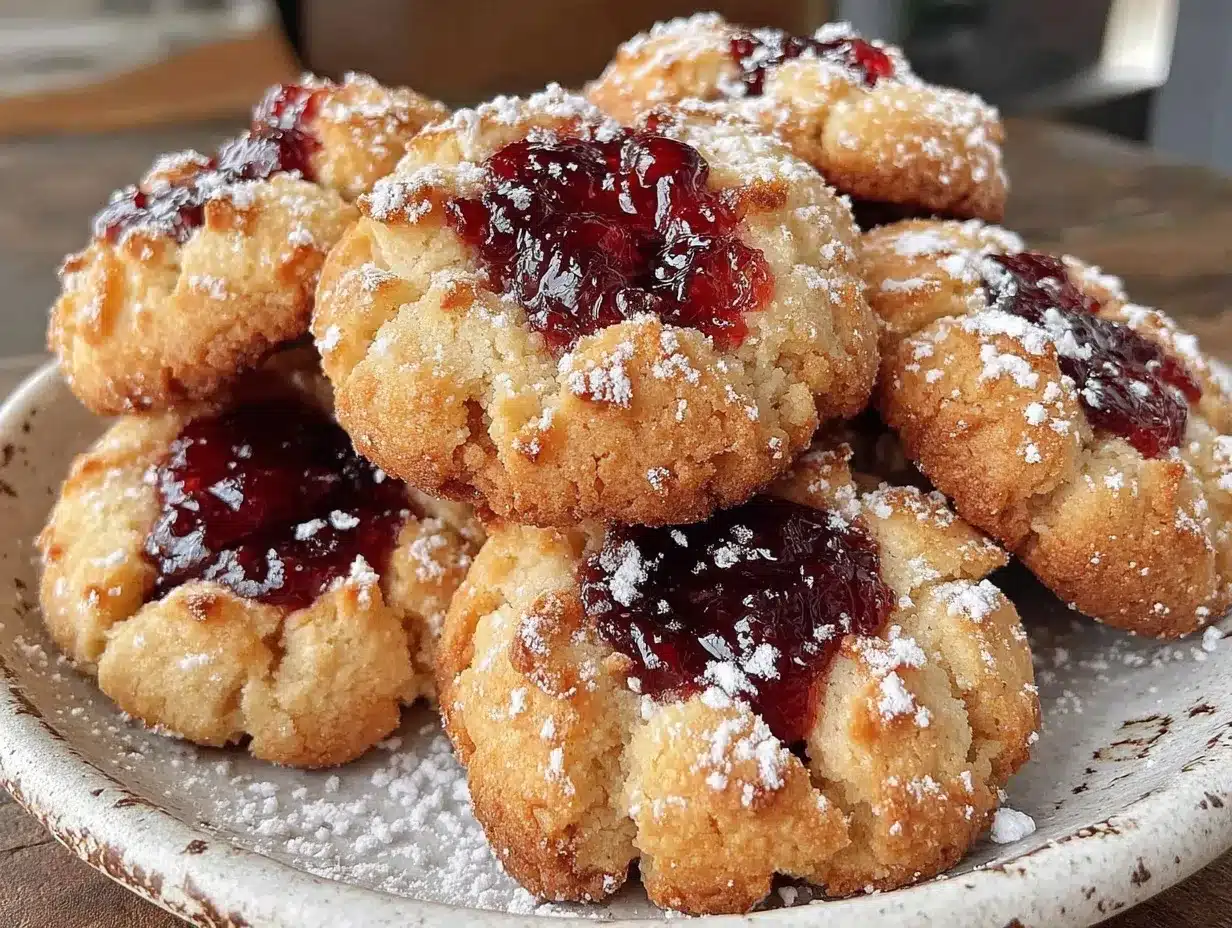
- Preheat the oven to 350°F (175°C). Line two baking sheets with parchment paper or silicone mats to prevent sticking. This usually takes about 10 minutes.
- Cream the butter and sugar: In a large bowl, beat 1 cup (226g) softened unsalted butter and ½ cup (100g) granulated sugar together using an electric mixer on medium speed until the mixture is light and fluffy, about 3-4 minutes. You’ll notice the texture becomes smooth and pale, which is your cue to move on.
- Add the egg yolk and vanilla: Mix in 1 large egg yolk and 1 teaspoon pure vanilla extract until just combined. Don’t overmix here; you want the dough tender, not tough.
- Sift the dry ingredients: In a separate bowl, sift together 2 cups (250g) all-purpose flour and ¼ teaspoon salt. This ensures no lumps and an even texture throughout the dough.
- Combine wet and dry ingredients: Gradually add the flour mixture into the butter mixture, stirring gently with a spatula or mixer on low. The dough will start to come together and feel soft but not sticky. If it’s too crumbly, add a teaspoon of milk to help it bind.
- Shape the dough: Scoop out tablespoon-sized portions of dough and roll them into balls. Place them about 2 inches apart on the prepared baking sheets. This step takes about 15 minutes depending on your speed.
- Create the thumbprints: Using your thumb or a teaspoon, press gently into the center of each dough ball to make a small well. Don’t press too hard or the cookie will lose its shape during baking.
- Fill with jam: Spoon about ½ teaspoon of strawberry jam into each thumbprint well. I usually use a small spoon or piping bag for neater results.
- Bake: Place baking sheets in the oven and bake for 12-15 minutes, or until the edges are lightly golden. Keep an eye on them after 10 minutes; ovens vary, and you want to catch that perfect color.
- Cool and finish: Remove cookies from the oven and transfer to a cooling rack. Once completely cooled, dust with powdered sugar if desired. This adds a pretty finishing touch but is totally optional.
If you notice the jam bubbling over, try chilling the dough before baking next time to help it hold its shape better. Also, sometimes I get distracted mid-bake (hello, phone notifications) and have learned setting a timer twice doesn’t hurt!
Cooking Tips & Techniques
Thumbprint cookies seem straightforward, but a few little tricks make a big difference:
- Butter temperature matters: Softened butter is key—it should be pliable but not melting. Too cold and the dough won’t come together; too warm and the cookies spread too much.
- Don’t overwork the dough: Mix just until combined. Overmixing develops gluten and can make cookies tough.
- Chill the dough if needed: If your kitchen feels warm or the dough is sticky, pop it in the fridge for 20 minutes before shaping. It helps with handling and keeps cookies from spreading too thin.
- Use room temperature egg yolks: They blend better into the dough and improve texture.
- Watch your baking time closely: Cookies can go from perfect to overdone quickly. Edges should be lightly golden, and centers soft.
I remember my first attempt—forgot to press the thumbprints deep enough, and the jam just slid off, making a sticky mess. Lesson learned: the indentation is your cookie’s little pocket, so be generous but gentle. Also, multitasking by prepping the next batch while the first bakes is a lifesaver if you want fresh cookies faster.
Variations & Adaptations
This recipe is a great starting point to play around with flavors and dietary needs:
- Different Jam Flavors: Swap strawberry jam for raspberry, apricot, or even fig for a new taste. I once made a batch with blueberry jam that was a hit at brunch.
- Nutty Twist: Roll the dough balls in finely chopped nuts before baking for added crunch and flavor.
- Gluten-Free Version: Use a gluten-free flour blend, like Bob’s Red Mill 1-to-1, and add a touch of xanthan gum if your blend doesn’t include it.
- Dairy-Free: Substitute butter with a plant-based alternative and choose a vegan-friendly jam.
- Chocolate Dip: After cooling, dip half of each cookie in melted dark chocolate and let set for a decadent finish.
Personally, I like to add a pinch of cinnamon to the dough during colder months—it gives a cozy warmth that pairs beautifully with the strawberry jam.
Serving & Storage Suggestions
These Easy Sweet Strawberry Jam Thumbprint Cookies are best served at room temperature, where the buttery dough is tender and the jam filling is soft but set. They’re perfect alongside a cup of tea or freshly brewed coffee.
For presentation, arrange them on a simple white plate or a rustic wooden board to let their colors pop—especially if you dust with powdered sugar. They also make charming gifts packed in little boxes or tins.
Store cooled cookies in an airtight container at room temperature for up to 4 days. If you want to keep them longer, freeze in a single layer on a baking sheet, then transfer to a freezer-safe bag for up to 3 months. To enjoy, thaw at room temperature or warm briefly in a low oven.
Over time, the jam flavor deepens, and the cookie softens slightly, making them even more delightful after a day or two.
Nutritional Information & Benefits
Each cookie (based on a batch of 24) contains approximately:
| Calories | 120 kcal |
|---|---|
| Fat | 6g |
| Carbohydrates | 15g |
| Protein | 1g |
| Sugar | 8g |
Using real butter and a modest amount of sugar keeps these cookies indulgent but not over the top. Strawberry jam contributes natural fruit sweetness and antioxidants, especially if you choose a variety with minimal added sugar. For those watching gluten, the recipe adapts nicely to gluten-free flours without losing texture.
From a wellness perspective, these cookies satisfy sweet cravings with wholesome ingredients, making them a more mindful treat option than many store-bought snacks.
Conclusion
This Easy Sweet Strawberry Jam Thumbprint Cookies recipe is one of those quietly impressive homemade treats that you’ll find yourself making time and again. It’s simple, dependable, and hits that perfect sweet spot between buttery and fruity without any fuss. I love how it invites customization and fits easily into busy days or relaxed afternoons.
Give it a try, tweak the jam or add your favorite nuts, and make it yours. I’d love to hear what variations you come up with or how these cookies fit into your sweet moments—drop a comment below or share your photos and tips!
Remember, baking is as much about joy as it is about flavor, and this recipe brings plenty of both. Happy baking!
Frequently Asked Questions (FAQs)
- Can I make the dough ahead of time?
Yes! You can prepare the dough and refrigerate it for up to 24 hours before shaping and baking. Just bring it to room temperature before handling. - What if my jam is too runny?
Choose a thicker jam or cook it down slightly on the stove to reduce liquid. This helps prevent the jam from spreading too much during baking. - Can I use frozen strawberry jam?
Yes, but thaw it completely and drain any excess liquid to avoid soggy cookies. - How do I make these cookies without an egg?
You can substitute the egg yolk with a tablespoon of applesauce or mashed banana, but the texture might be a bit different. - Why are my cookies spreading too much?
Make sure your butter isn’t too soft or melted, and chill the dough before baking if your kitchen is warm. Also, avoid pressing the thumbprints too shallowly.
Pin This Recipe!
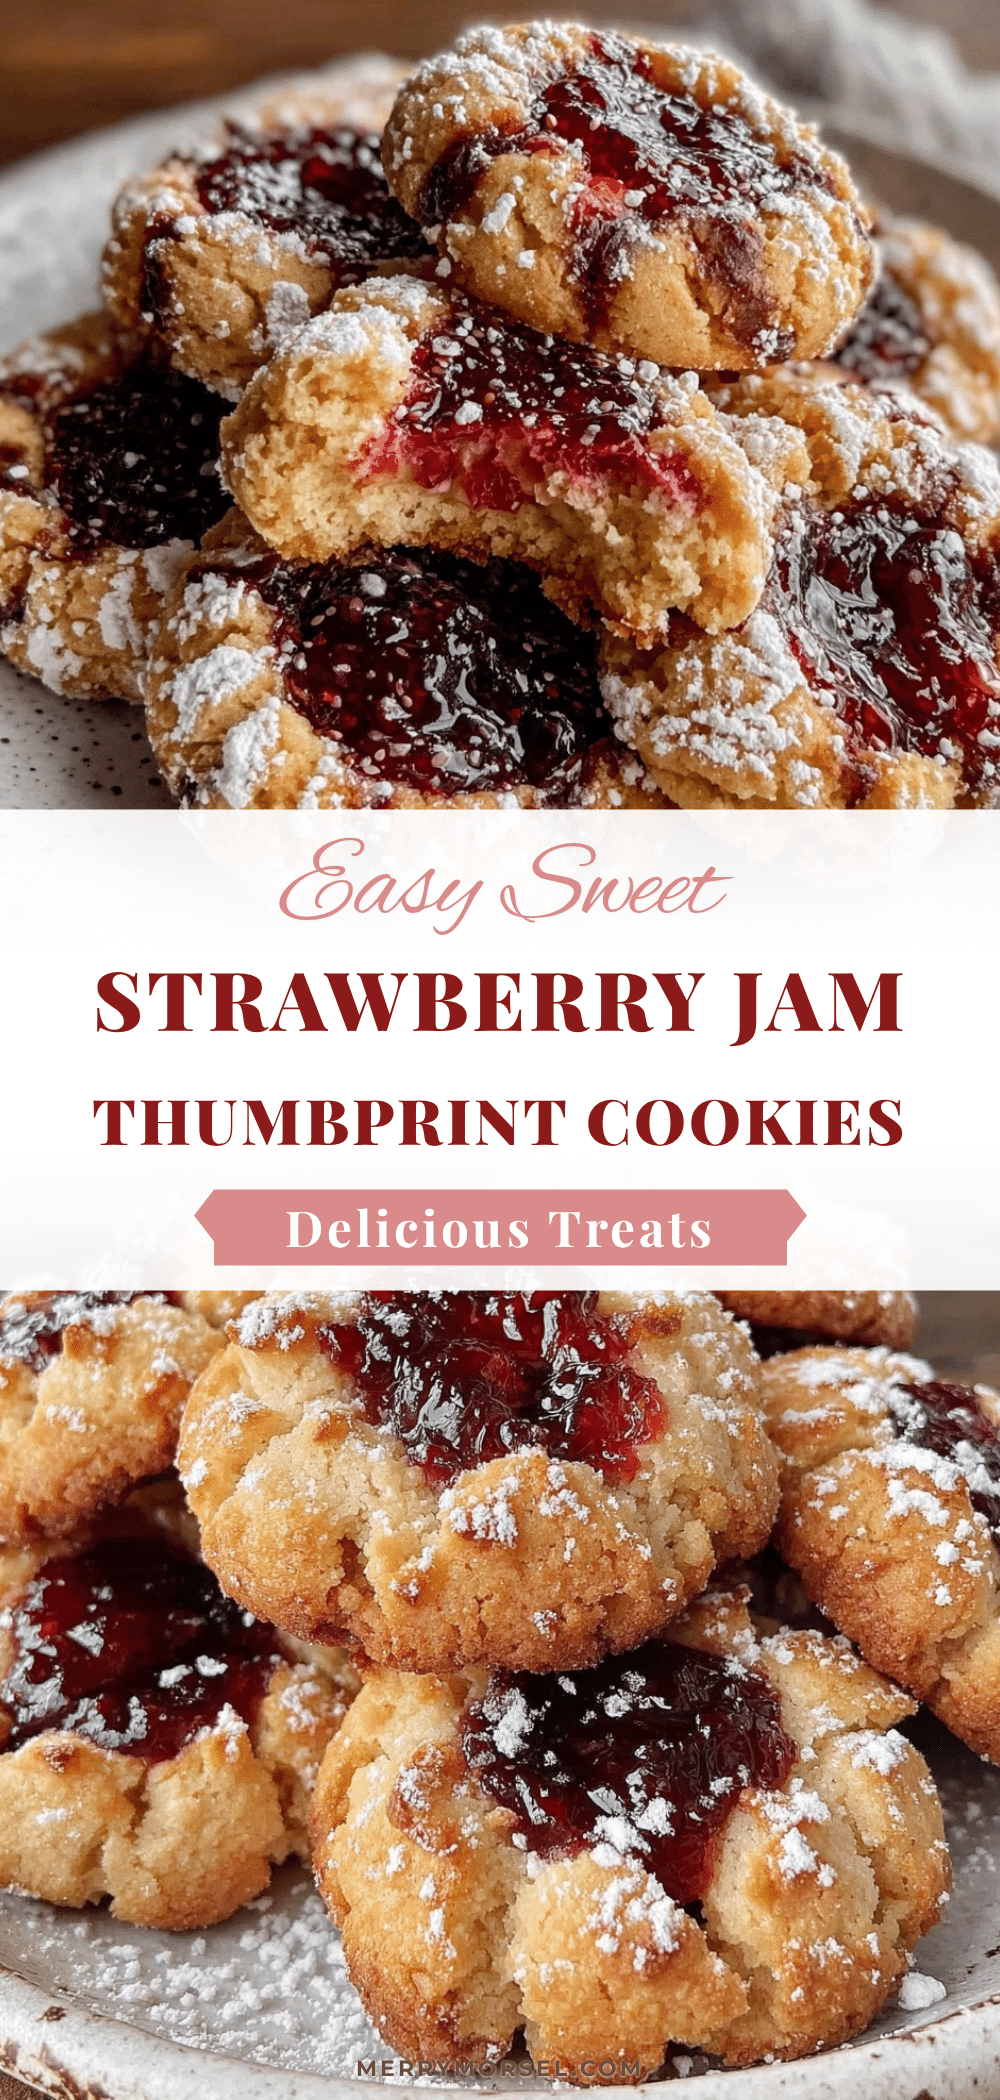
Easy Sweet Strawberry Jam Thumbprint Cookies

A simple and quick recipe for buttery thumbprint cookies filled with sweet strawberry jam, perfect for homemade treats and casual gatherings.
- Prep Time: 15 minutes
- Cook Time: 15 minutes
- Total Time: 30 minutes
- Yield: 24 cookies 1x
- Category: Dessert
- Cuisine: American
Ingredients
- 1 cup (226g) unsalted butter, softened
- ½ cup (100g) granulated sugar
- 1 large egg yolk, room temperature
- 1 teaspoon pure vanilla extract
- 2 cups (250g) all-purpose flour
- ¼ teaspoon salt
- ½ cup (160g) strawberry jam
- Powdered sugar (optional, for dusting)
Instructions
- Preheat the oven to 350°F (175°C). Line two baking sheets with parchment paper or silicone mats.
- In a large bowl, beat softened butter and granulated sugar together using an electric mixer on medium speed until light and fluffy, about 3-4 minutes.
- Mix in the egg yolk and vanilla extract until just combined.
- Sift together the all-purpose flour and salt in a separate bowl.
- Gradually add the flour mixture into the butter mixture, stirring gently until the dough comes together. If too crumbly, add a teaspoon of milk.
- Scoop tablespoon-sized portions of dough and roll into balls. Place them about 2 inches apart on the prepared baking sheets.
- Press gently into the center of each dough ball with your thumb or a teaspoon to create a small well.
- Fill each thumbprint well with about ½ teaspoon of strawberry jam.
- Bake for 12-15 minutes or until edges are lightly golden.
- Remove from oven and transfer cookies to a cooling rack. Once cooled, dust with powdered sugar if desired.
Notes
Use softened butter that is pliable but not melting. Chill dough if sticky or kitchen is warm to prevent spreading. Press thumbprints generously but gently to hold jam well. For gluten-free, substitute flour with 1-to-1 gluten-free blend. For dairy-free, use plant-based butter and vegan jam. Optional dusting with powdered sugar adds a delicate finish.
Nutrition
- Serving Size: 1 cookie
- Calories: 120
- Sugar: 8
- Fat: 6
- Carbohydrates: 15
- Protein: 1
Keywords: thumbprint cookies, strawberry jam cookies, easy cookies, homemade treats, quick dessert, buttery cookies, jam-filled cookies