Love this? Save it for later!
Share the inspiration with your friends
“This tastes like Thanksgiving, but you didn’t even have to try.” My sister said that through a mouthful of cake, and honestly? She wasn’t wrong. I had thrown together a pumpkin dump cake on a random Tuesday night in October, mostly because I had a can of pumpkin puree staring at me from the pantry and a box of yellow cake mix that was about to expire. I wasn’t trying to impress anyone. I was just trying to use up ingredients.
But that first bite? It was something else. The pumpkin layer turned into this soft, almost pudding-like custard on the bottom, while the cake mix on top baked into a buttery, crumbly, golden crust. It was like a pumpkin pie and a coffee cake had a baby, and that baby was somehow easier to make than either of them. No rolling dough, no creaming butter and sugar, no fussing with a water bath. Just dump, sprinkle, and bake.
That night, standing in my kitchen with a fork in one hand and the warm baking dish in front of me, I realized something. This is the kind of dessert that doesn’t need a special occasion. It’s the kind you make just because it’s fall, or because you want the house to smell like cinnamon and nutmeg, or because you need a little something sweet after a long day. It’s humble, it’s ridiculously easy, and it’s honestly one of the best things I’ve ever made. Trust me on this one.
Why You’ll Love This Recipe
I’ve tested this pumpkin dump cake more times than I can count, tweaking the baking time, the butter distribution, and even the type of cake mix. What I landed on is the perfect version—foolproof, forgiving, and absolutely delicious. Here’s why this one’s a winner:
- Incredibly Easy: If you can open a can and sprinkle a box of cake mix, you can make this. No mixer, no sifting, no complicated steps. It’s the definition of a dump cake.
- Simple Ingredients: You probably have most of these in your pantry right now. Canned pumpkin, evaporated milk, eggs, sugar, and a box of yellow cake mix. That’s it.
- Perfect for Fall Gatherings: Thanksgiving, Friendsgiving, a cozy potluck, or just a Tuesday night—this cake fits every occasion. It feeds a crowd and always gets asked for the recipe.
- Crowd-Pleaser: I’ve served this to kids, adults, picky eaters, and dessert snobs. Every single person goes back for seconds. It’s that good.
- Unbelievably Delicious: The contrast between the creamy, spiced pumpkin filling and the crunchy, buttery topping is pure magic. It’s comfort food at its finest, with zero effort.
What makes this recipe different from the rest? It’s the ratio. I spent time figuring out the perfect amount of pumpkin to cake mix so you get that ideal layer of gooey filling under a thick, crisp topping. No soggy spots, no dry patches. Just pure, balanced perfection.
What Ingredients You Will Need
This recipe uses simple, pantry-friendly ingredients to create a dessert that tastes way more complex than it is. Everything comes together in one dish with minimal prep.
- 1 can (15 oz) pumpkin puree (not pumpkin pie filling—make sure it’s 100% pure pumpkin. Libby’s is my go-to for consistent texture.)
- 1 can (12 oz) evaporated milk (adds richness without the heaviness of cream. You can use full-fat or low-fat.)
- 3 large eggs, room temperature (helps the filling set smoothly. If you’re in a rush, place them in warm water for 5 minutes.)
- 1 cup granulated sugar (just enough sweetness to balance the earthy pumpkin. You can reduce to ¾ cup if you prefer less sweet.)
- 1 teaspoon vanilla extract (enhances the warm spices. Pure vanilla is best, but imitation works fine.)
- 2 teaspoons pumpkin pie spice (or make your own: 1 tsp cinnamon, ½ tsp ginger, ¼ tsp nutmeg, ¼ tsp allspice. I prefer using a pre-mixed blend for consistency.)
- ½ teaspoon salt (brings out all the flavors and balances the sweetness.)
- 1 box (15.25 oz) yellow cake mix (Duncan Hines or Betty Crocker both work great. Do not prepare the mix—use it dry.)
- 1 cup unsalted butter, melted (salted butter works too, just reduce the added salt to ¼ teaspoon. I prefer unsalted so I can control the salt level.)
- 1 cup chopped pecans or walnuts (optional, but highly recommended for crunch. Toast them lightly first for extra flavor.)
For a gluten-free version, use a gluten-free yellow cake mix. For a dairy-free option, substitute the butter with melted coconut oil or a plant-based butter stick. The texture will be slightly different, but still delicious.
Equipment Needed
You don’t need any fancy gadgets for this recipe, which is part of its charm. Here’s what you’ll need:
- 9×13-inch baking dish (glass or ceramic works best for even heat distribution. A metal pan will work, but keep an eye on the baking time.)
- Large mixing bowl (for whisking the pumpkin filling. Any medium-to-large bowl will do.)
- Whisk (a fork or spatula works in a pinch, but a whisk makes the filling silky smooth.)
- Measuring cups and spoons (for accuracy—especially with the spices and vanilla.)
- Spatula (for scraping every last bit of filling into the dish. I’m a fan of the silicone ones.)
- Small saucepan or microwave-safe bowl (for melting the butter. I usually just pop it in the microwave for 30-second intervals.)
That’s it. No stand mixer, no food processor, no complicated tools. If you have a whisk and a baking dish, you’re good to go.
Preparation Method
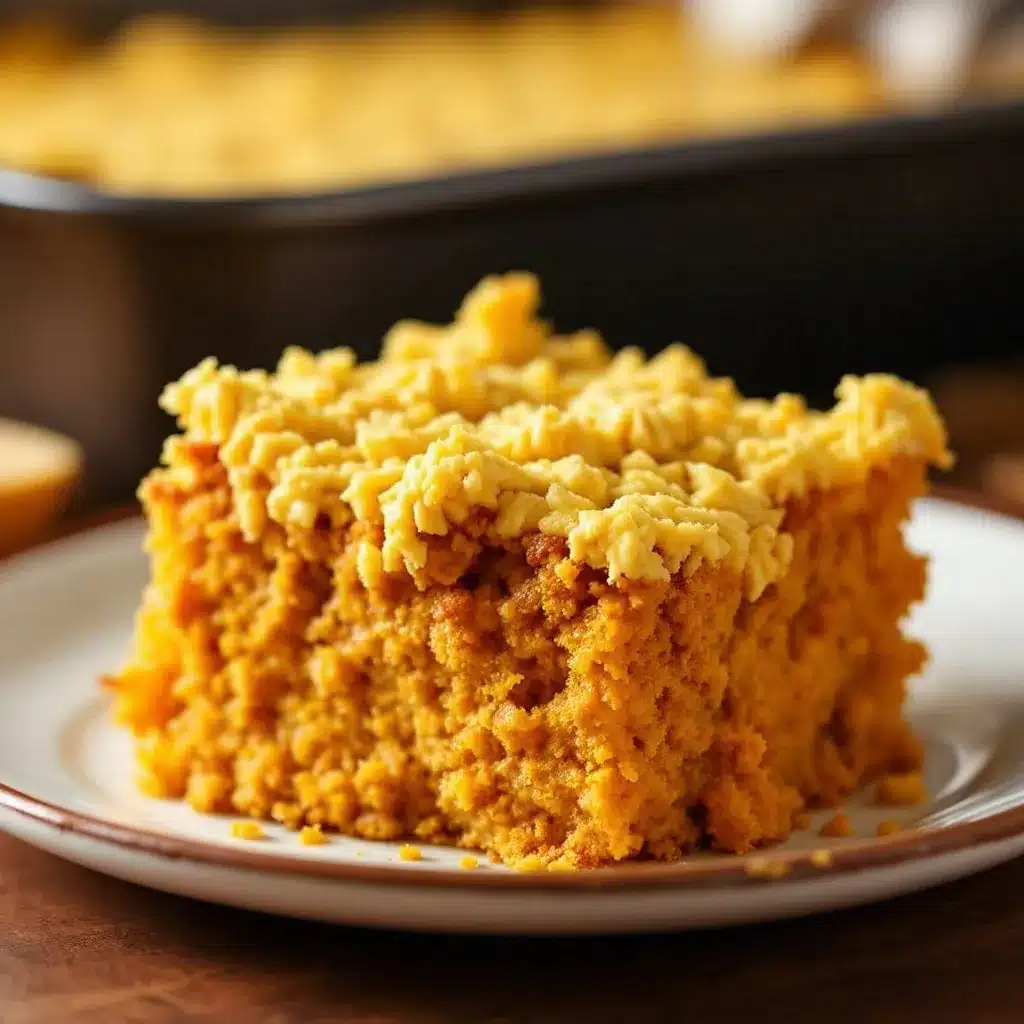
Let’s walk through this step by step. I promise, it’s almost too easy.
- Preheat your oven to 350°F (175°C). Lightly grease your 9×13-inch baking dish with butter or non-stick spray. This helps with cleanup, even though the filling doesn’t usually stick.
- Make the pumpkin filling. In a large mixing bowl, whisk together the pumpkin puree, evaporated milk, eggs, granulated sugar, vanilla extract, pumpkin pie spice, and salt. Whisk until everything is smooth and fully combined. The mixture should be a beautiful, rich orange color and smell like fall in a bowl.
- Pour the filling into the prepared dish. Use your spatula to scrape every last bit out of the bowl. Spread it evenly with the spatula so the surface is level. Don’t worry if it looks thin—it will set beautifully as it bakes.
- Sprinkle the dry cake mix evenly over the top. This is the crucial part. Open the box of yellow cake mix and sprinkle the dry powder over the pumpkin filling in an even layer. Do not mix it in. Do not stir. Just let it sit on top. If you have any lumps, break them up with your fingers.
- Add the nuts (if using). Sprinkle the chopped pecans or walnuts evenly over the cake mix layer. They’ll toast up during baking and add a wonderful crunch.
- Drizzle the melted butter over everything. This is the most important step. Pour the melted butter evenly over the entire surface. Try to cover as much of the cake mix as possible. The butter will soak into the dry mix as it bakes, creating that signature buttery, crunchy topping. Don’t skip this—the butter is what makes the magic happen.
- Bake for 45-50 minutes. Place the dish in the preheated oven and bake until the top is golden brown and the filling is set. You’ll know it’s done when the edges are bubbly and the center no longer jiggles when you gently shake the dish. If the top is browning too quickly, tent it loosely with foil for the last 10 minutes.
- Cool for at least 15 minutes before serving. This is the hardest part, I know. But letting it cool allows the filling to set properly. If you cut into it too soon, it will be runny. Patience, my friend.
A note on timing: The first time I made this, I pulled it out at 40 minutes because the top looked perfect. The filling was still a little loose. Let it go the full time. Trust the process.
Cooking Tips & Techniques
I’ve learned a few things the hard way so you don’t have to. Here are my best tips for pumpkin dump cake success:
- Don’t overmix the filling. Whisk just until combined. Overmixing can incorporate too much air, which might cause the filling to puff up and then collapse. We want it dense and creamy.
- Use room temperature eggs. Cold eggs can seize the melted butter if you’re not careful, but more importantly, they blend more evenly into the pumpkin mixture. Just let them sit on the counter for 15 minutes before starting.
- Distribute the butter evenly. This is the number one mistake people make. If you pour all the butter in one spot, you’ll end up with a soggy, greasy patch. Drizzle it in a zigzag pattern across the entire surface, then tilt the dish gently if needed to spread it.
- Check for doneness with a knife. Insert a knife into the center of the cake. If it comes out clean or with just a few moist crumbs, it’s done. If it’s coated in wet batter, give it another 5 minutes.
- Let it cool completely for clean slices. If you’re serving this at a gathering and want those perfect, Instagram-worthy squares, let it cool for at least an hour. The filling will set completely and slice like a dream.
I once forgot to add the butter entirely. I just sprinkled the dry cake mix on top and baked it. It was… not good. Dry, powdery, and sad. Don’t be like me. Remember the butter.
Variations & Adaptations
This recipe is a blank canvas. Here are some of my favorite twists:
- Spiced Pecan Version: Toss the chopped pecans with a tablespoon of melted butter and a teaspoon of cinnamon before sprinkling them on top. It adds an extra layer of warmth and crunch that’s absolutely addictive.
- Chocolate Lover’s Twist: Use a chocolate cake mix instead of yellow. The chocolate and pumpkin combo is surprisingly amazing—like a pumpkin brownie with a fudgy center. Add a handful of chocolate chips on top before baking for extra decadence.
- Gluten-Free Option: Swap the yellow cake mix for a gluten-free variety. I’ve tried this with King Arthur’s gluten-free yellow cake mix and it worked perfectly. The texture is slightly more crumbly, but the flavor is spot on.
- Dairy-Free Adaptation: Use melted coconut oil or a plant-based butter in place of regular butter. The topping won’t be quite as crispy, but it will still be delicious. I like using Miyoko’s European Style Cultured Vegan Butter for the best results.
- Pumpkin Pie Spice Substitute: If you don’t have pumpkin pie spice, mix 1 teaspoon cinnamon, ½ teaspoon ginger, ¼ teaspoon nutmeg, and ¼ teaspoon allspice or cloves. It’s exactly the same flavor profile.
For a fun seasonal twist, try this with a spice cake mix instead of yellow. The extra cinnamon and ginger in the mix complement the pumpkin beautifully. I made this version for a fall potluck and it disappeared in minutes.
Serving & Storage Suggestions
This cake is incredibly versatile when it comes to serving. Here’s how I like to do it:
- Serve warm or at room temperature. Warm is my personal favorite—the filling is extra soft and the topping is perfectly crunchy. Room temperature is great for picnics or potlucks.
- Top with whipped cream or ice cream. A dollop of freshly whipped cream or a scoop of vanilla ice cream takes this over the top. The cold, creamy element against the warm, spiced cake is pure heaven.
- Drizzle with caramel sauce. If you’re feeling extra indulgent, a drizzle of salted caramel sauce is a game-changer. It adds sweetness and a touch of salt that balances the spices perfectly.
- Pair with coffee or tea. This cake is made for dunking. A hot cup of black coffee or a chai latte is the perfect companion.
For storage, cover the baking dish tightly with foil or plastic wrap. It will keep at room temperature for up to 2 days, or in the refrigerator for up to 5 days. The topping will soften slightly in the fridge, but it’s still delicious. To reheat, pop individual servings in the microwave for 20-30 seconds, or warm the whole dish in a 300°F oven for 10-15 minutes.
This cake also freezes beautifully. Wrap the cooled, unbaked dish tightly in plastic wrap and foil, then freeze for up to 3 months. Thaw overnight in the refrigerator before baking as directed. Or, bake it first, let it cool completely, then wrap and freeze. Thaw in the fridge and reheat in the oven.
Nutritional Information & Benefits
Let’s be real—this is a dessert, so it’s not health food. But it does have some redeeming qualities. Pumpkin is packed with vitamin A, fiber, and antioxidants. It’s also low in calories and naturally sweet, which means you can use less sugar than in other desserts.
Here are the approximate nutritional values per serving (based on 12 servings):
- Calories: 380-420
- Fat: 20g (mostly from butter and nuts)
- Carbohydrates: 48g
- Fiber: 2g
- Sugar: 30g
- Protein: 5g
- Vitamin A: 150% of the daily value (hello, pumpkin!)
For a slightly lighter version, you can reduce the butter to ¾ cup and skip the nuts. The topping will be a little less crunchy, but it will still be delicious. I’ve also tried using a sugar-free yellow cake mix and a sugar substitute like Swerve in the filling. It works, but the texture is slightly different—less tender, a bit more dense. Still good, just different.
If you’re watching your sugar intake, this is a dessert to enjoy in moderation. But honestly? It’s worth every single bite.
Conclusion
This easy pumpkin dump cake is the kind of recipe that makes you look like a hero without any effort. It’s warm, spiced, buttery, and absolutely irresistible. Whether you’re serving it at Thanksgiving, bringing it to a potluck, or just making it for yourself on a cozy fall evening, it never disappoints.
I love this recipe because it reminds me that cooking doesn’t have to be complicated to be amazing. Sometimes the simplest things—a can of pumpkin, a box of cake mix, a stick of butter—come together to create something truly special. It’s proof that you don’t need fancy techniques or exotic ingredients to make a dessert that people will rave about.
So go ahead, give it a try. I’d love to hear how it turns out! Leave a comment below and let me know if you added any twists, or just how much you loved it. And if you’re looking for more easy fall desserts, don’t miss my perfect chocolate chip pumpkin bread with cream cheese swirl or these perfect pumpkin cream cheese muffins. Happy baking!
Frequently Asked Questions
Can I use pumpkin pie filling instead of pumpkin puree?
I wouldn’t recommend it. Pumpkin pie filling is already sweetened and spiced, which will throw off the balance of this recipe. Stick with 100% pure pumpkin puree for the best results.
Do I need to prepare the cake mix before adding it?
Nope! The cake mix goes on dry, straight from the box. Do not add the eggs, oil, or water called for on the box. The dry mix absorbs the melted butter and creates that signature crunchy topping.
Can I make this ahead of time?
Absolutely. You can assemble the entire dish (without baking) up to 24 hours in advance. Cover it tightly and refrigerate. When you’re ready to bake, add about 10 minutes to the baking time since it’s starting from cold.
Why is my topping not crunchy?
This usually happens if the butter wasn’t distributed evenly, or if the cake wasn’t baked long enough. Make sure to drizzle the butter evenly over the entire surface, and don’t pull the cake out of the oven until the top is deep golden brown.
Can I use a different flavor of cake mix?
Yes! Spice cake, butter pecan, and even chocolate cake mix all work beautifully. Each one gives the dessert a slightly different personality. Spice cake is my second favorite after yellow.
Pin This Recipe!
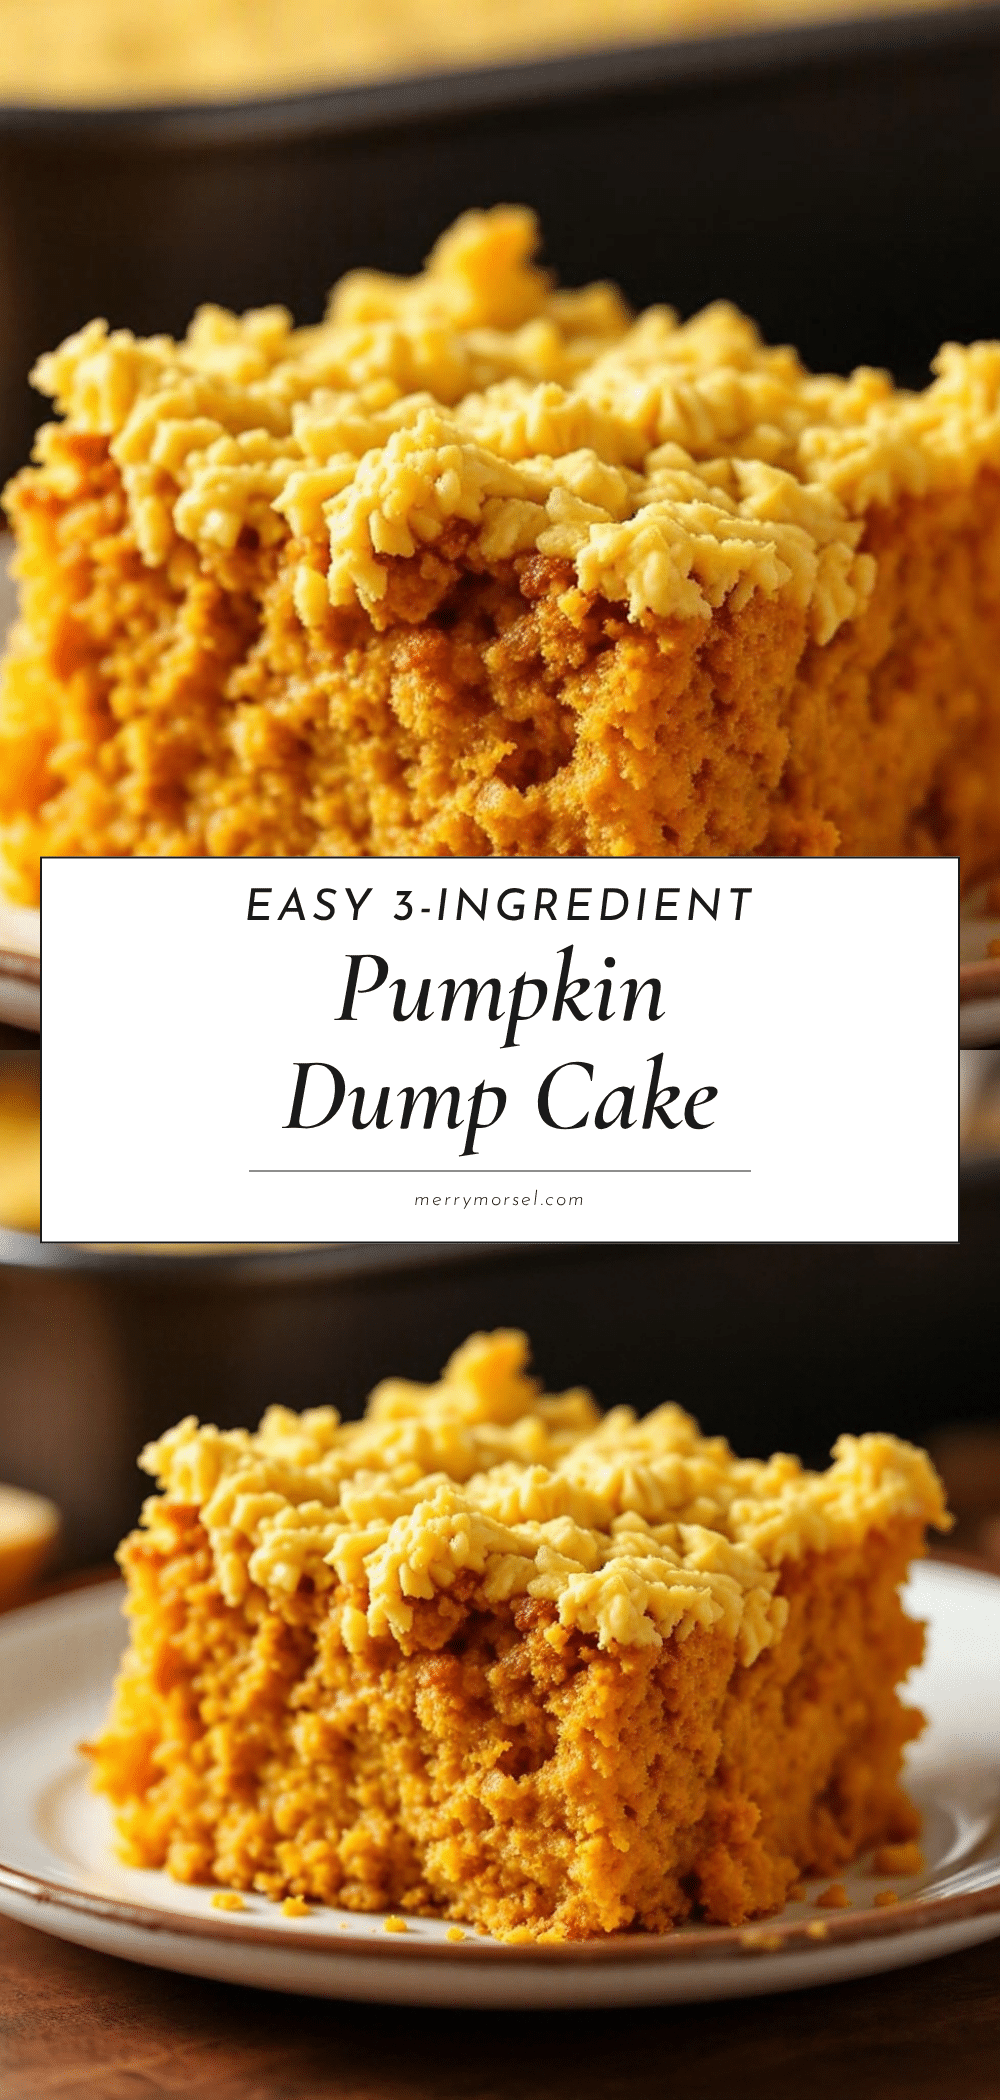
Easy Pumpkin Dump Cake with Yellow Cake Mix
This incredibly easy pumpkin dump cake features a creamy, spiced pumpkin filling topped with a buttery, crunchy yellow cake mix crust. It’s a foolproof fall dessert that tastes like Thanksgiving but requires minimal effort.
- Prep Time: 15 minutes
- Cook Time: 50 minutes
- Total Time: 1 hour 5 minutes
- Yield: 12 servings 1x
- Category: Dessert
- Cuisine: American
Ingredients
- 1 can (15 oz) pumpkin puree (not pumpkin pie filling)
- 1 can (12 oz) evaporated milk
- 3 large eggs, room temperature
- 1 cup granulated sugar
- 1 teaspoon vanilla extract
- 2 teaspoons pumpkin pie spice
- ½ teaspoon salt
- 1 box (15.25 oz) yellow cake mix (dry, not prepared)
- 1 cup unsalted butter, melted
- 1 cup chopped pecans or walnuts (optional)
Instructions
- Preheat your oven to 350°F (175°C). Lightly grease a 9×13-inch baking dish with butter or non-stick spray.
- In a large mixing bowl, whisk together the pumpkin puree, evaporated milk, eggs, granulated sugar, vanilla extract, pumpkin pie spice, and salt until smooth and fully combined.
- Pour the pumpkin filling into the prepared dish and spread it evenly with a spatula.
- Sprinkle the dry yellow cake mix evenly over the top of the filling. Do not mix it in.
- If using, sprinkle the chopped pecans or walnuts evenly over the cake mix layer.
- Drizzle the melted butter evenly over the entire surface, covering as much of the cake mix as possible.
- Bake for 45-50 minutes, until the top is golden brown and the filling is set (edges bubbly, center no longer jiggles). If browning too quickly, tent loosely with foil for the last 10 minutes.
- Cool for at least 15 minutes before serving. For cleaner slices, cool completely (about 1 hour).
Notes
Do not prepare the cake mix; use it dry. For a gluten-free version, use a gluten-free yellow cake mix. For dairy-free, substitute butter with melted coconut oil or plant-based butter. Let the cake cool completely for clean slices. Store covered at room temperature for up to 2 days or refrigerate for up to 5 days. Freezes well.
Nutrition
- Serving Size: 1 slice (1/12 of cak
- Calories: 400
- Sugar: 30
- Sodium: 350
- Fat: 20
- Saturated Fat: 10
- Carbohydrates: 48
- Fiber: 2
- Protein: 5
Keywords: pumpkin dump cake, easy pumpkin dessert, fall dessert, dump cake, yellow cake mix pumpkin


