Love this? Save it for later!
Share the inspiration with your friends
I figured these would be cute. You know, the kind of cute that makes people say “aww” and then grab one out of politeness. It took about five minutes of watching my kids demolish a pan of these Easy Candy Corn Rice Krispie Treats for that assumption to fall apart completely. They weren’t being polite. They were being feral.
I had a bag of candy corn leftover from a “just in case” Halloween shopping trip — you know the one, where you buy way too much because the display is right there and you panic — and I needed to use it up before I started sneaking handfuls straight from the bag at 10 p.m. So I tossed it into a batch of classic marshmallow treats, thinking it would be a fun little holiday nod. What I got was a sticky, sweet, surprisingly addictive fall dessert that honestly tasted better than the original.
The candy corn melts down just enough to create these little pockets of chewy, almost honey-like sweetness throughout the treat. It’s not overwhelming. It’s not weird. It’s just… right. The kids called them “Halloween bars” and asked if I could make them every week until November. I said no, obviously, but I did start hiding a few in the freezer for myself.
These aren’t fancy. They’re not complicated. But they’re the kind of thing that makes you remember why simple recipes are often the best ones.
Why You’ll Love This Recipe
Look, I’ve made a lot of Rice Krispie treats in my day. I’ve tried the browned butter version (good, but fussy). I’ve tried the fancy gourmet version with artisanal marshmallows (overpriced and honestly not better). These Easy Candy Corn Rice Krispie Treats hit a different spot. They’re nostalgic but with a fun fall twist that feels special without any extra work.
- 15 Minutes Flat: From the moment you pull out the pot to the moment you’re pressing them into the pan, you’re looking at about a quarter of an hour. That’s it. Perfect for when you need a last-minute classroom treat or a quick dessert for a fall gathering.
- Three Main Ingredients: Marshmallows, butter, and cereal. Plus the candy corn, obviously. But you probably already have most of this in your pantry. No special trips to three different stores.
- Perfect for Fall Parties: These are great for Halloween parties, Thanksgiving dessert tables, or just a random Tuesday in October when you need something sweet. They’re also a hit for classroom celebrations — I’ve sent them to more school events than I can count.
- Kid-Approved and Adult-Friendly: My kids go absolutely bonkers for these, but I’ve also caught more than one adult sneaking a second piece when they thought no one was looking. The candy corn adds just enough nostalgia to make grown-ups smile.
- No-Bake and Foolproof: If you can melt butter and stir, you can make these. There’s no baking, no complicated techniques, and no way to mess them up. Trust me, I’ve tried.
These treats are the kind of recipe that makes you look like you put in way more effort than you actually did. And honestly? That’s my favorite kind of recipe.
What Ingredients You Will Need
This recipe uses simple, pantry-friendly ingredients that come together to create something surprisingly special. The candy corn does most of the heavy lifting here, adding both sweetness and that iconic fall look without any extra effort from you.
- 3 tablespoons unsalted butter — Use the real stuff here, not margarine. The butter adds richness and helps the marshmallows melt smoothly. I usually go with salted butter and just skip the extra salt, but unsalted gives you more control.
- 10 ounces mini marshmallows — Standard bag size works perfectly. The mini ones melt faster and more evenly than the big ones, so stick with minis if you can. Reserve about 1/4 cup to stir in at the end for extra gooey pockets.
- 6 cups Rice Krispies cereal — The classic brand works best for texture, but any crispy rice cereal will do. Measure carefully — packed cereal will give you denser treats, while lightly scooped cups keep them airy.
- 1 cup candy corn — The standard Brach’s brand is what I usually grab, but any candy corn works. I’ve tried the autumn mix with the little pumpkins and those are fun too. Just make sure your candy corn is fresh — stale candy corn gets hard and doesn’t melt as nicely.
- Pinch of salt — Optional but recommended. A tiny sprinkle of flaky sea salt on top right after pressing balances the sweetness beautifully.
That’s seriously it. No weird ingredients, no obscure extracts, nothing you have to hunt down at a specialty store. If you’ve made regular Rice Krispie treats before, you already know the drill.
Equipment Needed
You don’t need much for this recipe, which is part of why I love it. Here’s what you’ll need:
- Large pot or Dutch oven — You need something big enough to stir everything without cereal flying everywhere. A 5-quart pot is perfect.
- Rubber spatula — The silicone kind that won’t scratch your pot. This is your best friend for getting every last bit of marshmallow mixture out.
- 9×13-inch baking pan — Standard size. If you want thicker treats, use a 9×9-inch pan instead and adjust the pressing time slightly.
- Parchment paper — Absolute lifesaver. Line your pan with parchment, leaving some overhang on the sides, and you can lift the whole block of treats out cleanly. No scraping, no cursing.
- Sharp knife — A chef’s knife works best for clean cuts. Spray it lightly with cooking spray between cuts to prevent sticking.
- Measuring cups and spoons — Standard set. Nothing fancy.
If you don’t have parchment paper, you can grease the pan generously with butter or cooking spray. Just be prepared for a little more cleanup. I learned that lesson the hard way after a particularly sticky incident involving a butter knife and a lot of bad language.
Preparation Method
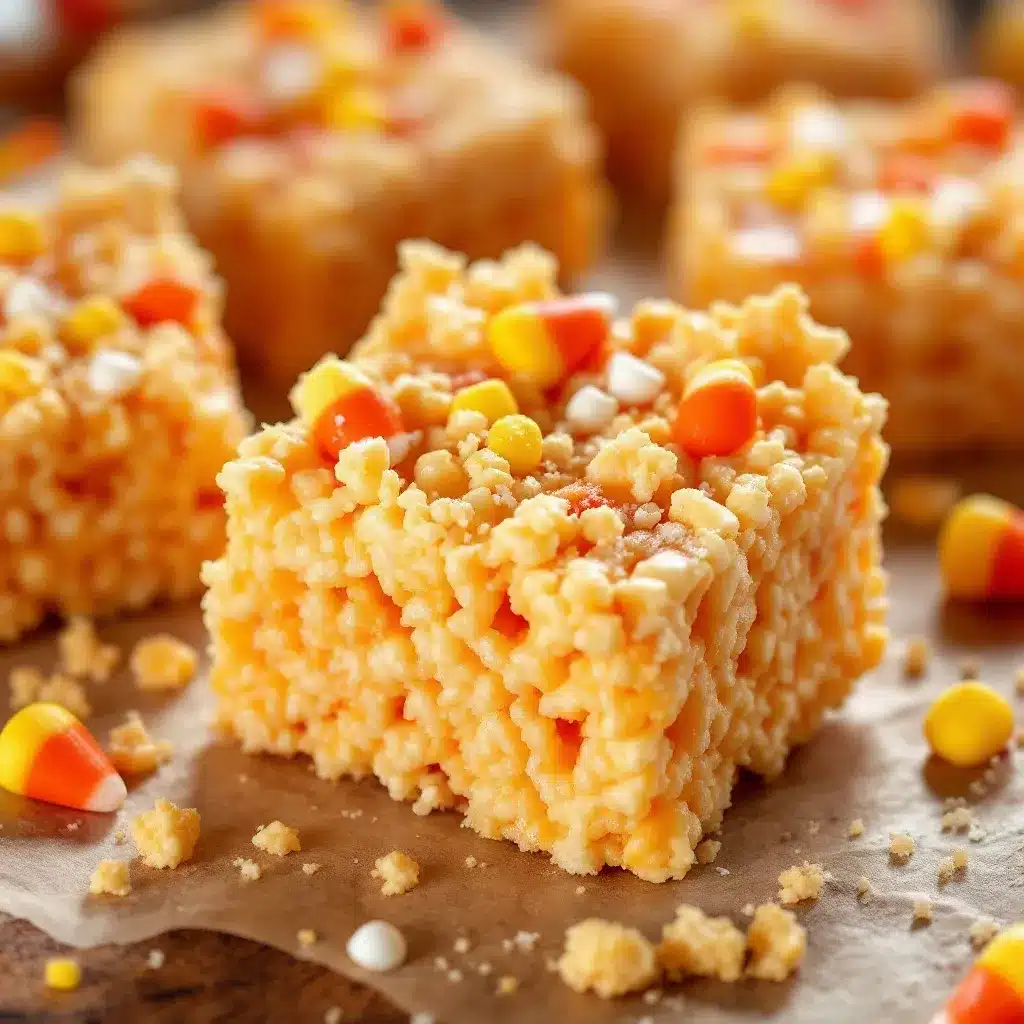
Alright, let’s get to it. This is the easy part — I promise.
- Prep your pan. Line your 9×13-inch baking pan with parchment paper, leaving about 2 inches of overhang on the long sides. Lightly spray the parchment with cooking spray so nothing sticks. Set this aside while you work.
- Melt the butter. Place your large pot over medium-low heat and add the butter. Let it melt slowly, swirling the pan occasionally. You want it fully melted but not bubbling or browning — we’re not going for browned butter here, just melted butter. This takes about 2 minutes.
- Add the marshmallows. Pour in the mini marshmallows (all except that 1/4 cup you reserved) and stir constantly with your rubber spatula. Keep the heat on low — high heat will scorch the marshmallows and give you a grainy, unpleasant texture. Stir until the marshmallows are completely melted and smooth, about 3 to 4 minutes. The mixture should look glossy and stretchy when you lift the spatula.
- Remove from heat and add cereal. Take the pot off the burner completely. This is important — if you leave it on the heat while adding cereal, the mixture will get too stiff and hard to stir. Pour in the Rice Krispies cereal all at once, plus the reserved 1/4 cup of marshmallows if you want those extra gooey pockets. Fold gently until the cereal is evenly coated. Don’t overmix or you’ll crush the cereal and end up with dense, sad treats.
- Fold in the candy corn. Add the candy corn and fold it in gently. You want it distributed evenly, but you don’t want to stir so much that the candy corn completely melts into the mixture. A few gentle folds should do it. The candy corn will soften from the heat but should stay mostly intact — that’s what gives you those lovely little pops of color and texture.
- Press into the pan. Scrape the mixture into your prepared pan. Use a second piece of parchment paper or a lightly greased spatula to press it evenly into the corners. Don’t press too hard — you want the treats to stay light and airy, not compressed into bricks. Gentle, even pressure is the goal here.
- Cool and cut. Let the treats cool at room temperature for about 20 to 30 minutes. If you’re impatient like me, you can pop them in the fridge for 10 minutes. Once they’re set, lift the whole block out using the parchment overhang and transfer to a cutting board. Use a sharp knife (sprayed with cooking spray) to cut into squares. I usually get 12 to 16 treats depending on how big I cut them.
A quick note: the mixture will look a little weird when you first add the candy corn — it might seem like there are too many pieces or that they’re not evenly distributed. Don’t panic. Once you press everything into the pan, it evens out beautifully.
Cooking Tips & Techniques
I’ve made these treats more times than I care to admit, and I’ve learned a few things along the way. Here are the tips that actually matter:
Low and slow is the rule. I cannot stress this enough. High heat is the enemy of good Rice Krispie treats. It makes the marshmallows seize up and turn into a rubbery mess. Keep the heat on low or medium-low, and stir constantly. Your arm might get tired, but your treats will thank you.
Fresh marshmallows matter. Stale marshmallows don’t melt as smoothly and can leave you with lumpy, uneven treats. If your bag has been sitting in the pantry for six months, just buy a new one. Same goes for the candy corn — fresh candy corn is soft and chewy, while stale candy corn is hard and almost crunchy. Trust me on this one.
Wet your hands (or your spatula). If you’re pressing the mixture into the pan with your hands, lightly wet them first. The marshmallow mixture is sticky, and wet hands (or a wet spatula) will glide right through without pulling. I keep a small bowl of water nearby just for this purpose.
Don’t skip the parchment paper. I know it’s tempting to just grease the pan and call it a day, but parchment paper makes everything easier. You can lift the whole block out in one piece, cut it cleanly, and wash your pan in about five seconds. Worth the extra 30 seconds of prep.
Let them cool completely before cutting. I know you want to dig in immediately. I do too. But cutting warm treats is a recipe for sticky, misshapen squares. Give them at least 20 minutes to set up, and you’ll get much cleaner cuts.
Variations & Adaptations
One of the best things about this recipe is how easy it is to tweak. Here are a few variations I’ve tried and loved:
Chocolate Drizzle: Melt about 1/2 cup of semi-sweet chocolate chips with a teaspoon of coconut oil and drizzle it over the top of the set treats. The chocolate and candy corn combo is surprisingly good — sweet and salty and rich all at once. I did this for a Halloween party and they disappeared before the pizza arrived.
Peanut Butter Twist: Stir 1/4 cup of creamy peanut butter into the marshmallow mixture right after it melts. The peanut butter adds a savory note that balances the sweetness of the candy corn perfectly. If you’re a fan of no-bake chocolate peanut butter protein balls, this variation will be right up your alley.
Fall Mix-In: Swap half the candy corn for candy pumpkins or autumn-colored M&Ms. The different textures and flavors keep things interesting. I’ve also thrown in some chopped pecans for crunch, and that worked beautifully too.
Gluten-Free Option: Rice Krispies are naturally gluten-free, but double-check the box to make sure. Some store-brand versions use malt flavoring that contains gluten. If you’re cooking for someone with celiac disease, go with the name brand or a certified gluten-free alternative.
Vegan Version: Use vegan marshmallows (Dandies brand works great) and plant-based butter. The texture will be slightly different — vegan marshmallows don’t get quite as stretchy — but the flavor is still fantastic.
Serving & Storage Suggestions
These treats are best served at room temperature, right after they’ve set. The texture is perfectly chewy with just a little give, and the candy corn adds these little bursts of sweetness that are absolutely addictive.
For presentation, I like to cut them into squares and arrange them on a platter with some fall-themed napkins or a little decorative gourd. They’re also great for Halloween parties — I’ve arranged them on a stick like popsicles for a fun, portable option. Kids love that.
Storage is straightforward: keep them in an airtight container at room temperature for up to 3 days. Do not refrigerate them — the fridge dries them out and makes them hard. If you need to keep them longer, you can freeze them for up to a month. Just wrap each treat individually in plastic wrap, then place them in a freezer bag. Thaw at room temperature for about 30 minutes before serving.
One thing I’ve noticed: these treats actually get a little better after a day. The flavors meld together, and the candy corn softens even more. They’re still good on day one, but day two is where they really shine. If you can resist eating them all immediately, that is.
Nutritional Information & Benefits
Let’s be real — these are a treat, not a health food. But here’s the estimated breakdown for one treat (based on 12 servings):
- Calories: 220
- Fat: 5g
- Carbohydrates: 44g
- Sugar: 28g
- Protein: 2g
- Sodium: 180mg
That said, there are a few small bright spots. Rice Krispies are fortified with iron and B vitamins, so you’re getting a tiny bit of nutrition with your sugar rush. The butter adds a small amount of vitamin A. And honestly? Sometimes you just need a fun, nostalgic treat that makes you smile. That has its own kind of value.
If you’re looking for something a little more balanced but still sweet, these apple nachos with peanut butter drizzle are a great alternative for when you want dessert without the sugar crash.
Conclusion
These Easy Candy Corn Rice Krispie Treats are exactly what a fall dessert should be: simple, fun, and completely satisfying. They come together in 15 minutes with ingredients you probably already have, and they’re guaranteed to make everyone at your party (or your kitchen table) happy.
I love that this recipe doesn’t take itself too seriously. It’s not trying to be gourmet or complicated. It’s just a classic childhood favorite with a seasonal twist that makes it feel new again. The candy corn adds color, texture, and that unmistakable fall flavor without any extra work on your part.
Try them once, and I think you’ll see what I mean. Play around with the variations, add a chocolate drizzle if you’re feeling fancy, or keep them exactly as written. However you make them, they’re going to be good.
I’d love to hear how yours turn out. Leave a comment below and let me know if you tried any fun variations — I’m always looking for new ideas. And if you’re in the mood for more easy fall treats, these pumpkin cream cheese muffins are another family favorite around here.
Happy fall, and happy snacking!
Frequently Asked Questions
Can I use stale candy corn for this recipe?
I wouldn’t recommend it. Stale candy corn is hard and doesn’t soften properly when mixed with the warm marshmallow mixture. Fresh candy corn gives you that nice chewy texture that makes these treats so good. If your candy corn is past its prime, just grab a new bag — it’s worth it.
How do I keep the treats from getting too hard?
The key is not overworking the mixture. Once you add the cereal and candy corn, fold gently and stop as soon as everything is combined. Pressing too firmly into the pan also compresses the treats and makes them dense. Light, gentle hands are your friend here.
Can I double this recipe?
Absolutely. Just double all the ingredients and use a larger pan — a 12×17-inch jelly roll pan works well. You may need to work in batches if your pot isn’t big enough to hold double the cereal. I’ve done it for parties and it works great.
Why did my candy corn melt completely into the mixture?
This usually happens if the marshmallow mixture is too hot when you add the candy corn. Let the mixture cool for just a minute or two off the heat before folding in the candy corn. You want it warm enough to soften the candy corn slightly, but not so hot that it melts into a puddle.
Can I use other cereals instead of Rice Krispies?
Sure! Cocoa Krispies make a chocolatey version that’s delicious with the candy corn. Fruity Pebbles would be fun for a more colorful treat. Just keep in mind that different cereals have different textures, so the final result might be slightly different. I’ve tried it with Cocoa Krispies and it was a hit with my kids.
Pin This Recipe!
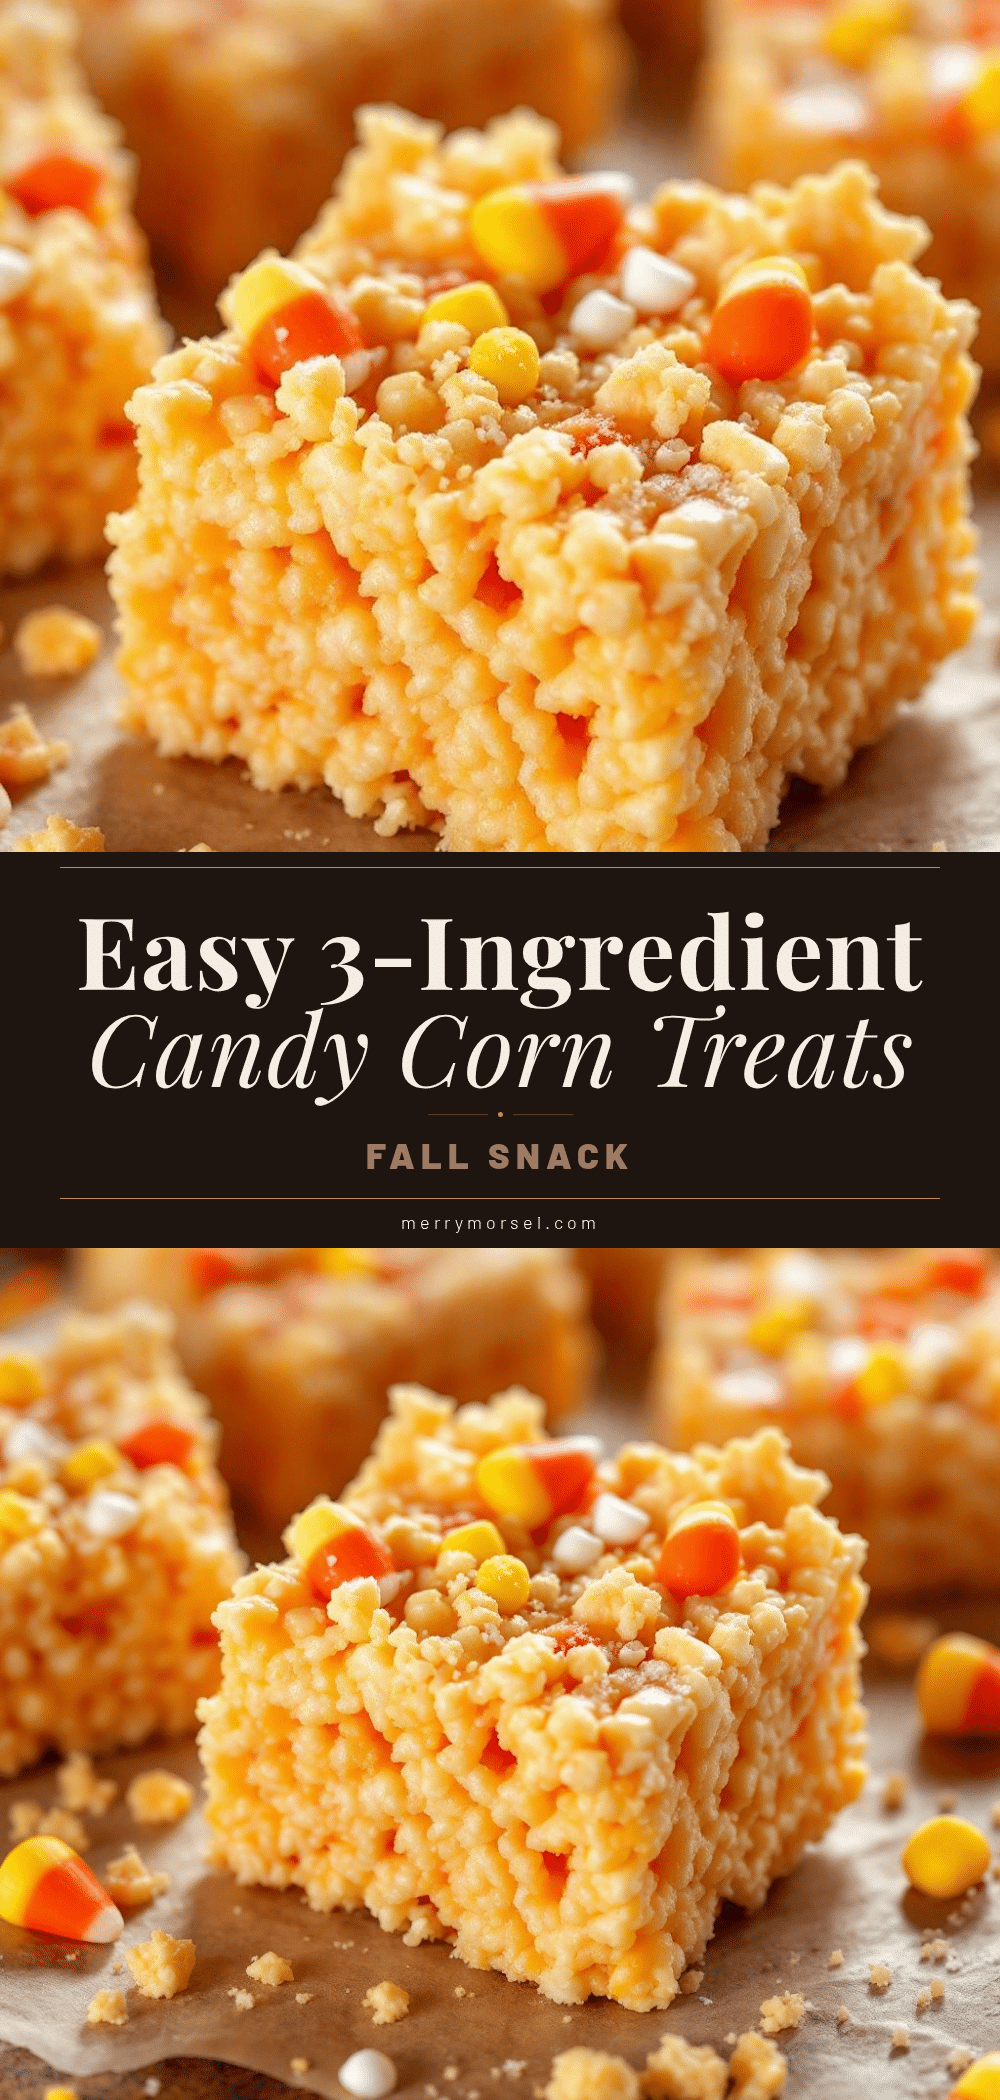
Easy Candy Corn Rice Krispie Treats: Best 15-Minute Fall Dessert
These Easy Candy Corn Rice Krispie Treats are a quick, no-bake fall dessert that combines classic marshmallow treats with candy corn for a sweet, chewy, and nostalgic snack. Ready in just 15 minutes with three main ingredients, they’re perfect for Halloween parties, Thanksgiving dessert tables, or a last-minute treat.
- Prep Time: 5 minutes
- Cook Time: 10 minutes
- Total Time: 15 minutes
- Yield: 12 to 16 servings 1x
- Category: Dessert
- Cuisine: American
Ingredients
- 3 tablespoons unsalted butter
- 10 ounces mini marshmallows (reserve 1/4 cup)
- 6 cups Rice Krispies cereal
- 1 cup candy corn
- Pinch of salt (optional)
Instructions
- Prep your pan: Line a 9×13-inch baking pan with parchment paper, leaving about 2 inches of overhang on the long sides. Lightly spray the parchment with cooking spray. Set aside.
- Melt the butter: Place a large pot over medium-low heat and add the butter. Let it melt slowly, swirling occasionally, until fully melted but not bubbling or browning (about 2 minutes).
- Add the marshmallows: Pour in the mini marshmallows (all except the reserved 1/4 cup) and stir constantly with a rubber spatula over low heat until completely melted and smooth (about 3 to 4 minutes).
- Remove from heat and add cereal: Take the pot off the burner. Pour in the Rice Krispies cereal all at once, plus the reserved 1/4 cup of marshmallows. Fold gently until the cereal is evenly coated. Do not overmix.
- Fold in the candy corn: Add the candy corn and fold it in gently until evenly distributed. The candy corn should soften but stay mostly intact.
- Press into the pan: Scrape the mixture into the prepared pan. Use a second piece of parchment paper or a lightly greased spatula to press it evenly into the corners with gentle, even pressure.
- Cool and cut: Let the treats cool at room temperature for 20 to 30 minutes (or 10 minutes in the fridge). Lift the block out using the parchment overhang, transfer to a cutting board, and cut into squares with a sharp knife sprayed with cooking spray.
Notes
Use fresh candy corn for best texture. Keep heat low when melting marshmallows to avoid scorching. Let treats cool completely before cutting for clean squares. Store in an airtight container at room temperature for up to 3 days; do not refrigerate. Freeze for up to a month by wrapping individually in plastic wrap and placing in a freezer bag. The treats taste even better the next day as flavors meld.
Nutrition
- Serving Size: 1 treat (based on 12
- Calories: 220
- Sugar: 28
- Sodium: 180
- Fat: 5
- Saturated Fat: 3
- Carbohydrates: 44
- Protein: 2
Keywords: candy corn rice krispie treats, easy fall dessert, no-bake Halloween treats, 15-minute dessert, marshmallow treats with candy corn


