Love this? Save it for later!
Share the inspiration with your friends
There used to be a tiny health food store on the corner of 12th and Elm that made these incredible chocolate peanut butter energy balls. When they closed three summers ago—just a handwritten sign on the door saying “Thank you for 22 years”—I honestly felt a little lost. Those little bites got me through countless afternoon slumps and pre-workout moments of “I really don’t want to go to the gym.” After maybe a dozen attempts—some crumbly disasters, one that tasted more like sawdust than chocolate—I finally cracked the code. And let me tell you, this version might actually be better than the original.
The first batch I made after figuring out the right ratio? I ate four before they even made it to the fridge. My husband walked in, saw the chocolate smeared on my fingers, and just laughed. “You found them,” he said. And yeah, I really did. These easy no-bake chocolate peanut butter protein balls have that perfect balance of rich cocoa, creamy peanut butter, and just enough sweetness to feel like a treat without tipping into dessert territory. They’re dense but not heavy, satisfying but not overly filling.
Maybe you’ve been there—that specific craving for something that hits the sweet-salty-protein trifecta, but you don’t want to turn on the oven or dirty a dozen dishes. These protein balls are the answer. They come together in literally five minutes, require zero baking skills, and taste like you spent way more effort than you actually did. I mean, that’s my favorite kind of recipe, honestly. The kind that makes you look like a kitchen wizard when really you just dumped everything in a bowl and rolled it into balls.
These little guys have gotten me through busy work weeks, road trips, and those 4 PM hunger pangs that usually lead to regrettable vending machine decisions. They’re the snack I actually look forward to eating, not just something I tolerate because it’s “healthy.” And that’s the thing—when a snack this simple tastes this good, you don’t have to convince yourself to eat it. Your hand just reaches for the container automatically.
Why You’ll Love This Recipe
Let me be real with you—I’ve tested about thirty different protein ball recipes over the years, and most of them were either dry as cardboard or fell apart the second you looked at them. These easy no-bake chocolate peanut butter protein balls are the ones I kept coming back to, the ones my friends actually ask me to bring to gatherings. Here’s why they’re different:
- Ready in 5 Minutes: No oven, no stovetop, no complicated steps. Just mix, roll, and eat. Perfect for those days when you need a snack now.
- Simple Ingredients: You probably have everything in your pantry already. No weird health food store ingredients that cost a fortune and sit in your cabinet for years.
- Perfect for Meal Prep: Make a batch on Sunday, and you’ve got snacks for the whole week. They actually get better after a day in the fridge.
- Crowd-Pleaser: I’ve served these to kids, gym rats, picky eaters, and my grandmother—every single person has asked for the recipe.
- Actually Satisfying: The combination of protein, healthy fats, and fiber means one or two balls actually keep you full. Not like those “healthy” snacks that leave you hunting for more food twenty minutes later.
What makes this version stand out from every other protein ball recipe online is the texture. Most recipes end up either too sticky to handle or so dry they crumble into a million pieces. I spent weeks tweaking the ratios—testing different peanut butters, different oats, different amounts of honey—until I found that perfect sweet spot where the balls hold together beautifully but still feel soft and fudgy. It’s not just another recipe; it’s the recipe I actually trust.
Honestly, these protein balls have saved me from so many bad food decisions. There’s something about having them ready in the fridge that makes saying no to the office donuts or the after-dinner cookie craving so much easier. And they taste good enough that you don’t feel like you’re sacrificing anything. That’s the kind of recipe I want in my life—one that makes healthy choices feel effortless.
What Ingredients You Will Need
This recipe uses simple, wholesome ingredients that work together to create that perfect fudgy texture and rich chocolate-peanut butter flavor. Most of these are pantry staples, which is exactly what you want in a five-minute recipe.
- Rolled Oats (1 cup / 90g): Not quick oats! Rolled oats give the right texture and help the balls hold together. Quick oats turn into mush, and steel-cut oats are too crunchy. I’ve tried all three so you don’t have to. Old-fashioned rolled oats are the sweet spot.
- Creamy Peanut Butter (½ cup / 130g): Use the kind that’s just peanuts and salt—the natural stuff that separates. The processed peanut butter with added sugar and hydrogenated oils makes the balls too greasy and sweet. I prefer Justin’s or Smucker’s Natural for the best texture. Let it come to room temperature so it mixes more easily.
- Honey or Maple Syrup (⅓ cup / 110g): Honey gives a slightly thicker, stickier result, while maple syrup makes them a touch softer. Both work great. If you’re vegan, definitely go with maple syrup. Local honey adds a nice floral note if you can find it.
- Unsweetened Cocoa Powder (¼ cup / 20g): This is where the chocolate flavor comes from. Use Dutch-processed cocoa if you want a deeper, more mellow chocolate taste. Natural cocoa powder works too but gives a slightly sharper flavor. I’ve used both and honestly prefer Dutch-processed for these—it makes them taste more like a truffle than a health snack.
- Chocolate or Vanilla Protein Powder (¼ cup / 30g): Chocolate protein powder obviously boosts the chocolate flavor, but vanilla works beautifully too. I’ve tested this with Orgain Simple and Garden of Life Raw Organic—both worked perfectly. Avoid collagen protein here; it makes the balls too sticky and hard to roll. Whey, pea, or brown rice protein all work well.
- Ground Flaxseed (2 tablespoons / 14g): This is my secret ingredient for texture. It absorbs moisture and helps bind everything together while adding fiber and omega-3s. You can skip it if you don’t have it, but the balls will be softer and might not hold together as well. I buy whole flaxseeds and grind them myself in a coffee grinder—cheaper and fresher than pre-ground.
- Mini Chocolate Chips (¼ cup / 45g): Optional but highly recommended. They add little pockets of melted chocolate that make these feel way more indulgent than they actually are. Use dark chocolate chips for less sugar, or dairy-free chips if needed. I’ve tried white chocolate chips too, and while they’re delicious, they kind of overpower the peanut butter.
- Pinch of Sea Salt (¼ teaspoon): Don’t skip this! Salt makes the chocolate and peanut butter flavors pop. If your peanut butter is already salted, you can reduce this slightly, but honestly, a little extra salt never hurt anyone.
- Optional Add-ins: A tablespoon of chia seeds for extra fiber, a handful of shredded coconut for texture, or a teaspoon of vanilla extract for warmth. I sometimes add a tablespoon of collagen peptides for extra protein, but like I said, it makes the mixture stickier, so add a tablespoon more oats to balance it out.
Equipment Needed
The beauty of these easy no-bake chocolate peanut butter protein balls is that you barely need any equipment. Here’s what you’ll need:
- Large Mixing Bowl: Any bowl works, but a wider bowl makes mixing easier. I use my grandmother’s old ceramic mixing bowl, which is probably older than me, but a stainless steel one works just fine.
- Measuring Cups and Spoons: For accuracy. I’ve eyeballed this recipe before and ended up with balls that were either too dry or too sticky. A little precision goes a long way here.
- Spatula or Wooden Spoon: For mixing. A silicone spatula is my preference because it scrapes the bowl clean, but any sturdy spoon works.
- Baking Sheet or Plate: To hold the rolled balls while they set. Line it with parchment paper if you want easy cleanup.
- Cookie Scoop (Optional): A 1-tablespoon scoop makes perfectly uniform balls. I bought one for $8 at a kitchen supply store and use it for everything now. But honestly, your hands work just fine.
- Airtight Container: For storage. Glass containers work best because they don’t absorb odors. I use a wide-mouth mason jar for easy access.
That’s literally it. No food processor, no stand mixer, no fancy gadgets. If you have hands and a bowl, you can make these. The first time I made them, I used a fork because I couldn’t find my spatula. Worked perfectly fine.
Preparation Method
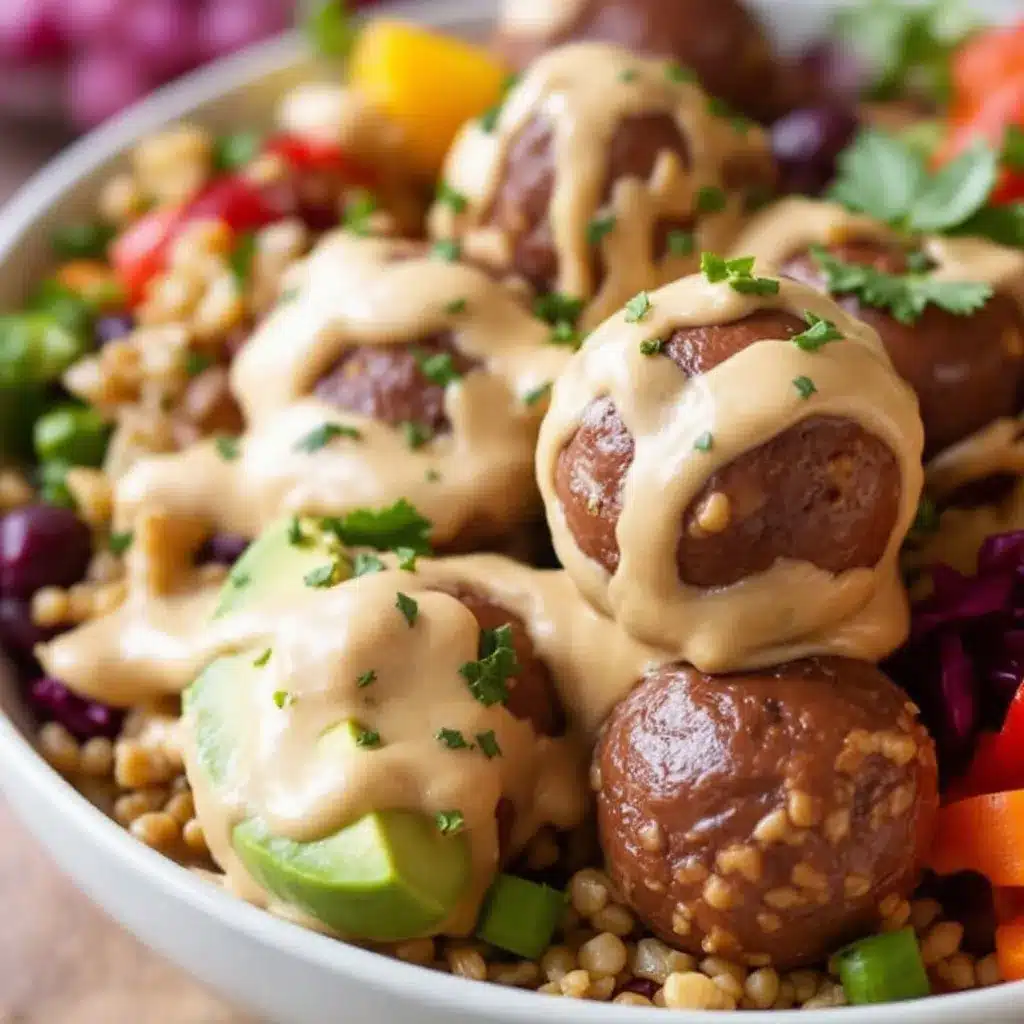
- Combine the dry ingredients. In your large mixing bowl, add the rolled oats, cocoa powder, protein powder, ground flaxseed, and sea salt. Whisk them together with your fork or spoon until everything is evenly distributed. This takes about 30 seconds. I like doing this first because it breaks up any clumps in the cocoa powder and makes sure the protein powder doesn’t form little pockets of chalkiness later.
- Add the wet ingredients. Spoon in the peanut butter and drizzle in the honey or maple syrup. Don’t dump the peanut butter in one big blob—drop it in smaller spoonfuls so it distributes more easily. This is one of those small things I learned after making a batch where I had to mix for five minutes just to break up a giant peanut butter lump.
- Mix everything together. Start stirring with your spatula or spoon, pressing the mixture against the sides of the bowl to incorporate everything. At first it’ll look dry and crumbly, and you might think you did something wrong. Keep going. After about a minute, it’ll start coming together into a thick, sticky dough. If it’s still too dry after a full minute of mixing, add a teaspoon more honey or a splash of milk. If it’s too wet and sticky to handle, add a tablespoon more oats.
- Fold in the chocolate chips. Once the dough is uniform and holds together when pressed, sprinkle the mini chocolate chips over the top. Fold them in gently with your spatula, just until they’re distributed. Overmixing can melt the chips slightly from the heat of your hands, which isn’t the end of the world, but you want those little chocolate pockets to stay intact.
- Chill the mixture (optional but recommended). Pop the bowl in the fridge for 15-20 minutes. This makes the dough firmer and easier to roll into balls. I usually skip this step when I’m impatient—which is most of the time—and the balls still turn out fine. But if you’re making these on a hot summer day or your kitchen is warm, the chilling step is a game-changer. The mixture gets sticky when warm, and nobody wants to fight with sticky dough.
- Roll into balls. Scoop out about 1 tablespoon of the mixture and roll it between your palms into a smooth ball. Place each ball on your baking sheet or plate. You should get about 16-18 balls, depending on how big you make them. I like mine on the smaller side—about 1 inch in diameter—because they feel more like a treat than a meal. My husband makes them bigger, more like golf balls, and eats two as a post-workout snack.
- Let them set. Place the baking sheet in the fridge for at least 30 minutes. This allows the balls to firm up and the flavors to meld together. I know, waiting is hard. But trust me, the texture after they’ve chilled is so much better than eating them immediately. The oats soften slightly, the flavors deepen, and the peanut butter and chocolate become this cohesive, fudgy experience.
- Transfer to storage. Once the balls are firm, transfer them to your airtight container. Layer them between sheets of parchment paper if you’re stacking them, though honestly, they’re sturdy enough that they don’t stick together much. Keep them in the fridge for up to two weeks, or freeze them for longer storage.
A quick note about rolling: if your hands get sticky during the process, just rinse them with cold water and dry them off. The moisture from your hands can make the mixture harder to work with. I keep a small bowl of water nearby and dip my fingers in occasionally—it helps the mixture glide off your palms instead of sticking.
Cooking Tips & Techniques
After making these easy no-bake chocolate peanut butter protein balls at least fifty times, I’ve picked up a few tricks that make the process smoother and the results better. Here’s what I wish someone had told me when I started:
The peanut butter temperature matters. Cold peanut butter straight from the fridge is practically impossible to mix evenly. You’ll end up with pockets of pure peanut butter surrounded by dry oats. Let it sit on the counter for 20 minutes before you start, or microwave it for 10 seconds. I learned this the hard way after a batch where I bit into what I thought was a chocolate oat ball and got a mouthful of straight peanut butter. Not the worst thing in the world, but not what I was going for.
Taste the mixture before you roll. This is my number one tip. Once everything is mixed, take a tiny pinch and taste it. Is it chocolatey enough? Sweet enough? Does it need more salt? Adjust before you commit to rolling sixteen balls. I once made a batch where I accidentally used salted peanuts instead of unsalted, and the balls were so salty they were almost inedible. If I’d tasted the mixture first, I would’ve caught it.
Don’t overmix the dough. Once the ingredients come together, stop mixing. Overworking the dough can make the balls dense and tough instead of light and fudgy. You want to mix just until everything is incorporated and no dry spots remain. Think of it like making meatballs—gentle handling is key.
Use a cookie scoop for consistency. If you want all your balls to be the same size—which helps with portion control and even chilling—use a small cookie scoop. I got mine at a restaurant supply store for about six bucks, and it’s one of my most-used kitchen tools. But honestly, rolling by hand works great too. Imperfect balls have character.
Let them rest overnight. I know I said they’re ready in 5 minutes, but if you can wait 24 hours, the texture transforms completely. The oats absorb moisture from the peanut butter and honey, the flavors meld together, and the balls become almost truffle-like in texture. They’re good on day one, but they’re incredible on day two. I try to make them the night before I need them, just so they have time to develop.
Keep your hands cool. Warm hands make the mixture sticky and hard to work with. If you’re having trouble rolling, run your hands under cold water for a few seconds, then dry them thoroughly. This trick saved me on a particularly hot summer day when my kitchen felt like a sauna.
Variations & Adaptations
One of the best things about this recipe is how adaptable it is. I’ve made so many variations over the years, and honestly, most of them have been delicious. Here are some of my favorites:
Vegan Version: Swap the honey for maple syrup or agave nectar, and use a plant-based protein powder. That’s it. Everything else is already vegan-friendly. I’ve made this version for my vegan sister-in-law, and she couldn’t tell the difference. The maple syrup actually adds a nice subtle flavor that complements the chocolate beautifully.
Gluten-Free Option: Use certified gluten-free rolled oats. Oats are naturally gluten-free, but they’re often processed in facilities that handle wheat, so look for the certified label if you’re sensitive. I’ve also made these with quinoa flakes instead of oats, and while the texture is slightly different, they’re still delicious.
Nut-Free Alternative: Substitute the peanut butter with sunflower seed butter or tahini. Sunflower seed butter gives a similar creamy texture, though the flavor is obviously different. Just be aware that sunflower seed butter can react with baking soda (not an issue here since there’s no baking soda) and sometimes turns green when combined with certain ingredients. It’s safe to eat, just a little alarming to look at. I learned this the hard way when I opened a container of green protein balls and thought I’d invented a new color.
Extra Protein Boost: Add an extra scoop of protein powder and reduce the oats by two tablespoons. This makes the balls denser and more filling. I do this version when I know I’m going to eat them as a post-workout snack. Just be careful not to make the mixture too dry—you might need to add a tablespoon more honey or a splash of milk.
Flavor Twists: Add a teaspoon of instant espresso powder for a mocha version, or a tablespoon of orange zest for chocolate-orange protein balls. I made a batch with peppermint extract during the holidays, and they were a huge hit. Start with a small amount of extract—a little goes a long way, and you can always add more.
Crunchy Version: Swap the creamy peanut butter for crunchy peanut butter and add a tablespoon of chopped peanuts. The extra crunch makes these feel more like a candy bar than a health snack. My husband’s favorite version by far.
Serving & Storage Suggestions
These easy no-bake chocolate peanut butter protein balls are incredibly versatile when it comes to serving. Here’s how I like to enjoy them:
Straight from the fridge: This is my preferred way to eat them. Cold, firm, and fudgy—they’re like bite-sized chocolate truffles that happen to be good for you. I grab one or two as a mid-afternoon snack when I need an energy boost without the sugar crash.
At room temperature: If you let them sit out for 10-15 minutes, they soften slightly and become almost creamy in texture. This is how I serve them to guests because they feel more indulgent. I arrange them on a small plate with a few fresh berries for color contrast.
As a pre-workout snack: Eat one ball about 30 minutes before exercise. The combination of oats, peanut butter, and protein provides steady energy without weighing you down. I’ve done this before morning runs and afternoon gym sessions, and it works perfectly for both.
Post-workout recovery: Two balls after a workout give you a good balance of protein and carbs for recovery. The chocolate makes it feel like a reward, which is always nice after a tough workout.
Storage: Keep the balls in an airtight container in the refrigerator for up to two weeks. They actually get better after a day or two as the flavors meld together. If you want to keep them longer, freeze them in a single layer on a baking sheet, then transfer to a freezer bag. They’ll keep for up to three months. To thaw, just move them to the fridge overnight or let them sit at room temperature for 15 minutes.
Pro tip for travel: These balls are perfect for road trips, flights, or hiking. They don’t melt, they don’t crumble, and they don’t need refrigeration for a day or two. I took a batch on a camping trip last summer, and they survived the heat, the bumpy car ride, and being squished at the bottom of my backpack. A true testament to their sturdiness.
Nutritional Information & Benefits
Let’s talk numbers. Per ball (based on 16 servings), here’s approximately what you’re looking at:
- Calories: 135-150
- Protein: 6-8 grams
- Carbohydrates: 14-16 grams
- Fiber: 3-4 grams
- Fat: 7-9 grams
- Sugar: 7-8 grams (mostly from honey and chocolate chips)
These numbers obviously vary based on the specific ingredients you use, but they’re pretty consistent across my testing. The beauty of these protein balls is that they’re nutrient-dense without being calorie-dense. You get a good dose of protein, fiber, and healthy fats in a small package.
Health benefits worth noting: The oats provide complex carbohydrates for sustained energy, plus beta-glucan which supports heart health. Peanut butter offers monounsaturated fats and vitamin E. Cocoa powder is packed with antioxidants—we’re talking more than green tea or red wine. Flaxseed adds omega-3 fatty acids and lignans, which have anti-inflammatory properties. And the protein powder, depending on what you use, supports muscle repair and keeps you full longer.
These are also naturally dairy-free (if you use dairy-free chocolate chips), egg-free, and can easily be made vegan or gluten-free. The only common allergen is peanuts, but as I mentioned, you can swap in sunflower seed butter for a nut-free version.
I’m not a nutritionist, obviously, but I’ve done enough research and personal experimentation to feel confident that these are a genuinely healthy snack. They’re not a “health halo” situation where something sounds good for you but is actually loaded with sugar and processed ingredients. These are the real deal.
Conclusion
Honestly, I think these easy no-bake chocolate peanut butter protein balls might be the most-made recipe in my kitchen. They’re not flashy, they’re not complicated, and they don’t require any special skills. But they’re reliable. They’re delicious. And they make me feel like I’ve got my act together, even on days when I definitely don’t.
What I love most about this recipe is how forgiving it is. You can mess up the measurements, swap ingredients, forget the flaxseed, and they’ll still turn out good. That’s the kind of recipe I want to share with you—one that doesn’t require perfection, just a little bit of effort and a willingness to get your hands a little sticky.
I’d love to hear how these turn out for you. Did you add something unexpected? Make a substitution that worked beautifully? Or maybe you ate five in one sitting and regretted nothing. Drop a comment below and let me know. And if you share these on social media, tag me—I want to see your creations!
Here’s to five-minute snacks that actually taste good, to recipes that don’t require a trip to the store, and to the simple joy of a perfectly fudgy protein ball. Happy snacking, friends!
Frequently Asked Questions
Can I make these without protein powder?
Absolutely! Just replace the protein powder with an equal amount of rolled oats or almond flour. The texture will be slightly different—less dense and a bit more oat-forward—but they’ll still taste great. I’ve made them this way when I ran out of protein powder, and honestly, they’re still delicious.
Why are my protein balls too dry?
This usually happens if your peanut butter is too thick or if you’re using a very absorbent protein powder. Try adding an extra tablespoon of honey or a splash of milk (dairy or plant-based) to bring the mixture together. Also, make sure you’re measuring your oats correctly—scooping them directly from the bag can pack them down and give you too much.
Can I use quick oats instead of rolled oats?
You can, but the texture will be different. Quick oats are more finely chopped, so they absorb moisture faster and create a softer, almost mushy texture. Rolled oats give a better, more satisfying chew. If you only have quick oats, reduce the amount by about two tablespoons and expect a denser final product.
How long do these last at room temperature?
They’re fine at room temperature for about 24 hours, but I recommend keeping them in the fridge for best texture and freshness. If you’re taking them on a trip or to work, they’ll be fine in your bag for a day. Just don’t leave them in a hot car—the chocolate chips will melt, and the balls will lose their shape.
Can I double this recipe?
Yes, and I actually recommend it! This recipe doubles beautifully. Just make sure you have a large enough bowl to mix everything thoroughly. I often make a double batch on Sunday and keep them in the fridge for the week. They also freeze well, so don’t worry about making too many.
Pin This Recipe!
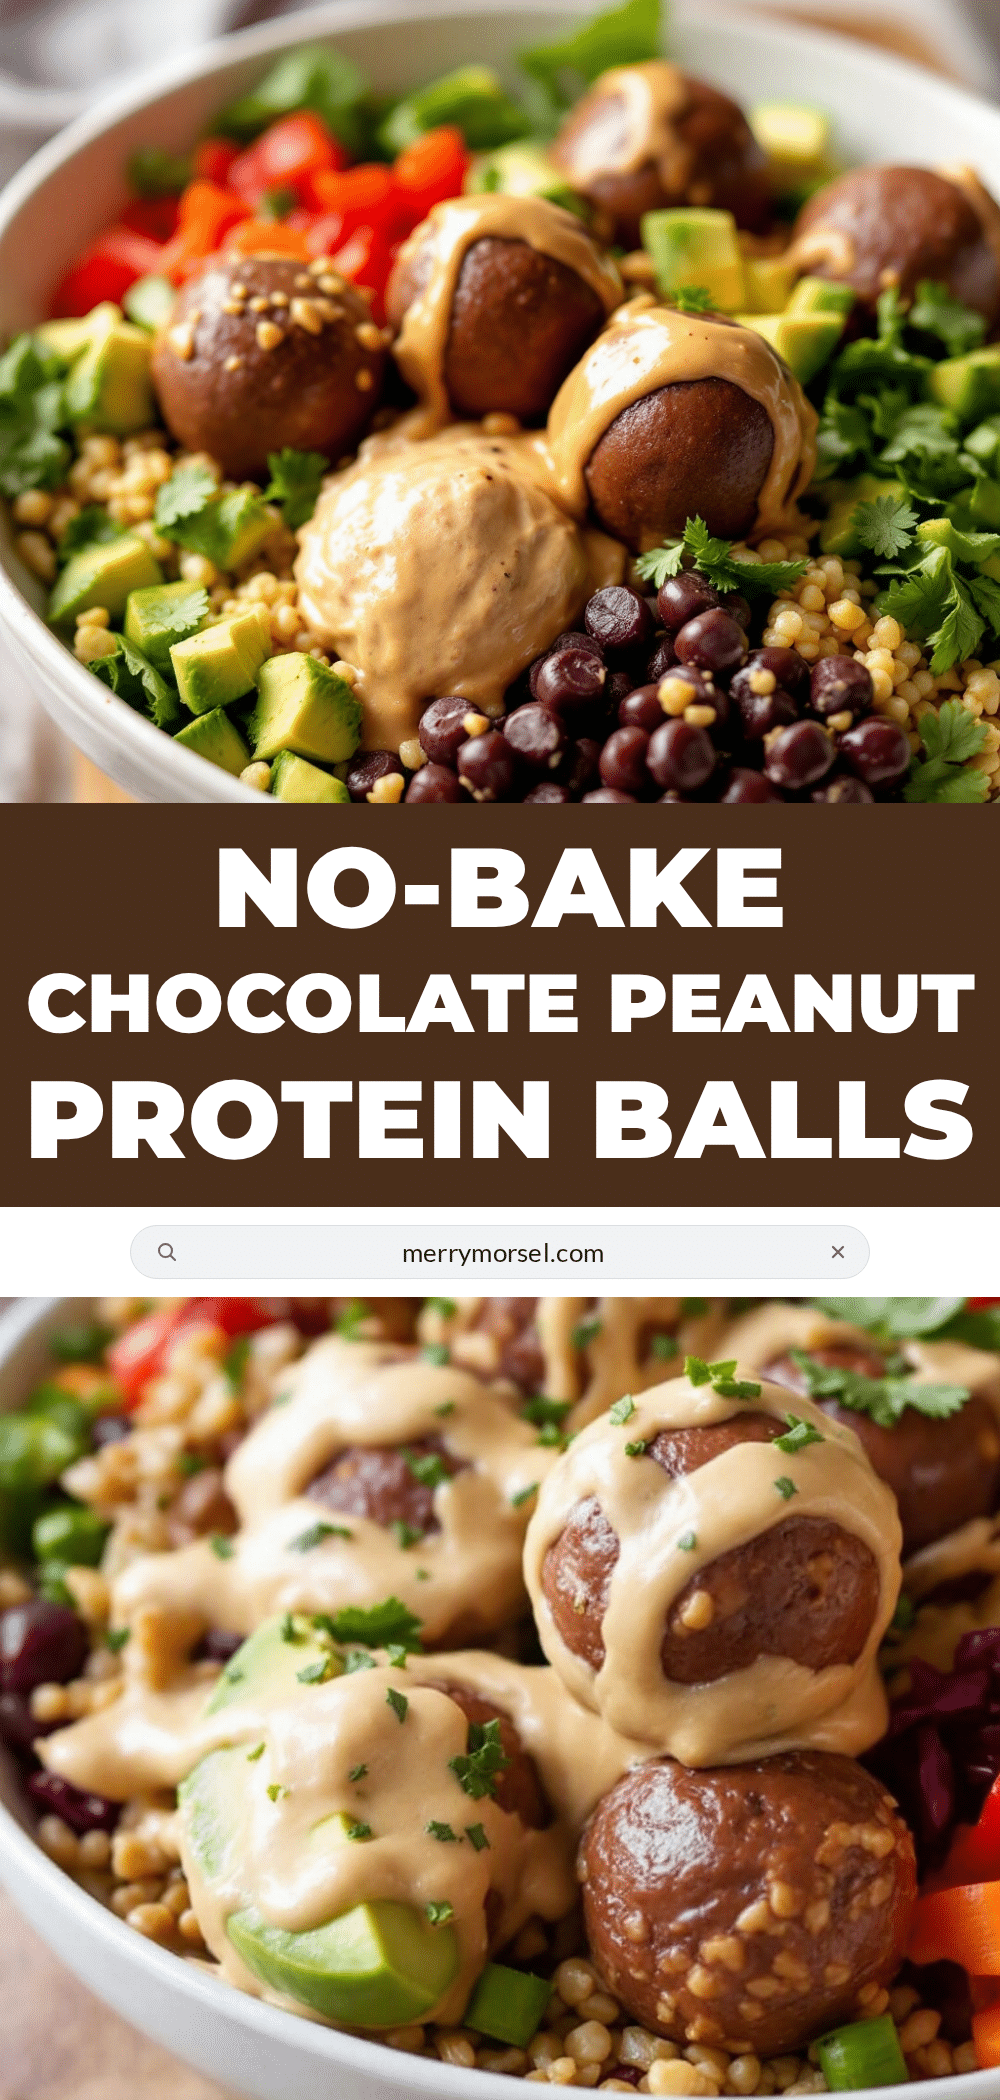
Easy No-Bake Protein Balls: Best 5-Minute Chocolate Peanut Butter Recipe

These easy no-bake chocolate peanut butter protein balls come together in just 5 minutes with simple pantry ingredients. They’re fudgy, satisfying, and perfect for a quick snack or pre-workout boost.
- Prep Time: 5 minutes
- Cook Time: 0 minutes
- Total Time: 5 minutes (plus 30 minutes chilling)
- Yield: 16-18 balls 1x
- Category: Snack
- Cuisine: American
Ingredients
- 1 cup (90g) rolled oats
- ½ cup (130g) creamy peanut butter (natural, room temperature)
- ⅓ cup (110g) honey or maple syrup
- ¼ cup (20g) unsweetened cocoa powder (Dutch-processed preferred)
- ¼ cup (30g) chocolate or vanilla protein powder
- 2 tablespoons (14g) ground flaxseed
- ¼ cup (45g) mini chocolate chips (optional)
- ¼ teaspoon sea salt
Instructions
- Combine the dry ingredients: In a large mixing bowl, add rolled oats, cocoa powder, protein powder, ground flaxseed, and sea salt. Whisk together until evenly distributed.
- Add the wet ingredients: Spoon in the peanut butter and drizzle in the honey or maple syrup. Drop the peanut butter in smaller spoonfuls for easier mixing.
- Mix everything together: Stir with a spatula or spoon, pressing the mixture against the sides of the bowl. Continue for about a minute until a thick, sticky dough forms. If too dry, add a teaspoon more honey or a splash of milk. If too wet, add a tablespoon more oats.
- Fold in the chocolate chips: Once the dough is uniform, sprinkle the mini chocolate chips over the top and fold them in gently until just distributed.
- Chill the mixture (optional but recommended): Refrigerate the bowl for 15-20 minutes to make the dough firmer and easier to roll.
- Roll into balls: Scoop about 1 tablespoon of the mixture and roll between your palms into smooth balls. Place on a baking sheet or plate. You should get about 16-18 balls.
- Let them set: Refrigerate the baking sheet for at least 30 minutes to firm up and allow flavors to meld.
- Transfer to storage: Once firm, transfer to an airtight container. Layer between parchment paper if stacking. Keep in the fridge for up to two weeks or freeze for longer storage.
Notes
For best texture, let the balls rest overnight in the fridge. Keep hands cool when rolling to prevent sticking. Taste the mixture before rolling to adjust sweetness or saltiness.
Nutrition
- Serving Size: 1 ball
- Calories: 135150
- Sugar: 78
- Sodium: 6080
- Fat: 79
- Saturated Fat: 1.52
- Carbohydrates: 1416
- Fiber: 34
- Protein: 68
Keywords: no-bake protein balls, chocolate peanut butter protein balls, healthy snack, 5-minute recipe, energy balls, gluten-free option, vegan option


