Love this? Save it for later!
Share the inspiration with your friends
The third batch was gone before the second commercial break. My brother-in-law, who claims he doesn’t even like baked wings, had a pile of bones in front of him and was reaching for more. I just stood there in the doorway between the kitchen and the living room, watching everyone eat in that focused, quiet way people do when something is really good. It was a small victory, honestly—one I wasn’t sure I’d pull off.
I’d been chasing that perfect crispy baked chicken wing for years. You know the one—where the skin shatters when you bite into it, but the meat stays juicy and pulls clean off the bone. Every attempt before this ended in disappointment. Some were rubbery, some were dry, and a few were just sad, pale imitations of the fried version. I tried everything: higher heat, lower heat, flipping halfway, not flipping at all. Nothing worked the way I wanted.
Then, on a random Tuesday afternoon with a bag of party wings I’d grabbed on sale, I finally cracked the code. It wasn’t some fancy technique or a secret ingredient. It was a simple trick I’d overlooked for years. That first bite was so good I actually texted my sister a photo. She replied, “Send the recipe or I’m telling mom you’ve been hoarding it.” So here we are. These crispy baked chicken wings are the kind of recipe that makes you wonder why you ever bothered with the fryer in the first place.
Why You’ll Love This Recipe
Let’s be real for a second—game day food should be easy, crowd-pleasing, and just a little bit messy. These crispy baked chicken wings check every single box without the hassle of deep frying. I’ve tested this method more times than I care to admit, and it’s the only one I trust when people are counting on me to deliver.
- Oven-Baked, Not Fried: You get that same satisfying crunch without the grease splatters or the lingering fryer smell in your house for days.
- Simple Pantry Ingredients: No weird chemicals or hard-to-find specialty items. You probably have everything you need right now.
- Perfect for Football Sunday: These wings hold up beautifully on a buffet table. They stay crispy longer than fried wings, which is a game-changer when you’re hosting.
- Totally Customizable: The base recipe is neutral enough to pair with any sauce you love—Buffalo, BBQ, garlic parmesan, you name it.
- Always a Crowd-Pleaser: I’ve served these to picky eaters, wing snobs, and even a self-proclaimed wing expert. Every single person went back for seconds.
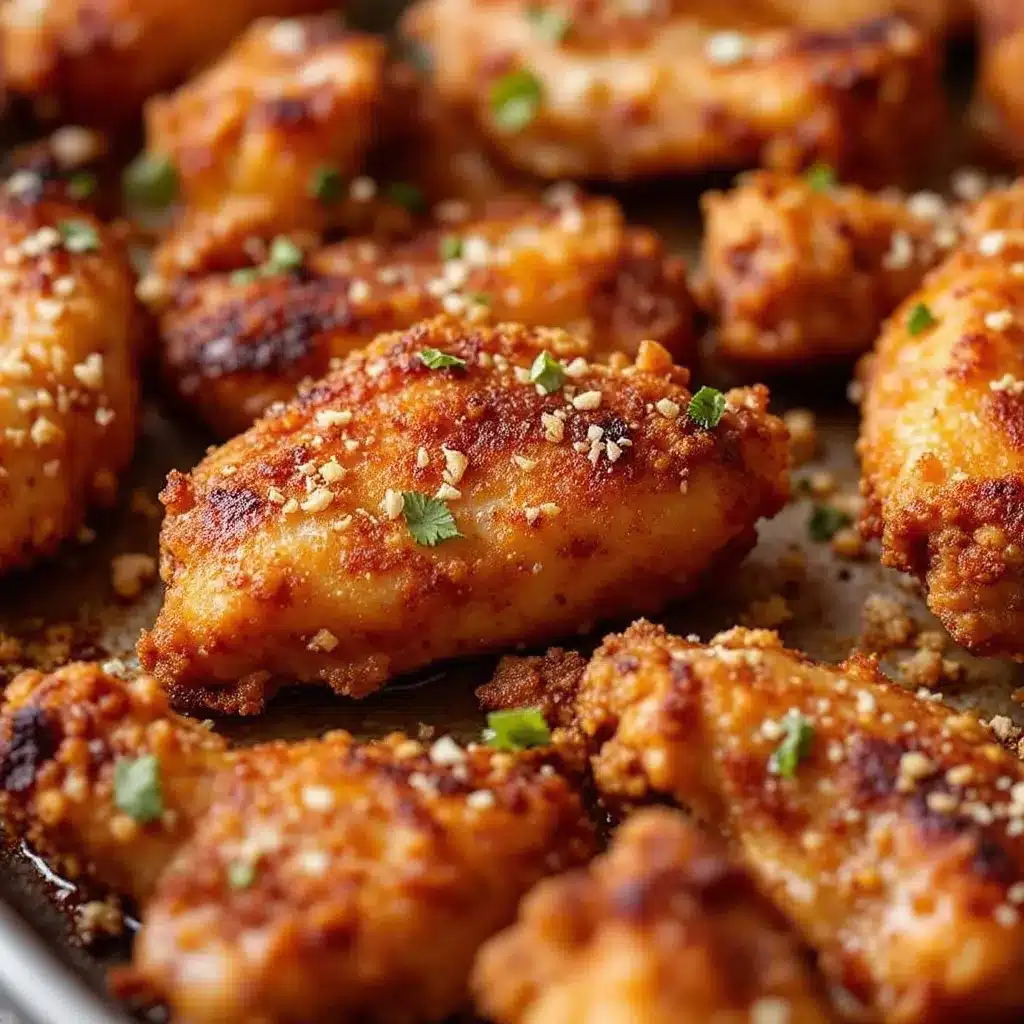
What makes these wings different from the rest? It’s the combination of a low-and-slow initial bake followed by a high-heat blast that creates the crispiest skin I’ve ever gotten from an oven. That two-step process is the secret sauce—well, the secret technique. And honestly, once you try it, you’ll never go back to any other method.
Ingredients You Will Need
This recipe uses simple, straightforward ingredients. The magic isn’t in fancy additions—it’s in how you treat the wings before they hit the oven. Here’s everything you’ll need to make the best crispy baked chicken wings of your life.
For the Wings
- 3 pounds chicken party wings (flats and drumettes separated, tips removed) — Party wings are already cut and ready to go, saving you prep time. Look for wings that are plump and evenly sized so they cook at the same rate.
- 1 tablespoon baking powder (aluminum-free) — This is the non-negotiable secret ingredient. Baking powder raises the pH of the skin, helping it brown and crisp up in the oven. Do not substitute baking soda—it will leave a metallic taste.
- 1 ½ teaspoons kosher salt — I prefer Diamond Crystal brand because it dissolves evenly and doesn’t over-salt. If you’re using table salt, cut the amount in half.
- 1 teaspoon garlic powder — Adds a subtle savory note without overpowering the chicken.
- ½ teaspoon black pepper — Freshly ground is always better here.
- ½ teaspoon smoked paprika (optional but recommended) — Gives the wings a beautiful color and a hint of smoky flavor.
For the Buffalo Sauce (Optional but Classic)
- ½ cup hot sauce (Frank’s RedHot is my go-to) — It has the perfect balance of heat and vinegar for classic Buffalo wings.
- ¼ cup unsalted butter, melted — This mellows out the heat and adds richness that clings to the wings beautifully.
- 1 tablespoon honey (optional) — A touch of sweetness rounds out the tangy heat. Leave it out if you want a straight-up traditional sauce.
For serving, grab some celery sticks, carrot sticks, and your favorite ranch or blue cheese dressing. I’m a ranch person myself, but I won’t judge you for going the blue cheese route.
Equipment Needed
You don’t need a lot of fancy gear for this recipe, which is honestly one of the reasons I love it. Here’s what you’ll need:
- Baking sheet — A half-sheet pan (18×13 inches) works perfectly. Make sure it has a rim to catch any drips.
- Wire rack — This is crucial. A wire rack set inside the baking sheet allows air to circulate all around the wings, preventing them from steaming in their own juices. I use a simple cooling rack that fits inside my sheet pan.
- Paper towels — For drying the wings thoroughly. Don’t skip this step—moisture is the enemy of crispy skin.
- Large mixing bowl — For tossing the wings with the dry rub.
- Tongs — For flipping the wings halfway through baking.
- Small saucepan or microwave-safe bowl — For making the Buffalo sauce.
If you don’t have a wire rack, you can try placing the wings directly on the baking sheet, but you’ll need to flip them more frequently and they won’t get quite as crispy on the bottom. I’d recommend picking up an inexpensive cooling rack—it makes a world of difference and costs less than ten bucks.
Preparation Method
This is where the magic happens. Follow these steps carefully, and I promise you’ll end up with wings that rival anything from a bar.
- Preheat your oven to 250°F (120°C). Yes, you read that right—low heat first. Position your oven rack in the middle. While the oven heats, line your baking sheet with aluminum foil for easy cleanup and place the wire rack on top.
- Pat the wings completely dry. This is the most important step in the entire recipe. Take your 3 pounds of party wings and blot them dry with paper towels. I mean really dry—you shouldn’t see any moisture on the surface. If you have time, let them sit uncovered in the fridge for an hour or two to dry out even more. The drier the skin, the crispier the result.
- Mix the dry rub. In a small bowl, combine 1 tablespoon baking powder, 1 ½ teaspoons kosher salt, 1 teaspoon garlic powder, ½ teaspoon black pepper, and ½ teaspoon smoked paprika (if using). Whisk everything together until evenly distributed.
- Season the wings. Place the dried wings in a large mixing bowl. Sprinkle the dry rub over them and toss with your hands until every wing is evenly coated. Make sure the baking powder mixture gets into all the nooks and crannies—that’s where the best crispiness comes from.
- Arrange the wings on the wire rack. Place them in a single layer with a little space between each wing. Don’t overcrowd the pan. If you need to use two baking sheets, do it. Crowding will trap steam and ruin your crispiness.
- Bake at 250°F (120°C) for 30 minutes. This low-temperature step renders the fat under the skin slowly, which is what gives you that shatteringly crispy texture later. The wings will look pale and unappetizing at this point—that’s totally normal. Don’t panic.
- Increase the oven temperature to 425°F (220°C). After 30 minutes, carefully remove the baking sheet from the oven. Increase the temperature to 425°F. While the oven is heating up, use tongs to flip each wing over. This ensures even crisping on both sides.
- Bake at 425°F (220°C) for 20 minutes. Return the wings to the oven and bake for 20 minutes. The skin will start to bubble and turn golden brown. Your kitchen is going to smell incredible right about now.
- Flip and bake for another 10-15 minutes. Flip the wings again and continue baking until they are deep golden brown and the skin looks blistered and crispy. The total high-heat time should be around 30-35 minutes. Keep an eye on them—ovens vary, and you want them crispy but not burnt.
- Make the Buffalo sauce while the wings bake. In a small saucepan over low heat, combine ½ cup hot sauce, ¼ cup melted unsalted butter, and 1 tablespoon honey (if using). Whisk until the butter is fully incorporated and the sauce is smooth. Keep it warm until the wings are ready.
- Toss or serve sauce on the side. Once the wings are out of the oven, let them rest for 2-3 minutes. You can either toss them in a bowl with the Buffalo sauce or serve the sauce on the side for dipping. I prefer tossing because every nook and cranny gets coated in that spicy, buttery goodness.
A quick note: if you’re serving multiple sauces, keep the wings plain and let everyone sauce their own. That way, leftovers stay crispy and you don’t end up with soggy wings in the fridge.
Cooking Tips & Techniques
I’ve made these wings more times than I can count, and I’ve learned a few things the hard way. Here are my best tips to guarantee success every single time.
- Don’t skip the drying step. I know I said it before, but I’ll say it again—moisture is the enemy. If your wings are even slightly damp, the baking powder won’t work its magic and you’ll end up with steamed, rubbery skin. I once rushed through this step and regretted it for the entire game.
- Use aluminum-free baking powder. Regular baking powder can leave a metallic aftertaste, especially when used in large quantities. Check the label before you start. I learned this lesson after a batch of wings tasted faintly like tin foil. Not my finest moment.
- Let the wings rest after seasoning. If you have the time, let the seasoned wings sit uncovered in the fridge for an hour or even overnight. This dries the skin even further and allows the seasoning to penetrate deeper into the meat. The texture difference is noticeable.
- Don’t overcrowd the pan. This is a common mistake, especially when cooking for a crowd. If the wings are touching or overlapping, they’ll steam instead of crisp. Use two baking sheets if you need to. It’s worth the extra cleanup.
- Flip with confidence. Use tongs to flip the wings quickly and get the baking sheet back in the oven as fast as possible. You don’t want the temperature to drop too much. I keep the oven door open for the shortest time possible.
- Test for doneness. The internal temperature of the wings should reach 165°F (74°C). But honestly, if the skin is crispy and golden and the meat pulls away from the bone easily, you’re good to go.
One failure I’ll never forget: I once tried to speed things up by skipping the low-temperature step and going straight to 425°F. The wings looked okay on the outside, but the skin was chewy and the fat hadn’t rendered properly. It was a sad, greasy mess. Don’t be like me. Trust the process.
Variations & Adaptations
These wings are a blank canvas, and I love experimenting with different flavors. Here are some of my favorite variations.
Classic Buffalo
The recipe above is my go-to for game day. It’s tangy, buttery, and just the right amount of spicy. If you want extra heat, add a teaspoon of cayenne pepper to the sauce.
Garlic Parmesan
Skip the Buffalo sauce and toss the baked wings with a mixture of ¼ cup melted butter, 4 cloves minced garlic, ½ cup grated Parmesan cheese, and a handful of fresh parsley. This version is rich, savory, and absolutely addictive. I made this for a game day snack spread last year and it disappeared faster than anything else on the table.
Honey BBQ
Combine ½ cup of your favorite BBQ sauce with 2 tablespoons of honey and a splash of apple cider vinegar. Toss the wings in this mixture after baking and return them to the oven for 5 minutes to let the sauce caramelize. The sweet and smoky combo is a hit with kids and adults alike.
Lemon Pepper (Dry Rub)
For a no-sauce option, add 1 tablespoon of lemon zest and 1 teaspoon of cracked black pepper to the dry rub. Bake as directed and serve with lemon wedges. The bright citrus cuts through the richness of the skin beautifully.
Dietary Adaptations
These wings are naturally gluten-free and low-carb, making them perfect for keto and paleo diets. For a dairy-free version, use ghee or a plant-based butter alternative in the sauce. If you’re watching your sodium, reduce the salt in the dry rub and use a low-sodium hot sauce.
I once brought these to a tailgate party and set up a DIY wing bar with three different sauces. People loved being able to customize their own plate. It’s a fun way to serve a crowd without making multiple batches.
Serving & Storage Suggestions
These wings are best served fresh out of the oven, but they hold up surprisingly well for a party. Here’s how to serve and store them like a pro.
Serving: Arrange the wings on a large platter and garnish with celery sticks, carrot sticks, and a bowl of ranch or blue cheese dressing. If you’re serving multiple sauces, keep them in small bowls with dipping spoons so guests can sauce their own wings. Serve immediately while the skin is still crispy.
Storage: Leftover wings can be stored in an airtight container in the refrigerator for up to 4 days. If you sauced the wings, they will lose some crispiness over time. For best results, store unsauced wings separately and toss with sauce just before serving.
Reheating: The oven is your best friend here. Preheat your oven to 400°F (200°C) and spread the wings on a wire rack over a baking sheet. Bake for 5-7 minutes until heated through and crispy. Avoid the microwave—it will turn your wings into rubbery, sad imitations of their former selves. If you have an air fryer, that works great too. Reheat at 375°F (190°C) for 3-4 minutes.
Freezing: You can freeze baked (unsauced) wings for up to 3 months. Lay them in a single layer on a baking sheet and freeze until solid, then transfer to a freezer-safe bag. To serve, reheat directly from frozen at 400°F (200°C) for 12-15 minutes, then toss with sauce.
The flavors actually develop a bit overnight, so leftover wings tossed in Buffalo sauce taste even better the next day. Just reheat them properly and you’ve got yourself a fantastic lunch.
Nutritional Information & Benefits
These wings are surprisingly friendly for a game day indulgence. Here’s the estimated nutritional breakdown for a serving of 4-5 wings (without sauce):
| Nutrient | Amount Per Serving |
|---|---|
| Calories | 320 |
| Protein | 26g |
| Fat | 22g |
| Saturated Fat | 6g |
| Carbohydrates | 1g |
| Fiber | 0g |
| Sugar | 0g |
| Sodium | 680mg |
Chicken wings are a great source of high-quality protein, which helps keep you full and satisfied. The skin does contain fat, but baking instead of frying significantly reduces the overall fat content. Plus, you’re in control of the seasoning and sauce, so you can adjust the sodium and sugar to your preference.
If you’re following a specific diet, these wings are naturally gluten-free, low-carb, and keto-friendly. Just watch your sauce choices—some store-bought BBQ sauces are loaded with sugar. I like to make my own or buy a low-sugar option.
Conclusion
These crispy baked chicken wings have become my go-to for every football Sunday, and I don’t see that changing anytime soon. They’re easy enough for a casual weeknight dinner but impressive enough to serve at a party full of wing connoisseurs. The combination of that shatteringly crispy skin and juicy, tender meat is something you have to experience to believe.
I love that this recipe gives you complete control. You can keep them plain, coat them in classic Buffalo sauce, or experiment with any flavor combo you can dream up. They’re forgiving, reliable, and always delicious. Honestly, I don’t think I’ll ever fry wings again.
If you give these a try, I’d love to hear how they turn out. Drop a comment below and let me know your favorite sauce combination. And if you’re looking for more game day inspiration, check out my loaded nacho bar or these football-shaped stuffed bell peppers for a complete spread. Happy cooking, and enjoy the game!
Frequently Asked Questions
Can I use frozen chicken wings for this recipe?
Yes, but you’ll need to thaw them completely first. Pat them extra dry after thawing, as frozen wings release a lot of moisture. I recommend thawing them in the refrigerator overnight for best results.
Why are my wings not crispy?
The most common reasons are insufficient drying, skipping the low-temperature step, or overcrowding the pan. Make sure your wings are bone-dry before seasoning, follow the two-temperature method, and leave space between each wing on the wire rack.
Can I make these wings in an air fryer?
Absolutely. Preheat your air fryer to 375°F (190°C) and cook the wings in a single layer for 20-25 minutes, flipping halfway through. You may need to work in batches depending on the size of your air fryer. The texture is just as crispy, if not more so.
How do I prevent the wings from sticking to the wire rack?
Lightly spray the wire rack with non-stick cooking spray before placing the wings on it. This helps the skin release easily after baking. I also recommend letting the wings rest for a couple of minutes before trying to remove them.
Can I prep these wings ahead of time?
Yes! You can season the wings and arrange them on the wire rack up to 24 hours in advance. Keep them uncovered in the refrigerator. This actually helps dry out the skin even more, resulting in an even crispier final product. Just bake them as directed when you’re ready.
Pin This Recipe!
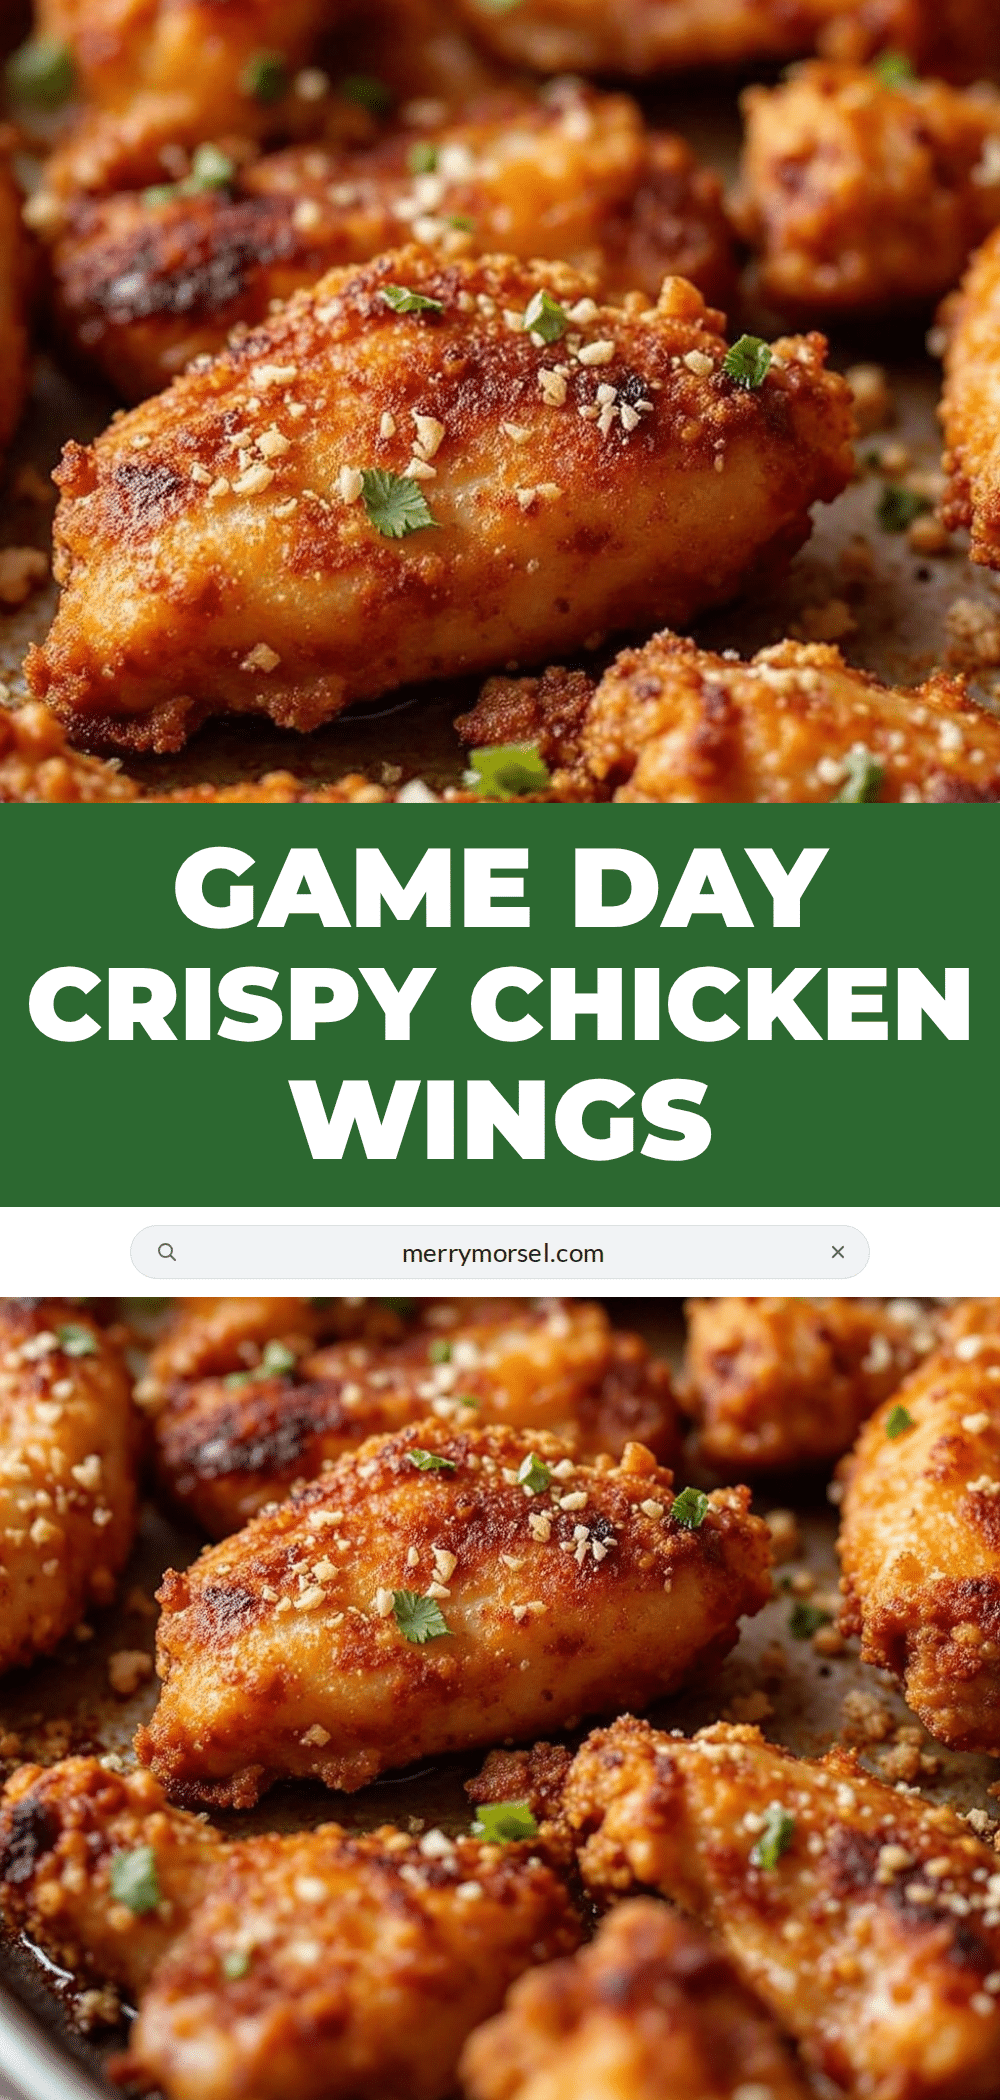
Crispy Baked Chicken Wings: The Best Game Day Recipe

These oven-baked chicken wings are incredibly crispy and juicy, made with a simple two-temperature baking method that renders the fat perfectly. Perfect for game day or any gathering, they are customizable with your favorite sauces.
- Prep Time: 15 minutes
- Cook Time: 1 hour 5 minutes
- Total Time: 1 hour 20 minutes
- Yield: 4 servings 1x
- Category: Appetizer
- Cuisine: American
Ingredients
- 3 pounds chicken party wings (flats and drumettes separated, tips removed)
- 1 tablespoon baking powder (aluminum-free)
- 1 ½ teaspoons kosher salt
- 1 teaspoon garlic powder
- ½ teaspoon black pepper
- ½ teaspoon smoked paprika (optional)
- ½ cup hot sauce (e.g., Frank’s RedHot)
- ¼ cup unsalted butter, melted
- 1 tablespoon honey (optional)
Instructions
- Preheat your oven to 250°F (120°C). Position the oven rack in the middle. Line a baking sheet with aluminum foil and place a wire rack on top.
- Pat the chicken wings completely dry with paper towels. Ensure no moisture remains on the surface.
- In a small bowl, mix together the baking powder, kosher salt, garlic powder, black pepper, and smoked paprika (if using).
- Place the dried wings in a large mixing bowl. Sprinkle the dry rub over them and toss with your hands until every wing is evenly coated.
- Arrange the wings in a single layer on the wire rack, leaving space between each wing. Do not overcrowd.
- Bake at 250°F (120°C) for 30 minutes. The wings will look pale.
- Increase the oven temperature to 425°F (220°C). Carefully remove the baking sheet, flip each wing with tongs, and return to the oven.
- Bake at 425°F (220°C) for 20 minutes. The skin will start to bubble and turn golden brown.
- Flip the wings again and continue baking for another 10-15 minutes, until deep golden brown and crispy. Total high-heat time should be 30-35 minutes.
- While the wings bake, make the Buffalo sauce: In a small saucepan over low heat, combine hot sauce, melted butter, and honey (if using). Whisk until smooth and keep warm.
- Once the wings are out of the oven, let them rest for 2-3 minutes. Toss them in the Buffalo sauce or serve the sauce on the side.
Notes
For extra crispiness, let the seasoned wings rest uncovered in the fridge for 1-2 hours or overnight before baking. Use aluminum-free baking powder to avoid a metallic taste. Do not skip the low-temperature step; it renders the fat for a crispy texture. If using multiple sauces, keep wings plain and let guests sauce their own to maintain crispiness.
Nutrition
- Serving Size: 4-5 wings
- Calories: 320
- Sodium: 680
- Fat: 22
- Saturated Fat: 6
- Carbohydrates: 1
- Protein: 26
Keywords: crispy baked chicken wings, game day wings, oven baked wings, buffalo wings, party wings


