Love this? Save it for later!
Share the inspiration with your friends
I was standing in line at the hardware store, holding a bag of mulch, when the guy behind me—an older man with sawdust on his flannel shirt—started describing his perfect nacho bar. Not the kind you get at a sports bar with soggy chips and barely any cheese. No, he was talking about layers. About building a spread so impressive that people forget who’s playing and just stand around the table, grabbing handfuls. I wasn’t expecting nacho advice from a guy buying PVC pipes, but there I was, listening to him explain why you should never, ever pre-assemble your nachos. “They get sad,” he said, shaking his head. “You want everyone to build their own.”
That conversation stuck with me. I mean, honestly, it changed how I think about game day food entirely. For years, I’d been making one big sheet pan of nachos, and by the time the second quarter rolled around, they were a soggy, lukewarm mess. The chips were sad. The cheese had congealed. It was not the kind of snack that made people gather around the table. So I took that hardware store advice and turned it into something bigger—an ultimate loaded nacho bar for game day that lets everyone be the boss of their own plate. Maybe you’ve been there, watching your carefully constructed nacho tray turn into a pile of mush before halftime. This is the fix.
The beauty of this nacho bar is that it solves the biggest problem with game day snacks: keeping everything hot, crispy, and delicious. Instead of one sad tray, you get a spread of warm toppings, fresh fixings, and perfectly crunchy chips that stay that way until the last bite. It’s the kind of setup that makes people linger, refill their plates, and actually talk to each other between plays. And honestly? It’s become my go-to for every big game, birthday party, and casual get-together. The recipe came from a stranger, but it’s stayed because it works.
Why You’ll Love This Recipe
Let me tell you why this nacho bar is different from every other nacho situation you’ve encountered. I’ve tested this setup at least a dozen times—through Super Bowls, playoff games, and even a few regular-season Sundays that somehow felt just as important. Every single time, people end up standing around the table, building second and third plates, and asking for the recipe. Here’s what makes it special:
- Customizable for Everyone: No more picking onions off someone else’s nachos. Each person builds their own plate, so picky eaters and adventurous foodies both leave happy.
- Stays Crispy: Because you’re not baking everything together, the chips stay crunchy until the very last bite. This is the game-changer, honestly.
- Quick to Set Up: Most of the prep can happen while the game is on. You can chop veggies during commercials and have everything ready by halftime.
- Crowd-Pleaser: I’ve served this to kids, grandparents, and everyone in between. It’s one of those rare dishes that gets universal approval.
- Perfect for Game Day: It’s interactive, it’s messy in the best way, and it keeps people grazing for hours. That’s exactly what you want when the game goes into overtime.
What really sets this nacho bar apart is the method. Instead of one big tray that gets soggy, you keep the chips separate and let people pile on warm toppings. The cheese sauce stays hot in a slow cooker, the seasoned beef simmers on the stove, and everyone gets to build their perfect bite. It’s not just another version of nachos—it’s the version you’ll come back to every single game day. The first time I set this up, my brother-in-law, who never compliments food, said, “Okay, this is genius.” That’s when I knew it was a keeper.
This recipe is the kind that makes you feel like you’ve got it all figured out. It’s comfort food at its best—warm, cheesy, a little bit indulgent, and completely satisfying. Whether you’re hosting a crowd or just feeding your family, this nacho bar turns an ordinary game day into something memorable. And the best part? You don’t have to stress about timing. Everything can be made ahead and kept warm, so you can actually watch the game instead of being stuck in the kitchen.
What Ingredients You Will Need
This recipe uses simple, everyday ingredients to create something that feels special. Most of these are pantry staples or easy to find at any grocery store. The key is choosing quality ingredients that will hold up to the toppings without getting soggy or bland.
For the Nacho Chips
- Tortilla chips (2 large bags, preferably restaurant-style or thick-cut) – Look for sturdy chips that won’t break under the weight of toppings. I recommend Tostitos Scoops or a similar brand for maximum dip-ability.
- Shredded Mexican blend cheese (2 cups) – Pre-shredded works fine, but freshly shredded melts better. Go for a mix of cheddar, Monterey Jack, and queso quesadilla.
For the Seasoned Ground Beef
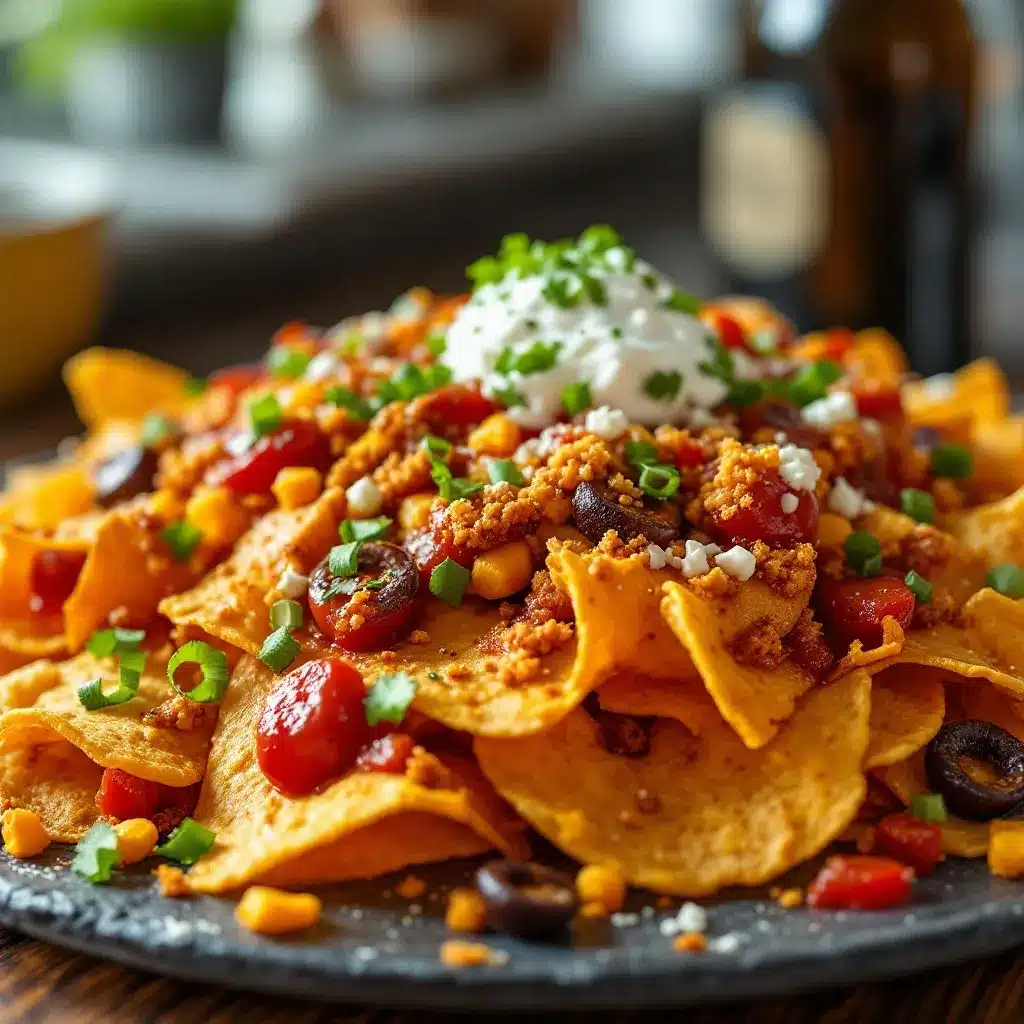
- Ground beef (1 pound, 80/20 blend) – The fat adds flavor and keeps the meat juicy. You can use ground turkey if you prefer, but add a tablespoon of oil.
- Yellow onion (1 medium, diced) – Adds sweetness and depth to the meat.
- Garlic cloves (3, minced) – Fresh garlic makes a big difference here. Don’t skip it.
- Chili powder (2 tablespoons) – The backbone of the seasoning. Use a good-quality brand like McCormick or Penzeys.
- Cumin (1 teaspoon) – Adds that warm, earthy flavor that makes nachos taste authentic.
- Smoked paprika (1 teaspoon) – Optional, but it adds a subtle smokiness that’s amazing.
- Salt and black pepper (to taste)
- Water (¼ cup) – Helps the seasoning distribute evenly and keeps the meat moist.
For the Queso Cheese Sauce
- American cheese (8 ounces, cubed) – This melts smoother than anything else. Velveeta works great too.
- Monterey Jack cheese (4 ounces, shredded) – Adds creaminess and a mild flavor.
- Whole milk (1 cup) – Don’t use skim; you need the fat for a smooth sauce.
- Butter (2 tablespoons) – Helps prevent the cheese from seizing.
- Jalapeño (1, seeded and minced) – For a little heat. Leave the seeds in if you want it spicy.
- Tomato (1 small, diced, optional) – Adds freshness and color.
For the Toppings Bar
- Roma tomatoes (3, diced) – Use firm tomatoes so they don’t get mushy.
- Red onion (1 small, diced) – Adds sharpness and crunch.
- Jalapeños (2, sliced into rounds) – Fresh, not pickled, for the best texture.
- Black olives (1 can, sliced) – Drain them well so they don’t make the chips wet.
- Fresh cilantro (½ cup, chopped) – Adds brightness and color.
- Avocado (2, diced) – Wait to cut these until just before serving to prevent browning.
- Sour cream (1 cup) – Full-fat tastes best, but light works too.
- Salsa (1 cup) – Use your favorite jarred salsa or make a quick pico de gallo.
- Guacamole (1 cup, store-bought or homemade) – I like Wholly Guacamole for convenience.
- Lime wedges (from 2 limes) – A squeeze of lime over the finished nachos is non-negotiable.
Optional Add-Ons
- Refried beans (1 can, warmed) – Adds protein and makes the nachos more filling.
- Pickled jalapeños – For those who want extra tang and heat.
- Hot sauce – Set out a few bottles like Cholula, Tapatío, and Valentina.
- Crumbled queso fresco – A salty, crumbly finish that looks beautiful.
Equipment Needed
You don’t need fancy equipment to pull off this nacho bar, but a few key tools make the process smoother. Here’s what I use every time:
- Large skillet (12-inch) – For browning the ground beef. Cast iron works great, but any non-stick pan will do.
- Saucepan (2-quart) – For the queso cheese sauce. A heavy-bottomed pan prevents scorching.
- Slow cooker (2-quart or larger) – This is the secret weapon. Keep the cheese sauce warm in here for hours without it breaking.
- Baking sheets (2) – For warming the chips in the oven. Line them with parchment for easy cleanup.
- Small bowls and ramekins – For all the toppings. I use a mix of ceramic and glass bowls in different sizes.
- Serving platter or tray – A large wooden board or rimmed baking sheet works perfectly for arranging everything.
- Tongs – For grabbing chips without breaking them.
- Ladle – For the cheese sauce and beef.
- Cutting board and sharp knife – You’ll be doing a lot of chopping, so a good knife makes a difference.
If you don’t have a slow cooker, you can keep the cheese sauce warm in a double boiler or reheat it in the microwave in 30-second intervals. Honestly, the slow cooker is worth the investment for game day hosting—it frees up stove space and keeps everything at the perfect temperature.
Preparation Method
This nacho bar comes together in about 45 minutes, and most of that time is hands-off. Here’s how to do it, step by step.
Step 1: Prep the Toppings (15 minutes)
Start by chopping all your fresh toppings. Dice the tomatoes, red onion, and avocado. Slice the jalapeños into thin rounds. Chop the cilantro. Drain and slice the black olives. Squeeze the lime wedges and set them aside. Place each topping in its own small bowl. Cover the avocado with plastic wrap pressed directly against the surface to prevent browning. Set everything aside at room temperature.
Step 2: Make the Seasoned Beef (15 minutes)
Heat your large skillet over medium-high heat. Add the ground beef and cook, breaking it apart with a wooden spoon, until browned—about 6 to 8 minutes. Drain off excess fat, leaving about a tablespoon in the pan. Add the diced onion and cook for 3 minutes until softened. Stir in the minced garlic and cook for 30 seconds until fragrant. Add the chili powder, cumin, smoked paprika, salt, and pepper. Stir to coat the meat evenly. Pour in the water and let it simmer for 2 minutes until thickened. Transfer the beef to a serving bowl and keep it warm. You can cover it with foil or set it on a warming tray.
Step 3: Make the Queso Cheese Sauce (10 minutes)
In a saucepan over medium-low heat, melt the butter. Add the cubed American cheese and shredded Monterey Jack, stirring constantly. Slowly pour in the milk while stirring. Keep stirring until the cheese is fully melted and the sauce is smooth—about 5 minutes. Stir in the minced jalapeño and diced tomato if using. If the sauce seems too thick, add a splash more milk. Transfer to a slow cooker set to warm. This will stay smooth and dippable for hours.
Step 4: Warm the Chips (5 minutes)
Preheat your oven to 350°F. Spread the tortilla chips in a single layer on baking sheets. Warm them for 3 to 5 minutes—just enough to make them toasty. Don’t overdo it, or they’ll get stale. Transfer the warm chips to a large serving bowl or platter.
Step 5: Assemble the Nacho Bar (5 minutes)
Arrange everything on your serving table. Place the warm chips at one end, followed by the seasoned beef and the queso in the slow cooker. Arrange all the small bowls of toppings around them. Put out spoons and tongs for each item. Set the sour cream, salsa, and guacamole in separate bowls. Don’t forget the lime wedges and hot sauce. Let everyone build their own plate, starting with chips, then adding beef, cheese sauce, and as many toppings as they want.
Sensory Cues to Watch For
- The beef is ready when it’s deeply browned and the spices smell fragrant and toasty.
- The cheese sauce should be smooth and pourable, not thick and gloppy. If it looks grainy, you overheated it—lower the heat next time.
- The chips should feel warm to the touch but not hot enough to burn your fingers.
Cooking Tips & Techniques
After making this nacho bar more times than I can count, I’ve learned a few things the hard way. Here are my best tips to make sure yours turns out perfect every time.
Don’t skip warming the chips. Cold chips straight from the bag get soggy faster. A quick trip to the oven warms them up and makes them more resistant to moisture. I learned this after my first attempt ended in a pile of sad, limp chips by the second quarter.
Keep the cheese sauce warm, not hot. If you overheat the queso, it will separate and turn grainy. The low setting on a slow cooker is perfect. If you’re using a double boiler, keep the water at a gentle simmer, not a rolling boil.
Season the beef generously. Nachos have a lot of components, and the beef needs to stand out. Taste it before you take it off the heat and adjust the salt and spices. It should be slightly stronger than you think, because the chips and toppings will dilute it.
Let people build their own plates. I know it’s tempting to pre-assemble everything, but trust me on this one. When everyone builds their own, the chips stay crunchy, the toppings stay fresh, and nobody has to pick off ingredients they don’t like. Plus, it’s more fun.
Prep everything before the game starts. The worst feeling is missing a big play because you’re chopping onions. Do all your prep work during the pre-game show or the first commercial break. Then all you have to do is warm things up and set them out.
One mistake I made early on: I tried using pre-shredded cheese for the queso, and it turned out clumpy and weird. Pre-shredded cheese has anti-caking agents that prevent smooth melting. Always buy blocks and shred them yourself for sauces.
Variations & Adaptations
This nacho bar is endlessly customizable. Here are some of my favorite variations, all of which I’ve tested and loved.
Vegetarian Nacho Bar
Skip the ground beef and use seasoned black beans or lentils instead. Drain and rinse a can of black beans, then warm them in a skillet with the same spices you’d use for the beef. Add a splash of water to keep them from drying out. You can also add sautéed bell peppers and onions for extra texture. Honestly, I make this version for myself sometimes even when nobody’s watching—it’s that good.
Spicy Nacho Bar
If you like heat, amp up the spice level. Add a diced habanero to the beef while it cooks. Use pepper jack cheese in the queso instead of Monterey Jack. Offer pickled jalapeños and a few different hot sauces on the side. I once added ghost pepper salsa to the bar, and my cousin nearly cried—but he kept eating, so I consider that a win.
Breakfast Nacho Bar
This is a fun twist for brunch or a late-morning game. Swap the beef for scrambled eggs and crispy bacon or chorizo. Use the same queso sauce or swap it for a creamy white cheddar sauce. Top with pico de gallo, avocado, and a drizzle of crema. I served this for a morning game once, and it was gone in ten minutes.
Low-Carb Nacho Bar
For a keto-friendly version, swap the tortilla chips for pork rinds or baked cheese crisps. Use ground beef or shredded chicken as the base. Keep the queso and all the fresh toppings. It’s not exactly the same, but it scratches the itch when you’re watching your carbs.
Serving & Storage Suggestions
This nacho bar is designed to be served immediately, but with a little planning, you can make it work for longer gatherings.
Serving temperature: Serve the chips at room temperature or slightly warm. The beef and queso should be hot. All the cold toppings should be chilled. The contrast in temperatures makes every bite interesting.
Presentation: Arrange everything on a large wooden board or a rimmed baking sheet. Group the hot items together on one side and the cold toppings on the other. Put the chips in a big bowl at the center. It looks beautiful and makes it easy for people to move through the line.
What to serve alongside: This nacho bar is a meal in itself, but you can add a few sides if you’re feeding a crowd. A big bowl of guacamole and chips, a simple green salad with lime vinaigrette, or a tray of grilled chicken wings all work great. For drinks, margaritas, cold beer, or a big pitcher of agua fresca are perfect.
Storage: Store leftover components separately. The beef keeps in the fridge for up to 4 days. The queso can be refrigerated for up to a week—reheat it gently in a saucepan with a splash of milk. Fresh toppings like avocado and tomato are best eaten the same day. Chips will get stale, so only warm what you think you’ll use.
Reheating: Reheat the beef in a skillet over medium heat with a splash of water. Reheat the queso in a saucepan over low heat, stirring constantly. If it separates, whisk in a tablespoon of warm milk until smooth. Do not microwave the queso—it will break.
How flavors develop: The beef actually tastes better the next day after the spices have had time to meld. The queso is best fresh, but it’s still good reheated. The fresh toppings are best on day one. If you’re planning ahead, make the beef and queso a day in advance, then prep the fresh toppings on game day.
Nutritional Information & Benefits
This is indulgent food, and I’m not going to pretend otherwise. But there are a few bright spots worth mentioning.
- Estimated per serving (about 1 cup of chips with ¼ cup beef, ¼ cup queso, and assorted toppings): 450-550 calories, 28g fat, 35g carbs, 22g protein. These numbers vary a lot depending on how much you pile on your plate.
- Protein punch: The beef and cheese provide a solid amount of protein, which helps keep you full during a long game.
- Fresh veggies: Tomatoes, onions, jalapeños, and cilantro add vitamins A and C, plus fiber. The avocado provides healthy monounsaturated fats.
- Calcium: The cheese sauce is a good source of calcium, which is always a win.
- Dietary considerations: This recipe is gluten-free as written (check your chip labels). For a dairy-free version, use a plant-based cheese sauce and omit the sour cream. For a lower-fat version, use ground turkey and reduced-fat cheese.
- Potential allergens: Dairy is the main concern. The chips may contain corn, which is safe for most, but check labels if you have sensitivities.
I’m not a nutritionist, and I don’t think game day food needs to be health food. But I do feel better knowing there are real vegetables and protein in there, even if I’m eating it with a pile of chips and cheese.
Conclusion
This ultimate loaded nacho bar for game day is the kind of recipe that becomes a tradition. It’s easy, it’s fun, and it solves the biggest problem with game day snacks: keeping everything fresh and crispy. The first time I set it up, my friends stood around the table for the entire first half, just building plate after plate. Nobody even cared who was winning.
What I love most about this recipe is how adaptable it is. You can make it as simple or as elaborate as you want. Some days I just do beef, queso, and a few toppings. Other days I go all out with every single option. Either way, it works. It’s forgiving, it’s delicious, and it makes people happy.
I’d love to hear how your nacho bar turns out. Did you add something unexpected? Did your family fight over the last of the queso? Drop a comment below and let me know. And if you try a variation I haven’t thought of, share that too. Game day is better when we’re all eating together.
Now go make some nachos. Your game day spread is about to get a whole lot better.
Frequently Asked Questions
Can I make this nacho bar ahead of time?
Yes, most components can be made in advance. Cook the beef and queso up to 2 days ahead and store them in the fridge. Chop the fresh toppings a few hours before serving. Warm the chips just before guests arrive. This makes game day setup a breeze.
What’s the best way to keep the cheese sauce warm?
A slow cooker set to warm or low is the best option. It keeps the queso at the perfect temperature without scorching it. If you don’t have a slow cooker, use a double boiler or reheat in the microwave in short bursts, stirring between each.
Can I use ground turkey instead of beef?
Absolutely. Use 93/7 ground turkey and add a tablespoon of olive oil to the pan before cooking. The spices will mask any difference in flavor. Just be careful not to overcook it, as turkey dries out faster than beef.
How do I prevent the chips from getting soggy?
Keep the chips separate from the wet toppings until everyone builds their own plate. Warm the chips in the oven before serving to make them more resistant to moisture. And don’t let anyone pre-assemble a big tray—that’s the fastest way to sogginess.
What if I don’t have a slow cooker?
No problem. Keep the queso in a saucepan on the stove over the lowest heat setting, stirring occasionally. You can also use a fondue pot or a small electric warmer. Just watch the heat to prevent the cheese from separating.
Pin This Recipe!
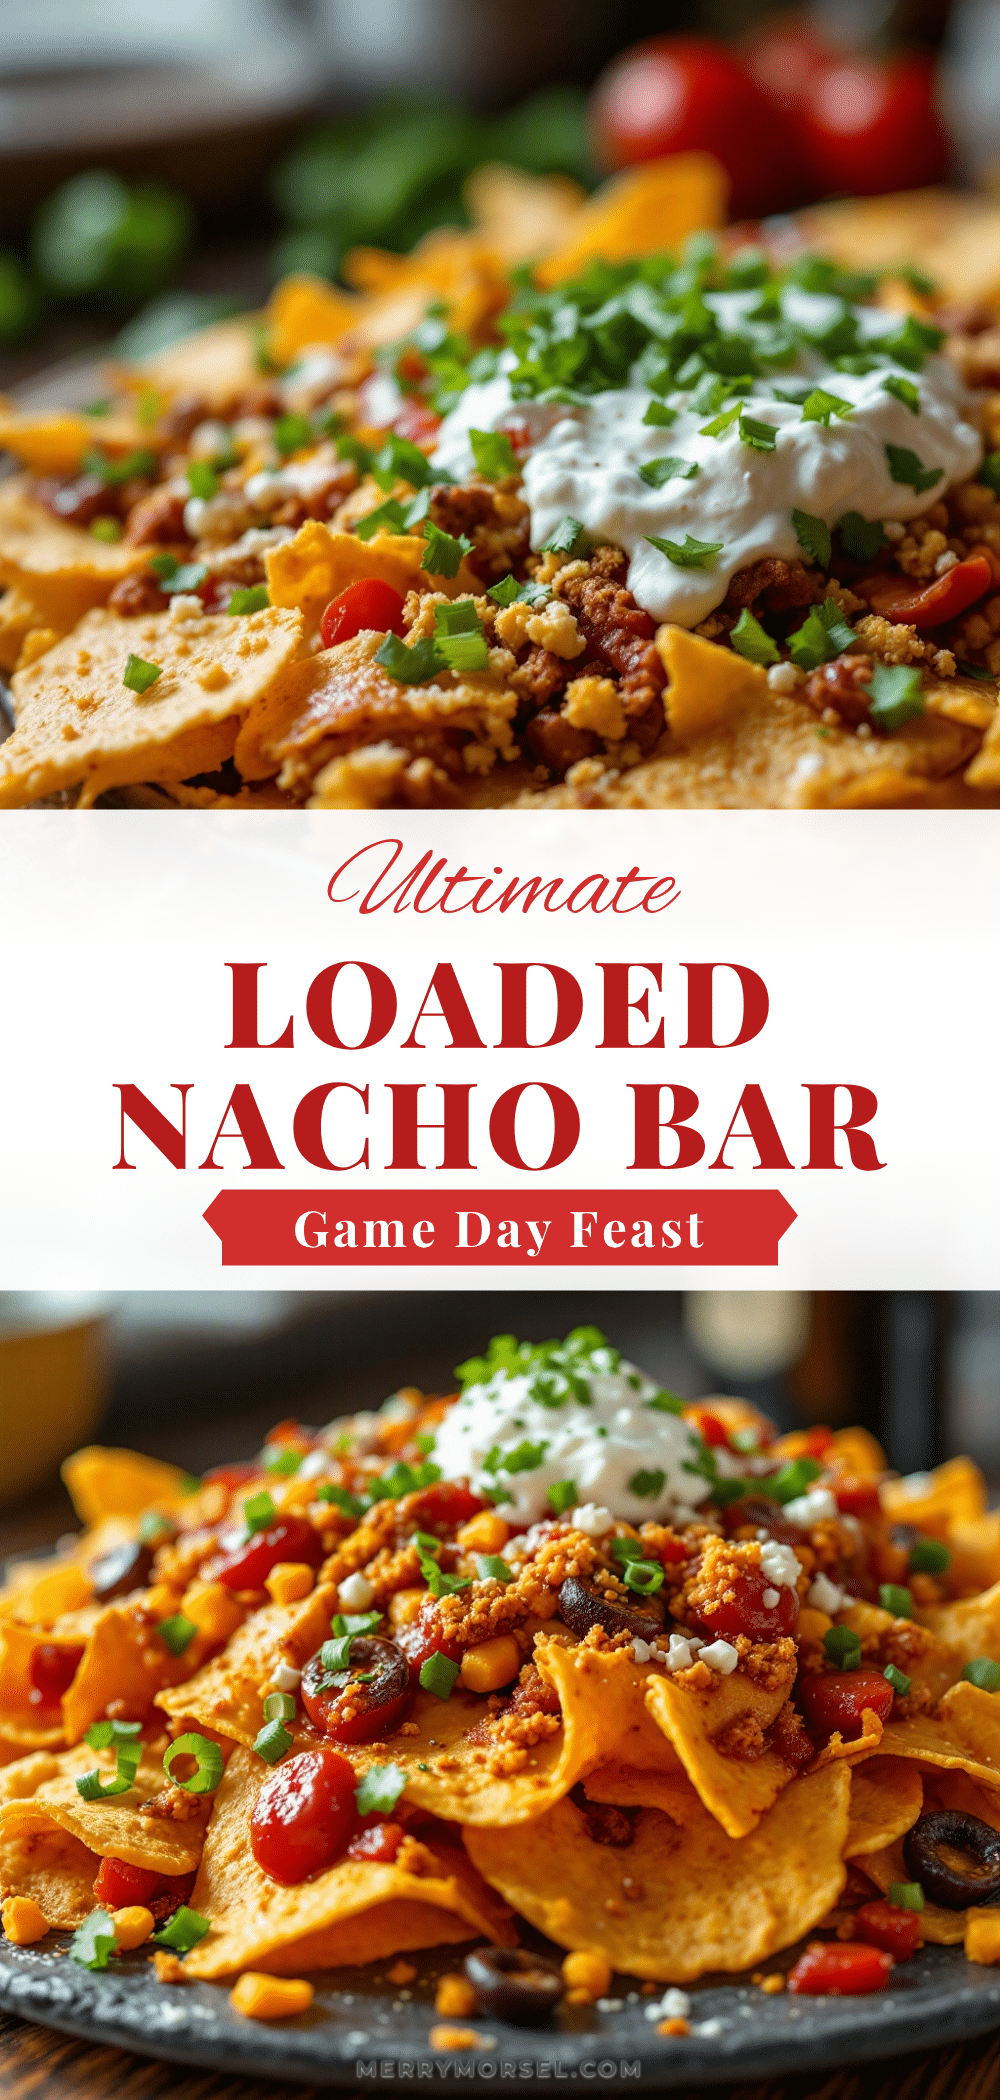
Ultimate Loaded Nacho Bar – Easy Game Day Snack
An interactive nacho bar where everyone builds their own plate with warm seasoned beef, smooth queso cheese sauce, and a variety of fresh toppings. Perfect for game day, parties, or any casual gathering.
- Prep Time: 15 minutes
- Cook Time: 30 minutes
- Total Time: 45 minutes
- Yield: 8 servings 1x
- Category: Appetizer
- Cuisine: Mexican-American
Ingredients
- 2 large bags tortilla chips (restaurant-style or thick-cut)
- 2 cups shredded Mexican blend cheese
- 1 pound ground beef (80/20 blend)
- 1 medium yellow onion, diced
- 3 garlic cloves, minced
- 2 tablespoons chili powder
- 1 teaspoon cumin
- 1 teaspoon smoked paprika (optional)
- Salt and black pepper to taste
- ¼ cup water
- 8 ounces American cheese, cubed
- 4 ounces Monterey Jack cheese, shredded
- 1 cup whole milk
- 2 tablespoons butter
- 1 jalapeño, seeded and minced
- 1 small tomato, diced (optional)
- 3 Roma tomatoes, diced
- 1 small red onion, diced
- 2 jalapeños, sliced into rounds
- 1 can black olives, sliced and drained
- ½ cup fresh cilantro, chopped
- 2 avocados, diced
- 1 cup sour cream
- 1 cup salsa
- 1 cup guacamole (store-bought or homemade)
- 2 limes, cut into wedges
- 1 can refried beans, warmed (optional)
- Pickled jalapeños (optional)
- Hot sauce (optional)
- Crumbled queso fresco (optional)
Instructions
- Prep the toppings: Dice tomatoes, red onion, and avocado. Slice jalapeños into thin rounds. Chop cilantro. Drain and slice black olives. Squeeze lime wedges. Place each topping in its own small bowl. Cover avocado with plastic wrap to prevent browning.
- Make the seasoned beef: Heat a large skillet over medium-high heat. Add ground beef and cook, breaking it apart, until browned (6-8 minutes). Drain excess fat, leaving about 1 tablespoon. Add diced onion and cook 3 minutes until softened. Stir in minced garlic and cook 30 seconds. Add chili powder, cumin, smoked paprika, salt, and pepper. Stir to coat. Pour in water and simmer 2 minutes until thickened. Transfer to a serving bowl and keep warm.
- Make the queso cheese sauce: In a saucepan over medium-low heat, melt butter. Add cubed American cheese and shredded Monterey Jack, stirring constantly. Slowly pour in milk while stirring. Continue stirring until cheese is fully melted and sauce is smooth (about 5 minutes). Stir in minced jalapeño and diced tomato if using. Transfer to a slow cooker set to warm.
- Warm the chips: Preheat oven to 350°F. Spread tortilla chips in a single layer on baking sheets. Warm for 3-5 minutes until toasty. Transfer to a large serving bowl or platter.
- Assemble the nacho bar: Arrange warm chips, seasoned beef, and queso in slow cooker on serving table. Place all small bowls of toppings around them. Put out spoons and tongs. Set sour cream, salsa, and guacamole in separate bowls. Add lime wedges and hot sauce. Let everyone build their own plate.
Notes
Keep chips separate from wet toppings until serving to prevent sogginess. Warm chips in the oven before serving to make them more resistant to moisture. The beef can be made up to 2 days ahead and reheated. The queso is best fresh but can be refrigerated for up to a week and reheated gently with a splash of milk.
Nutrition
- Serving Size: 1 cup chips with ¼ c
- Calories: 500
- Sugar: 4
- Sodium: 800
- Fat: 28
- Saturated Fat: 12
- Carbohydrates: 35
- Fiber: 5
- Protein: 22
Keywords: nachos, game day snack, loaded nachos, nacho bar, party food, easy appetizer


