Love this? Save it for later!
Share the inspiration with your friends
“I wasn’t planning on dessert that night,” I confessed to myself as I stood staring into my nearly empty fridge at 11:47 PM. The hum of the refrigerator was the only soundtrack, broken suddenly by a loud thud as I accidentally knocked over a jar of jam. Great, just what I needed.
But then, there it was—the stash of Oreo cookies tucked behind some forgotten condiments. I grabbed them, and with a half-empty tub of cream cheese, a splash of vanilla, and a dollop of whipped cream, I started to experiment. Honestly, I thought it was going to be a total flop. No baking, no fancy tools, just a quick mix and chill. Maybe a five-minute dessert at best.
You know that feeling when you take a bite of something unexpectedly perfect? That first spoonful of this creamy no-bake Oreo cheesecake cup was exactly that. Smooth, rich, and the satisfying crunch of Oreos made me forget about the mess I’d made earlier. I ended up making a double batch because, well, midnight cravings don’t wait.
Maybe you’ve been there too—scrambling for a sweet fix without the time or energy for a full baking session. Let me tell you, this recipe stayed with me not just for convenience but because it genuinely tastes like a treat you’d order at a café, minus the wait and the line. Plus, it’s fun to make when you’re half-asleep and half-expecting disaster. Spoiler: It’s never a disaster.
Why You’ll Love This Creamy No-Bake Oreo Cheesecake Cups Recipe
From my kitchen experiments born out of late-night cravings, this creamy no-bake Oreo cheesecake cups recipe quickly became a go-to for simple indulgence. Tested on many taste buds, it’s family-approved, friend-approved, and frankly, even my picky neighbor gave it a thumbs-up (and he’s tough to please!). Here’s why this recipe stands out:
- Quick & Easy: Ready in under 5 minutes plus chilling time — perfect for last-minute dessert emergencies or casual get-togethers.
- Simple Ingredients: No fancy shopping needed; with pantry staples like Oreos, cream cheese, and whipped cream, you’re good to go.
- Perfect for Any Occasion: Whether it’s a casual weeknight treat, a birthday party, or a cozy night in, these cups fit right in.
- Crowd-Pleaser: Kids and adults alike can’t get enough of the creamy texture and cookie crunch combo.
- Unbelievably Delicious: The balanced sweetness and smoothness make it a comforting dessert that’s easy on the fuss but big on flavor.
This recipe isn’t just another Oreo cheesecake—it’s the kind of dessert that feels like a little celebration in every bite. The no-bake method keeps the texture ultra-soft, while crushing the cookies just right gives it that delightful contrast. Trust me, once you make these cheesecake cups, you’ll find yourself coming back to the recipe again and again.
What Ingredients You Will Need for Creamy No-Bake Oreo Cheesecake Cups
This recipe uses simple, wholesome ingredients that come together to deliver bold flavor and satisfying texture without any fuss. Most are pantry staples or items you can easily swap, making these cheesecake cups super accessible.
- Oreo Cookies (about 18-20 cookies) – crushed lightly for the crust and some reserved for topping. I like using the classic Oreo brand for that perfect balance of sweetness and crunch.
- Cream Cheese (8 oz / 225 g, softened) – the rich base that makes the cheesecake creamy. Use full-fat for best results, but light cream cheese works too.
- Powdered Sugar (1/2 cup / 60 g) – adds sweetness without graininess. Make sure it’s sifted for smooth blending.
- Vanilla Extract (1 tsp) – lends warmth and depth to the flavor.
- Heavy Whipping Cream (1 cup / 240 ml, cold) – whipped to soft peaks for that light, fluffy texture. You can substitute with coconut cream for a dairy-free twist.
- Butter (2 tbsp / 30 g, melted) – helps bind the crushed Oreos for the base layer (optional but recommended for stability).
Feel free to swap ingredients depending on your pantry or dietary needs. For a gluten-free version, use gluten-free sandwich cookies. And if you prefer a tangier cheesecake, a tablespoon of lemon juice stirred into the cream cheese adds a lovely zing.
Equipment Needed
- Mixing Bowls: At least two—one for the crust and one for the cheesecake filling.
- Electric Mixer or Hand Whisk: For whipping the cream and blending the cream cheese smoothly. I’ve tried both, but a handheld mixer saves time and effort.
- Food Processor or Rolling Pin: To crush the Oreos finely. A zip-top bag and rolling pin work well if you don’t have a processor.
- Measuring Cups and Spoons: Precision helps, especially with powdered sugar and vanilla extract.
- Serving Cups or Small Mason Jars: For assembling the cheesecake cups. Clear containers are best to show off the layers (and tempt your guests).
If you don’t own a stand mixer, no worries—just make sure your cream cheese is really soft and beat it well with a sturdy whisk. Using chilled heavy cream is key to whipping it up nicely, so keep that in mind!
Preparation Method for Creamy No-Bake Oreo Cheesecake Cups
- Crush the Oreos: Place about 16 Oreos in a food processor and pulse until you get fine crumbs. If you don’t have a processor, put the cookies in a zip-top bag and crush them with a rolling pin. Reserve 4 Oreos for topping. (Time: 5 minutes)
- Make the Base: In a medium bowl, combine the crushed Oreos with melted butter. Stir until the crumbs are evenly coated and clump together when pressed. Spoon about 2 tablespoons of this mixture into each serving cup, pressing gently to form a firm base. (Time: 5 minutes)
- Prepare the Cheesecake Filling: In a large bowl, beat the softened cream cheese with powdered sugar and vanilla extract until smooth and creamy. This might take about 2-3 minutes with an electric mixer. (Time: 5 minutes)
- Whip the Cream: In a separate chilled bowl, whip the cold heavy cream until soft peaks form. Be careful not to overwhip—it should be light and fluffy. (Time: 3-4 minutes)
- Combine Filling and Whipped Cream: Gently fold the whipped cream into the cream cheese mixture with a spatula, using a light hand to keep the filling airy and smooth. (Time: 2 minutes)
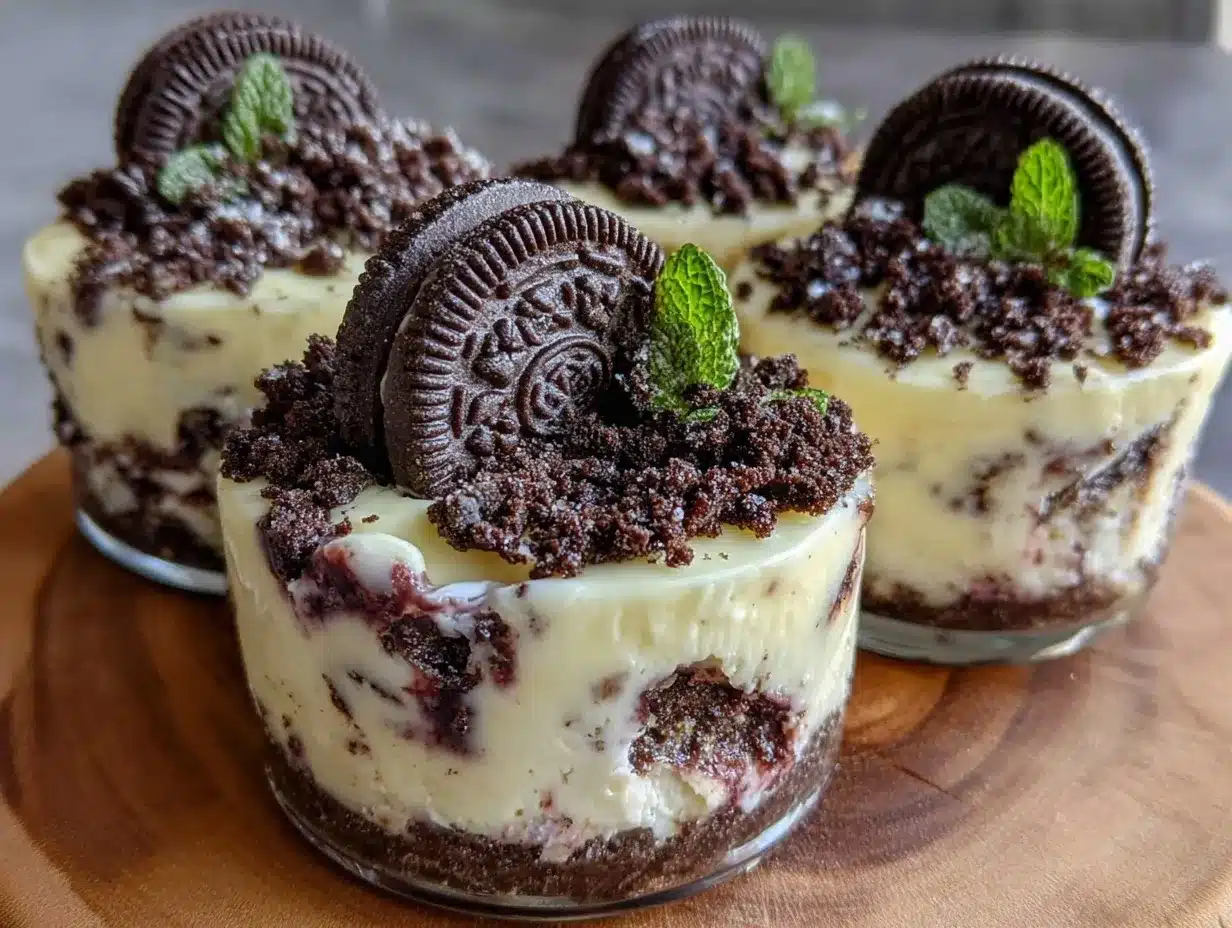
- Assemble the Cups: Spoon the cheesecake filling over the Oreo base in each cup. Smooth the tops with the back of a spoon. Crush the reserved Oreos roughly and sprinkle on top as garnish. (Time: 5 minutes)
- Chill: Refrigerate the cheesecake cups for at least 2 hours to set. If you’re in a hurry, 1 hour in the freezer works too, but watch closely to avoid freezing. (Time: 2+ hours)
Pro tip: If the cream cheese isn’t soft enough, you might get lumps in your filling. I’ve been there—just warm it slightly in the microwave (in 10-second bursts) and try again. Also, don’t rush folding in the whipped cream; it’s what makes this dessert so delightfully light.
Cooking Tips & Techniques for Perfect Oreo Cheesecake Cups
Getting the texture just right in these no-bake cheesecake cups is key. Here are some tips I’ve learned from a few early kitchen mishaps:
- Softened Cream Cheese is a Must: Take it out of the fridge 30 minutes before starting. Cold cream cheese leads to clumps and uneven mixing.
- Whip Heavy Cream Properly: Use a chilled bowl and beaters to help it whip faster and stay stable. Stop whipping once soft peaks form; overwhipping turns it grainy and buttery.
- Crush Oreos for Texture: Leave some larger chunks in the topping for a nice crunch contrast. I like that surprise in every bite.
- Press the Crust Firmly: When making the base, press the cookie crumbs down firmly into the cups to avoid a crumbly mess later.
- Chill Enough: Don’t skip the chilling step; the filling firms up and the flavors meld beautifully. I’ve tried serving them too soon—trust me, patience pays off.
- Multitasking Hack: Whip the cream while you press the crust. Saves a few minutes and keeps everything moving smoothly.
These little pointers will help you nail the creamy texture and perfect presentation every time. Honestly, the best part is how forgiving this recipe is—perfect for both beginners and dessert pros alike.
Variations & Adaptations for Oreo Cheesecake Cups
Want to mix things up? Here are some variations I’ve tried or thought about that add fun twists or cater to different tastes:
- Peanut Butter Oreo Cheesecake: Add 2 tablespoons of creamy peanut butter to the cream cheese mixture for a nutty flavor that pairs beautifully with Oreos.
- Berry Swirl: Stir in 1/4 cup of your favorite berry jam (like raspberry or strawberry) into the filling before folding in the whipped cream. It adds a fruity brightness that cuts through the richness.
- Vegan Version: Use dairy-free cream cheese and coconut whipped cream, along with gluten-free Oreo-style cookies. The texture is slightly different but still dreamy.
- Chocolate Lover’s Twist: Mix in 2 tablespoons of cocoa powder into the cream cheese for a double chocolate experience.
- Mini Trifle Style: Layer alternating crushed Oreos and cheesecake filling in a tall glass for a visual and textural treat.
Personally, I once added a splash of espresso to the filling—it was unexpected but gave the cheesecake a subtle mocha vibe that wowed my coffee-loving friends. Don’t hesitate to get creative and make it your own!
Serving & Storage Suggestions
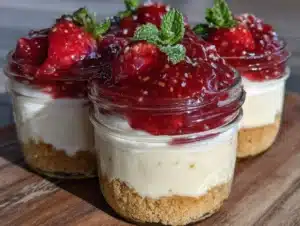
These creamy no-bake Oreo cheesecake cups are best served chilled, straight from the fridge. You can garnish with extra cookie crumbs, a drizzle of chocolate sauce, or even a few fresh berries for a pop of color.
They pair wonderfully with a hot cup of coffee or a glass of cold milk—classic combo that never disappoints. For parties, arrange them on a platter with a variety of toppings so guests can customize their cups.
To store, cover the cups tightly with plastic wrap or lids and refrigerate for up to 3 days. If you want to prepare ahead, they freeze well for up to a month—just thaw in the fridge overnight before serving.
Reheating isn’t recommended since the texture changes, but letting them sit at room temperature for 10 minutes before eating softens the filling nicely. Flavors develop subtly after a day, making the dessert taste even richer.
Nutritional Information & Benefits
Each serving (about one cheesecake cup) has roughly 300-350 calories, depending on your ingredient brands and portion size. The dessert provides a good source of calcium and protein from the cream cheese and cream.
While it’s a treat, using real cream cheese and fresh ingredients means you aren’t loading up on artificial additives. For those watching carbs, you can lower sugar by swapping powdered sugar for a natural sweetener like erythritol.
This recipe is naturally gluten-containing due to Oreos, but gluten-free cookies work just as well. It’s a great option when you want a homemade dessert without complicated baking or long prep.
From a wellness perspective, I love that this dessert feels indulgent but comes together quickly, so you can enjoy a sweet moment without stress or guilt.
Conclusion
If you’re craving something creamy, sweet, and utterly satisfying without turning on the oven, these creamy no-bake Oreo cheesecake cups are the answer. The simplicity and flavor combo make it a recipe I keep coming back to, whether for unexpected guests or a quiet night treat.
Feel free to tweak the recipe based on your pantry or taste buds—maybe add a hint of citrus zest or a sprinkle of sea salt. I’d love to hear your favorite twists and how these cheesecake cups fit into your dessert rotation.
Give it a try, and don’t forget to share your experience or questions below. Happy no-bake cheesecake adventures to you!
Frequently Asked Questions About Creamy No-Bake Oreo Cheesecake Cups
Can I use other cookies instead of Oreos for this recipe?
Absolutely! Chocolate wafer cookies, graham crackers, or gluten-free sandwich cookies all work well. Just crush them finely for the crust and keep some for topping.
How long do these cheesecake cups need to chill before serving?
At least 2 hours in the fridge is best for the filling to firm up. If you’re short on time, 1 hour in the freezer can work but watch closely to prevent freezing.
Can I make these cheesecake cups ahead of time?
Yes, they store well in the refrigerator for up to 3 days and can be frozen for up to a month. Thaw overnight in the fridge before serving.
What if I don’t have heavy whipping cream?
You can try whipping chilled coconut cream as a dairy-free option or use store-bought whipped topping, though the texture might be slightly different.
Is there a way to make this recipe lower in sugar?
Yes, substitute powdered sugar with a natural sweetener like erythritol or monk fruit powder. Just adjust to taste, as sweeteners vary in potency.
For those who enjoy similar quick and easy desserts, you might appreciate the creamy delight of no-bake peanut butter bars or the rich textures found in classic chocolate lava cake.
Pin This Recipe!
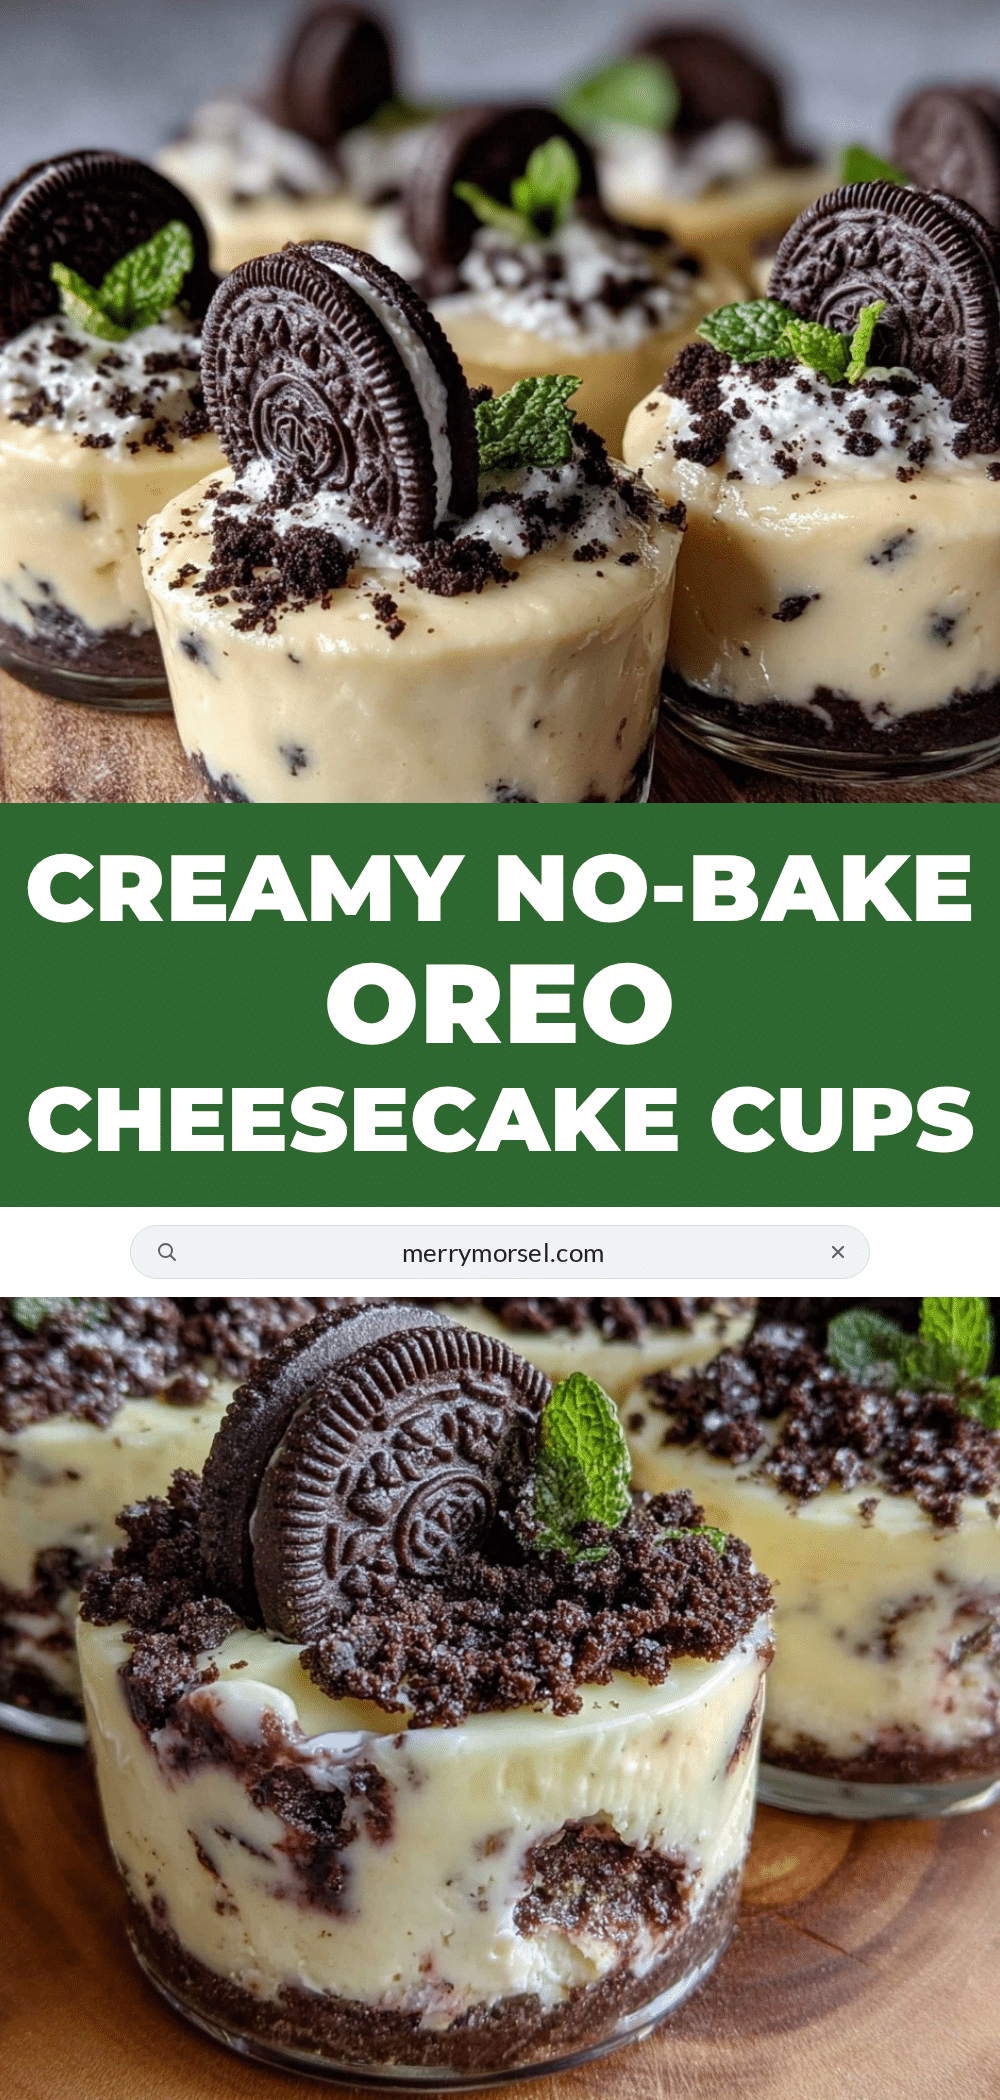
Creamy No-Bake Oreo Cheesecake Cups

A quick and easy no-bake dessert featuring creamy cheesecake filling and crunchy Oreo cookie crust, ready in under 5 minutes plus chilling time.
- Prep Time: 10 minutes
- Cook Time: 0 minutes
- Total Time: 2 hours 10 minutes
- Yield: 6 servings 1x
- Category: Dessert
- Cuisine: American
Ingredients
- 18–20 Oreo Cookies, crushed lightly for crust and some reserved for topping
- 8 oz (225 g) cream cheese, softened
- 1/2 cup (60 g) powdered sugar, sifted
- 1 tsp vanilla extract
- 1 cup (240 ml) heavy whipping cream, cold
- 2 tbsp (30 g) butter, melted (optional)
Instructions
- Crush about 16 Oreos in a food processor until fine crumbs; reserve 4 Oreos for topping.
- Combine crushed Oreos with melted butter in a bowl; press about 2 tablespoons into each serving cup to form a firm base.
- Beat softened cream cheese with powdered sugar and vanilla extract until smooth and creamy.
- Whip cold heavy cream in a chilled bowl until soft peaks form.
- Gently fold whipped cream into cream cheese mixture to keep filling airy and smooth.
- Spoon cheesecake filling over Oreo base in each cup; smooth tops and sprinkle crushed reserved Oreos on top.
- Refrigerate for at least 2 hours to set; alternatively, chill 1 hour in freezer but avoid freezing.
Notes
Use softened cream cheese to avoid lumps. Whip heavy cream to soft peaks and fold gently to keep filling light. Chill at least 2 hours for best texture. Can substitute coconut cream for dairy-free version and gluten-free cookies for gluten-free option.
Nutrition
- Serving Size: 1 cheesecake cup
- Calories: 325
- Sugar: 20
- Sodium: 210
- Fat: 22
- Saturated Fat: 13
- Carbohydrates: 28
- Fiber: 1
- Protein: 5
Keywords: no-bake, Oreo, cheesecake, dessert, quick dessert, easy dessert, creamy, Oreo cheesecake cups