Love this? Save it for later!
Share the inspiration with your friends
That sticky-sweet, salty-garlicky smell — the one that clings to your fingers long after the plate is empty — still takes me straight to my cousin Marcus’s basement apartment. It was the first Sunday of the NFL season, a few years back, and he’d promised wings. Not just any wings, he’d said on the phone, but *the* wings. The ones that would change how we watched football.
I walked in expecting the usual delivery boxes. Instead, I found him hunched over a baking sheet, basting these glossy, golden-brown chicken wings with a honey garlic sauce that smelled like it was sent from the gridiron gods themselves. The apartment was tiny, barely room for a couch and a TV, but the energy was huge. He pulled them out of the oven, and I swear, the skin crackled. It wasn’t fried, but it was just as shatteringly crisp. That first bite — the crunch, the sweet heat, the savory punch of garlic — was a genuine revelation.
I bugged him for the recipe for weeks. He finally texted it to me, a messy list of ingredients with measurements like “a big glug” and “enough honey to feel guilty.” It took me a few tries to nail it, to get that perfect balance of sticky glaze and oven-baked crunch. But once I did, these crispy honey garlic baked chicken wings became my go-to for every single game day gathering. They are the reason I look forward to kickoff.
Why You’ll Love This Recipe
Let’s be honest, most baked wings are a letdown. They end up soggy, or the skin is rubbery, and you’re left wishing you’d just ordered takeout. These are not those wings. I’ve tested this recipe more times than I care to admit (poor, willing taste-testers), and I’ve cracked the code to getting that coveted crispy skin without a deep fryer.
- Foolproof Crispy Skin: No double-frying, no complicated tricks. Just a simple technique using baking powder that guarantees a golden, crunchy exterior every single time.
- That Perfect Sticky Glaze: The honey garlic sauce is the star here. It’s sweet, savory, a little tangy, and packed with garlicky goodness. It coats every nook and cranny of the wing without making the skin go soft.
- Oven-Baked, Not Greasy: You get all the satisfaction of fried wings without the mess, the splatter, or the heavy feeling afterward. They’re lighter, but nobody will ever know the difference.
- Game Day Hero: These wings are the undisputed champion of the snack table. They disappear faster than the kickoff return, and people will be asking you for the recipe before halftime.
- Simple Pantry Ingredients: You probably have most of these in your kitchen right now. No weird, hard-to-find items. Just honest, delicious food.
This isn’t just another wing recipe. It’s the one that makes you close your eyes after the first bite. It’s the one that turns a simple game day into a memorable feast. It’s comfort food at its finest—crispy, sticky, and absolutely soul-satisfying.
What Ingredients You Will Need
This recipe uses simple, wholesome ingredients to deliver that bold, addictive flavor. Most of these are pantry staples, which makes these wings perfect for a last-minute craving or a planned party spread.
- Chicken Wings: 3 pounds (about 1.4 kg), separated into drums and flats. I find a mix of both is best for a crowd. If you buy whole wings, you’ll need to cut them yourself or ask your butcher to do it.
- Baking Powder: 2 teaspoons. This is the secret to crispy skin! It’s not the same as baking soda. It helps dry out the skin and create those tiny bubbles that get golden and crunchy. I prefer the aluminum-free kind.
- Salt: 1 teaspoon. I use fine sea salt for the dry rub. It seasons the wings from the inside out.
- Black Pepper: ½ teaspoon, freshly ground for the best flavor.
- Garlic Powder: 1 teaspoon. This goes into the dry rub, giving the wings a subtle savory base.
- Unsalted Butter: 2 tablespoons (30g). We’ll use this to build the sauce. It adds richness and helps the glaze cling to the wings. I always use unsalted so I can control the salt level.
- Honey: ⅓ cup (110g). The star of the show. Use a good quality, runny honey. The flavor will really shine through.
- Soy Sauce: 2 tablespoons (30ml). This adds that essential salty, umami depth that balances the sweetness of the honey. I like using low-sodium soy sauce to keep things from getting too salty.
- Minced Garlic: 4 cloves, fresh. Don’t you dare use the jarred stuff. Fresh garlic is non-negotiable here. It makes the sauce vibrant and punchy.
- Rice Vinegar: 1 tablespoon (15ml). A little splash of acidity to cut through the richness and brighten the whole dish. You can substitute apple cider vinegar.
- Optional Garnishes: Sliced green onions, toasted sesame seeds, and a pinch of red pepper flakes for heat.
I personally recommend using a brand like Mike’s Hot Honey if you want an extra little kick, or a local wildflower honey for a more complex flavor. For the soy sauce, Kikkoman is my go-to for its consistent, balanced taste. If you’re looking for a gluten-free option, just swap the soy sauce for tamari or coconut aminos.
Equipment Needed
You don’t need a ton of fancy gadgets for this one, which I love. Just a few basics that you probably already have.
- Baking Sheet: A large, rimmed baking sheet is essential. The rim catches any drips and keeps your oven clean.
- Wire Rack: This is the real MVP. Placing a wire rack inside the baking sheet allows hot air to circulate all around the wings, making them crispy on the bottom, too. It’s a game-changer.
- Large Bowl: For tossing the wings with the dry ingredients.
- Small Saucepan: For making the honey garlic glaze.
- Whisk: To combine the sauce ingredients smoothly.
- Tongs: For flipping the wings and tossing them in the sauce without making a huge mess.
- Paper Towels: Absolutely necessary for patting the wings bone-dry before seasoning. This is the most important step for crispiness.
If you don’t have a wire rack, you can try flipping the wings halfway through cooking, but the bottom won’t be as crispy. I’ve done it before in a pinch, and they were still good, just not *perfect*. A wire rack is a $10 investment that will change your wing game forever.
Preparation Method
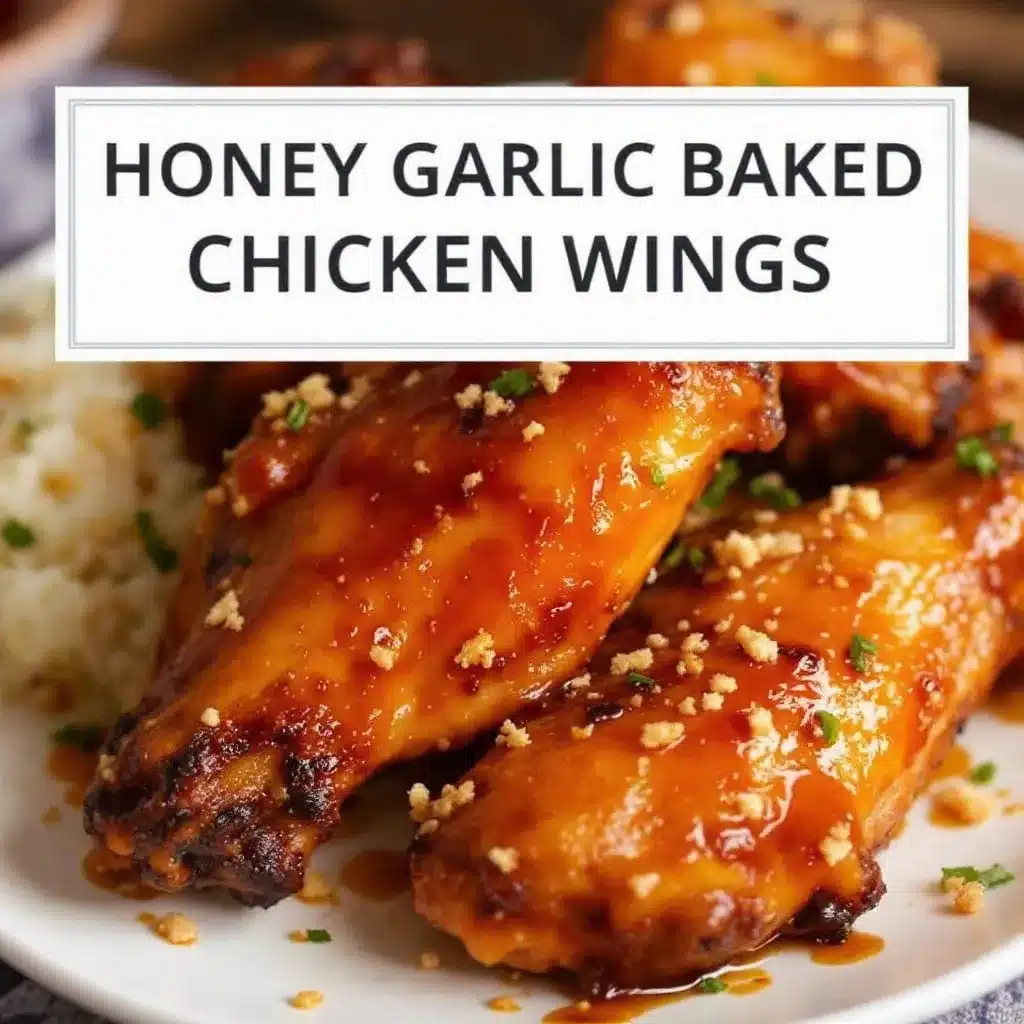
Alright, let’s get these wings crispy. Follow these steps, and you’ll be the hero of your own game day party.
- Preheat and Prep: Preheat your oven to 400°F (200°C). Line your baking sheet with foil for easy cleanup, then place the wire rack on top. Lightly spray the rack with non-stick spray so the wings don’t stick.
- Dry the Wings (Crucial!): Pat the chicken wings completely dry with paper towels. I mean *really* dry. Get into all the crevices. Moisture is the enemy of crispy skin. This step takes a minute, but it’s the most important one.
- Season the Wings: In a large bowl, whisk together the baking powder, salt, pepper, and garlic powder. Add the dried wings to the bowl and toss them with your hands until every piece is evenly coated in the white powder. Don’t worry if they look a little dusty — that’s the crispiness forming!
- Arrange on Rack: Place the seasoned wings on the wire rack in a single layer. Make sure they aren’t touching each other. If they’re crowded, they’ll steam instead of roast, and you’ll lose the crunch.
- Bake to Perfection: Bake for 45-50 minutes, flipping the wings over with tongs halfway through (at the 20-25 minute mark). You’re looking for deep golden brown, crispy skin. The internal temperature should reach 165°F (74°C).
- Make the Glaze: While the wings are baking, make the sauce. In a small saucepan over medium heat, melt the butter. Add the minced garlic and cook for about 30 seconds until fragrant — don’t let it burn! Whisk in the honey, soy sauce, and rice vinegar. Bring to a gentle simmer, then reduce the heat to low and let it bubble for 2-3 minutes until it thickens slightly. Turn off the heat.
- Glaze and Serve: Once the wings are out of the oven, transfer them to a large, clean bowl. Pour the warm honey garlic glaze over the top and toss vigorously with tongs until every wing is evenly coated and glistening. Transfer to a serving platter, sprinkle with green onions and sesame seeds, and serve immediately.
Pro tip: If you want an even stickier glaze, let the sauce cool for a minute or two before tossing. It will cling to the wings like a dream.
Cooking Tips & Techniques
I’ve messed up a lot of wings in my day. I’ve made them soggy, I’ve burned the garlic, I’ve had the skin stick to the pan. Here’s what I learned so you don’t have to.
The Baking Powder is Non-Negotiable. I know it sounds weird, but it’s the magic ingredient. It raises the skin’s pH, which helps it brown and crisp up faster. Don’t skip it, and don’t confuse it with baking soda. Baking soda will leave a nasty, metallic taste.
Patience is a Virtue. The hardest part of this recipe is waiting for the wings to dry out in the oven. Don’t be tempted to crank up the heat to speed things up. 400°F is the sweet spot. It’s hot enough to render the fat and crisp the skin, but not so hot that the glaze burns later.
Don’t Over-Glaze Too Early. This was my biggest mistake. I used to toss the wings in the sauce and then put them back in the oven. The sugar in the honey would burn, and the skin would go from crispy to chewy. Always glaze the wings *after* they are fully baked. The residual heat will warm the sauce and make it stick perfectly.
Multitask Like a Pro. While the wings are baking, you have a solid 45 minutes to prep your other game day snacks. I love making a batch of easy bacon wrapped smokies with brown sugar glaze or setting up a ultimate loaded nacho bar. They all come together around the same time, and your spread will be legendary.
Variations & Adaptations
This recipe is a fantastic base, and it’s super easy to play around with. Here are a few of my favorite twists.
- Spicy Honey Garlic: Add 1-2 teaspoons of sriracha or a pinch of cayenne pepper to the glaze for a sweet-heat combo that’s absolutely addictive.
- Garlic Parmesan: Skip the honey in the glaze. Instead, toss the baked wings with melted butter, extra garlic, and a generous ½ cup of freshly grated Parmesan cheese. Finish with a sprinkle of parsley.
- Lemon Pepper: Add the zest of one lemon and 1 tablespoon of cracked black pepper to the dry rub. For the glaze, mix melted butter with lemon juice and a little garlic. It’s bright, zesty, and perfect for those who don’t like sweet wings.
- Air Fryer Method: You can absolutely make these in an air fryer. Cook the seasoned wings at 375°F (190°C) for 20-25 minutes, shaking the basket halfway through. Toss with the glaze and serve.
- Gluten-Free: Simply swap the soy sauce for tamari or coconut aminos. Everything else in the recipe is naturally gluten-free.
I once made a double batch of the spicy version for a playoff game, and they were gone before the first quarter ended. People were literally licking the sauce off their fingers.
Serving & Storage Suggestions
These wings are best served hot, straight from the tossing bowl. The glaze is at its stickiest and most glorious right away.
Serving: Pile them high on a large platter. I like to line the platter with a bed of shredded lettuce or cabbage for a pop of color and a little crunch. Serve with plenty of napkins and some extra sauce on the side for dipping. Celery and carrot sticks with a side of ranch or blue cheese dressing are the classic accompaniments, and for good reason — they’re a cool, creamy contrast to the sticky, savory wings.
Storage: If you have leftovers (unlikely!), let them cool completely. Store them in an airtight container in the refrigerator for up to 3 days. The skin will soften, but the flavor will still be amazing.
Reheating: The best way to revive the crispiness is in the oven or air fryer. Reheat at 350°F (175°C) for about 5-10 minutes until warmed through. The microwave will make them soggy, so avoid it if you can. Honestly, the flavors meld even more overnight, making for a fantastic next-day lunch.
Nutritional Information & Benefits
While these wings are a treat, they’re not a total nutritional nightmare. Chicken wings are a good source of protein, and baking them instead of frying cuts down on a lot of the fat and calories.
Estimated per serving (about 5-6 wings):
- Calories: 380
- Protein: 25g
- Fat: 22g
- Carbohydrates: 18g
- Sugar: 16g
Honey is a natural sweetener with antioxidants, and garlic is known for its immune-boosting properties. So, you’re basically eating a health food, right? (I’m kidding, mostly). They are a gluten-free option if you use tamari, making them a great choice for a crowd with dietary needs. Just be mindful of the sugar content if you’re watching your intake.
Conclusion
These crispy honey garlic baked chicken wings are more than just a recipe. They’re the taste of a good game, the smell of a happy crowd, and the feeling of sharing something genuinely delicious. They’re proof that you don’t need a deep fryer or a culinary degree to make wings that rival your favorite sports bar. You just need a little patience, a good glaze, and the right technique.
I really hope you give these a try for your next big game. Play around with the spice level, make a double batch (trust me, you’ll need it), and watch them disappear. I’d love to hear how they turn out! Drop a comment below and let me know if your guests went silent for a minute after that first bite — that’s the highest compliment a wing can get. Happy cooking, and go team!
Frequently Asked Questions
Can I use frozen chicken wings?
Yes, but you must thaw them completely in the refrigerator first. Then, pat them very dry with paper towels. Frozen wings will release too much moisture and will steam instead of getting crispy.
Why did my skin not get crispy?
This is almost always because the wings weren’t dry enough before seasoning, or they were overcrowded on the baking sheet. Make sure you pat them bone-dry and give them plenty of space on the wire rack.
Can I make the glaze ahead of time?
Absolutely! You can make the honey garlic glaze up to 3 days in advance. Store it in an airtight container in the refrigerator. Gently reheat it on the stovetop or in the microwave before tossing with the hot wings.
What can I use instead of a wire rack?
If you don’t have a wire rack, you can bake the wings directly on the foil-lined baking sheet. Just be sure to flip them halfway through cooking. The bottoms won’t be as crispy, but they’ll still be delicious. You can also try using a cooling rack if it’s oven-safe.
How do I make these wings extra spicy?
Add 1-2 teaspoons of sriracha or your favorite hot sauce to the glaze. You can also add a pinch of cayenne pepper to the dry rub for an extra layer of heat that builds from the inside out.
Pin This Recipe!
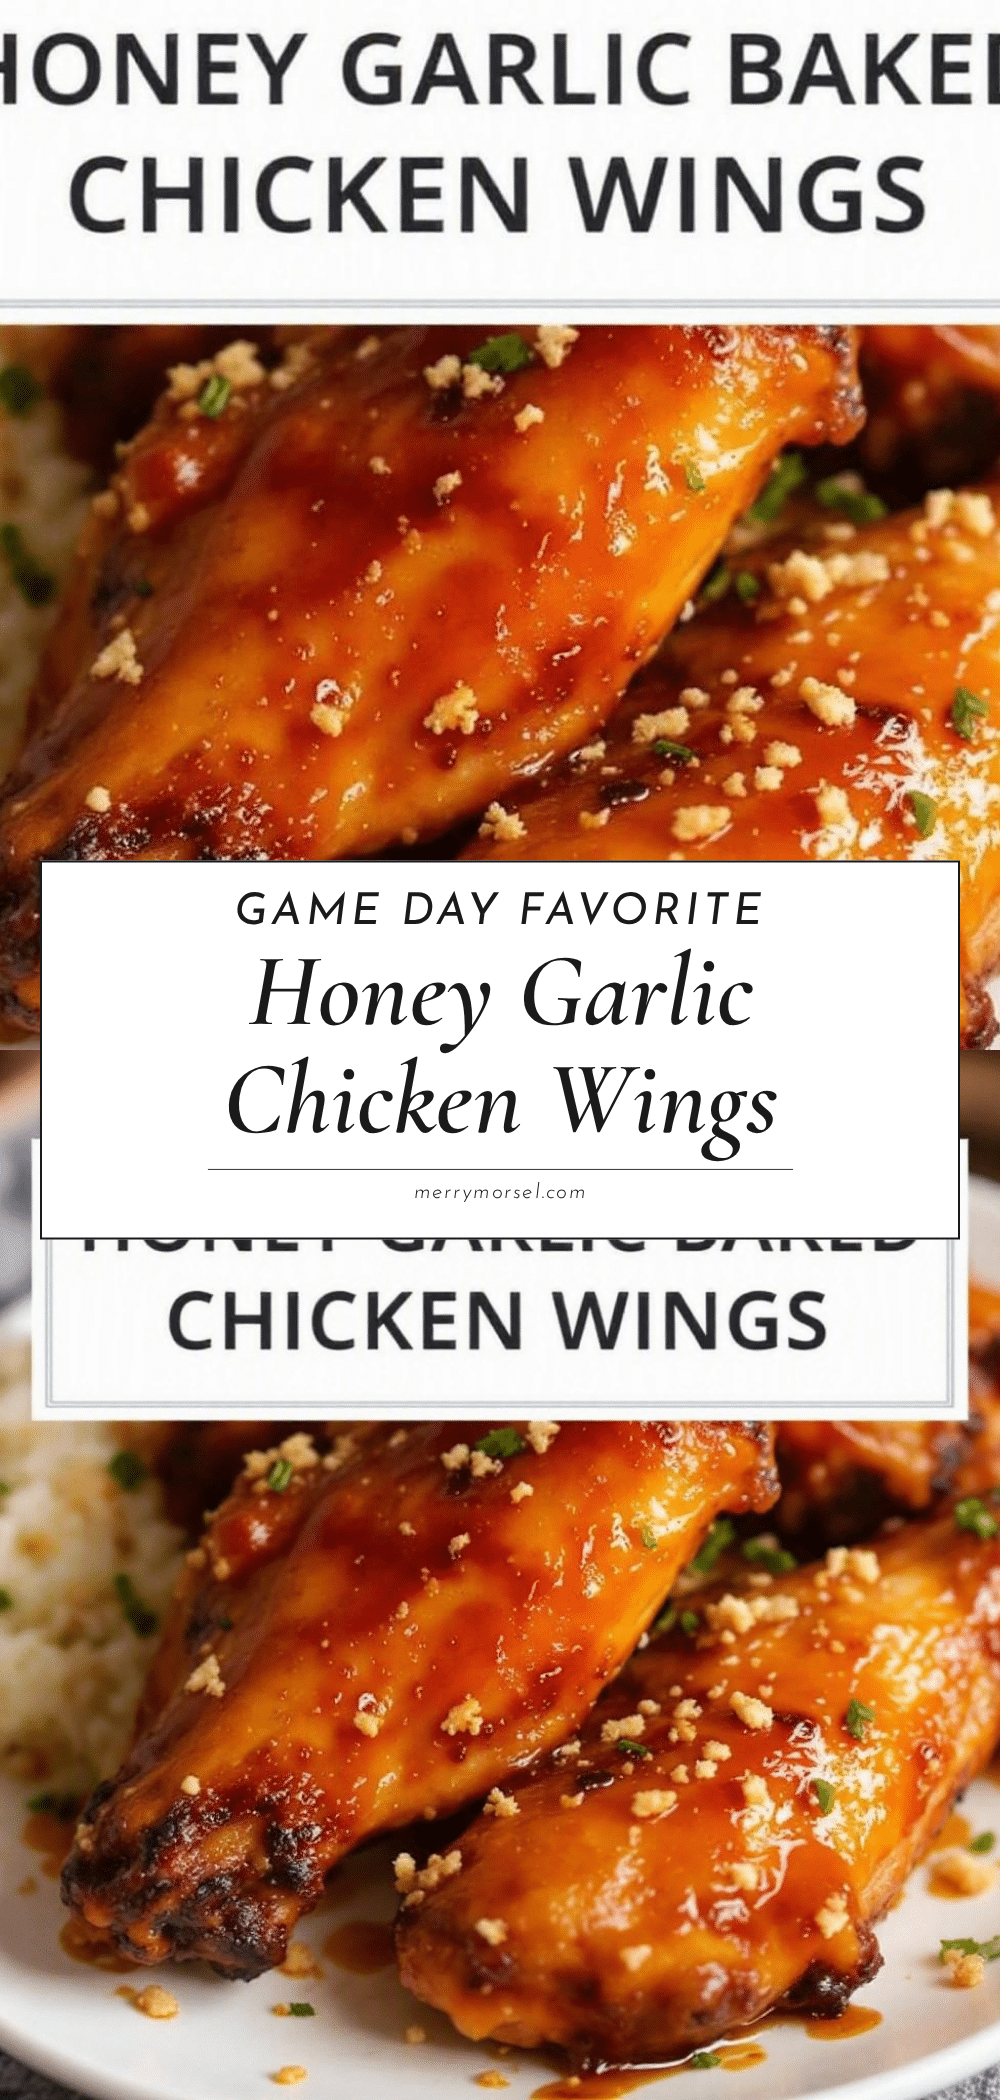
Best Crispy Honey Garlic Baked Chicken Wings for Game Day

These oven-baked chicken wings are perfectly crispy on the outside and coated in a sticky, sweet, and savory honey garlic glaze. They’re a game day favorite that’s easy to make and sure to impress.
- Prep Time: 15 minutes
- Cook Time: 50 minutes
- Total Time: 1 hour 5 minutes
- Yield: 4 servings 1x
- Category: Appetizer
- Cuisine: American
Ingredients
- 3 pounds chicken wings, separated into drums and flats
- 2 teaspoons baking powder
- 1 teaspoon fine sea salt
- 1/2 teaspoon freshly ground black pepper
- 1 teaspoon garlic powder
- 2 tablespoons unsalted butter
- 1/3 cup honey
- 2 tablespoons low-sodium soy sauce
- 4 cloves garlic, minced
- 1 tablespoon rice vinegar
- Sliced green onions, for garnish (optional)
- Toasted sesame seeds, for garnish (optional)
- Red pepper flakes, for garnish (optional)
Instructions
- Preheat oven to 400°F (200°C). Line a baking sheet with foil and place a wire rack on top. Lightly spray the rack with non-stick spray.
- Pat the chicken wings completely dry with paper towels.
- In a large bowl, whisk together baking powder, salt, pepper, and garlic powder. Add the dried wings and toss until evenly coated.
- Arrange the seasoned wings on the wire rack in a single layer, making sure they are not touching.
- Bake for 45-50 minutes, flipping the wings halfway through (at 20-25 minutes), until deep golden brown and crispy. Internal temperature should reach 165°F (74°C).
- While the wings bake, make the glaze: In a small saucepan over medium heat, melt the butter. Add the minced garlic and cook for 30 seconds until fragrant. Whisk in honey, soy sauce, and rice vinegar. Bring to a gentle simmer, then reduce heat to low and let bubble for 2-3 minutes until slightly thickened. Remove from heat.
- Once the wings are out of the oven, transfer them to a large bowl. Pour the warm glaze over the top and toss vigorously with tongs until evenly coated.
- Transfer to a serving platter, garnish with green onions, sesame seeds, and red pepper flakes if desired. Serve immediately.
Notes
Pat the wings bone-dry for maximum crispiness. Do not over-glaze before baking; glaze after baking to keep the skin crispy. For extra stickiness, let the glaze cool slightly before tossing. If using frozen wings, thaw completely and pat dry.
Nutrition
- Serving Size: 5-6 wings
- Calories: 380
- Sugar: 16
- Sodium: 800
- Fat: 22
- Saturated Fat: 8
- Carbohydrates: 18
- Protein: 25
Keywords: crispy honey garlic chicken wings, baked chicken wings, game day wings, honey garlic wings, oven baked wings


