Love this? Save it for later!
Share the inspiration with your friends
I figured making individual desserts would require a fancy muffin tin and some serious pastry skills I definitely don’t have. It took about twenty minutes for that assumption to fall apart completely when I realized these cups were just as good as the big pan version, minus the mess. Honestly, I was worried the oats would turn into a soggy mess at the bottom, but they stayed crisp and buttery instead. You know how sometimes you try a recipe and it feels like cheating? That was this. I just grabbed some apples I had lying around and a bowl of oats that were about to expire. The result was unexpected, sweet, and totally worth the effort.
I’ve always hated scraping the last bits of apple filling out of a baking dish with a spoon. It’s messy, sticky, and honestly kind of depressing after the joy of eating the rest. These individual cups solve that problem entirely. Each one is a perfect portion, easy to hold, and doesn’t leave you with that lingering guilt of overeating because you just wanted “one more bite” from the corner of the pan. I first made these on a rainy Tuesday when I was too lazy to bake a full-sized dessert but still wanted something warm and comforting. My kids thought they were getting special treatment because they were in little ramekins, even though it was just standard ingredients.
The smell alone is enough to make anyone stop what they are doing and come into the kitchen. It’s that specific mix of cinnamon, brown sugar, and caramelizing apples that feels like a hug. I’ve made these for potlucks, for quick weeknight treats, and even for fancy dinner parties where I didn’t want to spend the whole evening in the kitchen. They travel well too, which is a huge plus if you’re bringing them to a friend’s house. Let’s face it, most people prefer a handheld dessert anyway. It’s less formal, more fun, and much easier to clean up afterward. This recipe sticks with me because it turns a simple fruit into something that feels special without requiring any special occasion.
Why You’ll Love This Recipe
- Quick & Easy: These come together in under 20 minutes of prep time. You don’t need to peel and slice hours in advance. It is perfect for those busy weeknights when you need a dessert that is ready before the main course is even finished.
- Simple Ingredients: You likely already have everything in your pantry right now. Flour, oats, brown sugar, butter, and apples. No fancy grocery trips or obscure ingredients that sit in the back of your cupboard for years.
- Perfect for Meal Prep: Unlike a large crisp that gets soggy by day three, these individual cups stay fresh and retain their texture for days. Make a batch on Sunday, and you have a sweet treat ready for every night of the week.
- Crowd-Pleaser: Whether you have picky eaters who only want plain apples or guests who love a gooey topping, this recipe hits the mark. It always gets rave reviews from kids and adults alike because the texture is so satisfying.
- Unbelievably Delicious: The combination of tart apples and sweet, buttery crumble is next-level comfort food. It’s the kind of dessert that makes you close your eyes after the first bite and just sigh.
What makes this version different from the rest is the portion control and the ease of baking. I’ve tried making large sheet pan crisps before, and they often bake unevenly. Some edges burn while the center is still raw. These individual cups bake evenly every single time. I tested this recipe over a dozen times to get the ratio of topping to filling just right. Too much topping and it’s dry; too little and it’s just warm apples. This balance is the result of actual trial and error, not just guessing. It’s my best version because it guarantees success every time, even if you are a beginner baker.
Connect emotionally with the comfort this brings. It isn’t just good—it is the kind of recipe that reminds you of simpler times. It’s comfort food reimagined for modern life. You get the same soul-soothing satisfaction as a traditional apple crisp, but with less fuss. It’s perfect for impressing guests without the stress of a massive dessert, or just turning a simple Tuesday dinner into something memorable. Plus, if you pair this with a scoop of vanilla ice cream or a drizzle of caramel, it feels like a high-end bakery treat but costs pennies to make.
What Ingredients You Will Need
This recipe uses simple, wholesome ingredients to deliver bold flavor and satisfying texture without the fuss. The magic really lies in the quality of the apples and the ratio of butter to flour in the topping. Here is what you need to get started.
For the Apple Filling
- Apples: You need about 4 to 5 medium apples. I recommend using a mix of Granny Smith and Honeycrisp. The Granny Smiths provide the necessary tartness and structure, while the Honeycrisp adds sweetness and juiciness. If you only have one type, go with a tart variety like Granny Smith or Braeburn to balance the sugar.
- Lemon Juice: One tablespoon of fresh lemon juice. This prevents the apples from browning and adds a bright note that cuts through the richness of the butter.
- Granulated Sugar: Two tablespoons. This helps draw out the natural juices from the apples as they bake.
- Cinnamon: One teaspoon of ground cinnamon. Don’t skimp on this; it is the backbone of the flavor profile.
- Nutmeg: A pinch of freshly grated nutmeg. If you don’t have fresh, ground is fine, but it adds a warmth that powder sometimes lacks.
- Cornstarch: One teaspoon. This is crucial for thickening the juices so you get a syrupy consistency rather than a watery mess.
For the Crisp Topping
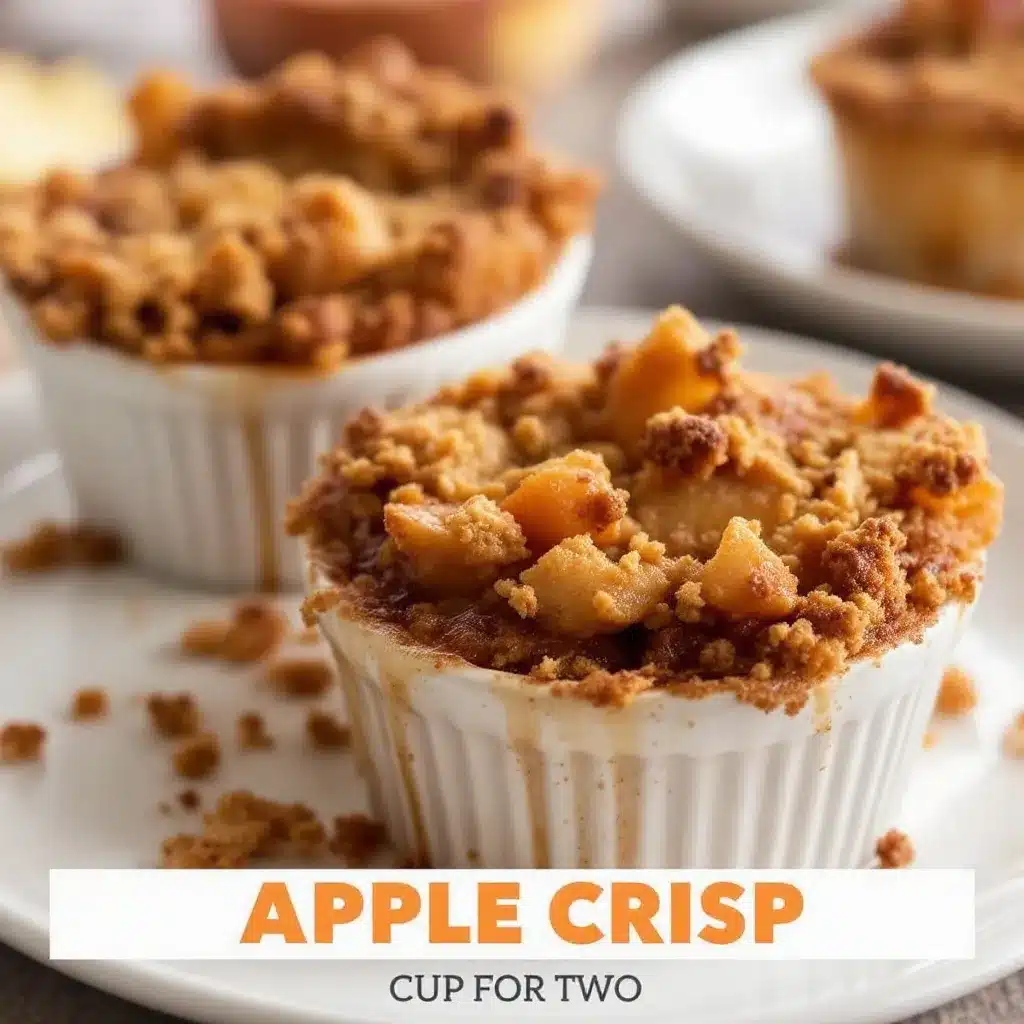
- Old-Fashioned Rolled Oats: One cup. Use the standard rolled oats, not instant oats or steel-cut oats. Instant oats turn to mush, and steel-cut oats stay too chewy. I prefer Bob’s Red Mill for their consistent texture.
- All-Purpose Flour: One cup. This acts as the binder for the oats and butter. If you need a gluten-free option, use a 1:1 gluten-free baking flour blend.
- Brown Sugar: Half a cup, packed. Light or dark brown sugar both work, but dark sugar gives a deeper, molasses-like flavor.
- Unsalted Butter: Half a cup, cold and cubed. Using cold butter is the secret to a crumbly, rather than greasy, topping. I use high-quality European-style butter when I can find it for the best flavor.
- Cinnamon: One teaspoon to complement the filling.
- Salt: A quarter teaspoon. This balances the sweetness and makes the flavors pop.
Equipment Needed
You don’t need a lot of fancy gadgets for this recipe. The most important item is your baking vessel. You will need six to eight individual ramekins or small oven-safe bowls. I like to use ceramic ramekins because they retain heat well and look nice when served. If you don’t have ramekins, a standard muffin tin works too, but you’ll need to line the cups with parchment paper circles to prevent sticking. A large mixing bowl is needed for tossing the apples, and another bowl for the topping.
A pastry cutter or your clean hands are essential for cutting the butter into the flour mixture. While a food processor can speed this up, I find that using my fingers gives you better control over the texture. You want pea-sized crumbs, not a smooth paste. A sharp knife and cutting board are needed for slicing the apples. Finally, a measuring cup set and spoons will ensure your ratios are accurate. If you plan to make these often, investing in a set of nice ramekins is worth it for presentation, but any oven-safe dish will do the job just fine.
Preparation Method
Preheat your oven to 375°F (190°C). This is the standard temperature that allows the apples to cook through without burning the topping. While the oven heats up, prepare your ramekins by lightly greasing them with butter or cooking spray. This ensures the cups release easily after baking.
- Prepare the Apples: Peel, core, and slice the apples into thin, even slices. Aim for about a quarter-inch thickness. Place them in a large mixing bowl. Add the lemon juice, granulated sugar, cinnamon, nutmeg, and cornstarch. Toss everything together until the apples are evenly coated. Let them sit for about 5 minutes. This step draws out moisture and starts the flavor infusion.
- Fill the Ramekins: Divide the apple mixture evenly among your prepared ramekins. Press them down gently so there are no large air pockets. You want a dense layer of fruit. Leave about half an inch of space at the top for the topping.
- Make the Topping: In a separate bowl, whisk together the rolled oats, flour, brown sugar, cinnamon, and salt. Add the cold, cubed butter. Use a pastry cutter, two forks, or your fingers to work the butter into the dry ingredients. Continue until the mixture resembles coarse sand with some pea-sized clumps. Do not overmix, or the topping will become dense.
- Assemble: Sprinkle the topping evenly over the apples in each ramekin. Press it down lightly so it adheres to the fruit. This prevents the topping from sliding off when you serve them.
- Bake: Place the ramekins on a baking sheet (to catch any potential drips) and bake for 25 to 30 minutes. The topping should be golden brown, and the apples should be tender when pierced with a knife. If the topping browns too quickly, you can loosely cover the tops with foil for the last 5 minutes.
- Cool: Let them cool for at least 10 minutes before serving. This allows the juices to thicken slightly, making the filling less runny and easier to scoop.
Cooking Tips & Techniques
The biggest mistake people make with apple crisp is using apples that are too soft. If you use apples that are already mealy, they will turn into applesauce in the oven. Stick to firm baking apples. Another common error is not cutting the apples evenly. If some slices are thick and others are thin, the thin ones will disintegrate before the thick ones are cooked. Use a mandoline slicer if you want perfect consistency, but a sharp knife works well too.
For the topping, the texture is everything. You want distinct crumbs, not a solid crust. If your butter is too soft, the mixture will become a paste. Keep the butter cold and work quickly. If you find the mixture is too crumbly and won’t stick to the apples, add a teaspoon of cold water. If it’s too wet, add a little more flour. Multitasking is key here. While the apples are resting, you can mix the topping. This saves time and keeps the workflow smooth.
I once tried using melted butter for the topping because I was in a rush. The result was a greasy, dense layer that didn’t have that nice crunch. Always use cold, cubed butter. It creates steam pockets as it melts, which helps create that flaky, crumbly texture. Also, don’t skip the lemon juice. It might seem like a small detail, but it balances the sweetness and keeps the apples vibrant in color. Trust the process, and the results will be crispy, tender, and perfectly balanced.
Variations & Adaptations
One of the best things about this recipe is how easy it is to customize. For a healthier twist, you can swap half the all-purpose flour for almond flour. This adds a nice nutty flavor and reduces the carbohydrate content slightly. If you want to go gluten-free, simply use certified gluten-free oats and a gluten-free flour blend. The texture remains remarkably similar.
For a different flavor profile, try adding chopped walnuts or pecans to the topping. Toasting the nuts in a dry pan for a few minutes before adding them enhances their flavor significantly. I also love adding a pinch of cardamom to the spice mix for a more aromatic, Scandinavian-style crisp. If you are not a fan of apples, you can use this same method for pear crisp or berry crisp. Just adjust the sugar slightly based on the sweetness of the fruit.
Dietary adaptations are straightforward. For a dairy-free version, substitute the butter with a high-quality vegan butter stick or coconut oil. Coconut oil works well but will impart a slight coconut flavor, so use refined coconut oil if you want a neutral taste. You can also reduce the brown sugar by a quarter cup if you prefer a less sweet dessert. The apples provide plenty of natural sweetness, so you don’t need as much added sugar as you might think. Experiment with these variations to find your perfect combination.
Serving & Storage Suggestions
These cups are best served warm. I recommend serving them with a scoop of vanilla bean ice cream or a dollop of whipped cream. The contrast between the hot, spiced apples and the cold cream is unbeatable. They also pair wonderfully with a cup of hot tea or coffee, making them a perfect afternoon snack. For presentation, dust the tops with a little extra cinnamon or powdered sugar before serving. It adds a professional touch that makes them look fancy.
For storage, let the cups cool completely before covering them. You can store them in the refrigerator for up to 5 days. Place them in an airtight container to prevent them from absorbing other fridge odors. To reheat, simply microwave one cup for 30 to 60 seconds. Alternatively, you can reheat them in a 350°F oven for 10 minutes to restore the crispiness of the topping. They also freeze well. Wrap individual cooled cups in plastic wrap and then foil. They can be frozen for up to 3 months. Thaw overnight in the fridge and reheat as needed.
The flavors actually meld and improve over the first couple of days. The spices penetrate the apples more deeply, making them taste richer. However, the topping may soften slightly over time. If you prefer a crunchy topping, reheat in the oven rather than the microwave. This recipe is versatile enough to be a quick snack, a dessert, or even a breakfast treat if you add a spoonful of Greek yogurt on top.
Nutritional Information & Benefits
While this is a dessert, it does offer some nutritional benefits depending on how you make it. Apples are a great source of fiber, which aids in digestion and helps keep you feeling full. They also contain vitamin C and antioxidants. Using rolled oats in the topping adds more fiber and provides sustained energy. If you reduce the sugar or use almond flour, you can lower the calorie count significantly. One cup contains approximately 250-300 calories, depending on the size of the ramekin and the amount of butter used.
This recipe is naturally nut-free if you omit nuts from the topping, making it safe for many school or office settings. It is also easily adaptable for gluten-free diets. From a wellness perspective, I appreciate that it uses real fruit as the star ingredient. It’s not just sugar and flour; there are actual nutrients here. Of course, it is still a treat, so enjoy it in moderation. But compared to processed sweets, this feels like a more wholesome indulgence.
Conclusion
These Cozy Individual Apple Crisp Cups are worth trying because they combine ease, flavor, and nostalgia in one perfect package. They solve the problem of messy, large desserts while delivering all the satisfaction you crave. I love this recipe because it is forgiving and reliable. No matter how busy life gets, I know I can whip these up in minutes and have a delicious treat ready to go. They are a testament to the idea that good cooking doesn’t have to be complicated.
I encourage you to customize this recipe to fit your taste. Add your favorite nuts, swap the spices, or try different apple varieties. Share your adaptations in the comments below—I love hearing how you make these your own. If you try this recipe, please leave a rating and let me know how it turned out. Your feedback helps me create better content for you. Thank you for stopping by and sharing this cozy moment with me. Happy baking!
Frequently Asked Questions
Can I use frozen apples for this recipe?
Yes, you can use frozen apples, but they will release more water. You may need to increase the cornstarch to a teaspoon and a half to ensure the filling thickens properly. Thaw the apples slightly before mixing to remove excess liquid.
How do I prevent the topping from burning?
If you notice the topping browning too quickly, loosely tent a piece of aluminum foil over the ramekins for the last 10 minutes of baking. This shields them from direct heat while allowing the apples to finish cooking.
Can I make these ahead of time?
Absolutely. You can assemble the cups up to 24 hours in advance. Cover them tightly with plastic wrap and store them in the refrigerator. When ready to bake, you may need to add 2-3 minutes to the baking time since they are starting from cold.
What is the best apple for apple crisp?
The best apples are firm varieties that hold their shape when baked. Granny Smith, Honeycrisp, Fuji, and Braeburn are excellent choices. Avoid Red Delicious or McIntosh apples as they tend to turn mushy.
Can I use steel-cut oats instead of rolled oats?
It is not recommended. Steel-cut oats are too hard and chewy for a crisp topping. They will not soften properly in the baking time. Old-fashioned rolled oats or quick oats work best for the desired texture.
Pin This Recipe!
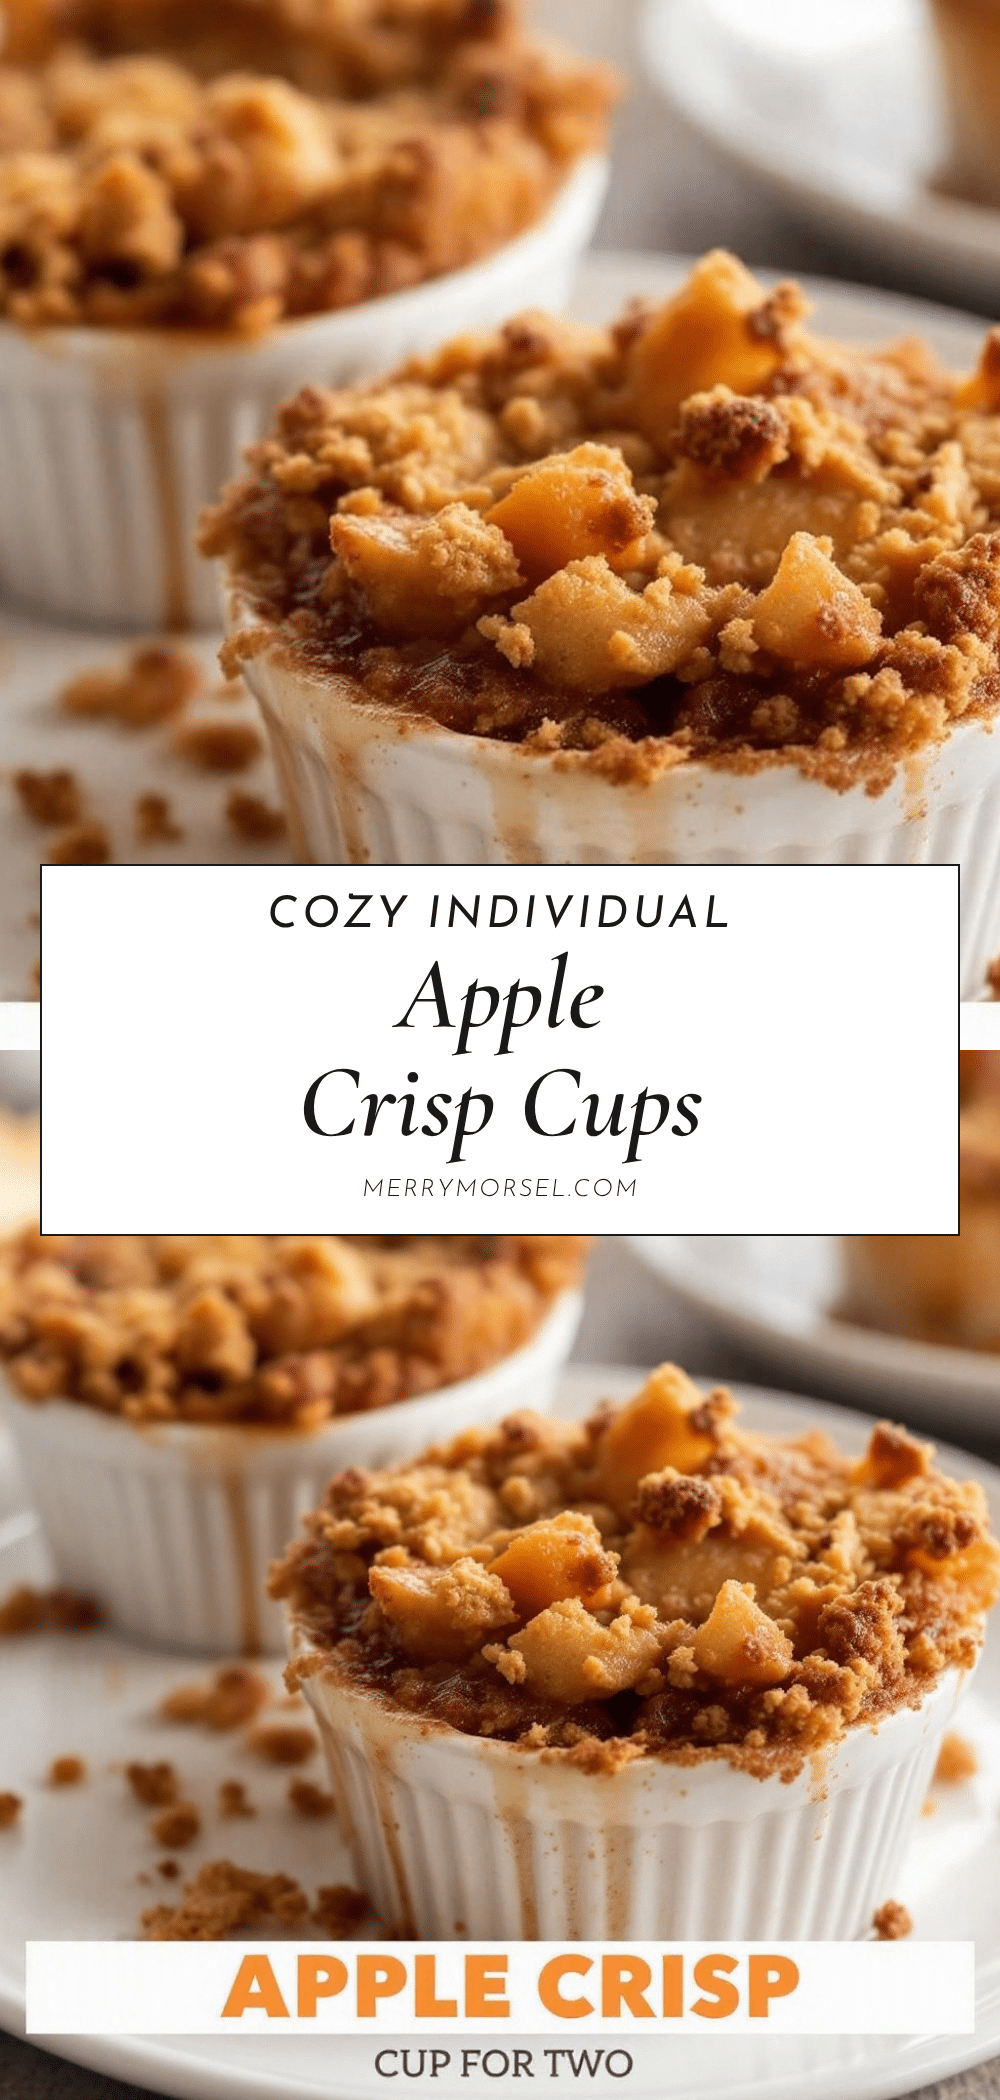
Cozy Individual Apple Crisp Cups: Easy & Perfect

These individual apple crisp cups offer the comfort of a traditional dessert with the convenience of portion control. Made with simple pantry ingredients, they bake evenly in ramekins for a crispy, buttery topping and tender, spiced apple filling.
- Prep Time: 20 minutes
- Cook Time: 30 minutes
- Total Time: 50 minutes
- Yield: 6-8 servings 1x
- Category: Dessert
- Cuisine: American
Ingredients
- 4–5 medium apples (mix of Granny Smith and Honeycrisp), peeled, cored, and sliced
- 1 tablespoon fresh lemon juice
- 2 tablespoons granulated sugar
- 1 teaspoon ground cinnamon
- 1 pinch freshly grated nutmeg
- 1 teaspoon cornstarch
- 1 cup old-fashioned rolled oats
- 1 cup all-purpose flour
- 1/2 cup packed brown sugar
- 1/2 cup unsalted butter, cold and cubed
- 1 teaspoon ground cinnamon (for topping)
- 1/4 teaspoon salt
Instructions
- Preheat oven to 375°F (190°C). Lightly grease six to eight individual ramekins or small oven-safe bowls with butter or cooking spray.
- In a large mixing bowl, combine sliced apples, lemon juice, granulated sugar, 1 teaspoon cinnamon, nutmeg, and cornstarch. Toss to coat evenly and let sit for 5 minutes.
- Divide the apple mixture evenly among the prepared ramekins, pressing down gently. Leave about half an inch of space at the top.
- In a separate bowl, whisk together rolled oats, flour, brown sugar, 1 teaspoon cinnamon, and salt.
- Add the cold, cubed butter to the dry ingredients. Use a pastry cutter, two forks, or your fingers to work the butter in until the mixture resembles coarse sand with pea-sized clumps.
- Sprinkle the topping evenly over the apples in each ramekin and press down lightly to adhere.
- Place ramekins on a baking sheet and bake for 25-30 minutes, or until the topping is golden brown and apples are tender.
- If the topping browns too quickly, loosely cover with foil for the last 5 minutes.
- Let cool for at least 10 minutes before serving to allow juices to thicken.
Notes
Use firm baking apples like Granny Smith or Honeycrisp to prevent mushiness. Keep butter cold for a crumbly topping. Can be stored in the fridge for up to 5 days or frozen for up to 3 months. Reheat in oven to restore crispiness.
Nutrition
- Serving Size: 1 ramekin
- Calories: 275
- Sugar: 28
- Sodium: 150
- Fat: 12
- Saturated Fat: 7
- Carbohydrates: 42
- Fiber: 4
- Protein: 3
Keywords: apple crisp, individual desserts, easy baking, comfort food, ramekin desserts, gluten-free option, dairy-free option