Love this? Save it for later!
Share the inspiration with your friends
The way the crescent dough pulls apart in little flaky ribbons — that’s the whole point of these mummy hot dogs. I spent years trying to make Halloween food that actually looked like something, you know? Not just orange-colored cupcakes with sprinkles tossed on top. I wanted the kids to see it and laugh before they even took a bite. And honestly, most of my early attempts were disasters. The frosting looked like sludge. The cookies cracked. But these mummy hot dogs? They worked on the first try, which almost never happens in my kitchen.
I remember standing over the baking sheet, watching the dough puff up in the oven, and thinking — these little guys actually look like tiny wrapped mummies. The mustard eyes stared back at me from behind the glass. My daughter peeked in and said, “They’re creepy but cute.” That’s when I knew we had a Halloween winner.
There’s something about easy mummy hot dogs wrapped in crescent dough that just works. They’re not fussy. You don’t need special tools or obscure ingredients. You just need hot dogs, crescent rolls, and a little imagination. And I promise — the first time you pull a tray of these out of the oven, you’ll feel like you actually pulled off something magical. (Even if it only took you ten minutes to assemble.)
So if you’re looking for a Halloween appetizer that doesn’t require a culinary degree or a trip to three different stores, this is it. These little mummies have become our family’s October tradition, and I have a feeling they’ll stick around in your kitchen too.
Why You’ll Love This Recipe
I’ve tested this recipe more times than I care to admit. The first batch? The dough unwrapped in the oven and looked like sad, naked hot dogs. The second batch? I wrapped them too tight and the dough didn’t puff. But by batch three, I had it figured out. And here’s the thing — when you get it right, these are the most satisfying Halloween snack you’ll ever make.
- Quick & Easy : From start to finish, these come together in about 25 minutes. That’s faster than most of my kid’s homework assignments.
- Simple Ingredients : You need exactly four things — hot dogs, crescent dough, mustard, and a little butter. That’s it. No weird grocery list.
- Perfect for Halloween Parties : Whether it’s a school party, a neighborhood gathering, or just a spooky movie night at home, these fit right in.
- Crowd-Pleaser : Kids love them. Adults love them. Even my picky nephew who “doesn’t eat anything fun” asked for seconds.
- Unbelievably Cute : Let’s be honest — the visual payoff here is huge. They look like you spent way more effort than you actually did.
What makes these different from other mummy hot dog recipes? It’s the wrapping technique. I learned the hard way that leaving small gaps between the dough strips is the secret to getting that authentic mummy look. Too tight and they look like bandaged sausages. Too loose and they fall apart. The sweet spot is somewhere in between, and I’ll show you exactly how to get there.
These easy mummy hot dogs wrapped in crescent dough are the kind of recipe that makes you feel like a kitchen hero without actually having to work for it. And honestly? That’s my favorite kind of recipe.
What Ingredients You Will Need
This recipe relies on simple, everyday ingredients to create something that looks surprisingly elaborate. The beauty of these mummy hot dogs is that you probably already have most of these in your kitchen right now.
- Hot dogs (8 standard-sized, about 6 inches each) — I prefer beef hot dogs for flavor, but any variety works. Turkey, chicken, or even plant-based hot dogs all hold up well here. Just make sure they’re not the jumbo size or the dough-to-dog ratio gets thrown off.
- Crescent roll dough (2 cans, 8 ounces each) — Pillsbury is my go-to brand for consistency. The dough cuts cleanly and bakes up golden and flaky every time. You can also find store-brand versions that work just as well, just check that they’re the original flaky style, not the butter-flavored sheets.
- Yellow mustard (about 2 teaspoons, divided) — This is for the mummy eyes. You can use any mustard you have on hand, but yellow gives the most classic “eyeball” look. Dijon works in a pinch but tends to be runnier.
- Unsalted butter (1 tablespoon, melted) — Brushing this on before baking gives the dough a beautiful golden finish. You can skip it if you’re watching fat intake, but the color won’t be quite as nice.
- Optional garnish ideas — A sprinkle of sesame seeds or poppy seeds on top adds texture and makes them look even more “mummy-like.” I’ve also used tiny dots of ketchup mixed with mayo for pinker eyes when my kids wanted “zombie mummies.”
When I made these for my daughter’s Halloween class party, I used bacon-wrapped smokies as a backup snack, and honestly, the two recipes share a similar vibe — easy, handheld, and gone in minutes. If you’re feeding a crowd, I’d recommend making both.
One thing I’ve learned about the crescent dough: let it sit in the fridge until you’re ready to use it. Warm dough is sticky and harder to cut into clean strips. Cold dough cuts like a dream and wraps around the hot dogs without tearing.
Equipment Needed
You don’t need much for this recipe, which is part of why I love it. Here’s what you’ll want to have on hand:
- Baking sheet (standard half-sheet, 18×13 inches) — Line it with parchment paper for easy cleanup. I use a rimmed baking sheet to catch any butter that drips off during baking.
- Sharp knife or pizza cutter — A pizza cutter makes slicing the crescent dough strips incredibly easy. A sharp chef’s knife works too, just make sure it’s not dull or you’ll squish the dough.
- Pastry brush (or a small silicone brush) — For brushing the melted butter on top. You can also use a paper towel dipped in butter if you don’t have a brush.
- Small bowl — For the melted butter.
- Toothpicks (optional) — If you want to secure the dough ends while baking. I’ve only needed these when I was rushing and wrapped too loosely.
If you’re making these for a party and want to keep them warm, a slow cooker on the “warm” setting works great. Just line it with paper towels to absorb any moisture. I’ve also made these in my air fryer — 350°F for about 6-8 minutes — and they come out extra crispy.
Preparation Method

Let me walk you through this step by step. I’ve made these more times than I can count, so I’ll share all the little tricks I’ve picked up along the way.
- Preheat your oven to 375°F (190°C). Line a baking sheet with parchment paper. This helps the dough cook evenly and makes cleanup a breeze.
- Unroll the crescent dough and separate it into triangles along the perforated lines. You should have 8 triangles per can. Press the perforations together gently to seal them — this gives you a solid rectangle of dough to work with.
- Cut each triangle into thin strips lengthwise. I aim for about 4-5 strips per triangle, each about ½ inch wide. A pizza cutter makes this step incredibly fast. If the dough starts to warm up and get sticky, pop it in the fridge for 5 minutes.
- Pat the hot dogs dry with a paper towel. This helps the dough stick better. Wet hot dogs = slippery dough. Trust me on this one.
- Wrap each hot dog with the dough strips, starting at one end and working your way to the other. Leave a small gap at the top (about ½ inch) for the mummy’s face. Don’t wrap too tightly — the dough needs room to puff up as it bakes. Leave tiny gaps between the strips so it looks like a real mummy wrap.
- Place the wrapped hot dogs on the prepared baking sheet, leaving about 1 inch between each one. They don’t spread much, but you want air to circulate for even browning.
- Brush the tops with melted butter using your pastry brush. This gives them that gorgeous golden color. If you’re using sesame or poppy seeds, sprinkle them on now.
- Bake for 12-15 minutes, or until the dough is golden brown and puffed. The hot dogs should be heated through. Keep an eye on them after the 12-minute mark — ovens vary, and you don’t want burnt mummies.
- Let them cool on the baking sheet for 2 minutes. Then transfer to a wire rack or serving platter.
- Add the eyes by dabbing small dots of mustard on the exposed hot dog end. I use a toothpick for precision — just dip it in mustard and touch it to the hot dog. Two dots per mummy, and you’re done.
Here’s a tip I learned after my third batch: if the dough strips are too long, trim them with kitchen scissors. You want each mummy to look slightly different — that’s part of the charm. Some can have more wraps, some fewer. They’re supposed to look a little messy, like real mummies!
If you’re making these for a party and want to prep ahead, wrap the hot dogs up to 24 hours in advance and keep them covered in the fridge. Add the butter wash and bake just before serving. They’re best warm and fresh from the oven.
Cooking Tips & Techniques
I’ve made enough mistakes with this recipe to fill a small notebook. Let me save you some trouble.
Don’t overwork the dough. Crescent dough is delicate. If you handle it too much, it becomes tough and doesn’t puff up properly. Cut your strips quickly and wrap gently. The less you touch it, the flakier it will be.
Watch the oven like a hawk. The difference between golden mummies and burnt mummies is about 90 seconds. Start checking at the 12-minute mark. You want them deep golden, not brown. If your oven runs hot, reduce the temperature to 365°F.
Space matters. I once crammed 16 mummies onto one baking sheet, and they came out pale and soggy on the sides. Give them room to breathe. Two baking sheets, or one batch at a time, is the way to go.
Cold dough is your friend. If the dough feels sticky or hard to work with, refrigerate it for 10 minutes. This makes cutting and wrapping infinitely easier. I learned this after a particularly frustrating batch where the dough kept tearing.
Double-check your mustard dots. I’ve served mummies with one eye, three eyes, and once, a mummy with no eyes at all because I forgot. (My daughter called it the “blind mummy” and it was actually a hit.) But for a polished look, two even dots are best.
If you’re making these alongside other party snacks, I recommend starting with the spooky witch finger cookies or the black cat sugar cookies for dessert — they all come together quickly and make for a seriously impressive Halloween spread.
Variations & Adaptations
One of the best things about this recipe is how easy it is to customize. Here are some of my favorite variations:
Cheesy Mummies — Before wrapping, cut a slit lengthwise down the center of each hot dog and stuff it with a thin strip of cheddar or mozzarella cheese. The cheese oozes out during baking and looks like mummy guts. (My kids love this one a little too much.)
Spicy Mummies — Brush the hot dogs with sriracha or hot sauce before wrapping. Or use spicy Italian sausage instead of hot dogs for a grown-up version. I made these for a Halloween party and they disappeared before the regular ones.
Veggie Mummies — Swap the hot dogs for vegetarian or vegan hot dogs. Most brands work well, though I’ve found the Field Roast brand holds up best. You can also use halved zucchini or carrot sticks for a completely plant-based version.
Mini Mummies — Use cocktail sausages or mini hot dogs instead of full-sized ones. Cut the crescent dough into smaller strips and wrap the same way. Bake for 8-10 minutes instead of 12-15. These are perfect for little hands.
Breakfast Mummies — Use breakfast sausages instead of hot dogs and serve them with maple syrup for dipping. Yes, it’s a little weird. Yes, it’s also delicious.
If you’re planning a full Halloween menu, these creamy slow cooker chorizo queso pairs beautifully alongside the mummies for dipping. Warm, cheesy, and absolutely addictive.
Serving & Storage Suggestions
These mummy hot dogs are best served warm, right out of the oven. The dough is at its flakiest and the hot dog is perfectly heated through. Arrange them on a platter with the mustard eyes facing up so everyone can see the faces.
For dipping, I recommend ketchup, mustard, or ranch dressing. My kids love dipping them in a mix of ketchup and sriracha (they call it “mummy blood”). For a more sophisticated option, try a honey mustard or spicy brown mustard.
To store leftovers (if there are any!), place them in an airtight container in the refrigerator for up to 3 days. The dough will soften slightly, but they’re still tasty.
To reheat, pop them in a 350°F oven for 5-7 minutes, or until warmed through. The microwave works in a pinch (30 seconds on high), but the dough won’t be as crispy. An air fryer at 350°F for 3-4 minutes brings back most of the original texture.
I don’t recommend freezing these after they’re baked — the dough gets soggy when thawed. But you can freeze the unbaked wrapped mummies (without the butter wash) for up to 2 months. Bake directly from frozen, adding 3-5 minutes to the cooking time.
The flavor develops nicely the next day, honestly. The mustard eyes mellow out and the dough absorbs a little of the hot dog’s smokiness. They’re not quite as pretty on day two, but they’re still delicious.
Nutritional Information & Benefits
Let’s be real — these are a treat, not a health food. But here’s what you’re looking at per mummy (based on standard ingredients):
- Calories: Approximately 210-240 per mummy
- Protein: 7-8 grams
- Carbohydrates: 16-18 grams
- Fat: 13-15 grams
- Sodium: 580-620 mg
The hot dogs provide a decent amount of protein, and the crescent dough adds carbohydrates for quick energy. If you’re watching sodium, look for low-sodium hot dogs or turkey dogs. You can also use reduced-fat crescent dough to cut some of the fat.
One thing I appreciate about this recipe is portion control — each mummy is a self-contained serving. Kids eat one or two and feel satisfied, unlike a bowl of chips where they lose track.
For a slightly healthier version, try using chicken or turkey hot dogs and whole wheat crescent dough. The texture changes a bit, but the flavor is still solid. I’ve also used gluten-free crescent dough (from brands like Schar) with good results — just note that the dough is a bit more fragile to work with.
If you’re serving these at a party alongside other snacks, consider balancing the table with some rainbow fruit kabobs for a pop of color and nutrition. The sweetness of the fruit contrasts beautifully with the savory, salty mummies.
Conclusion
These easy mummy hot dogs wrapped in crescent dough have become our family’s most-requested Halloween recipe, and I don’t see that changing anytime soon. They’re fun, fast, and forgiving — three things I desperately need in my kitchen during the chaos of October.
I love that this recipe lets me feel creative without the stress. You can make them as neat or as messy as you want. You can add eyes, skip the eyes, make them cheesy, make them spicy. There’s no wrong way to wrap a mummy, and that’s the beauty of it.
So go ahead — grab some hot dogs and a can of crescent dough. Pull the kids into the kitchen. Let them wrap their own mummies. (Fair warning: they might end up looking more like blobs than bandages, but that’s part of the fun.) And when you pull that tray out of the oven and see those little mustard eyes staring back at you, send me a picture. I want to see your mummy army.
Drop a comment below and let me know how yours turned out — did you add any fun twists? Did the kids help? I read every single one, and your ideas often end up in my next batch!
Frequently Asked Questions
Can I make these ahead of time?
Yes! Wrap the hot dogs up to 24 hours in advance and keep them covered in the refrigerator. Add the butter wash right before baking.
Can I use puff pastry instead of crescent dough?
Absolutely. Cut puff pastry into thin strips and wrap the same way. Bake at 400°F for 15-18 minutes. The texture will be flakier and more buttery.
What if my dough keeps tearing?
Cold dough tears less. Pop it in the fridge for 10 minutes before cutting. Also, make sure your knife or pizza cutter is sharp — dull blades squish the dough instead of cutting it.
Can I use something other than mustard for the eyes?
Sure! Ketchup, sriracha, or even small dots of cream cheese work. Just make sure whatever you use is thick enough to hold its shape. Runny sauces will just blob everywhere.
How do I keep the dough from unwrapping during baking?
Make sure the end of the dough strip is tucked underneath the hot dog. If it’s still loose, use a toothpick to secure it (remove before serving). Also, don’t overstuff the baking sheet — crowded mummies can bump into each other and unwrap.
Pin This Recipe!
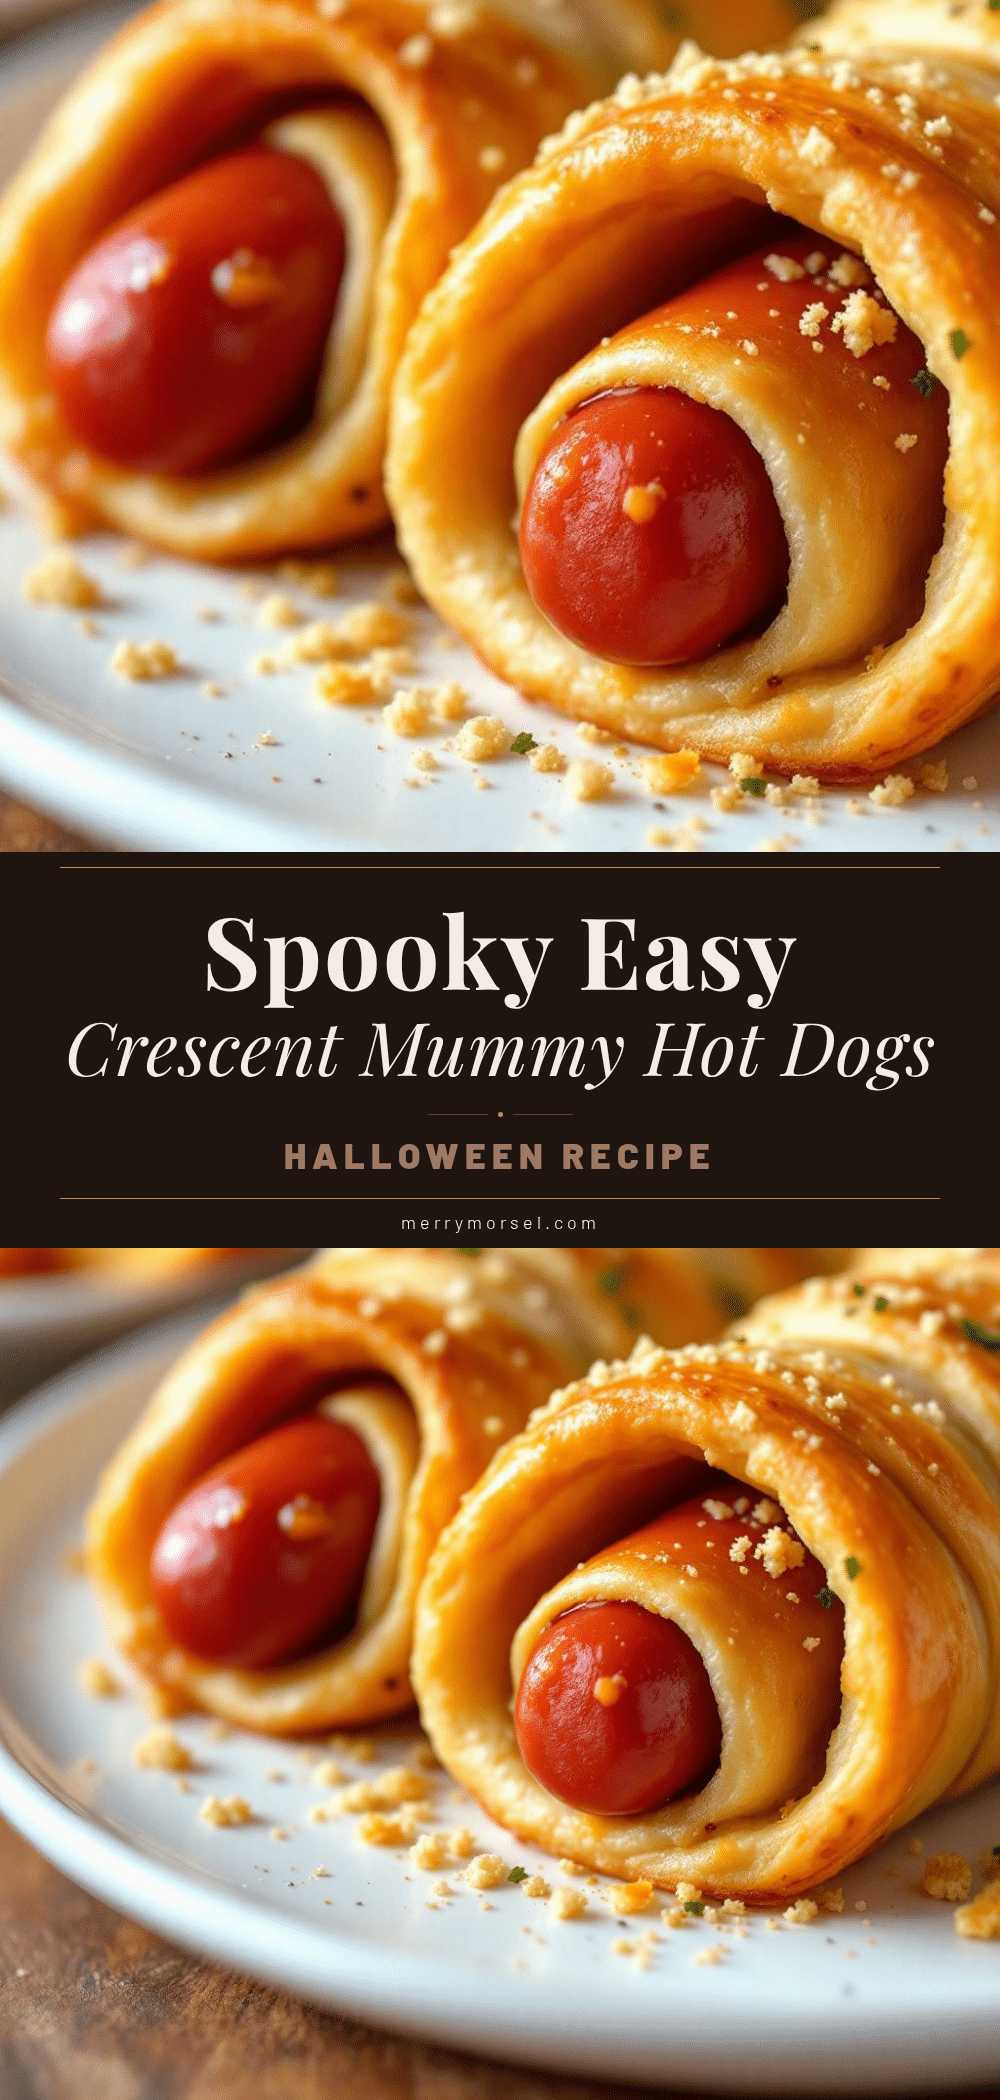
Easy Mummy Hot Dogs Recipe Perfect for Halloween

These easy mummy hot dogs wrapped in crescent dough are a fun, quick, and adorable Halloween snack that kids and adults love. With just four simple ingredients, they come together in about 25 minutes and look like tiny wrapped mummies with mustard eyes.
- Prep Time: 10 minutes
- Cook Time: 15 minutes
- Total Time: 25 minutes
- Yield: 8 servings 1x
- Category: Appetizer
- Cuisine: American
Ingredients
- 8 standard-sized hot dogs (about 6 inches each)
- 2 cans (8 ounces each) crescent roll dough
- 2 teaspoons yellow mustard (for eyes)
- 1 tablespoon unsalted butter, melted
- Optional: sesame seeds or poppy seeds for garnish
Instructions
- Preheat your oven to 375°F (190°C). Line a baking sheet with parchment paper.
- Unroll the crescent dough and separate it into triangles along the perforated lines. Press the perforations together gently to seal them into solid rectangles.
- Cut each triangle lengthwise into thin strips, about 4-5 strips per triangle, each about ½ inch wide. Use a pizza cutter for ease.
- Pat the hot dogs dry with a paper towel to help the dough stick.
- Wrap each hot dog with the dough strips, starting at one end and working to the other. Leave a small gap at the top (about ½ inch) for the mummy’s face. Leave tiny gaps between strips for an authentic mummy look. Do not wrap too tightly.
- Place the wrapped hot dogs on the prepared baking sheet, leaving about 1 inch between each.
- Brush the tops with melted butter. Sprinkle with sesame or poppy seeds if desired.
- Bake for 12-15 minutes, or until the dough is golden brown and puffed. Check after 12 minutes to avoid burning.
- Let cool on the baking sheet for 2 minutes, then transfer to a wire rack or serving platter.
- Add the eyes by dabbing small dots of mustard on the exposed hot dog end using a toothpick for precision.
Notes
For best results, keep the crescent dough cold until ready to use. Cold dough cuts cleanly and wraps without tearing. If the dough strips are too long, trim with kitchen scissors. Each mummy can look slightly different for charm. To prep ahead, wrap the hot dogs up to 24 hours in advance and refrigerate; add butter wash just before baking. For a crispier texture, bake in an air fryer at 350°F for 6-8 minutes.
Nutrition
- Serving Size: 1 mummy hot dog
- Calories: 225
- Sugar: 3
- Sodium: 600
- Fat: 14
- Saturated Fat: 5
- Carbohydrates: 17
- Protein: 7.5
Keywords: mummy hot dogs, Halloween appetizer, crescent dough hot dogs, easy Halloween snack, spooky hot dogs


