Love this? Save it for later!
Share the inspiration with your friends
I ruined three loaves of sourdough before I finally understood what pumpkin was actually doing to my starter. The first one came out of the oven looking like a deflated basketball—dense, gummy, and sad. The second one was so wet in the middle I could have spread it with a knife. The third one? I forgot the salt. Honestly, I almost gave up on this whole idea of pumpkin sourdough bread. But I kept coming back to it because the flavor was there, hiding underneath all my mistakes. That deep orange color, that faint sweetness that plays off the sour tang of fermented dough. I knew it could work. It just needed me to stop treating pumpkin like a flavoring and start treating it like what it actually is—a heavy, wet ingredient that changes everything about how dough behaves. So I went back to basics. I adjusted my hydration. I learned to trust my hands instead of the clock. And somewhere around loaf number four, I pulled out a bread that made me actually gasp. The crust cracked in that way you dream about. The crumb was soft but structured. And those pepitas on top? They toasted right into the crust, giving every slice this little salty crunch that makes you reach for another piece before you’ve finished the first one. This is that loaf. The one I had to fail to find.
Why You’ll Love This Pumpkin Sourdough Bread
This isn’t your average pumpkin bread. It’s not a quick bread that leans on baking powder and sugar. This is real sourdough—fermented, tangy, and deeply satisfying—with pumpkin puree woven right into the dough. And I’ve tested it enough times to know exactly what works.
- That Perfect Balance : The pumpkin doesn’t overpower the sourdough. Instead, it softens the sharp edges of the fermentation, leaving you with a bread that’s tangy but not aggressive, sweet but not sugary. It’s the kind of balance that makes you stare at your slice and wonder how it all came together.
- Simple Ingredients, Real Results : You don’t need a trip to a specialty store. Flour, water, sourdough starter, pumpkin puree, butter, salt, and pepitas. That’s it. No commercial yeast, no weird additives, no complicated dough conditioners.
- Perfect for Fall Mornings : Toast a slice of this, slather it with salted butter, and pour yourself a cup of coffee. That’s the kind of morning that makes everything feel right. It also pairs beautifully with something like cozy pumpkin spice cold foam coffee if you want to double down on the seasonal flavors.
- Crowd-Pleaser Status : I brought this to a Friendsgiving gathering last year, and it disappeared before the turkey hit the table. People who don’t usually care about bread were asking for the recipe. Kids loved the pepita crunch. Adults loved the complexity.
- Unbelievably Satisfying to Make : There’s something about watching a sourdough loaf come together that never gets old. The stretch and fold, the gentle rise, the sound of the crust cracking in the oven. This recipe delivers that experience without the frustration I went through my first few times.
This isn’t just another pumpkin recipe you’ll make once and forget. This is the one you’ll come back to every fall, the one you’ll text your friends about, the one that makes you feel like a real baker even if you’re still figuring things out.
What Ingredients You Will Need
Every ingredient here plays a specific role. Pumpkin adds moisture and color. The sourdough starter provides structure and that signature tang. Pepitas bring texture and a salty contrast. Nothing is wasted, and everything matters.
- Bread Flour (500g) : I use King Arthur bread flour for this recipe. The higher protein content (around 12.7%) gives the dough the strength it needs to hold the pumpkin without collapsing. All-purpose flour will work in a pinch, but the crumb won’t be quite as open and airy.
- Pumpkin Puree (200g) : Not pumpkin pie filling. Make sure you grab 100% pure pumpkin puree. I like Libby’s for consistency, but any brand works as long as it’s not seasoned or sweetened. If your puree looks watery, let it sit in a fine-mesh strainer for 30 minutes before using—this step alone saved my fourth loaf.
- Sourdough Starter (100g, active and bubbly) : Feed your starter 6-8 hours before you plan to mix the dough. It should be at its peak—doubled in size, full of bubbles, and smelling pleasantly sour. A sluggish starter will give you a dense loaf no matter how perfect everything else is.
- Water (200g, lukewarm) : The pumpkin already adds significant moisture, so we reduce the water compared to a standard sourdough recipe. Lukewarm water (around 80°F) helps the fermentation process without shocking the starter.
- Unsalted Butter (30g, softened) : Butter enriches the dough and adds tenderness. I prefer unsalted so I can control the salt level. If you only have salted butter, reduce the added salt by about a quarter teaspoon.
- Fine Sea Salt (10g) : Salt does more than add flavor. It strengthens the gluten structure and regulates fermentation. Don’t skip it, and don’t reduce it unless you’re on a strict low-sodium diet.
- Pepitas (50g, plus extra for topping) : Raw, shelled pumpkin seeds. I buy mine from the bulk bin at my local co-op. They toast beautifully on top of the loaf and add a nutty crunch throughout. For the best texture, toast them lightly in a dry pan before folding them into the dough.
- Optional Add-In : A tablespoon of maple syrup or honey if you want a slightly sweeter loaf. I’ve made it both ways and honestly prefer it without—the pumpkin’s natural sweetness is enough for me.
Equipment Needed
You don’t need a professional bakery setup to make this bread. Here’s what you’ll actually use:
- Digital Kitchen Scale : I cannot stress this enough. Baking by weight is more accurate than measuring cups, especially with sourdough. A $15 scale from Amazon works perfectly.
- Large Mixing Bowl : Go for glass or ceramic. Metal bowls can react with the dough over long fermentation periods.
- Dutch Oven (5.5 to 7 quarts) : This is the secret to that crackly, golden crust. The enclosed pot traps steam, which helps the bread expand and develop a beautiful crust. If you don’t have a Dutch oven, you can use a heavy baking sheet with a metal bowl inverted over the loaf.
- Bench Scraper : Makes handling the sticky dough so much easier. A plastic one is gentler on your work surface.
- Banneton or Proofing Basket : A round banneton gives the bread its classic shape and helps wick away moisture during the final proof. A colander lined with a floured kitchen towel works as a substitute.
- Razor Blade or Lame : For scoring the loaf before baking. A sharp knife works, but a lame gives you cleaner cuts and more control over the design.
- Parchment Paper : Essential for transferring the dough into the hot Dutch oven without burning yourself.
Preparation Method
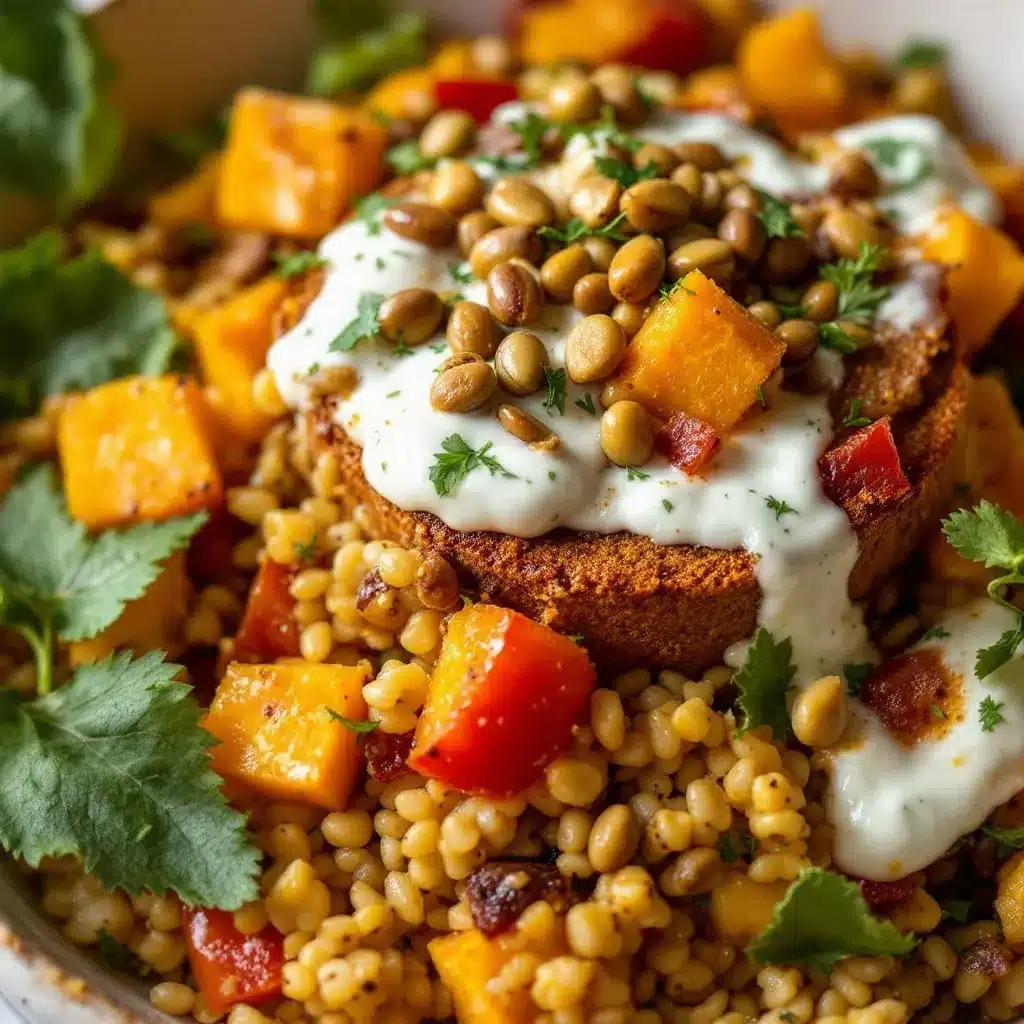
Take your time with this. Sourdough rewards patience, and rushing through the steps is exactly how I ended up with those first three failures.
- Mix the Dough (9:00 AM) : In a large bowl, combine 500g bread flour and 200g pumpkin puree. Add 200g lukewarm water and 100g active sourdough starter. Mix with your hands or a dough whisk until no dry flour remains. The dough will feel stiff and shaggy at this point—that’s normal. Let it rest for 30 minutes. This autolyse period allows the flour to fully hydrate and starts the gluten development naturally.
- Add the Salt and Butter (9:30 AM) : Sprinkle 10g fine sea salt over the dough. Add 30g softened butter. Squeeze and fold the dough until the salt and butter are fully incorporated. The dough will feel slick and slightly greasy at first, but it will smooth out as you work. This takes about 3-4 minutes of folding.
- Bulk Fermentation with Stretch and Folds (9:45 AM to 1:45 PM) : Over the next 4 hours, perform a series of stretch and folds every 30 minutes. Wet your hands slightly to prevent sticking. Grab one side of the dough, stretch it upward, and fold it over the top. Rotate the bowl a quarter turn and repeat. Do this four times total per session. After the first two folds, you’ll notice the dough becoming smoother and more elastic. After the fourth fold (around 11:30 AM), fold in 50g pepitas by gently pressing them into the dough during the stretch and fold.
- Shape the Dough (2:00 PM) : Turn the dough out onto a lightly floured surface. Gently shape it into a round boule by folding the edges toward the center, then flipping it seam-side down. Use your bench scraper to create tension on the surface by dragging the dough toward you in small, circular motions. The dough should feel pillowy and alive, not tight or tearing.
- Final Proof in the Banneton (2:15 PM) : Lightly flour your banneton or lined bowl. Place the dough seam-side up. Cover with a clean kitchen towel and let it proof at room temperature for 2 hours. For a more developed flavor, you can refrigerate it overnight (12-14 hours). The cold fermentation slows down the yeast and allows the bacteria to produce more complex acids.
- Preheat the Oven (4:00 PM, or next morning) : Place your Dutch oven in the oven and preheat to 500°F. Let it heat for at least 30 minutes. A fully heated Dutch oven is crucial for that initial burst of steam.
- Score and Bake (4:30 PM) : Carefully remove the hot Dutch oven. Place a piece of parchment paper over the banneton and invert the dough onto it. Using a razor blade or lame, score the top with a deep slash (about 1/2 inch deep). I do a simple single crescent shape, but you can get creative. Sprinkle extra pepitas over the top and gently press them into the dough. Lower the dough into the Dutch oven using the parchment as a sling. Cover and bake at 500°F for 20 minutes. Reduce the temperature to 450°F, remove the lid, and bake for another 25-30 minutes until the crust is deep amber and the internal temperature reaches 205-210°F.
- Cool Completely (5:20 PM onward) : Transfer the bread to a wire rack. This is the hardest part—you have to let it cool completely before slicing, at least 2 hours. Cutting into warm sourdough compresses the crumb and makes it gummy. I learned this the hard way with loaf number two.
Cooking Tips & Techniques
Here’s what I wish someone had told me before I started this journey.
Watch Your Hydration : Pumpkin puree varies in water content depending on the brand and even the batch. If your dough feels excessively sticky during the first stretch and fold, resist the urge to add more flour. Instead, give it time. Sometimes the dough just needs another 30 minutes of rest to absorb the moisture. If it’s still unmanageable after the second fold, add a tablespoon of flour at a time until it feels right.
Temperature Matters More Than You Think : Sourdough fermentation is temperature-sensitive. If your kitchen is cold (below 68°F), your bulk fermentation might take 5-6 hours instead of 4. If it’s warm (above 78°F), check the dough at 3 hours. I keep a small thermometer near my mixing bowl to track ambient temperature. It sounds obsessive, but it made a huge difference in my consistency.
Don’t Skip the Toasted Pepitas : Raw pepitas are fine, but toasting them first brings out their nutty flavor and ensures they stay crunchy inside the bread. Spread them on a baking sheet and toast at 350°F for 5-7 minutes, shaking halfway through. Let them cool completely before adding them to the dough.
The Finger Dent Test : Instead of relying strictly on time, use the finger dent test to know when your dough is ready to bake. Gently press a floured finger into the dough. If the indent springs back slowly and leaves a small impression, it’s ready. If it springs back immediately, it needs more time. If the indent stays and doesn’t bounce back at all, you’ve over-proofed.
My Biggest Failure : Loaf number three taught me that pumpkin sourdough is more forgiving than I thought. I had accidentally used cold water straight from the tap, which slowed down my fermentation so much that the dough barely rose after 6 hours. Instead of throwing it out, I moved the bowl to a warm spot near my oven and let it go overnight. The next morning, it was perfect. Sometimes the dough just needs a little extra time and warmth.
Variations & Adaptations
This recipe is a great base, and I’ve played around with it more times than I can count.
- Whole Wheat Version : Replace 200g of the bread flour with whole wheat flour. The bread will be denser and more rustic, with a deeper, earthier flavor. Add an extra 25g of water since whole wheat absorbs more moisture.
- Spiced Pumpkin Sourdough : Add 1 teaspoon cinnamon, 1/2 teaspoon nutmeg, 1/2 teaspoon ginger, and 1/4 teaspoon cloves to the flour before mixing. This turns the bread into something that tastes like fall in every bite. I made this version for Thanksgiving last year and it was a hit.
- Cheese and Herb Twist : Fold in 100g of sharp cheddar cheese (cut into small cubes) and 2 tablespoons of fresh rosemary along with the pepitas. The cheese melts into the dough, creating pockets of savory goodness. This version is incredible toasted with a little butter.
- Gluten-Free Adaptation : I’ll be honest—I haven’t perfected a gluten-free version of this yet. Gluten-free sourdough is a whole different beast. But if you have a reliable gluten-free sourdough starter, you can try substituting a gluten-free flour blend. Expect a denser, more cake-like texture.
- Sweet Version : Add 50g of brown sugar and 1 teaspoon of vanilla extract to the dough during the initial mix. Brush the top of the baked loaf with melted butter and sprinkle with cinnamon sugar. This makes an amazing breakfast bread or dessert.
Serving & Storage Suggestions
This bread is at its best the day it’s baked, but it stays good for several days if stored properly.
Serving : Let the bread cool completely before slicing. Serve at room temperature or lightly toasted. I love it with a generous smear of salted butter, but it’s also fantastic with cream cheese, apple butter, or even a drizzle of honey. For a savory option, use it for grilled cheese sandwiches—the pumpkin flavor pairs beautifully with sharp cheddar and caramelized onions.
Storage : Store the bread cut-side down on a wooden cutting board, wrapped in a clean kitchen towel. Never store sourdough in plastic—it traps moisture and makes the crust soft and chewy instead of crisp. It will keep for 3-4 days at room temperature. After that, it’s best used for toast or croutons.
Freezing : This bread freezes beautifully. Slice it first, then wrap the slices individually in plastic wrap and place them in a freezer bag. They’ll keep for up to 3 months. To thaw, just pop a slice in the toaster directly from the freezer. No need to defrost first.
Reheating : For the best texture, reheat slices in a toaster or under the broiler for 1-2 minutes per side. If you’re reheating a whole loaf, wrap it in foil and warm it in a 350°F oven for 10-15 minutes. The crust won’t be as crackly as fresh, but it’ll still be delicious.
Flavor Development : Here’s something interesting—the flavor of this bread actually improves on day two. The pumpkin and sourdough flavors meld together overnight, creating a more harmonious taste. So don’t be disappointed if your first slice doesn’t taste as complex as you expected. Give it a day.
Nutritional Information & Benefits
This bread isn’t health food, but it’s made with real ingredients and offers some surprising benefits.
Estimated Per Slice (1/12 of loaf) : Calories: 210, Fat: 5g, Carbohydrates: 36g, Fiber: 3g, Protein: 7g, Sugar: 2g. These values will vary based on your exact ingredients and slice thickness.
Pumpkin Benefits : Pumpkin is packed with vitamin A (beta-carotene), which supports eye health and immune function. It’s also a good source of fiber, which helps with digestion and keeps you feeling full longer. The natural sweetness means you can use less added sugar.
Pepita Power : Pumpkin seeds are rich in magnesium, zinc, and healthy fats. Magnesium supports muscle function and sleep quality. Zinc is important for immune health. The healthy fats help your body absorb fat-soluble vitamins from the pumpkin.
Sourdough Advantages : The fermentation process breaks down some of the gluten and phytic acid in the flour, making the bread easier to digest for some people. It also creates beneficial bacteria that support gut health. The lower glycemic index compared to commercial bread means it won’t spike your blood sugar as dramatically.
Dietary Considerations : This recipe is vegetarian and can be made dairy-free by substituting the butter with a plant-based alternative. It’s not gluten-free, but the fermentation does reduce gluten content slightly. Always check your starter and ingredients for potential allergens.
FAQs
Can I use canned pumpkin pie filling instead of pure pumpkin puree?
No, please don’t. Pumpkin pie filling has added sugar, spices, and sometimes thickeners that will throw off the hydration and fermentation of your dough. Stick with 100% pure pumpkin puree. If you accidentally buy pie filling, save it for making chocolate chip pumpkin bread instead.
Why is my dough so sticky?
Pumpkin puree varies in water content, and some brands are wetter than others. If your dough feels excessively sticky, give it time. The flour will absorb the moisture during the autolyse and stretch and folds. If it’s still unmanageable after the second fold, add a tablespoon of flour at a time until it feels right.
Can I make this without a Dutch oven?
Absolutely. If you don’t have a Dutch oven, place a metal baking pan on the bottom rack of your oven and preheat it along with the oven. When you put the bread in, pour a cup of hot water into the pan to create steam. Bake the bread on a preheated baking sheet or pizza stone. The crust won’t be quite as dramatic, but it’ll still be delicious.
How do I know when my starter is active enough?
Your starter should be at its peak—doubled in size, full of bubbles, and smelling pleasantly sour. It should pass the float test: drop a small spoonful of starter into a glass of water. If it floats, it’s ready. If it sinks, give it another hour or two and test again. A weak starter will result in a dense loaf.
Can I add chocolate chips or dried fruit to this bread?
Yes, and I’ve done both. Add 100g of dark chocolate chips or 80g of dried cranberries along with the pepitas during the final stretch and fold. Just be aware that dried fruit will absorb some moisture from the dough, so you might need to add an extra tablespoon of water during the initial mix.
Conclusion
This pumpkin sourdough bread is the recipe I had to work for. It’s the one that made me a better baker, not because I got it right on the first try, but because I kept going when everything went wrong. And that’s the thing about sourdough—it teaches you patience. It teaches you to pay attention. It rewards you when you finally stop fighting the dough and start listening to it.
I hope you give this recipe a chance, even if you’re nervous. Start with the tips I shared. Trust your hands. And don’t be afraid to fail—I promise the next loaf will be better. When you make it, I’d love to hear how it turned out. Drop a comment below or tag me in your photos. Tell me about your own sourdough journey, your own kitchen failures and victories. That’s what makes this whole thing worth it—sharing bread and stories with people who get it.
Now go preheat your oven. Your best loaf is waiting.
Pin This Recipe!
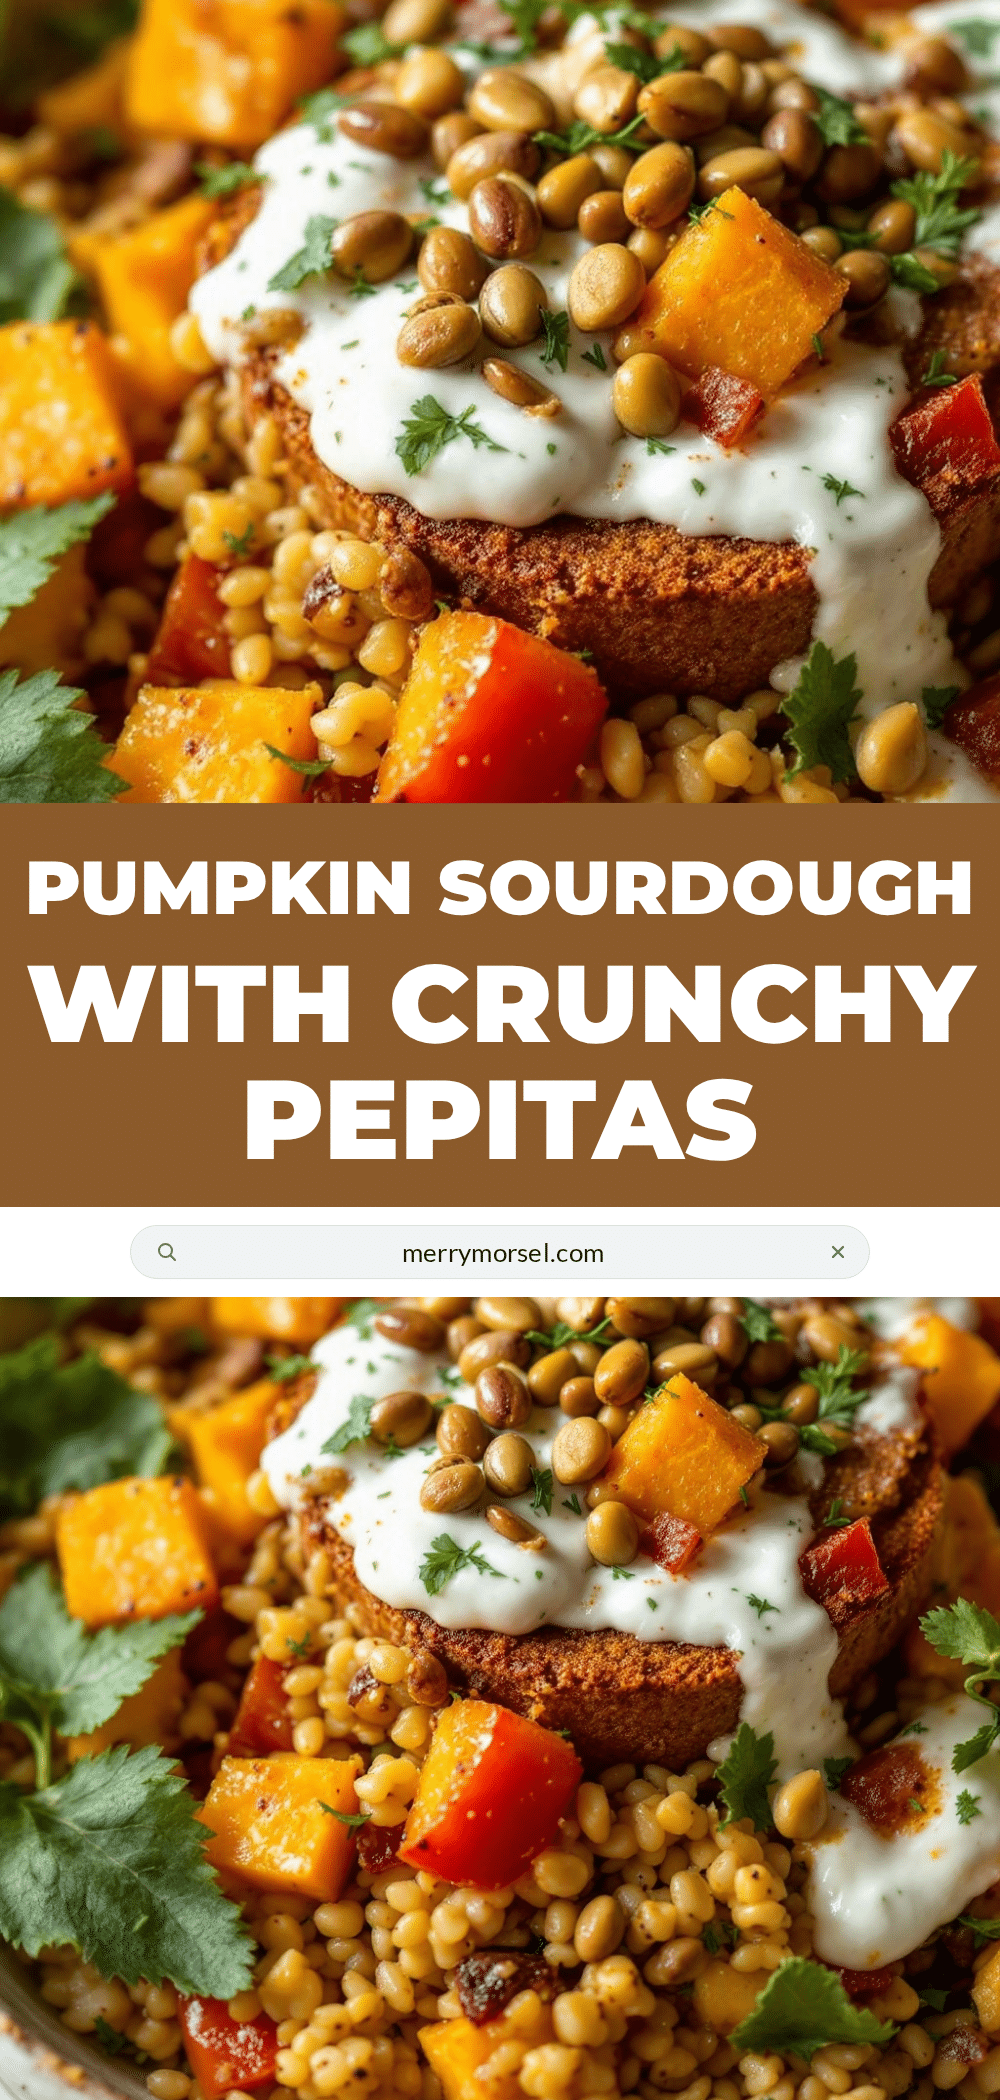
Perfect Pumpkin Sourdough Bread with Crunchy Pepitas

This isn’t your average pumpkin bread. It’s real sourdough—fermented, tangy, and deeply satisfying—with pumpkin puree woven right into the dough. The crust cracks beautifully, the crumb is soft but structured, and toasted pepitas add a salty crunch to every slice.
- Prep Time: 30 minutes
- Cook Time: 45 minutes
- Total Time: 8 hours (including fermentation and cooling)
- Yield: 12 servings 1x
- Category: Bread
- Cuisine: American
Ingredients
- 500g bread flour (about 4 cups)
- 200g pumpkin puree (about 3/4 cup)
- 100g active sourdough starter (about 1/2 cup)
- 200g lukewarm water (about 3/4 cup)
- 30g unsalted butter, softened (about 2 tablespoons)
- 10g fine sea salt (about 1 1/2 teaspoons)
- 50g raw pepitas, plus extra for topping (about 1/3 cup)
Instructions
- Mix the Dough (9:00 AM): In a large bowl, combine 500g bread flour and 200g pumpkin puree. Add 200g lukewarm water and 100g active sourdough starter. Mix with your hands or a dough whisk until no dry flour remains. The dough will feel stiff and shaggy. Let it rest for 30 minutes.
- Add the Salt and Butter (9:30 AM): Sprinkle 10g fine sea salt over the dough. Add 30g softened butter. Squeeze and fold the dough until the salt and butter are fully incorporated, about 3-4 minutes.
- Bulk Fermentation with Stretch and Folds (9:45 AM to 1:45 PM): Over the next 4 hours, perform a series of stretch and folds every 30 minutes. Wet your hands slightly. Grab one side of the dough, stretch it upward, and fold it over the top. Rotate the bowl a quarter turn and repeat four times total per session. After the fourth fold (around 11:30 AM), fold in 50g pepitas.
- Shape the Dough (2:00 PM): Turn the dough out onto a lightly floured surface. Gently shape it into a round boule by folding the edges toward the center, then flipping it seam-side down. Use a bench scraper to create tension on the surface.
- Final Proof in the Banneton (2:15 PM): Lightly flour your banneton or lined bowl. Place the dough seam-side up. Cover with a clean kitchen towel and let it proof at room temperature for 2 hours, or refrigerate overnight (12-14 hours) for more developed flavor.
- Preheat the Oven (4:00 PM or next morning): Place your Dutch oven in the oven and preheat to 500°F. Let it heat for at least 30 minutes.
- Score and Bake (4:30 PM): Carefully remove the hot Dutch oven. Place a piece of parchment paper over the banneton and invert the dough onto it. Score the top with a deep slash (about 1/2 inch deep). Sprinkle extra pepitas over the top and gently press them in. Lower the dough into the Dutch oven using the parchment as a sling. Cover and bake at 500°F for 20 minutes. Reduce temperature to 450°F, remove the lid, and bake for another 25-30 minutes until crust is deep amber and internal temperature …
- Cool Completely (5:20 PM onward): Transfer the bread to a wire rack. Let it cool completely before slicing, at least 2 hours.
Notes
Pumpkin puree varies in water content; if dough is too sticky, give it time to absorb moisture during autolyse and folds. For best results, toast pepitas lightly before adding. Use the finger dent test to check proofing readiness. Flavor improves on day two.
Nutrition
- Serving Size: 1 slice (1/12 of loa
- Calories: 210
- Sugar: 2
- Sodium: 390
- Fat: 5
- Saturated Fat: 2
- Carbohydrates: 36
- Fiber: 3
- Protein: 7
Keywords: pumpkin sourdough bread, sourdough bread, pumpkin bread, pepitas, fall baking, artisan bread, homemade bread