Love this? Save it for later!
Share the inspiration with your friends
My husband took a bite of this bread, stopped chewing, and just looked at me. Not in a dramatic way—more like he was trying to figure out if I’d accidentally bought it from a bakery. He asked for a second slice before he’d even swallowed the first, which is honestly the highest compliment I can get from a man who usually eats dessert with a straight face. I’d been messing around with a leftover can of pumpkin puree and two bananas that were practically begging to be used, and somehow this Moist Pumpkin Banana Bread with Toasted Walnuts came out of that experiment. It wasn’t planned. It wasn’t pretty at first. But that first bite—warm, tender, with that nutty crunch—made me realize I’d stumbled onto something worth repeating.
This isn’t one of those pumpkin breads that tastes more like spice than pumpkin. And it’s not a banana bread that disappears behind the pumpkin flavor. Somehow, both fruits get to shine here. The bananas add natural sweetness and that ultra-moist texture we all chase, while the pumpkin brings this velvety richness and a subtle earthiness that keeps you coming back. The toasted walnuts on top? They add just enough crunch to make every bite interesting. I’ve made this four times in the last two weeks (not exaggerating), and each time I tweaked something small. This version right here is the one that finally made my husband ask for the recipe. That’s when I knew it was ready to share.
Why You’ll Love This Recipe
Let me tell you why this bread keeps disappearing in my house faster than I can slice it. First off, it’s incredibly forgiving. You don’t need a stand mixer or any fancy technique—just a bowl, a whisk, and about ten minutes of active work. The rest is oven time. That’s my kind of baking, especially on a busy weekday morning or a lazy Sunday afternoon when I want the house to smell amazing without spending hours in the kitchen.
- Perfectly Moist Every Time: The combination of ripe bananas and pumpkin puree creates a texture that’s almost pudding-like—tender, soft, and never dry. I’ve tested this with different banana ripeness levels, and even slightly less-ripe bananas work fine.
- Simple Pantry Ingredients: You probably already have most of these in your kitchen. No weird flours or specialty extracts needed. Just good, honest ingredients that come together beautifully.
- Great for Fall Mornings or Cozy Afternoons: This bread works for breakfast with coffee, as an after-school snack, or even dessert with a scoop of vanilla ice cream. It’s versatile like that.
- Kid-Approved and Adult-Approved: My kids devour this without noticing the pumpkin (win), and adults love the sophisticated walnut crunch and warm spice blend.
- Freezes Like a Dream: Make two loaves and freeze one for later. It thaws perfectly and tastes just as fresh as the day you baked it.
What makes this version different from the dozens of pumpkin banana bread recipes out there? It’s the balance. I spent time tweaking the flour-to-pumpkin ratio so the bread isn’t gummy or dense. The toasted walnuts aren’t just thrown in—they’re toasted first to bring out their natural oils and flavor, then scattered on top so they stay crunchy instead of sinking into the batter. And the spice blend? It’s warm without being overwhelming. This bread makes you close your eyes after the first bite. It’s that good.
What Ingredients You Will Need
This recipe uses simple, wholesome ingredients to deliver that perfect moist texture and rich flavor. Most of these are pantry staples, which makes this an easy last-minute bake when you’re craving something cozy.
- All-purpose flour – 1 ¾ cups (210g). Provides structure without making the bread heavy. Spoon and level your flour for best results—don’t scoop directly from the bag.
- Baking soda – 1 teaspoon. Helps the bread rise and gives it a tender crumb. Make sure yours is fresh (not expired) for proper lift.
- Baking powder – ½ teaspoon. Adds extra lift alongside the baking soda.
- Ground cinnamon – 1 ½ teaspoons. The backbone of the warm spice blend. I use McCormick or simply organic brands for consistent flavor.
- Ground nutmeg – ½ teaspoon. Adds a subtle warmth that pairs beautifully with pumpkin and banana.
- Ground ginger – ¼ teaspoon. Optional, but I love the little kick it adds. Skip it if you prefer a milder spice profile.
- Salt – ½ teaspoon. Balances the sweetness and enhances all the flavors.
- Unsalted butter – ½ cup (1 stick, 113g), melted and slightly cooled. Butter gives richness and that classic bakery-style flavor. You can substitute coconut oil for a dairy-free version.
- Granulated sugar – ½ cup (100g). Adds sweetness and helps with browning.
- Light brown sugar – ½ cup (100g), packed. Adds moisture and a deeper, caramel-like sweetness. Dark brown sugar works too if that’s what you have.
- Large eggs – 2, at room temperature. Eggs bind the ingredients and add richness. Let them sit out for 30 minutes before starting.
- Vanilla extract – 1 teaspoon. Pure vanilla is best, but imitation works in a pinch.
- Ripe bananas – 2 medium (about 1 cup mashed). The riper the better—those spotty brown bananas are perfect here. They add natural sweetness and moisture.
- Pumpkin puree – 1 cup (240g). Use 100% pure pumpkin puree, not pumpkin pie filling. Libby’s is my go-to brand for consistent texture and flavor.
- Toasted walnuts – ¾ cup (85g), roughly chopped. Toast them first in a dry skillet or oven for 5-7 minutes until fragrant. This step makes a huge difference in flavor.
Equipment Needed
You don’t need a fully stocked bakery kitchen for this recipe. Most of these tools are probably already in your cabinets.
- 9×5-inch loaf pan – Standard size works perfectly. If you use an 8×4-inch pan, increase the baking time by 5-10 minutes.
- Mixing bowls – One large and one medium. Glass or stainless steel are my favorites.
- Whisk – For combining dry ingredients and mixing the wet ingredients smoothly.
- Rubber spatula – For folding everything together without overmixing. I’ve ruined plenty of quick breads by overmixing—trust me, a gentle hand matters.
- Measuring cups and spoons – Dry measuring cups for flour and sugar, liquid measuring cup for pumpkin puree.
- Parchment paper – Not strictly necessary, but it makes lifting the bread out of the pan so much easier. I line my pan with a sling of parchment paper.
- Cooling rack – Allows air to circulate around the bread so it cools evenly and doesn’t get soggy on the bottom.
- Small skillet or baking sheet – For toasting the walnuts. A dry skillet on medium heat works in about 5 minutes.
Preparation Method
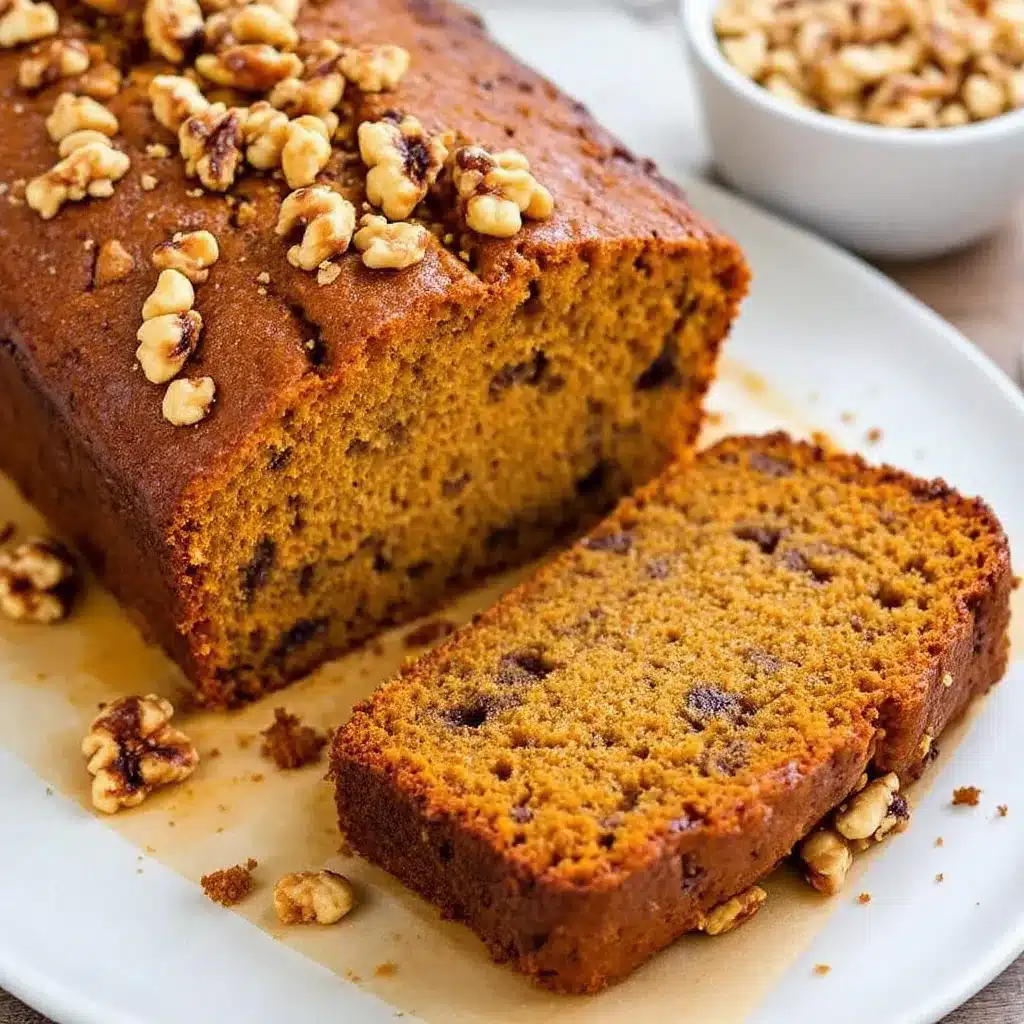
Now let’s get to the fun part—making this bread. I’ll walk you through every step so you feel confident, even if you’re new to baking quick breads.
- Preheat your oven to 350°F (175°C). Position the rack in the center of the oven. Grease a 9×5-inch loaf pan with butter or nonstick spray, then line it with parchment paper, leaving some overhang on the long sides. This makes lifting the bread out effortless later.
- Toast the walnuts. Spread the chopped walnuts in a single layer on a baking sheet or in a dry skillet. Toast them in the preheating oven for 5-7 minutes, or on the stovetop over medium heat for 4-5 minutes, stirring frequently. You’ll know they’re done when they smell nutty and look lightly golden. Set them aside to cool while you prepare the batter.
- Whisk the dry ingredients together. In a medium bowl, combine the all-purpose flour, baking soda, baking powder, cinnamon, nutmeg, ginger, and salt. Whisk until everything is evenly distributed. This ensures the spices and leavening agents are spread throughout the batter without overmixing later.
- Mash the bananas. In a separate large bowl, mash the ripe bananas with a fork or potato masher until smooth with a few small lumps remaining. You want about 1 cup of mashed banana. Too smooth and the texture changes; too chunky and you’ll get banana pockets (which isn’t the worst thing, honestly).
- Mix the wet ingredients. Add the melted butter (cooled slightly), granulated sugar, brown sugar, eggs, vanilla extract, and pumpkin puree to the mashed bananas. Whisk everything together until smooth and well combined. The mixture will look glossy and smell amazing already.
- Combine wet and dry ingredients. Pour the dry ingredients into the wet ingredients. Use a rubber spatula to fold them together gently. Stir just until you no longer see streaks of flour—about 10-12 strokes. A few lumps are totally fine. Overmixing at this stage will make your bread tough and dense. I learned this the hard way after making hockey puck banana bread in my early baking days.
- Fold in the toasted walnuts. Reserve about 2 tablespoons of the toasted walnuts for topping. Gently fold the remaining walnuts into the batter with a few quick strokes. Don’t overmix here either—just until they’re evenly distributed.
- Pour the batter into the prepared pan. Use the spatula to spread it evenly. Sprinkle the reserved walnuts on top, pressing them gently into the batter so they stick during baking.
- Bake for 50-60 minutes. Start checking at 50 minutes. The bread is done when a toothpick inserted into the center comes out clean or with just a few moist crumbs. If the top is browning too quickly (after about 40 minutes), loosely tent the pan with aluminum foil.
- Cool in the pan for 15 minutes. Then lift the bread out using the parchment paper sling and transfer it to a wire rack to cool completely. I know it’s tempting to slice into it warm, but letting it cool fully gives you cleaner slices and better texture. If you can’t wait (I never can), warm slices are delicious too.
Cooking Tips & Techniques
After making this bread multiple times, I’ve picked up a few tricks that make a real difference. Here are my best tips for perfect results every time.
Don’t overmix the batter. This is the number one mistake I see with quick breads. Mix until the flour disappears, then stop. Overdeveloped gluten makes bread tough and rubbery. A few lumps are your friend here.
Use room temperature ingredients. Cold eggs and cold butter don’t emulsify as well with the other ingredients. Let your eggs sit out for 30 minutes before starting. If you forget, place them in a bowl of warm water for 5 minutes.
Toast your walnuts. This step is non-negotiable in my kitchen. Raw walnuts taste bitter and flat. Toasting them brings out their natural oils and adds a warm, nutty flavor that elevates the whole bread. I’ve forgotten this step before, and the difference is noticeable.
Check for doneness early. Every oven runs differently. Start checking your bread at 50 minutes, even if the recipe says 55-60. Insert a toothpick in the center—if it comes out clean, it’s done. If there’s wet batter, give it 5 more minutes and check again.
Let it cool completely. I know this is hard, but cooling on a wire rack for at least an hour helps the bread set properly. Slicing too early can make it fall apart or seem gummy. If you absolutely must have a warm slice (I get it), use a serrated knife and cut gently.
Variations & Adaptations
One of the best things about this recipe is how adaptable it is. Here are some variations I’ve tried and loved.
Gluten-Free Version: Substitute the all-purpose flour with a 1:1 gluten-free baking flour blend (I like Bob’s Red Mill). The texture will be slightly more crumbly but still delicious. Add 1 teaspoon of xanthan gum if your blend doesn’t already include it.
Dairy-Free Version: Swap the butter with melted coconut oil or a neutral vegetable oil. The bread will be slightly less rich but still moist and flavorful. Use dairy-free chocolate chips instead of walnuts for a fun twist.
Chocolate Chip Pumpkin Banana Bread: Fold in ½ cup of semi-sweet chocolate chips along with the walnuts. The combination of pumpkin, banana, and chocolate is surprisingly amazing—my kids’ favorite version by far.
Spice It Up: Add ¼ teaspoon of cloves or allspice for a deeper, more complex spice profile. Or swap the cinnamon for pumpkin pie spice if you prefer a pre-mixed blend.
Nut-Free Option: Skip the walnuts entirely or substitute with pepitas (pumpkin seeds) or sunflower seeds for crunch without the allergens. Toasted pepitas add a lovely green pop on top.
Serving & Storage Suggestions
This bread is incredibly versatile when it comes to serving. Here’s how I like to enjoy it.
Serving: Serve slices at room temperature or slightly warmed. A quick 10-second zap in the microwave brings back that fresh-from-the-oven warmth. Spread a little salted butter or cream cheese on top for extra indulgence. For a dessert twist, toast a slice and top it with vanilla ice cream and a drizzle of caramel sauce.
Storage: Store the bread in an airtight container at room temperature for up to 4 days. The moisture actually improves after day one—the flavors meld together and the texture becomes even more tender. If you live in a humid climate, refrigerate it to prevent mold.
Freezing: This bread freezes beautifully. Wrap the cooled loaf tightly in plastic wrap, then in aluminum foil, and freeze for up to 3 months. To thaw, leave it on the counter overnight or unwrap and microwave individual slices for 20-30 seconds. You can also freeze pre-sliced pieces for easy grab-and-go breakfasts.
Reheating: For best results, reheat slices in a toaster oven or air fryer at 350°F for 3-4 minutes. This crisps up the edges slightly while keeping the inside soft. The microwave works too, but the texture won’t be as nice.
Nutritional Information & Benefits
While this bread is definitely a treat, it does have some nutritional perks worth mentioning. Here’s a rough estimate per slice (based on 10 slices):
- Calories: Approximately 280
- Fat: 14g (mostly from walnuts and butter)
- Carbohydrates: 36g
- Fiber: 3g
- Sugar: 18g
- Protein: 5g
- Vitamin A: 85% of daily value (from pumpkin)
- Potassium: 200mg (from bananas)
Health Highlights: Pumpkin is packed with vitamin A and antioxidants, while bananas provide potassium and natural sweetness. Walnuts offer healthy omega-3 fatty acids and a satisfying crunch. This bread is also a great way to use up overripe bananas and leftover pumpkin puree, reducing food waste in your kitchen.
Dietary Considerations: This recipe can easily be made gluten-free or dairy-free (see variations above). It’s not low-carb or keto-friendly due to the sugar and flour, but it’s a wholesome treat that feels nourishing rather than indulgent.
Conclusion
This Moist Pumpkin Banana Bread with Toasted Walnuts has quickly become a staple in my kitchen, and I have a feeling it will become one in yours too. It’s the kind of recipe that feels special enough for holiday mornings but simple enough for a random Tuesday afternoon. The combination of pumpkin and banana creates a texture that’s almost magical—tender, moist, and full of flavor without being heavy.
I love that this bread adapts to whatever I have on hand. Sometimes I add chocolate chips for the kids, other times I double the walnuts because that’s what I’m craving. It’s forgiving, it’s delicious, and it makes your whole house smell like fall. If you make this recipe (and I really hope you do), I’d love to hear how it turns out. Leave a comment below or tag me in your photos—I genuinely read every single one. Happy baking, friend!
Frequently Asked Questions
Can I use frozen bananas for this recipe?
Absolutely! Thaw them completely, then drain off any excess liquid before mashing. Frozen bananas actually break down more easily and can make the bread even more moist. Just be sure to squeeze out the extra moisture so the batter doesn’t become too wet.
Why did my bread sink in the middle?
This usually happens when the bread is underbaked or if you opened the oven door too early. Try not to open the oven for the first 40 minutes of baking. If the center sinks after cooling, it likely needed 5-10 more minutes in the oven. Next time, check with a toothpick and make sure it comes out clean.
Can I make this into muffins instead of a loaf?
Yes! This batter works great as muffins. Fill greased muffin tins about ¾ full and bake at 350°F for 18-22 minutes, or until a toothpick comes out clean. You’ll get about 12-14 muffins. This is my go-to for quick breakfasts during busy school mornings.
How do I know when my bananas are ripe enough?
Look for bananas with plenty of brown spots on the peel. They should feel soft to the touch and smell sweet. If your bananas are still yellow, you can speed up the ripening process by placing them in a paper bag with an apple overnight. Green bananas won’t give you the same sweetness or moisture.
Can I skip the walnuts?
Of course! The bread is still delicious without them. You can substitute with chocolate chips, dried cranberries, or leave it plain. If you’re serving someone with nut allergies, I recommend toasting some pepitas (pumpkin seeds) instead for a similar crunchy texture without the allergens.
Pin This Recipe!
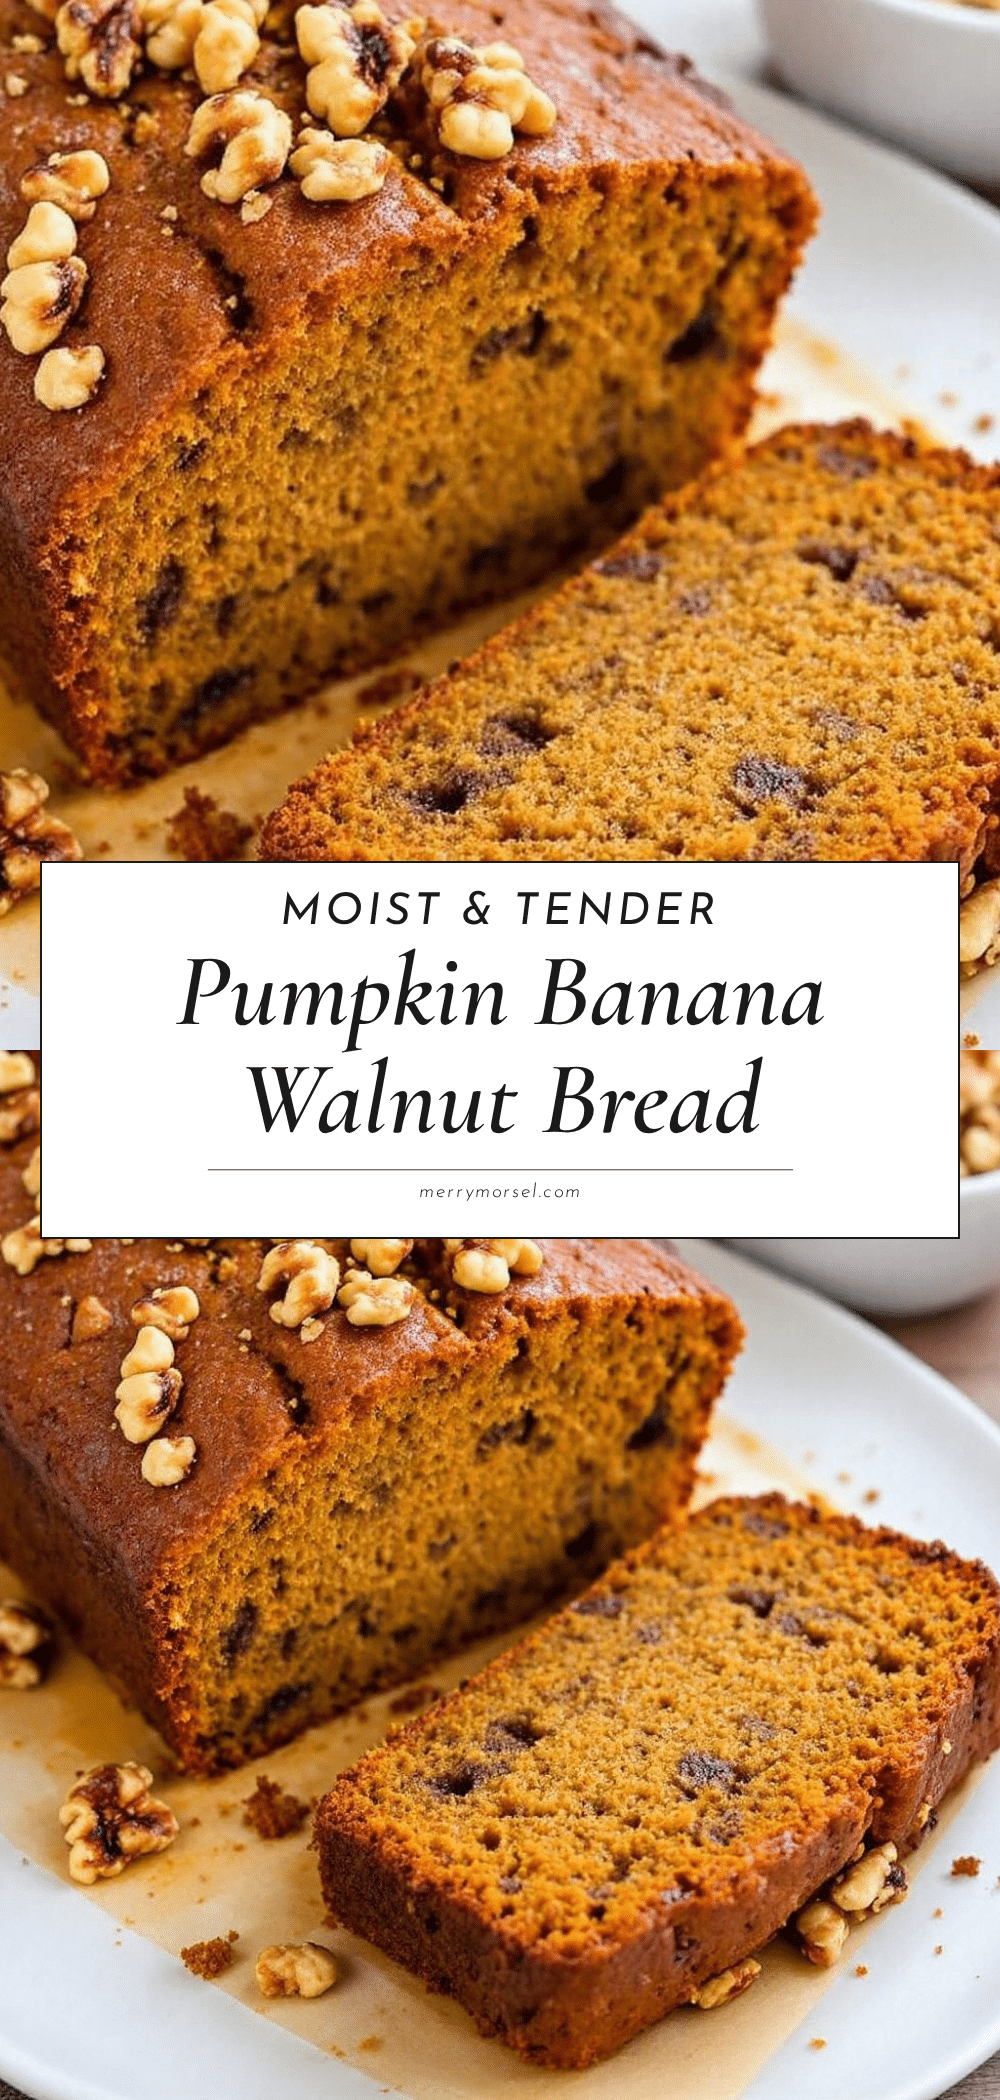
Moist Pumpkin Banana Bread with Toasted Walnuts
This Moist Pumpkin Banana Bread with Toasted Walnuts combines ripe bananas and pumpkin puree for an ultra-moist texture, topped with crunchy toasted walnuts. It’s a forgiving, pantry-friendly recipe that’s perfect for fall mornings or cozy afternoons.
- Prep Time: 15 minutes
- Cook Time: 55 minutes
- Total Time: 1 hour 10 minutes
- Yield: 10 servings 1x
- Category: Dessert
- Cuisine: American
Ingredients
- 1 ¾ cups (210g) all-purpose flour
- 1 teaspoon baking soda
- ½ teaspoon baking powder
- 1 ½ teaspoons ground cinnamon
- ½ teaspoon ground nutmeg
- ¼ teaspoon ground ginger
- ½ teaspoon salt
- ½ cup (1 stick, 113g) unsalted butter, melted and slightly cooled
- ½ cup (100g) granulated sugar
- ½ cup (100g) light brown sugar, packed
- 2 large eggs, at room temperature
- 1 teaspoon vanilla extract
- 2 medium ripe bananas (about 1 cup mashed)
- 1 cup (240g) pumpkin puree (100% pure, not pumpkin pie filling)
- ¾ cup (85g) toasted walnuts, roughly chopped
Instructions
- Preheat your oven to 350°F (175°C). Position the rack in the center of the oven. Grease a 9×5-inch loaf pan with butter or nonstick spray, then line it with parchment paper, leaving some overhang on the long sides.
- Toast the walnuts: Spread the chopped walnuts in a single layer on a baking sheet or in a dry skillet. Toast in the preheating oven for 5-7 minutes, or on the stovetop over medium heat for 4-5 minutes, stirring frequently, until fragrant and lightly golden. Set aside to cool.
- Whisk the dry ingredients together: In a medium bowl, combine the all-purpose flour, baking soda, baking powder, cinnamon, nutmeg, ginger, and salt. Whisk until evenly distributed.
- Mash the bananas: In a separate large bowl, mash the ripe bananas with a fork or potato masher until smooth with a few small lumps remaining (about 1 cup).
- Mix the wet ingredients: Add the melted butter (cooled slightly), granulated sugar, brown sugar, eggs, vanilla extract, and pumpkin puree to the mashed bananas. Whisk until smooth and well combined.
- Combine wet and dry ingredients: Pour the dry ingredients into the wet ingredients. Use a rubber spatula to fold them together gently, just until no streaks of flour remain (about 10-12 strokes). A few lumps are fine; do not overmix.
- Fold in the toasted walnuts: Reserve about 2 tablespoons of the toasted walnuts for topping. Gently fold the remaining walnuts into the batter with a few quick strokes.
- Pour the batter into the prepared pan and spread evenly. Sprinkle the reserved walnuts on top, pressing them gently into the batter.
- Bake for 50-60 minutes. Start checking at 50 minutes; the bread is done when a toothpick inserted into the center comes out clean or with a few moist crumbs. If the top browns too quickly (after about 40 minutes), loosely tent with aluminum foil.
- Cool in the pan for 15 minutes, then lift the bread out using the parchment paper sling and transfer to a wire rack to cool completely before slicing.
Notes
For best results, use room temperature eggs and do not overmix the batter. Toasting the walnuts is essential for flavor. The bread can be stored in an airtight container at room temperature for up to 4 days, or frozen for up to 3 months.
Nutrition
- Serving Size: 1 slice
- Calories: 280
- Sugar: 18
- Sodium: 220
- Fat: 14
- Saturated Fat: 6
- Carbohydrates: 36
- Fiber: 3
- Protein: 5
Keywords: pumpkin banana bread, moist pumpkin bread, banana walnut bread, fall baking, quick bread, easy pumpkin recipe


