Love this? Save it for later!
Share the inspiration with your friends
My sister-in-law called me on a Tuesday, frustrated that her husband had declared he was “done with pasta” after starting a new low-carb diet. She asked why I couldn’t just swap the lasagna noodles for zucchini and roll it all up like a burrito. I started to explain why that wouldn’t work—the water content, the structural integrity, the whole science of it. Then I stopped. Honestly, I had no good reason other than I’d never tried it. So I grabbed a zucchini, a mandoline, and a little bit of faith, and I figured it out in my own kitchen that weekend. The result? These Healthy Zucchini Noodle Lasagna Roll-Ups that are so good, I actually prefer them to the original now. There was a moment where one roll-up completely fell apart on my cutting board—I just scooped it into the baking dish anyway, and it tasted perfect. That little mess taught me something about not overstuffing. Maybe you’ve been there, staring at a spiral of zucchini and wondering if it could really replace that comforting, cheesy hug of lasagna. Let me tell you, it can. This recipe stayed with me because it solved a real problem—how to keep the soul of lasagna without the carb crash—and it turned out better than I ever expected.
Why You’ll Love This Recipe
I’ve tested this recipe about seven times to get the texture just right. The first batch was a watery mess. The second was too dry. But by the fourth try, I had that perfect bite—tender zucchini wrapped around creamy ricotta, savory meat sauce, and melty cheese. This isn’t just another healthy swap; it’s the version that actually delivers on flavor and satisfaction.
- Quick & Easy: Comes together in about 45 minutes, with just 15 minutes of active prep. Perfect for a weeknight when you want something hearty without spending hours in the kitchen.
- Simple Ingredients: You likely have most of these in your fridge and pantry right now. No fancy health food store trips required.
- Perfect for Meal Prep: These roll-ups hold up beautifully in the fridge for up to four days, making them a lifesaver for busy weeks.
- Crowd-Pleaser: I’ve served these to kids, picky eaters, and full-on pasta purists. Every single person went back for seconds.
- Unbelievably Delicious: The texture is tender but not mushy, the filling is rich and creamy, and the cheese on top gets that golden, bubbly perfection we all crave.
What makes this recipe different from the rest? It’s the salting technique. Most recipes skip this step or rush through it, but taking the time to draw out the moisture from the zucchini ribbons is what prevents that dreaded soggy bottom. This is the kind of recipe that makes you close your eyes after the first bite—comfort food reimagined, healthier, faster, but with the same soul-soothing satisfaction. Perfect for impressing guests without stress, or turning a simple Tuesday dinner into something memorable.
What Ingredients You Will Need
This recipe uses simple, wholesome ingredients to deliver bold flavor and satisfying texture without the fuss. Most are pantry staples, and the zucchini is the star that makes it all work.
- Zucchini: 3 large zucchini (about 2 pounds total), ends trimmed. Look for firm, straight zucchini for easier slicing. I prefer medium-sized ones—they have fewer seeds and hold their shape better.
- Salt: 1 teaspoon kosher salt, for drawing moisture out of the zucchini ribbons. This step is non-negotiable for the texture.
- Ground Beef: 1 pound lean ground beef (90/10). You can substitute ground turkey or Italian sausage for a different flavor profile.
- Onion: 1 small yellow onion, finely diced. About 1 cup.
- Garlic: 3 cloves garlic, minced. Fresh is best here—don’t use the jarred stuff for this recipe.
- Tomato Sauce: 1 can (15 ounces) tomato sauce. I recommend Muir Glen or San Marzano for the best flavor.
- Diced Tomatoes: 1 can (14.5 ounces) diced tomatoes, drained. Fire-roasted adds a nice smoky depth.
- Italian Seasoning: 2 teaspoons dried Italian seasoning. Or use 1 teaspoon each dried basil and oregano.
- Red Pepper Flakes: ½ teaspoon, optional for a little heat.
- Salt and Pepper: To taste.
- Ricotta Cheese: 1 cup whole milk ricotta. Part-skim works too, but whole milk gives a creamier filling.
- Egg: 1 large egg, lightly beaten. This helps bind the ricotta filling.
- Parmesan Cheese: ½ cup grated Parmesan, plus more for topping.
- Fresh Basil: ¼ cup fresh basil, chopped, plus extra for garnish.
- Mozzarella Cheese: 1 cup shredded mozzarella. Low-moisture, part-skim works best—it melts beautifully without making everything watery.
- Olive Oil: 1 tablespoon olive oil, for sautéing.
Equipment Needed
You don’t need a lot of fancy equipment for this recipe, which is one of the reasons I love it. A good vegetable peeler or mandoline slicer is your best friend here. I use a Y-shaped peeler for the zucchini ribbons—it gives me thin, even slices without the risk of slicing my fingers. If you have a mandoline, set it to about ⅛-inch thickness.
You’ll also need a large baking dish (a 9×13 works perfectly), a large skillet for the meat sauce, a mixing bowl for the ricotta filling, and a clean kitchen towel or paper towels for blotting the zucchini. A sharp knife and cutting board are essential. For the salting step, a colander or a wire rack set over a baking sheet helps catch the moisture. If you don’t have a mandoline, don’t worry—a steady hand with a sharp knife works just fine, though the slices might be a little thicker. Just adjust your rolling technique accordingly.
Preparation Method
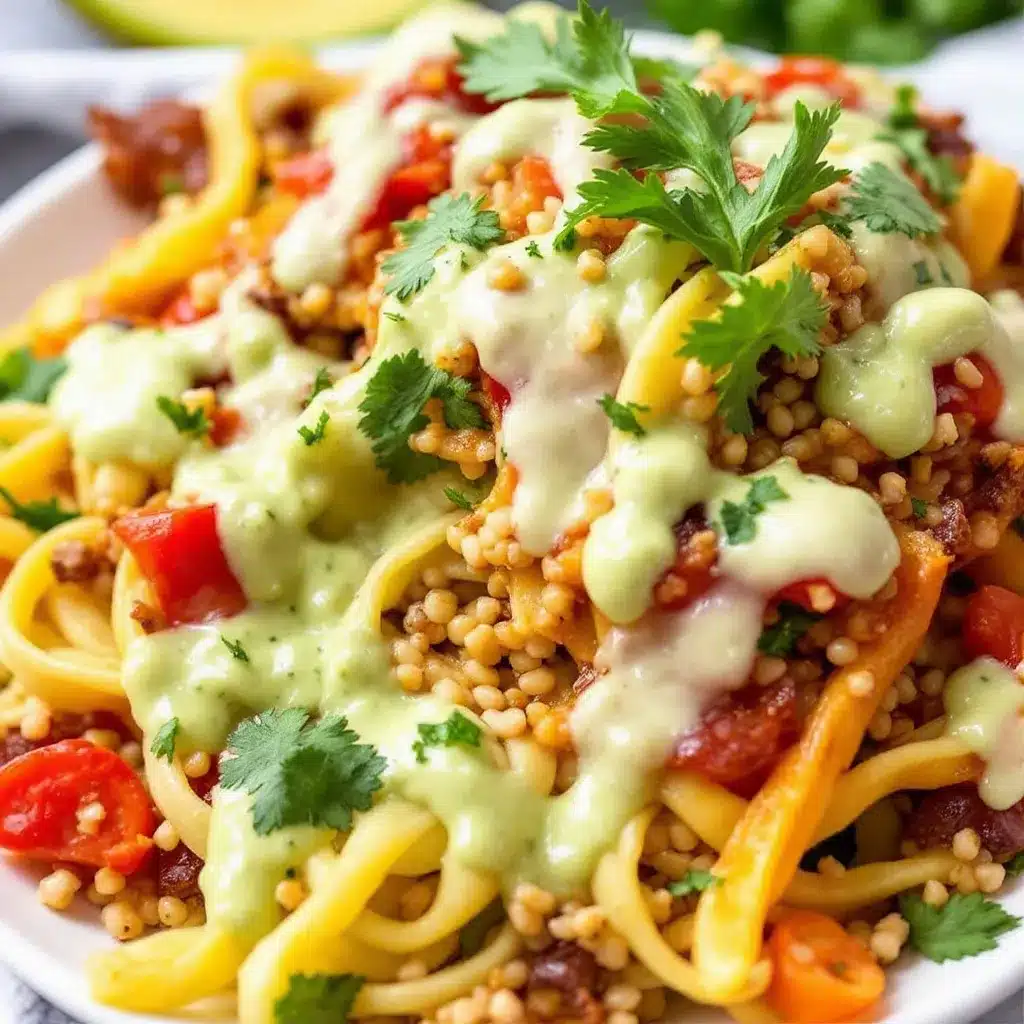
Let’s walk through this step by step. I’ve included time estimates and sensory cues so you know exactly what to look for at each stage.
- Prepare the Zucchini Ribbons (10 minutes): Using a Y-shaped peeler or mandoline, slice each zucchini lengthwise into ⅛-inch thick ribbons. You should get about 8 to 10 ribbons per zucchini. Discard the first and last slices—they’re mostly skin and won’t roll well. Lay the ribbons in a single layer on a clean kitchen towel or paper towels. Sprinkle both sides with the kosher salt. Let them sit for 10 minutes. You’ll see beads of moisture form on the surface—that’s the salt drawing out excess water. After 10 minutes, gently pat the ribbons dry with another towel. This step is crucial. Skip it, and you’ll have watery roll-ups.
- Make the Meat Sauce (15 minutes): While the zucchini rests, heat the olive oil in a large skillet over medium-high heat. Add the diced onion and cook for 3-4 minutes, until translucent and fragrant. Add the minced garlic and cook for 30 seconds, just until you can smell it. Add the ground beef, breaking it up with a wooden spoon. Cook for 5-6 minutes, until browned and no longer pink. The kitchen should smell savory and rich at this point. Drain any excess fat if needed. Stir in the tomato sauce, diced tomatoes, Italian seasoning, red pepper flakes, and a pinch of salt and pepper. Reduce the heat to low and let it simmer while you prepare the filling. Taste it—it should be well-seasoned and slightly tangy from the tomatoes.
- Prepare the Ricotta Filling (5 minutes): In a medium bowl, combine the ricotta, beaten egg, grated Parmesan, and chopped basil. Stir until smooth and well combined. Season with a pinch of salt and pepper. The mixture should be creamy and thick, not runny. If it seems too loose, add another tablespoon of Parmesan to tighten it up.
- Assemble the Roll-Ups (10 minutes): Preheat your oven to 375°F (190°C). Spread about ½ cup of the meat sauce evenly over the bottom of your 9×13 baking dish. Now, take one zucchini ribbon and lay it flat on your work surface. Spoon about 1 tablespoon of the ricotta mixture along the bottom third of the ribbon, spreading it gently. Place about 1 tablespoon of the meat sauce on top of the ricotta. Starting at the filled end, roll the zucchini ribbon up tightly, like a little sleeping bag. Place the roll-up seam-side down in the baking dish. Repeat with the remaining ribbons. You should get about 12 to 15 roll-ups, depending on the size of your zucchini. Don’t worry if they look a little uneven—that’s the charm of homemade.
- Bake (20 minutes): Spoon the remaining meat sauce over the roll-ups, making sure each one gets a little coverage. Sprinkle the shredded mozzarella evenly on top. Bake for 18-20 minutes, until the cheese is melted and bubbly and the edges are just starting to brown. If you want a deeper golden top, switch the oven to broil for the last 2 minutes—watch it closely so it doesn’t burn.
- Rest and Serve (5 minutes): Let the dish rest for 5 minutes before serving. This allows the juices to settle and makes the roll-ups easier to lift out. Garnish with fresh basil and extra Parmesan. The roll-ups should be tender but still hold their shape when you cut into them.
Cooking Tips & Techniques
I learned the hard way that not all zucchini are created equal. If your zucchini is particularly watery or seedy, it will release more moisture during baking. That’s why the salting and patting dry step is so important. I once skipped it because I was in a hurry, and my roll-ups turned into a soupy mess. Never again.
Another tip: don’t overfill the ribbons. It’s tempting to pack in as much filling as possible, but too much will cause the roll-ups to burst open during baking. About 2 tablespoons of filling per ribbon is the sweet spot. If a ribbon tears, don’t panic—just overlap two smaller pieces to create a larger one, or place the torn side against the seam so it stays closed.
For the best texture, use low-moisture mozzarella rather than fresh mozzarella. Fresh mozzarella has too much water and will make your dish soggy. I also recommend grating your own Parmesan—the pre-shredded stuff has anti-caking agents that don’t melt as smoothly.
If you’re making this for meal prep, assemble the roll-ups completely but don’t bake them. Cover the dish tightly with foil and refrigerate for up to 24 hours. When you’re ready to eat, add an extra 5-7 minutes to the baking time since you’re starting from cold.
Variations & Adaptations
This recipe is incredibly flexible, which is why it’s become a staple in my kitchen. Here are a few ways to switch it up:
- Vegetarian Version: Skip the ground beef and use a mix of sautéed mushrooms, spinach, and crumbled tofu or plant-based ground meat. The mushrooms add that umami richness that mimics the meat sauce beautifully.
- Dairy-Free Adaptation: Use dairy-free ricotta (cashew-based works wonderfully) and vegan mozzarella shreds. The salting step becomes even more important here since dairy-free cheeses can release extra moisture.
- Spicy Kick: Add ½ teaspoon of red pepper flakes to the meat sauce and use pepper jack cheese instead of mozzarella. It gives the roll-ups a nice warmth without overwhelming the other flavors.
- Pesto Version: Swap the ricotta filling for a mixture of ½ cup pesto and ½ cup ricotta. It’s a completely different flavor profile—bright, herby, and perfect for summer.
- Chicken or Turkey: Ground chicken or turkey works perfectly in place of beef. Just be sure not to overcook it, as lean poultry can dry out quickly. Add a tablespoon of olive oil to the pan if needed.
I once tried a version with roasted red peppers and spinach mixed into the ricotta filling. It was fantastic—the sweetness of the peppers balanced the savory meat sauce. That’s the beauty of this recipe: it’s a canvas for whatever you have on hand.
Serving & Storage Suggestions
These roll-ups are best served warm, right out of the oven, with the cheese still stretchy and the sauce bubbling around the edges. I like to serve them with a simple side salad dressed with lemon vinaigrette—the acidity cuts through the richness of the cheese. A side of roasted broccoli or green beans also pairs beautifully.
For storage, let the roll-ups cool completely before transferring them to an airtight container. They’ll keep in the refrigerator for up to 4 days. The flavors actually meld together overnight, so leftovers taste even better the next day.
To reheat, place individual portions in the microwave for 1-2 minutes, or reheat the entire dish in a 350°F oven for 10-15 minutes, covered with foil to prevent drying out. If the sauce seems a little thick after refrigeration, add a splash of water or broth before reheating.
These roll-ups also freeze beautifully. Assemble them completely in a freezer-safe baking dish, but don’t bake. Cover tightly with two layers of foil and freeze for up to 3 months. To bake from frozen, add 15-20 minutes to the baking time and cover with foil for the first half of baking to prevent the cheese from burning.
Nutritional Information & Benefits
Each serving (3 roll-ups) contains approximately 320 calories, 18g fat, 12g carbohydrates, 4g fiber, and 28g protein. The exact numbers will vary based on the specific ingredients you use, but this gives you a solid estimate.
The health benefits here are significant. Zucchini is low in calories and high in vitamin C, potassium, and antioxidants. By swapping traditional lasagna noodles for zucchini, you’re cutting about 150 calories and 25 grams of carbohydrates per serving. The ricotta adds calcium and protein, while the lean beef provides iron and B vitamins. This is a meal that keeps you full and satisfied without the carb crash.
This recipe is naturally gluten-free and can easily be made low-carb or keto-friendly by reducing the amount of tomato sauce (which contains natural sugars). It’s also a great option for anyone watching their blood sugar, as the zucchini provides steady energy without spiking insulin.
Conclusion
These Healthy Zucchini Noodle Lasagna Roll-Ups are proof that you don’t have to sacrifice flavor for health. They’re comforting, satisfying, and just plain delicious. I love that I can make them for my family on a busy weeknight or serve them to guests without anyone feeling like they’re eating “diet food.”
I encourage you to make this recipe your own—play with the fillings, adjust the spices, and find the combination that makes you smile. And when you do, come back and let me know how it turned out. Drop a comment below, share your photos, or tell me what variation you tried. I genuinely love hearing from you.
Here’s to good food that makes you feel good. Happy cooking!
Frequently Asked Questions
Can I use a spiralizer instead of slicing the zucchini into ribbons?
You can, but the texture will be different. Spiralized zucchini creates thin strands that work better for a traditional noodle substitute. For roll-ups, you need wide, flat ribbons that can hold the filling. A Y-shaped peeler or mandoline is your best bet.
How do I prevent the roll-ups from falling apart?
Make sure you don’t overfill them—about 2 tablespoons of filling per ribbon is ideal. Also, place them seam-side down in the baking dish so the weight of the sauce and cheese holds them closed. If a ribbon tears, just overlap two pieces to create a larger surface.
Can I make this recipe ahead of time?
Absolutely. Assemble the roll-ups completely but don’t bake them. Cover and refrigerate for up to 24 hours. When ready to bake, add 5-7 minutes to the cooking time. You can also freeze the unbaked dish for up to 3 months.
What can I use instead of ricotta cheese?
Cottage cheese, blended until smooth, is a great substitute. You can also use mascarpone for a richer filling, or a dairy-free ricotta alternative if needed. Just be mindful of the moisture content—blot any excess liquid before mixing.
How do I know when the zucchini is cooked through?
The zucchini should be tender but still hold its shape when you cut into it. If it’s mushy or falling apart, it’s overcooked. The baking time of 18-20 minutes at 375°F is usually perfect, but ovens vary, so check at the 15-minute mark if you’re unsure.
Pin This Recipe!
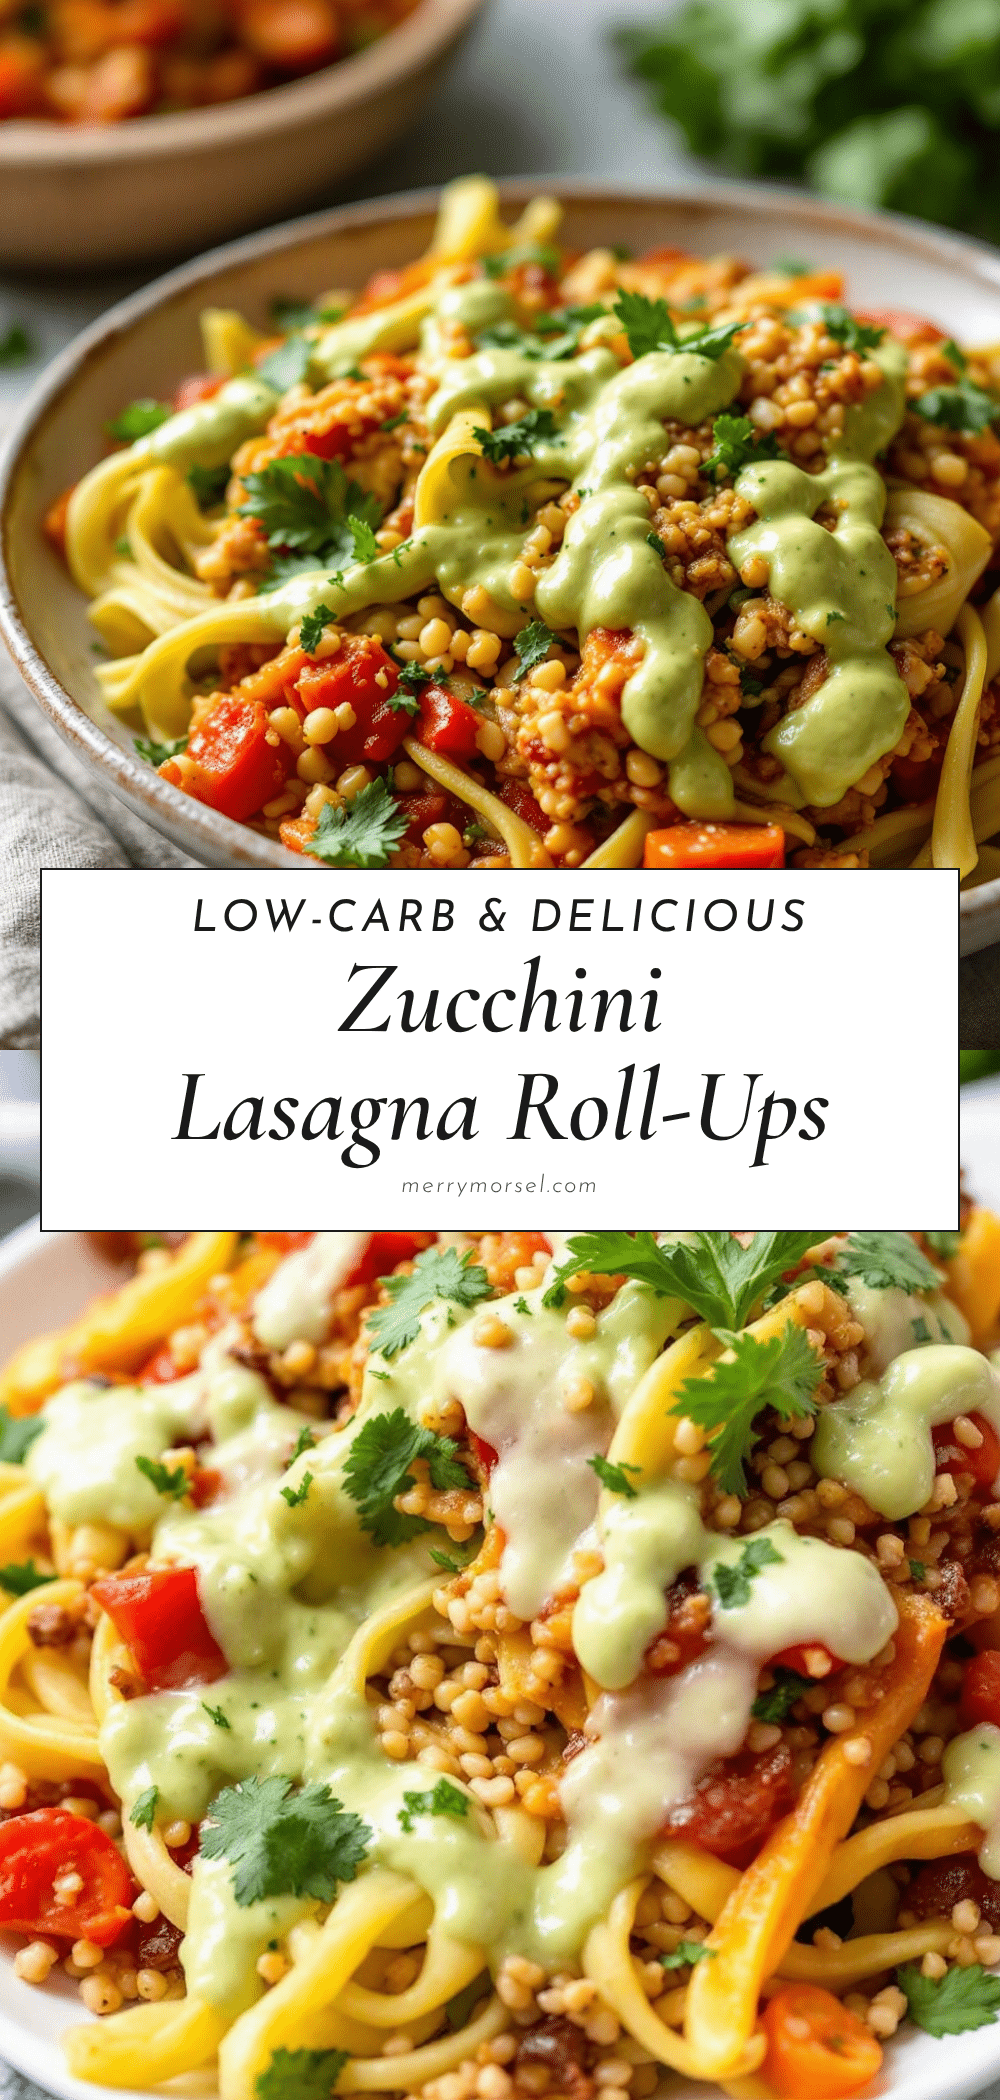
Healthy Zucchini Lasagna Roll-Ups: Easy Low-Carb Dinner
These Healthy Zucchini Noodle Lasagna Roll-Ups are so good, I actually prefer them to the original now. They’re comforting, satisfying, and just plain delicious, proving you don’t have to sacrifice flavor for health.
- Prep Time: 15 minutes
- Cook Time: 30 minutes
- Total Time: 45 minutes
- Yield: 4 servings 1x
- Category: Main Course
- Cuisine: Italian
Ingredients
- 3 large zucchini (about 2 pounds total), ends trimmed
- 1 teaspoon kosher salt
- 1 pound lean ground beef (90/10)
- 1 small yellow onion, finely diced (about 1 cup)
- 3 cloves garlic, minced
- 1 can (15 ounces) tomato sauce
- 1 can (14.5 ounces) diced tomatoes, drained
- 2 teaspoons dried Italian seasoning
- ½ teaspoon red pepper flakes (optional)
- Salt and pepper to taste
- 1 cup whole milk ricotta cheese
- 1 large egg, lightly beaten
- ½ cup grated Parmesan cheese, plus more for topping
- ¼ cup fresh basil, chopped, plus extra for garnish
- 1 cup shredded low-moisture mozzarella cheese
- 1 tablespoon olive oil
Instructions
- Prepare the Zucchini Ribbons: Using a Y-shaped peeler or mandoline, slice each zucchini lengthwise into ⅛-inch thick ribbons. Discard the first and last slices. Lay the ribbons in a single layer on a clean kitchen towel or paper towels. Sprinkle both sides with the kosher salt. Let them sit for 10 minutes. After 10 minutes, gently pat the ribbons dry with another towel.
- Make the Meat Sauce: While the zucchini rests, heat the olive oil in a large skillet over medium-high heat. Add the diced onion and cook for 3-4 minutes, until translucent. Add the minced garlic and cook for 30 seconds. Add the ground beef, breaking it up with a wooden spoon. Cook for 5-6 minutes, until browned. Drain any excess fat if needed. Stir in the tomato sauce, diced tomatoes, Italian seasoning, red pepper flakes, and a pinch of salt and pepper. Reduce heat to low and let it simmer while…
- Prepare the Ricotta Filling: In a medium bowl, combine the ricotta, beaten egg, grated Parmesan, and chopped basil. Stir until smooth and well combined. Season with a pinch of salt and pepper.
- Assemble the Roll-Ups: Preheat your oven to 375°F (190°C). Spread about ½ cup of the meat sauce evenly over the bottom of a 9×13 baking dish. Take one zucchini ribbon and lay it flat. Spoon about 1 tablespoon of the ricotta mixture along the bottom third of the ribbon, spreading it gently. Place about 1 tablespoon of the meat sauce on top of the ricotta. Starting at the filled end, roll the zucchini ribbon up tightly. Place the roll-up seam-side down in the baking dish. Repeat with the remaining…
- Bake: Spoon the remaining meat sauce over the roll-ups. Sprinkle the shredded mozzarella evenly on top. Bake for 18-20 minutes, until the cheese is melted and bubbly and the edges are just starting to brown. If desired, switch to broil for the last 2 minutes for a deeper golden top.
- Rest and Serve: Let the dish rest for 5 minutes before serving. Garnish with fresh basil and extra Parmesan.
Notes
Salting the zucchini ribbons is crucial to prevent sogginess. Don’t overfill the ribbons—about 2 tablespoons of filling per ribbon is ideal. Use low-moisture mozzarella for best results. For meal prep, assemble without baking and refrigerate for up to 24 hours; add 5-7 minutes to baking time. To freeze, assemble in a freezer-safe dish, cover tightly, and freeze for up to 3 months; bake from frozen, adding 15-20 minutes.
Nutrition
- Serving Size: 3 roll-ups
- Calories: 320
- Sugar: 6
- Sodium: 650
- Fat: 18
- Saturated Fat: 8
- Carbohydrates: 12
- Fiber: 4
- Protein: 28
Keywords: zucchini lasagna roll-ups, low-carb dinner, healthy lasagna, gluten-free lasagna, keto-friendly dinner


