Love this? Save it for later!
Share the inspiration with your friends
“You know that feeling when summer hits its peak, and you’re desperate for something cold and creamy, but the last thing you want is a sticky mess melting all over your hands?” Well, that was me last July at a bustling outdoor market. I was juggling a tote bag full of fresh peaches and a toddler who was already eyeing the sun-baked pavement. The usual ice cream stall had a long line, and honestly, I wasn’t in the mood to battle for a scoop that would drip down in minutes.
So, I found myself wandering toward a tiny stand tucked between the artisan bread and homemade pickles. The vendor, a cheerful woman named Lila, was selling these quirky little frozen treats that looked like ice cream but didn’t melt in the heat. Intrigued, I grabbed one, expecting the usual icy crunch or icy-hardness of most frozen desserts. Instead, it was creamy, fresh, and somehow wholesome—the kind of treat that felt like a hug on a hot day.
That moment stuck with me. I mean, isn’t it frustrating when your favorite frozen dessert turns into a puddle within minutes? Lila’s treat was an unexpected delight, and I knew I had to figure out how to make something like that at home. After several kitchen experiments (and one minor disaster involving the blender and a rogue banana), I landed on a recipe for fresh ice cream alternatives that won’t melt, but still deliver all the creamy goodness you crave. Let me tell you, this recipe has been a game changer in my summer snack rotation—maybe you’ve been there, battling the heat and the melt!
Stick with me, and I’ll share everything you need to whip up these cool, creamy, and wonderfully wholesome treats that stay solid just long enough to savor. No drips, just pure bliss.
Why You’ll Love This Recipe
Honestly, these fresh ice cream alternatives have become a staple in my kitchen, and here’s why they might win over your heart too:
- Quick & Easy: These recipes come together in under 20 minutes, perfect when you want something fresh without the fuss.
- Simple Ingredients: No exotic or hard-to-find stuff here—just wholesome pantry staples and fresh produce.
- Perfect for Hot Days: Whether it’s a backyard BBQ, beach picnic, or just a quiet evening on the porch, these alternatives cool you down without the mess.
- Crowd-Pleaser: Kids, adults, picky eaters—they all love these creamy treats that feel indulgent but are surprisingly light.
- Unbelievably Delicious: The texture is silky and smooth, thanks to a clever blend of natural thickeners and fresh ingredients.
What really sets this recipe apart is the way it balances creaminess with stability. Unlike traditional ice cream that melts away all too fast, these alternatives hold their shape and texture, so you get that satisfying bite every time. No more rushing or wiping sticky hands!
Plus, I’ve included little tricks from my own kitchen trials—like blending in a touch of coconut cream or adding a hint of vanilla bean powder—to make sure every batch is a winner. This isn’t just another frozen treat; it’s fresh, wholesome, and downright comforting in a way that feels special but isn’t complicated.
What Ingredients You Will Need
This recipe uses simple, wholesome ingredients to deliver bold flavor and satisfying texture without the fuss. Most of these you probably have on hand—or can easily grab at your local market. The ingredients are grouped by their role in the recipe to keep things clear.
- For the Creamy Base:
- Full-fat coconut milk (1 cup / 240 ml) – I find Chaokoh brand gives the best richness
- Greek yogurt, plain and unsweetened (½ cup / 120 g) – use dairy-free coconut yogurt for vegan option
- Honey or maple syrup (¼ cup / 60 ml) – natural sweetener, adjust to taste
- Vanilla bean paste or extract (1 tsp) – adds warmth and depth
- For the Thickener & Texture:
- Chia seeds (2 tbsp) – helps hold everything together without gelatin
- Arrowroot powder or cornstarch (1 tbsp) – for extra creaminess and stability
- Ripe banana, mashed (1 medium) – optional, adds natural sweetness and smooth texture
- For Flavor Variations:
- Fresh berries (½ cup / 75 g), or frozen (thawed) – for a fruity twist
- Dark cocoa powder (2 tbsp) – for chocolate lovers
- Chopped nuts or toasted coconut flakes (¼ cup / 30 g) – for crunch
When selecting coconut milk, look for cans labeled “full-fat” for that creamy mouthfeel. The Greek yogurt adds tang and protein, making this treat wholesome and satisfying. Chia seeds are my secret weapon here—they swell overnight and keep the texture just right, so no weird icy bits. If you don’t have arrowroot, cornstarch works fine, but arrowroot gives a silkier finish.
Equipment Needed
- A high-speed blender or food processor: Essential for blending the creamy base and mixing ingredients evenly. I use a Vitamix, but a good quality blender will do just fine.
- Mixing bowls: For combining ingredients and soaking chia seeds.
- Measuring cups and spoons: Accuracy helps achieve the right texture, especially with thickeners.
- Ice cream molds or silicone popsicle molds: Optional, but great for portioning and presentation. No molds? No problem—use a shallow airtight container instead.
- Whisk or spatula: For folding in mix-ins like berries or nuts without crushing them.
If you don’t have fancy molds, I’ve often just poured the mixture into a loaf pan lined with parchment and then sliced it like a frozen dessert bar once set. Easy and no extra purchases needed. Also, keep your blender blades sharp and clean for best results—sometimes I forget and end up with a lumpy base, which no one wants!
Preparation Method
- Prepare the chia seeds: In a small bowl, combine chia seeds with ½ cup (120 ml) of coconut milk. Stir well and let sit for 15-20 minutes until they form a gel-like consistency. This step is key for the creamy texture that won’t melt too fast.
- Blend the creamy base: In your blender, add the remaining ½ cup (120 ml) of coconut milk, Greek yogurt, mashed banana (if using), honey or maple syrup, and vanilla bean paste. Blend on high for 30-45 seconds until smooth and silky. The mixture should look thick but pourable.
- Incorporate the thickener: Transfer the blended base to a saucepan. Whisk in the arrowroot powder or cornstarch. Heat gently over medium-low heat, stirring constantly for about 3-5 minutes or until the mixture thickens slightly and coats the back of a spoon. Remove from heat and let cool to room temperature.
- Mix in the chia gel: Once the thickened base is cool, fold in the chia seed gel gently using a spatula. This step helps keep the dessert creamy and stable.
- Add flavor variations: Fold in any berries, cocoa powder, or nuts now. Be gentle to keep the texture intact.
- Pour and freeze: Pour the mixture into your molds or container. Cover tightly and freeze for at least 4 hours, preferably overnight. The dessert will firm up beautifully without turning icy.
- Serving tip: Let the frozen treats sit at room temperature for 5 minutes before serving to soften slightly. This makes scooping or unmolding much easier.
Pro tip: If you find your mixture too thick before freezing, a splash of coconut milk can loosen it up. Also, stirring once midway through freezing can help keep the texture smooth, but it’s not mandatory. Trust me, I’ve tried skipping that step when pressed for time, and it still turned out great.
Cooking Tips & Techniques
Getting that perfect creamy texture without traditional ice cream makers or stabilizers can be tricky, but here are some tips that have saved me from many a kitchen frustration:
- Don’t skip the chia soaking: It’s tempting to toss dry chia seeds in, but soaking them first is what keeps your dessert creamy and prevents iciness.
- Blend thoroughly: Any lumps in your base, especially from banana or yogurt, will freeze hard. Use a high-speed blender and blend until silky smooth.
- Thicken on the stove: Heating the mixture with arrowroot or cornstarch activates the thickening power. Stir constantly to avoid clumps or burning.
- Freeze with care: Avoid freezing in shallow containers with large surface areas exposed to air to prevent freezer burn. Airtight molds or covered containers are your friends.
- Timing matters: If you’re making this for a party, start the night before. It gives the flavors time to mingle, making the dessert taste even better.
- Multitasking hack: While the chia seeds soak, prep your other ingredients and blend the base. This keeps the process moving efficiently.
From my own trials, I learned the hard way that skipping the thickening step turns the dessert into a frozen yogurt texture rather than creamy ice cream. Also, adding too much sweetener can mask the natural flavors, so taste as you go. I remember once doubling the honey by accident—lesson learned!
Variations & Adaptations
One of the best things about these fresh ice cream alternatives is how adaptable they are. Here are some ideas to make them your own:
- Vegan & Dairy-Free: Use coconut yogurt or almond-based yogurts in place of Greek yogurt, and swap honey for maple syrup or agave nectar.
- Chocolate Lover’s Dream: Add 2 tablespoons of unsweetened cocoa powder to the base before thickening for a rich chocolate version. Sprinkle with cacao nibs before freezing for crunch.
- Seasonal Fruit Swaps: Use fresh mango in summer, roasted apples or pears in fall, or berries in spring. Try folding in fruit compotes or swirls for added texture.
- Nut-Free Option: Simply leave out any nuts or coconut flakes. You can swap in toasted oats or seeds for crunch instead.
- My favorite twist: I once stirred in a spoonful of matcha powder for a green tea version—it was surprisingly refreshing and brought a pleasant earthy note.
These alternatives freeze well, so feel free to experiment with different flavors without worrying about the usual ice cream meltdown issues. It’s a great way to use up seasonal produce or tailor to dietary needs.
Serving & Storage Suggestions
Serve these fresh ice cream alternatives straight from the freezer with a few minutes to soften. They’re lovely in small cups or on skewers if using popsicle molds.
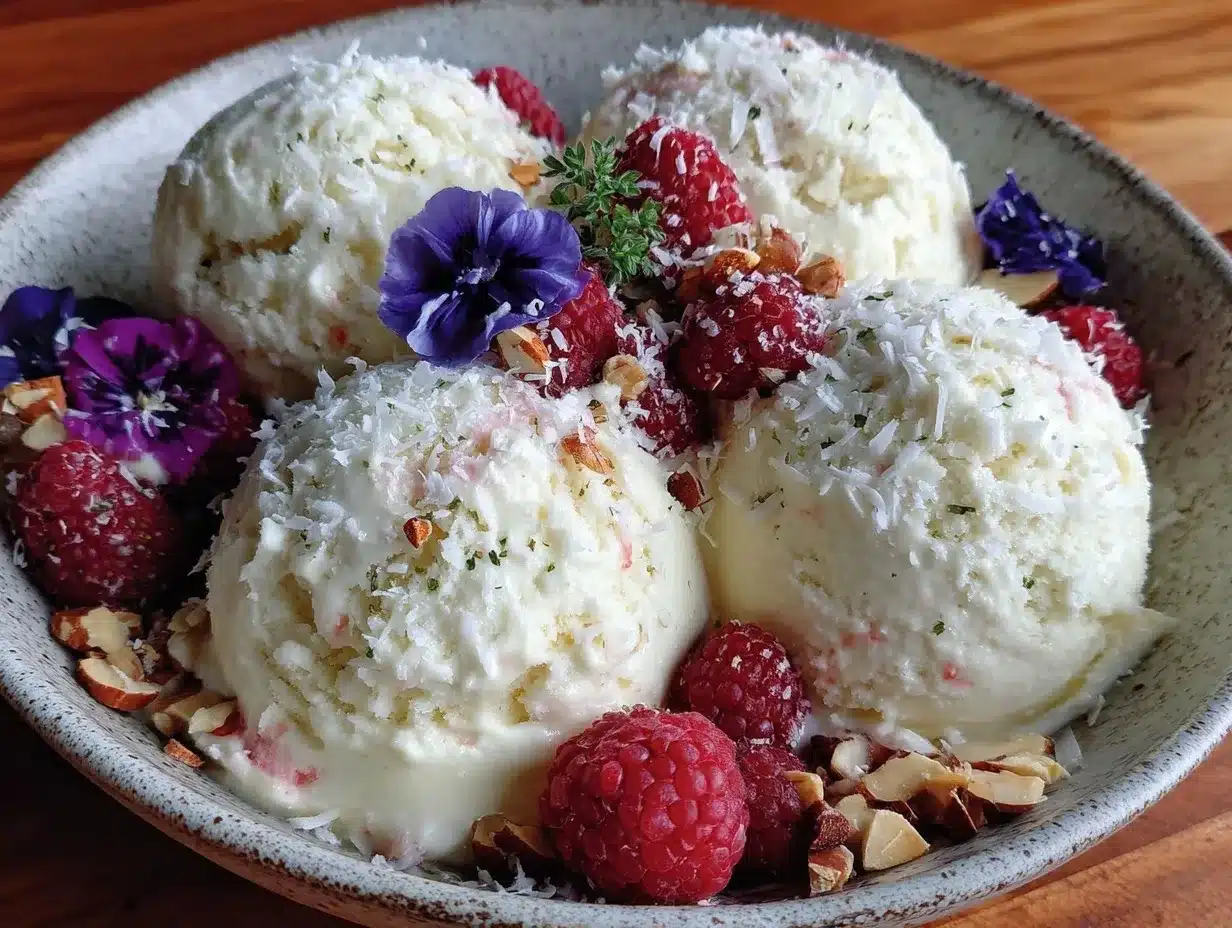
- Presentation: Garnish with fresh mint leaves, a drizzle of honey, or a sprinkle of toasted nuts for that extra wow factor.
- Pairings: They go great with crisp summer salads, light cakes, or even a simple bowl of fresh fruit to round out the meal.
- Storage: Store in airtight containers in the freezer for up to 1 week. The chia seeds help maintain texture, but for best flavor, consume within this timeframe.
- Reheating: No need to reheat—just let sit at room temperature for 5 minutes before serving to soften.
- Flavor development: The flavors mellow and meld overnight in the freezer, so making a day ahead is a smart move.
Nutritional Information & Benefits
Each serving of this fresh ice cream alternative offers approximately 150 calories, 6 grams of fat, 18 grams of carbohydrates, and 4 grams of protein, depending on your specific ingredients.
The coconut milk provides healthy medium-chain triglycerides (MCTs), which are easier to digest and can offer a quick energy boost. Greek yogurt adds protein and probiotics for digestive health, while chia seeds contribute fiber, omega-3 fatty acids, and antioxidants.
This recipe is naturally gluten-free and can be made vegan with simple swaps, making it accessible for many dietary preferences. Plus, the moderate sweetness means it’s a guilt-free treat that feels indulgent but supports wellness goals.
Conclusion
Fresh ice cream alternatives that won’t melt are a total game changer for those hot days when you want creamy, wholesome treats without the sticky mess. This recipe hits the spot with simple ingredients, easy prep, and a texture that holds up beautifully in the heat.
Feel free to experiment with flavors and mix-ins to make it truly your own—maybe you’ll find a new favorite just like I did. Honestly, after sharing this with friends and family, it’s become a summer staple I can’t imagine skipping.
If you try this recipe, I’d love to hear how you customize it or what your favorite flavor combos are—drop a comment below or share your photos. Here’s to cool, creamy, and mess-free treats that make warm days a little sweeter!
FAQs
Can I make these fresh ice cream alternatives without a blender?
You can, but the texture won’t be as smooth. Using a whisk or fork to mash and mix ingredients works in a pinch, especially if you blend the yogurt and banana well first.
How long do these treats last in the freezer?
They’re best eaten within one week for optimal flavor and texture. Chia seeds help maintain creaminess, but extended freezing can cause slight icy crystals.
Can I use other milk alternatives?
Yes! Almond, oat, or cashew milk can substitute coconut milk, but the creaminess might vary. For best results, use full-fat versions.
Do I have to add sweetener?
If your fruit or banana is ripe and sweet, you can reduce or omit the honey/maple syrup. Taste the base before freezing to adjust sweetness.
What if I don’t have arrowroot powder?
Cornstarch works as a substitute in equal amounts, but arrowroot gives a silkier texture. You can also try tapioca starch if that’s what you have.
For those who enjoy creamy, fuss-free desserts, this recipe pairs nicely with other easy homemade treats like quick vanilla pudding or a refreshing fresh fruit sorbet. These desserts share the same wholesome spirit and simplicity that make summer snacking a joy.
Pin This Recipe!
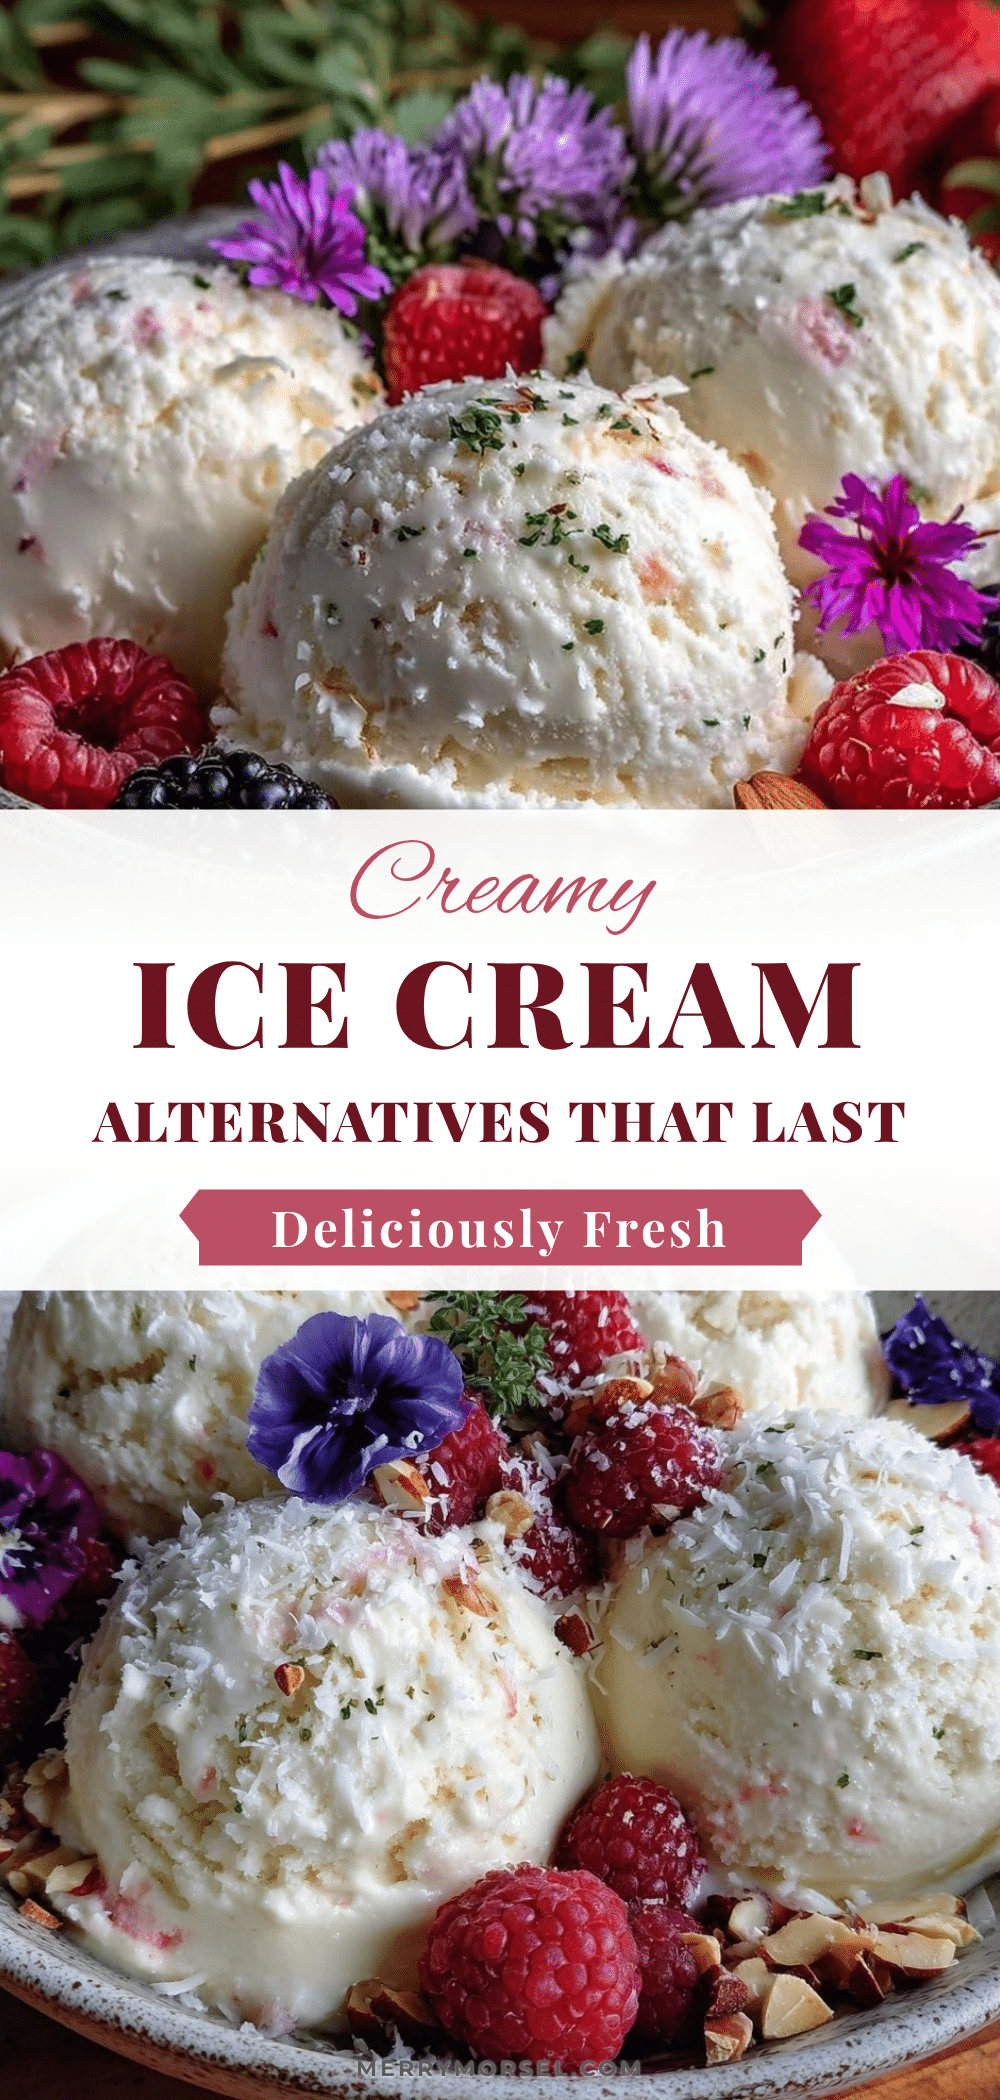
Fresh Ice Cream Alternatives That Won’t Melt Easy Creamy Recipes
These fresh ice cream alternatives offer creamy, wholesome treats that stay solid in the heat without melting quickly, perfect for hot summer days and easy to make with simple ingredients.
- Prep Time: 15 minutes
- Cook Time: 5 minutes
- Total Time: 4 hours 20 minutes
- Yield: 6 servings
- Category: Dessert
- Cuisine: American
Ingredients
- Full-fat coconut milk (1 cup / 240 ml)
- Greek yogurt, plain and unsweetened (½ cup / 120 g) – use dairy-free coconut yogurt for vegan option
- Honey or maple syrup (¼ cup / 60 ml) – natural sweetener, adjust to taste
- Vanilla bean paste or extract (1 tsp)
- Chia seeds (2 tbsp)
- Arrowroot powder or cornstarch (1 tbsp)
- Ripe banana, mashed (1 medium) – optional
- Fresh berries (½ cup / 75 g), or frozen (thawed) – optional
- Dark cocoa powder (2 tbsp) – optional
- Chopped nuts or toasted coconut flakes (¼ cup / 30 g) – optional
Instructions
- Prepare the chia seeds: In a small bowl, combine chia seeds with ½ cup (120 ml) of coconut milk. Stir well and let sit for 15-20 minutes until they form a gel-like consistency.
- Blend the creamy base: In your blender, add the remaining ½ cup (120 ml) of coconut milk, Greek yogurt, mashed banana (if using), honey or maple syrup, and vanilla bean paste. Blend on high for 30-45 seconds until smooth and silky.
- Incorporate the thickener: Transfer the blended base to a saucepan. Whisk in the arrowroot powder or cornstarch. Heat gently over medium-low heat, stirring constantly for about 3-5 minutes or until the mixture thickens slightly and coats the back of a spoon. Remove from heat and let cool to room temperature.
- Mix in the chia gel: Once the thickened base is cool, fold in the chia seed gel gently using a spatula.
- Add flavor variations: Fold in any berries, cocoa powder, or nuts now, being gentle to keep the texture intact.
- Pour and freeze: Pour the mixture into molds or a container. Cover tightly and freeze for at least 4 hours, preferably overnight.
- Serving tip: Let the frozen treats sit at room temperature for 5 minutes before serving to soften slightly.
Notes
Soak chia seeds before use to ensure creamy texture and prevent iciness. Use full-fat coconut milk for best richness. Arrowroot powder gives a silkier finish than cornstarch. If mixture is too thick before freezing, add a splash of coconut milk. Stirring once midway through freezing can improve texture but is optional. Let frozen treats soften 5 minutes before serving for easier scooping.
Nutrition
- Serving Size: Approximately 1/6 of
- Calories: 150
- Fat: 6
- Carbohydrates: 18
- Protein: 4
Keywords: fresh ice cream alternatives, creamy frozen treats, no melt ice cream, healthy summer dessert, coconut milk ice cream, vegan ice cream option, chia seed dessert