Love this? Save it for later!
Share the inspiration with your friends
“I swear, the food was piping hot when I left the kitchen,” my friend Mark grumbled as we set up for the neighborhood block party last summer. The sun was setting, kids were running around, and everyone was ready to dig in — except the main dishes had cooled off to something close to lukewarm. Sound familiar? Outdoor parties have this sneaky challenge where keeping food warm for hours feels like a game of chance rather than a sure thing.
That evening, with a mix of frustration and curiosity, I started piecing together different tricks to keep dishes warm for three hours or more without a kitchen nearby. You know how it is—sometimes you forget the warming trays or the slow cooker, or maybe the venue doesn’t have power. Honestly, I even tried wrapping trays in blankets once (not my proudest moment) before discovering some surprisingly simple hacks that actually work.
Maybe you’ve been there too, juggling plates and trying to keep the potato salad cool while your grilled sausages get colder by the minute. After a few trial-and-error outdoor gatherings, I finally nailed down a system that keeps food warm, tasty, and safe for hours—no fancy gadgets required. Let me tell you, it’s a game changer for potlucks, picnics, and any outdoor shindig where food is the star of the show.
So, if you’re tired of serving cold casseroles or lukewarm chili, stick around. This guide shares easy, practical tips I learned the hard way, so your outdoor party food stays warm and inviting from the first bite to the last.
Why You’ll Love This Recipe
Keeping food warm for hours at outdoor parties can feel impossible, but with these easy tips, you’re set for success every time. I’ve tested these methods at countless barbecues, tailgates, and even a few family reunions (you know, the ones where the buffet table is the unofficial hangout). Here’s why these tricks will quickly become your go-to:
- Quick & Easy: These methods come together with minimal prep and no complicated equipment, perfect for last-minute gatherings or spontaneous outdoor feasts.
- Simple Ingredients & Tools: You probably already have everything you need at home, from aluminum foil to insulated bags.
- Perfect for All Occasions: Whether it’s a casual picnic, a neighborhood block party, or a summer cookout, these tips keep food warm and appetizing.
- Crowd-Pleaser: Nobody wants chilly food—these tips make sure your guests get that comforting, fresh-from-the-kitchen feeling.
- Unbelievably Effective: The combination of insulation, heat retention, and smart use of warming devices means you can serve food with confidence, even hours after cooking.
What sets this guide apart? It’s not just about tossing food in a cooler or hoping for the best. I share a blend of low-tech and savvy tricks—like how to prep dishes for better heat retention, and which containers work best—that take the guesswork out of outdoor entertaining. This isn’t a fancy chef’s secret; it’s tried-and-true advice from real-life party mess-ups turned wins.
Honestly, these tips saved me from more than one awkward, “Is this supposed to be cold?” moment, and I bet they’ll help you keep the food warm and the good times rolling.
What Ingredients You Will Need
This guide focuses on practical tools and supplies rather than traditional cooking ingredients. Still, the “ingredients” for keeping food warm involve a few key items that work together to maintain heat and freshness. Here’s what you’ll want to gather before your next outdoor party:
- Insulated Food Carriers: These can be thermal bags, coolers (yes, coolers work both ways!), or specialized insulated containers. I personally like the PackIt Freezable Lunch Bag for smaller items—it’s portable and easy to handle.
- Aluminum Foil: Heavy-duty foil is a must-have for wrapping trays and dishes securely. It traps heat surprisingly well when layered properly.
- Thermal Blankets or Towels: Thick kitchen towels or even old blankets can be wrapped around food containers for extra insulation. Cotton or wool works best here.
- Chafing Dishes or Sterno Cans: If you want to get a bit fancy, these allow you to keep food warm with gentle heat. I’ve found that small disposable sterno cans can be lifesavers at longer events.
- Hot Water Bottles or Heat Packs: Reusable heat packs or bottles filled with hot water can be placed under or around containers to keep temperatures steady.
- Slow Cooker or Electric Warming Tray (optional): If there’s access to electricity, these appliances are excellent for maintaining warmth without drying out dishes.
- Food Containers: Use insulated or thick-walled containers with tight lids to keep heat locked in. Plastic containers with silicone seals or stainless steel thermoses work great for soups and stews.
These “ingredients” are easy to find and often multi-purpose. For example, I reuse my insulated bags for everything from grocery shopping to picnic storage. Plus, knowing what to prepare ahead of time means you won’t be scrambling last minute—trust me, that’s a stress you don’t want at a summer BBQ.
Equipment Needed
When it comes to keeping food warm outdoors, the right equipment can make a huge difference. Here’s a rundown of essential tools and some alternatives if you’re on a budget or dealing with limited space.
- Insulated Cooler or Thermal Bag: While coolers are usually for cold storage, insulated coolers double as heat retainers when pre-warmed. I’ve used a basic Igloo Playmate cooler for this—it’s budget-friendly and surprisingly effective.
- Chafing Dish with Sterno Fuel: These are great for buffet-style setups. If you don’t have a full set, Sterno cans alone can be placed under foil trays to keep things warm for hours.
- Slow Cooker or Warming Tray: Perfect if you have outlet access. I recommend slow cookers with a “keep warm” setting, like the Crock-Pot 6-Quart. For warming trays, look for models with adjustable heat.
- Aluminum Foil & Heavy Kitchen Towels: These simple items are key for insulation layering and cost nothing but effort.
- Thermal Food Containers: Vacuum-insulated containers for soups, chili, or sauces. Brands like Thermos or Zojirushi offer reliable options.
If you’re improvising, a thick cooler bag lined with towels and wrapped in foil has saved my bacon more than once. Just remember, prepping your equipment ahead of time—like warming your cooler with hot water before placing food inside—can really up your game. And don’t forget to check your fuel cans’ expiration dates; expired Sterno is the worst surprise at a party!
Preparation Method
- Preheat Your Containers (10 minutes): Before transferring hot food, warm up your insulated containers or coolers by filling them with hot water. Let it sit for about 10 minutes, then drain and dry thoroughly. This preheating prevents your food from losing heat immediately.
- Cook and Rest Food Properly (Varies by recipe): Cook your dishes as usual, but keep in mind that foods with higher moisture content retain heat better. After cooking, let food rest for a few minutes before packing to allow heat to distribute evenly.
- Use Heavy-Duty Aluminum Foil Wrap (5 minutes): Wrap hot trays or pans tightly with at least two layers of foil. This seals in the heat and creates a barrier against outside air. For extra security, fold edges meticulously to avoid heat leaks.
- Layer Insulation (5 minutes): Wrap foil-covered dishes with thick kitchen towels or thermal blankets. This extra layer traps heat escaping from the foil and slows down cooling.
- Place in Insulated Carrier (Immediate): Transfer wrapped dishes into your preheated cooler or insulated bag. If using a cooler, close the lid tightly and avoid opening frequently to maintain temperature.
- Add Heat Sources if Possible (Optional): Position hot water bottles or heat packs around containers inside the cooler or carrier. If using chafing dishes, light Sterno cans just before serving and keep them shielded from wind.
- Transport and Set Up (Varies): Move food to your outdoor venue with care, minimizing jostling to prevent spills and heat loss. Set up buffet tables away from direct wind or cold surfaces, and cover dishes with lids or foil until guests are ready to eat.
- Monitor and Refresh Heat (Every hour or as needed): Check temperatures occasionally if possible. For longer events, consider swapping out heat packs or relighting Sterno cans to keep things cozy.
One time, I forgot to preheat my cooler and spent the first 30 minutes trying to convince guests that the food was “just right.” Lesson learned: preheating is a small step with a big payoff. Also, wrapping food in towels may seem odd at first, but it’s like giving your dish a warm hug until it’s time to serve.
Cooking Tips & Techniques
Keeping food warm outdoors is as much about technique as it is about equipment. Here are some tested tips that have saved me from many cold-food crises:
- Choose Moist Dishes: Foods with higher moisture hold heat better. Think stews, casseroles, or saucy chicken dishes rather than dry roasted meats.
- Portion Wisely: Smaller portions cool faster. Pack food in larger containers or keep multiple smaller containers tightly packed together to conserve heat.
- Minimize Lid Removal: Every time you lift a lid or open a cooler, warm air escapes. Plan serving so you open things as little as possible.
- Use Layering: Layering foil, towels, and insulated bags isn’t overkill—it’s essential. Each layer traps heat escaping the last.
- Timing is Everything: Try to finish cooking as close to serving time as possible. If you need to prepare early, stagger cooking to maximize freshness.
- Wind Protection: Wind can steal heat fast outdoors. Position buffet tables near windbreaks or use folding screens to block drafts.
- Test Your Setup: Before your big event, do a dry run or temperature test (use a food thermometer) to see how long your setup holds heat.
One classic mistake I made was lining a cooler with paper towels instead of thick towels—big difference in insulation! Also, I learned that not all foil is created equal: heavy-duty foil lasts longer and holds heat better. Trust me, those small details add up when you’re juggling a crowd and a warm meal.
Variations & Adaptations
Every party is different, so here are some ways to tweak your food-warming strategy depending on your needs and preferences:
- Gluten-Free or Dietary Options: Insulation tips work universally, but when transporting gluten-free dishes, consider separate containers to avoid cross-contamination.
- Vegetarian or Vegan Menus: Use thermal food jars for soups like lentil or tomato bisque to keep plant-based options warm and fresh.
- Seasonal Ingredients: In summer, cold salads are great, but for warm dishes, think slow cooker chili or baked pasta. In cooler months, layering with insulated blankets is even more critical.
- Alternative Cooking Methods: If you’re cooking on a grill or campfire, use cast iron Dutch ovens with lids and wrap in towels to keep heat on the go.
- Personal Variation: I once used a pizza box lined with foil and towels to keep flatbreads warm for over two hours. It’s a low-cost, low-tech hack that worked surprisingly well!
Adjusting the approach depending on your menu and venue means you won’t be stuck with cold food or complicated setups. Sometimes, a simple insulated bag does the trick; other times, you’ll want to bring out the big guns like chafing dishes.
Serving & Storage Suggestions
Serving food warm is only part of the equation—how you present and store it afterward matters too. Here are some handy tips:
- Serve Immediately When Possible: Try to time the serving to when the food is at its warmest for best flavor and texture.
- Use Warm Plates: If you can, warm your serving plates (either in the oven or with warm water) to keep food hot longer on the table.
- Complementary Beverages: Hot drinks like spiced cider, mulled wine, or even a warm tea can keep the cozy vibe going outdoors.
- Storage: Leftovers should be cooled quickly after the party and refrigerated within two hours to prevent bacterial growth.
- Reheating: Use the oven or stovetop to reheat leftovers gently—microwaves can dry out food if you’re not careful.
- Flavor Development: Some dishes, like stews or chili, actually taste better after sitting and reheating, so don’t hesitate to prepare in advance and reheat on site.
Remember, a warm meal is a happy meal, but safety comes first. Keeping food between 140°F (60°C) and 165°F (74°C) during service is key to avoid any unwelcome guests like bacteria.
Nutritional Information & Benefits
While this guide focuses on keeping food warm rather than cooking specific dishes, understanding the nutritional benefits of the meals you serve is still important. Here’s a quick overview:
- Maintaining proper food temperature preserves nutrient content and food safety.
- Choosing dishes rich in vegetables, lean proteins, and whole grains ensures balanced nutrition for outdoor events.
- Using insulated containers minimizes the need for reheating, which can degrade some nutrients.
- For those with dietary restrictions, keeping dishes separated and properly stored prevents cross-contact with allergens.
From a wellness perspective, sharing warm, nourishing food outdoors encourages mindful eating and connection, which is just as important as the food itself.
Conclusion
Keeping food warm for three hours at outdoor parties doesn’t have to be a headache or a gamble. With a few practical tools, smart preparation, and these easy tips, you can serve delicious, warm dishes that your guests will rave about. Whether it’s a casual backyard BBQ or a big block party, taking the time to prep your food warming setup pays off in smiles and seconds from happy eaters.
Honestly, this guide came from real experiences, some messy and some downright hilarious, and now it’s one of my favorite party secrets. So next time you’re packing for an outdoor gathering, try these tips—you might just find yourself relaxed and confident instead of chasing cold plates.
If you try these tips, I’d love to hear how they worked for your party! Share your experiences, adaptations, or even your own warming hacks in the comments below. Let’s keep the food warm and the good times hotter!
FAQs About Keeping Food Warm at Outdoor Parties
How can I keep food warm without electricity?
Use insulated containers, heavy-duty aluminum foil, thermal blankets, and preheated coolers. Adding hot water bottles or reusable heat packs helps maintain temperature for hours.
What’s the best way to transport hot food to an outdoor event?
Wrap dishes tightly in foil, then insulate with towels or blankets before placing them in an insulated cooler or thermal bag. Preheat containers if possible to reduce heat loss.
Can I use a regular cooler to keep food warm?
Yes! If you warm the cooler first by filling it with hot water and drying it, it acts like an insulated box trapping heat instead of cold.
How long can food safely stay warm outside?
Keep food at or above 140°F (60°C) and consume within 2-3 hours. Using the tips above helps maintain safe temperatures during that time.
What are good dishes to serve at outdoor parties that stay warm well?
Moist dishes like stews, chili, casseroles, and baked pasta retain heat better. Soups and sauces in vacuum-insulated containers also stay warm longer.
For more tips on outdoor entertaining and recipes that pair perfectly with warm party food, check out my posts on crispy garlic chicken and hearty beef stew. These dishes are crowd-pleasers and perfect for keeping warm on the go!
Pin This Recipe!
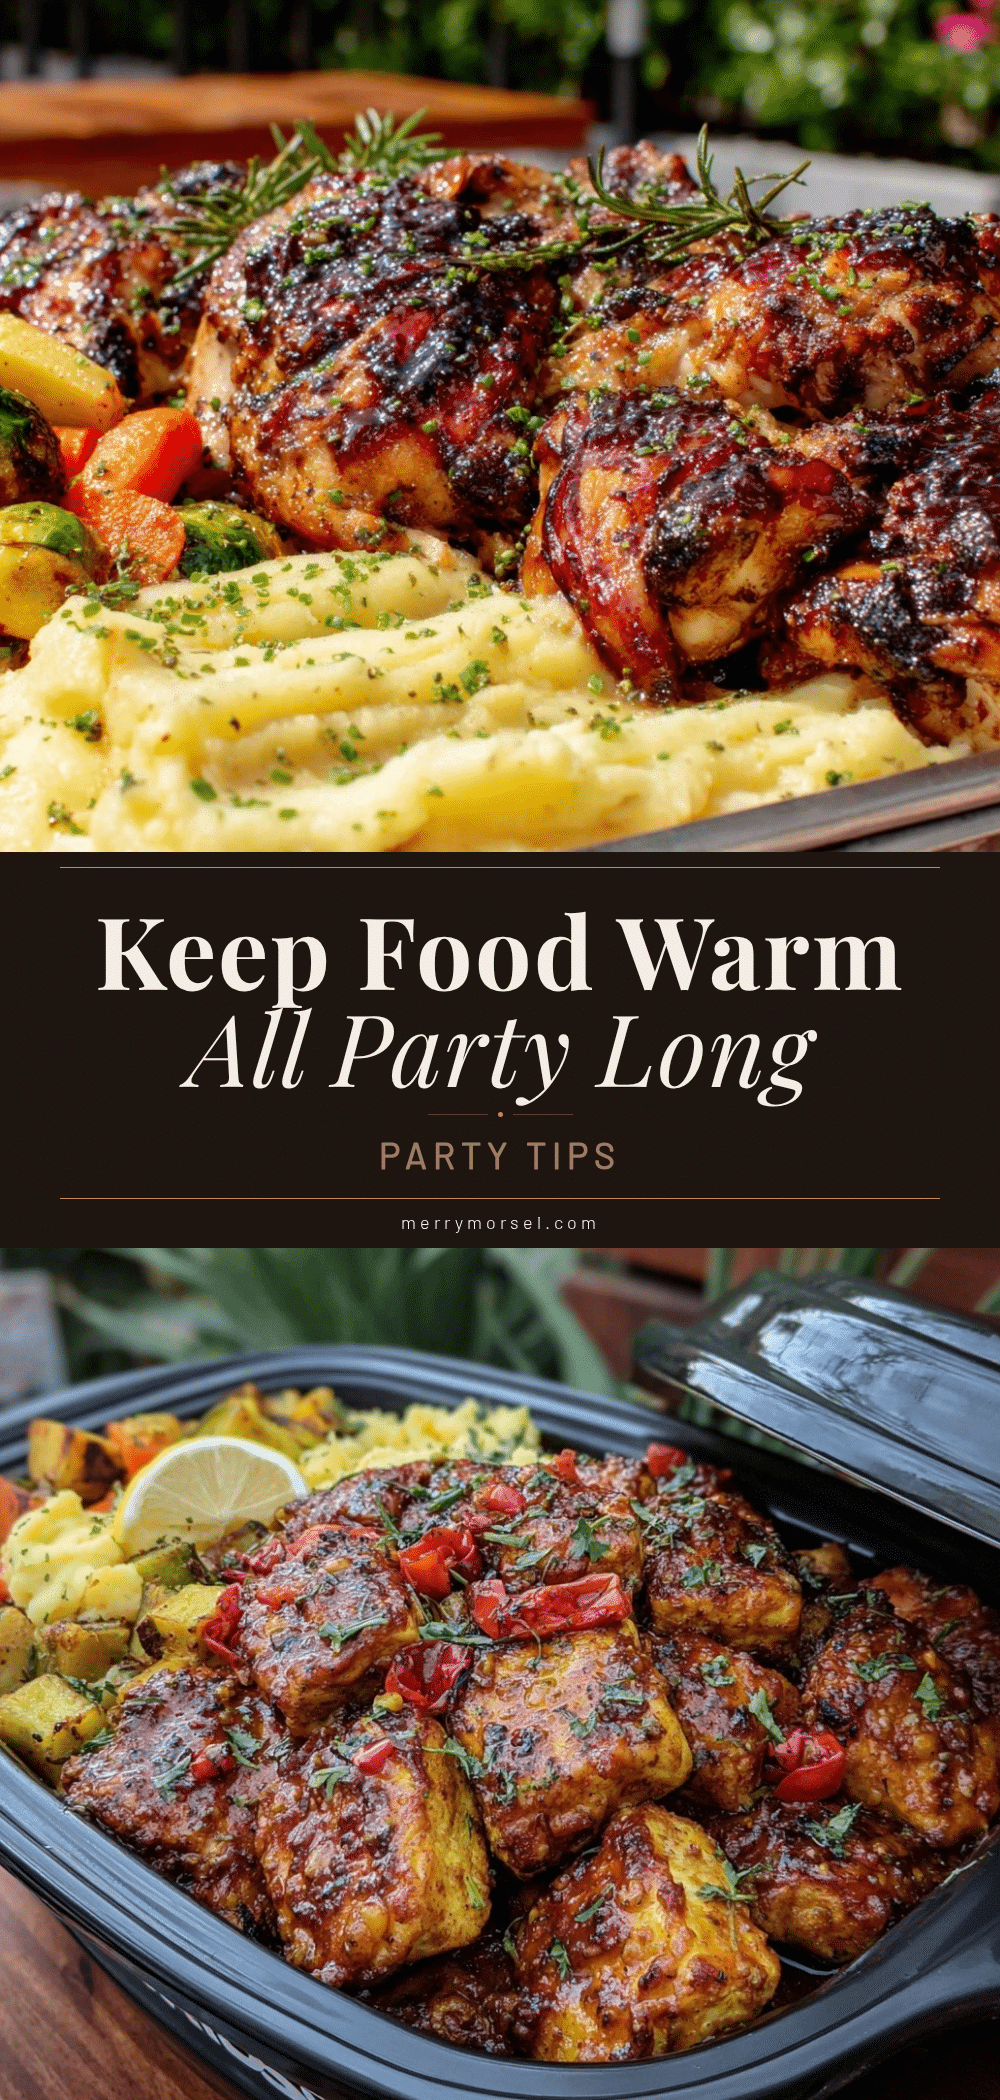
Easy Tips to Keep Food Warm for 3 Hours at Outdoor Parties Perfect Guide
This guide shares practical, easy-to-follow tips and tricks to keep food warm for three hours or more at outdoor parties without relying on electricity or fancy gadgets.
- Prep Time: 20 minutes
- Cook Time: Varies by dish
- Total Time: 3 hours (including warming and serving time)
- Yield: Varies depending on food quantity
- Category: Party Tips / Food Preparation
- Cuisine: Universal
Ingredients
- Insulated Food Carriers (thermal bags, coolers, or specialized insulated containers)
- Heavy-duty Aluminum Foil
- Thermal Blankets or Thick Kitchen Towels (cotton or wool)
- Chafing Dishes or Sterno Cans (optional)
- Hot Water Bottles or Reusable Heat Packs
- Slow Cooker or Electric Warming Tray (optional)
- Insulated or Thick-walled Food Containers with Tight Lids (plastic with silicone seals or stainless steel thermoses)
Instructions
- Preheat your insulated containers or coolers by filling them with hot water; let sit for 10 minutes, then drain and dry thoroughly.
- Cook your dishes as usual, allowing them to rest for a few minutes after cooking to distribute heat evenly.
- Wrap hot trays or pans tightly with at least two layers of heavy-duty aluminum foil, folding edges meticulously to avoid heat leaks.
- Wrap foil-covered dishes with thick kitchen towels or thermal blankets to add an extra layer of insulation.
- Transfer wrapped dishes into your preheated cooler or insulated bag, closing lids tightly and minimizing opening.
- Optionally, place hot water bottles or heat packs around containers inside the cooler; if using chafing dishes, light Sterno cans just before serving and shield from wind.
- Transport food carefully to the outdoor venue, minimizing jostling and setting up buffet tables away from wind or cold surfaces.
- Monitor food temperature occasionally and refresh heat sources as needed during the event.
Notes
Preheating containers is crucial to prevent immediate heat loss. Use heavy-duty foil for better heat retention. Minimize opening lids to keep heat trapped. Position buffet tables away from wind. Test your setup with a food thermometer before the event. Replace or relight heat sources as needed during long events. Keep food temperatures between 140°F and 165°F for safety.
Nutrition
- Serving Size: Varies depending on
Keywords: keep food warm, outdoor parties, food warming tips, insulated food carriers, chafing dishes, sterno cans, thermal blankets, slow cooker, food safety