Love this? Save it for later!
Share the inspiration with your friends
A friend asked me why I couldn’t just throw everything in one pan and call it dinner. I started to explain why that wouldn’t work—something about layering flavors and proper searing. Then I stopped. Honestly, I had no good reason. I was just being stubborn.
It was a Tuesday, and I was standing in my tiny kitchen with a package of chicken thighs I’d grabbed on sale at the Market Basket down the street. My friend Sarah was helping me unpack groceries, and she pointed at the honey and soy sauce on the counter. “Why not just dump it all together?” she said. I almost laughed. But something made me pause. Maybe it was the way she shrugged, completely unbothered by my cooking rules.
So I tried it. I tossed the chicken in a hot pan, whisked together a quick honey garlic sauce, and poured it right over everything. No marinating. No separate bowls. No extra dishes. Twenty-five minutes later, we were eating the most ridiculously tender, sticky, flavorful chicken I’d made in weeks. I mean, the sauce had this perfect balance of sweet and savory, and the chicken was so juicy it practically fell apart.
I remember looking at Sarah and saying, “Okay, you were right.” She just smiled and reached for another piece. That moment stuck with me—not because I was wrong, but because it reminded me that cooking doesn’t have to be complicated to be incredible. This easy one-pan honey garlic chicken thighs recipe is proof. Maybe you’ve been there, overthinking dinner when the simplest version turns out to be the best one.
I keep making this because it works every single time. No fuss, no stress, just really good food that makes you look like you tried harder than you actually did. And honestly? That’s my favorite kind of recipe.
Why You’ll Love This Recipe
Let me tell you why this easy one-pan honey garlic chicken thighs recipe has become my go-to for busy weeknights and lazy weekends alike. I’ve tested this dozens of times, tweaking the sauce ratio and cooking time until it was just right. Here’s what makes it special:
- Quick & Easy: From start to finish, dinner is on the table in about 30 minutes. No marinating, no complicated steps—just simple cooking that fits into your schedule.
- Simple Ingredients: You probably have most of these in your pantry right now. Honey, soy sauce, garlic, and chicken thighs—that’s the backbone of this dish. No fancy grocery trips required.
- Perfect for Busy Evenings: This is the kind of meal you can throw together after a long day when you need something comforting but don’t have the energy for a production.
- Crowd-Pleaser: Every time I serve this, people go back for seconds. The sweet and savory combo hits that universal comfort food spot.
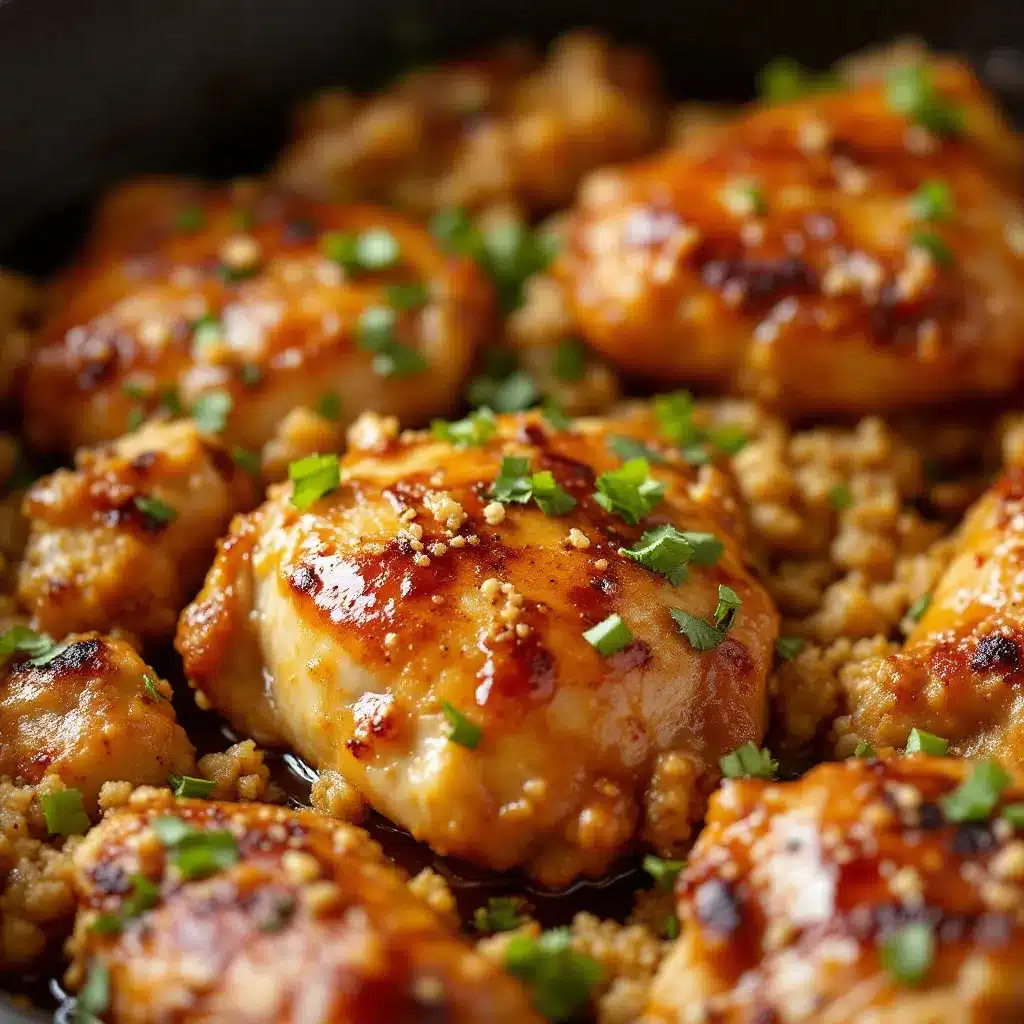
- Unbelievably Delicious: The sauce caramelizes into this sticky glaze that coats every bite of chicken. The texture is tender with slightly crispy edges—total perfection.
What makes this recipe different from the rest? It’s the technique. By searing the chicken first and then letting it finish cooking in the sauce, you get that beautiful golden crust without drying out the meat. The honey garlic sauce reduces into a glaze that clings to every piece, not a thin watery sauce that slides off. I’ve tried versions that call for baking or slow cooking, but nothing beats the one-pan stovetop method for speed and flavor.
This recipe isn’t just good—it is the kind that makes you close your eyes after the first bite. It’s comfort food reimagined, faster and simpler, but with the same soul-soothing satisfaction. Perfect for impressing guests without stress, or turning a simple Tuesday into something memorable.
What Ingredients You Will Need
This recipe uses simple, wholesome ingredients to deliver bold flavor and satisfying texture without the fuss. Most of these are pantry staples, which makes this dish perfect for those nights when you need dinner fast.
For the Chicken
- 6 bone-in, skin-on chicken thighs (about 2 pounds) – The skin gets beautifully crispy, and the bone keeps the meat juicy. You can use boneless thighs, but reduce cooking time by about 5 minutes.
- 1 tablespoon olive oil – For searing. Avocado oil works great too, with a higher smoke point.
- Salt and black pepper – To taste. Don’t be shy with the seasoning.
- ½ teaspoon garlic powder – Adds an extra layer of savory flavor.
For the Honey Garlic Sauce
- ⅓ cup honey – Use a good quality honey for the best flavor. Local honey adds a nice floral note if you have it.
- ¼ cup low-sodium soy sauce – I recommend Kikkoman or San-J for consistent results. Low-sodium prevents the sauce from becoming too salty as it reduces.
- 4 cloves garlic, minced – Fresh garlic is non-negotiable here. Pre-minced jarred garlic won’t give you the same punch.
- 1 tablespoon rice vinegar – Adds brightness and balances the sweetness. Apple cider vinegar works in a pinch.
- 1 teaspoon sesame oil – Optional but highly recommended for that nutty, toasty flavor.
- ½ teaspoon red pepper flakes – Optional for heat. Leave it out if you prefer mild.
- 1 tablespoon cornstarch mixed with 2 tablespoons water – This slurry thickens the sauce to a perfect glaze.
For Garnish (Optional but Recommended)
- Sesame seeds – Toasted for extra crunch.
- Chopped green onions – Adds freshness and color.
Ingredient selection tip: Look for chicken thighs with the skin still attached—it renders fat that flavors the entire dish. If you’re watching sodium, use tamari or coconut aminos instead of soy sauce. For a thicker glaze, let the sauce simmer an extra minute or two before adding the chicken back to the pan.
Equipment Needed
One of the best things about this recipe is how little equipment it requires. Here’s what you’ll need:
- A large skillet or frying pan (12-inch recommended) – Cast iron is my personal favorite because it holds heat so well and gives the chicken a gorgeous sear. A stainless steel pan works beautifully too. Avoid nonstick if possible—you want those browned bits that build flavor.
- Tongs – For flipping the chicken without piercing the skin. I’ve used a spatula in a pinch, but tongs give you more control.
- A small bowl – For whisking together the sauce ingredients.
- A whisk or fork – To combine the sauce smoothly.
- A meat thermometer – This isn’t strictly necessary, but it takes the guesswork out of doneness. Chicken thighs are done at 165°F, but I pull them at 170°F for the most tender texture.
- A cutting board and knife – For mincing garlic and chopping green onions.
If you don’t have a cast iron skillet, don’t worry. Any heavy-bottomed pan will do the job. I’ve made this in a cheap nonstick pan before, and it still turned out great—just watch the heat so the honey doesn’t burn. Budget-friendly option: a basic stainless steel pan from IKEA or Target works perfectly.
Preparation Method
Let’s walk through this step by step. I promise it’s simpler than it sounds.
- Pat the chicken thighs dry with paper towels. This is crucial for getting that crispy skin. Season both sides generously with salt, pepper, and garlic powder. Let them sit at room temperature for 10 minutes while you prep the sauce. (This helps them cook more evenly.)
- Make the honey garlic sauce by whisking together the honey, soy sauce, minced garlic, rice vinegar, sesame oil, and red pepper flakes in a small bowl. Set it aside. Don’t add the cornstarch slurry yet—that comes later.
- Heat the olive oil in your large skillet over medium-high heat. You want the oil shimmering but not smoking. Carefully place the chicken thighs skin-side down in the pan. Listen for that satisfying sizzle—if it’s not sizzling, your pan isn’t hot enough.
- Sear the chicken for 5-6 minutes without moving it. This is the hardest part! Let the skin get deep golden brown and crispy. Use your tongs to peek underneath—if it’s not brown yet, give it another minute. Flip the chicken and cook for another 3-4 minutes on the second side.
- Remove the chicken from the pan and set it on a plate. Don’t wipe out the pan—those browned bits are pure flavor. Pour off all but about 1 tablespoon of the rendered fat. (Save that chicken fat for roasting vegetables tomorrow!)
- Pour the honey garlic sauce into the hot pan. It will bubble up immediately—that’s good. Stir and scrape up the browned bits from the bottom of the pan with a wooden spoon. Let the sauce simmer for 1-2 minutes until it thickens slightly.
- Whisk in the cornstarch slurry and stir continuously. The sauce will thicken quickly, turning glossy and syrupy. This takes about 30 seconds. If it seems too thick, add a tablespoon of water.
- Return the chicken to the pan, skin-side up. Spoon some of the sauce over each piece. Reduce the heat to medium-low, cover the pan, and let it cook for 10-12 minutes. The chicken should be tender and cooked through. If you’re using a thermometer, it should read 165°F at the thickest part.
- Remove the lid and increase the heat to medium-high for the last 2 minutes. This helps the sauce reduce to a sticky glaze. Spoon the sauce over the chicken one last time.
- Let the chicken rest in the pan for 5 minutes before serving. This lets the juices redistribute and the sauce set. Sprinkle with sesame seeds and green onions.
Your kitchen will smell absolutely incredible at this point. The honey caramelizes into this sticky, sweet-savory glaze that coats every piece of chicken. The skin stays crispy on top while the meat underneath is fall-apart tender.
Cooking Tips & Techniques
After making this recipe more times than I can count, I’ve picked up a few tricks that make a real difference. Let me share them with you.
Don’t crowd the pan. If your chicken thighs are touching each other, they’ll steam instead of sear. Use a large enough pan, or cook in batches if you need to. I learned this the hard way when I tried to cram eight thighs into a small pan—the skin came out pale and rubbery instead of crispy and golden.
Watch the honey. Honey burns faster than sugar because it contains natural sugars that caramelize quickly. If your pan gets too hot, the sauce can turn bitter. Keep the heat at medium after adding the sauce, and stir frequently. I once walked away to answer the phone and came back to a smoking pan—the sauce was ruined, and I had to start over.
Use a meat thermometer. Chicken thighs are forgiving because they have more fat than breasts, but they can still dry out if overcooked. Pull them at 170°F for the juiciest results. The carryover cooking will bring them up to 175°F as they rest.
Let the sauce reduce properly. The cornstarch slurry helps, but letting the sauce simmer uncovered for the last few minutes creates that sticky glaze you’re after. Don’t rush this step—it’s what makes the dish special.
Timing tip: While the chicken sears, prep your side dishes. Rice or steamed vegetables are perfect. Everything comes together in about the same time, so you can serve a complete meal without extra stress.
My biggest failure: I once tried to double the sauce recipe thinking more is always better. Big mistake. The chicken ended up swimming in a pool of thin sauce instead of being coated in a rich glaze. Stick to the measurements—they’re perfectly balanced.
Variations & Adaptations
One of the best things about this recipe is how easily it adapts. Here are some variations I’ve tried and loved:
Spicy Honey Garlic Chicken: Add an extra teaspoon of red pepper flakes or a chopped fresh chili along with the garlic. The heat balances beautifully with the sweet honey. My husband loves this version—he says it wakes up his taste buds.
Low-Carb/Keto Version: Swap the honey for a sugar-free honey substitute or use allulose syrup. Replace the cornstarch with xanthan gum (just ¼ teaspoon whisked into the sauce). It’s not exactly the same, but it scratches that sweet-savory itch without the carbs.
Baked Version: Sear the chicken as directed, then transfer everything to a baking dish. Bake at 400°F for 20-25 minutes. This is great when you’re cooking for a crowd and need your stovetop free for other things.
Dairy-Free & Gluten-Free: This recipe is naturally dairy-free. For gluten-free, use tamari or coconut aminos instead of soy sauce. Make sure your cornstarch is certified gluten-free if that’s a concern.
Vegetable Add-Ins: Add broccoli florets, snap peas, or bell pepper strips during the last 5 minutes of cooking. They’ll soak up the sauce and become tender-crisp. I did this one night when I was too lazy to make a separate side dish, and it was a game-changer.
Chicken Breast Option: Use boneless, skinless chicken breasts pounded to even thickness. Reduce the cooking time to about 15 minutes total. Watch carefully—chicken breasts dry out faster than thighs.
My personal favorite variation: I add a tablespoon of gochujang (Korean chili paste) to the sauce. It adds depth, a little heat, and this amazing umami flavor that takes the dish to another level. Trust me on this one.
Serving & Storage Suggestions
This honey garlic chicken is versatile enough for any occasion. Here’s how to serve and store it.
Serving Temperature: Serve the chicken hot, straight from the pan. The sauce is at its best when it’s warm and glossy. Let it rest for 5 minutes after cooking so the juices redistribute.
What to Serve With It: Steamed jasmine rice is my go-to—it soaks up all that extra sauce. Coconut rice would be amazing too. For vegetables, try steamed broccoli, green beans, or a simple cucumber salad. The freshness cuts through the richness of the sauce. A side of roasted bok choy or sautéed spinach works beautifully too.
Beverage Pairing: A crisp Sauvignon Blanc or a light lager like Sapporo complements the sweet and savory flavors perfectly. For non-alcoholic, try iced green tea with a squeeze of lemon.
Storage Instructions: Store leftovers in an airtight container in the refrigerator for up to 4 days. The flavors actually deepen overnight, so leftovers are often even better the next day.
Reheating Methods: Reheat in a skillet over medium heat with a splash of water or chicken broth to loosen the sauce. Microwave works in a pinch, but the skin won’t be as crispy. For best results, reheat in a 350°F oven for 10 minutes.
Freezing: This recipe freezes beautifully. Let the chicken cool completely, then transfer to a freezer-safe container. Freeze for up to 3 months. Thaw overnight in the refrigerator and reheat as directed. The sauce might separate slightly—just whisk it back together as it warms.
Flavor Development: The sauce gets thicker and more intense as it sits. If you’re meal prepping, make the chicken a day ahead and reheat it when you’re ready to eat. The garlic mellows and the honey flavor becomes more pronounced.
Nutritional Information & Benefits
Here’s a rough nutritional breakdown per serving (based on 6 servings, using skin-on chicken thighs):
| Nutrient | Amount |
|---|---|
| Calories | 380 |
| Protein | 28g |
| Fat | 22g |
| Carbohydrates | 18g |
| Fiber | 0g |
| Sugar | 16g |
| Sodium | 680mg |
Chicken thighs are an excellent source of protein, selenium, and B vitamins, which support energy metabolism and immune function. The skin contains healthy fats that help your body absorb fat-soluble vitamins. Honey provides antioxidants and natural energy, while garlic offers anti-inflammatory and immune-boosting properties.
Dietary Considerations: This recipe is naturally dairy-free and can be made gluten-free with a simple soy sauce swap. It’s not low-carb as written, but the keto variation works well. The sodium content is moderate—use low-sodium soy sauce to keep it in check.
Potential Allergens: Soy (from soy sauce). If you have a soy allergy, use coconut aminos instead. Sesame oil is optional, so you can easily leave it out.
I love that this recipe feels indulgent but isn’t actually that heavy. It’s the kind of meal that satisfies a craving without leaving you feeling sluggish. Perfect for a weeknight when you want something that feels special but still fits into your wellness goals.
Conclusion
This easy one-pan honey garlic chicken thighs recipe is proof that you don’t need complicated techniques or fancy ingredients to make something truly delicious. It’s the kind of meal that saves dinner on busy nights, impresses guests without stress, and makes you feel like you’ve got this whole cooking thing figured out.
I love this recipe because it reminds me that sometimes the best things come from letting go of rigid rules and trusting the process. That Tuesday night with Sarah taught me more about cooking than any cookbook ever did. Sometimes the simplest approach is the right one.
Now I want to hear from you. Have you tried this recipe? Did you add your own twist? Drop a comment below and let me know how it turned out. Share this with a friend who needs an easy dinner win, and don’t forget to pin it for later. Happy cooking, friends!
Frequently Asked Questions
Can I use chicken breasts instead of thighs?
Absolutely. Use boneless, skinless chicken breasts pounded to even thickness. Reduce the cooking time to about 15 minutes total, and watch carefully to avoid drying them out. The sauce will be just as delicious.
How do I prevent the honey from burning?
Keep the heat at medium after adding the sauce, and stir frequently. If your pan is too hot, the natural sugars in honey can burn quickly. Lower the heat if you see the sauce turning dark brown too fast.
Can I make this recipe ahead of time?
Yes! This recipe is great for meal prep. Cook the chicken as directed, let it cool, and store it in an airtight container in the refrigerator for up to 4 days. Reheat in a skillet with a splash of water to loosen the sauce.
What can I use instead of soy sauce?
Tamari is the best substitute for a gluten-free option. Coconut aminos work well too—they’re slightly sweeter and lower in sodium. You can also use liquid aminos or Bragg’s aminos in a pinch.
Can I freeze the leftovers?
Yes, this freezes beautifully. Let the chicken cool completely, then transfer to a freezer-safe container. Freeze for up to 3 months. Thaw overnight in the refrigerator and reheat in a skillet or oven for best results.
Pin This Recipe!
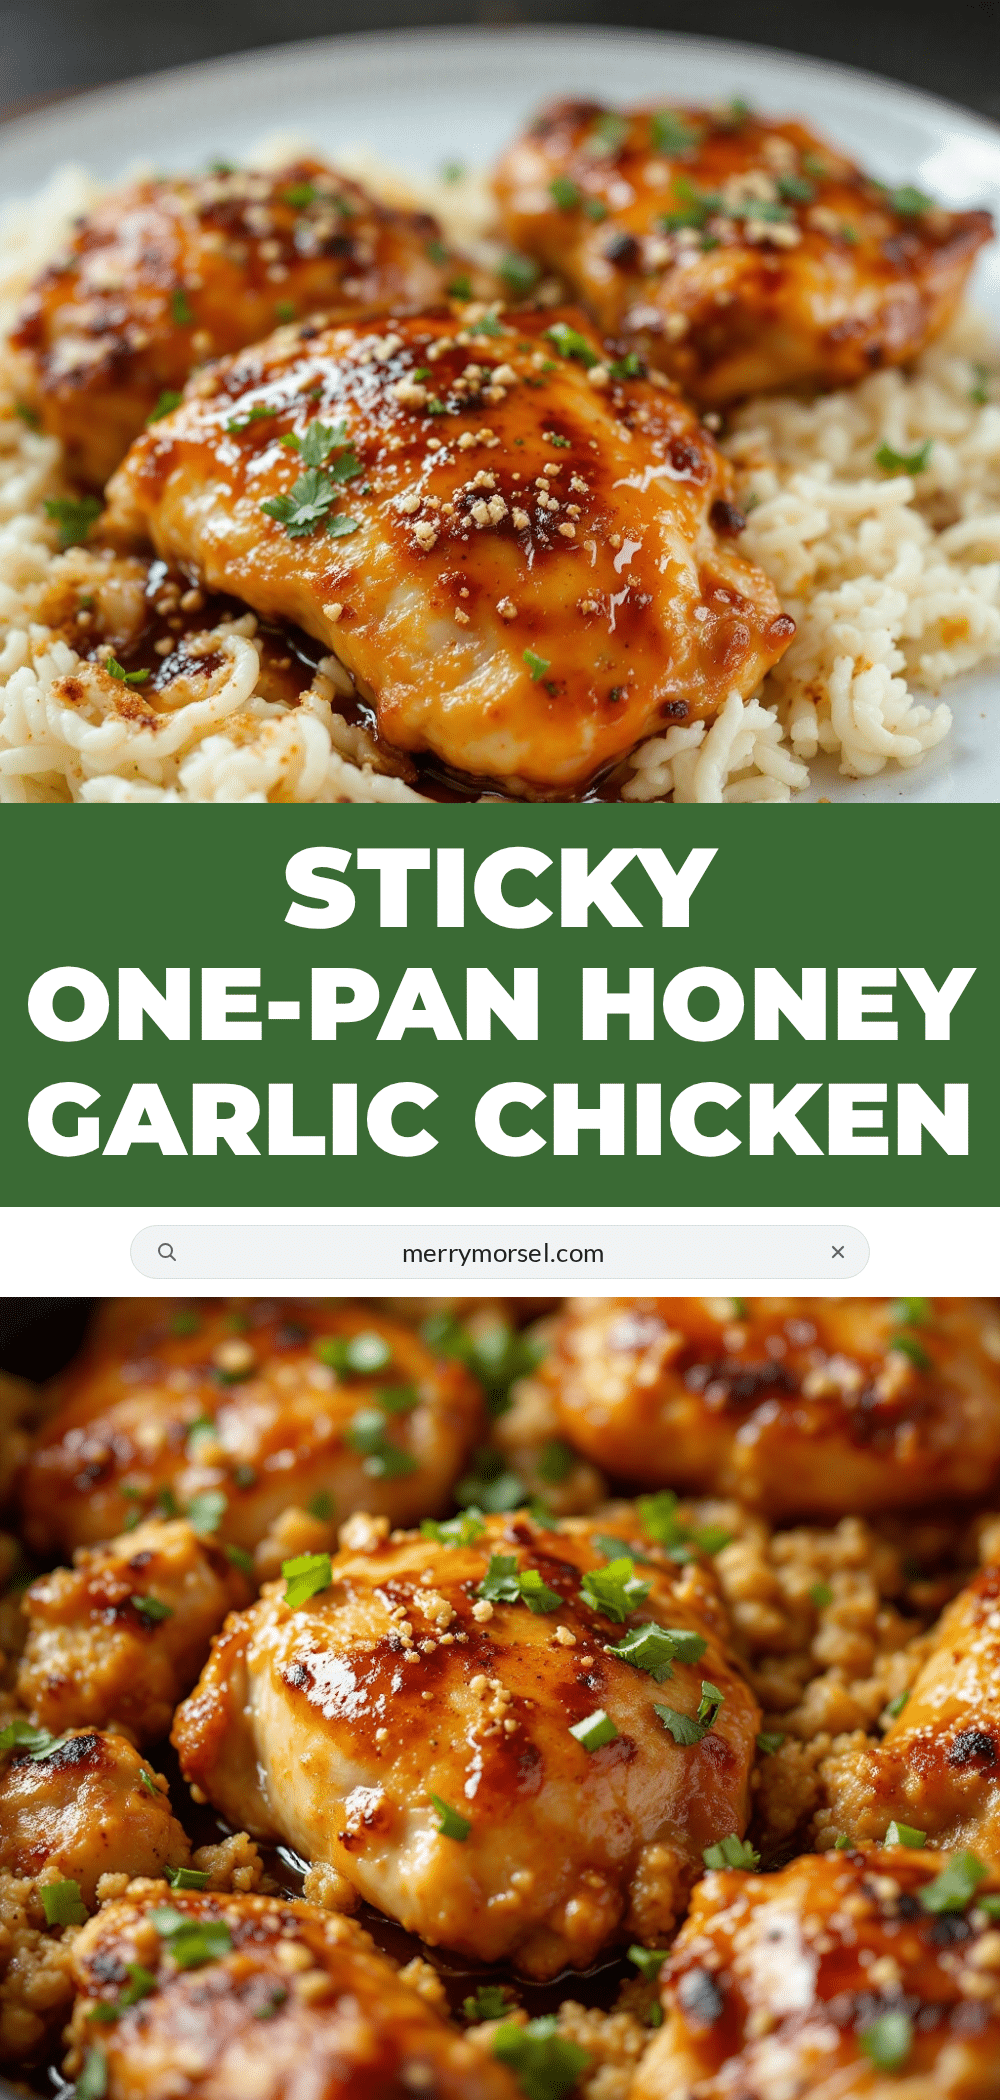
Easy One-Pan Honey Garlic Chicken Thighs

This easy one-pan honey garlic chicken thighs recipe is proof that you don’t need complicated techniques or fancy ingredients to make something truly delicious. It’s the kind of meal that saves dinner on busy nights, impresses guests without stress, and makes you feel like you’ve got this whole cooking thing figured out.
- Prep Time: 10 minutes
- Cook Time: 25 minutes
- Total Time: 35 minutes
- Yield: 6 servings 1x
- Category: Main Course
- Cuisine: Asian
Ingredients
- 6 bone-in, skin-on chicken thighs (about 2 pounds)
- 1 tablespoon olive oil
- Salt and black pepper to taste
- ½ teaspoon garlic powder
- ⅓ cup honey
- ¼ cup low-sodium soy sauce
- 4 cloves garlic, minced
- 1 tablespoon rice vinegar
- 1 teaspoon sesame oil (optional)
- ½ teaspoon red pepper flakes (optional)
- 1 tablespoon cornstarch mixed with 2 tablespoons water
- Sesame seeds for garnish (optional)
- Chopped green onions for garnish (optional)
Instructions
- Pat the chicken thighs dry with paper towels. Season both sides generously with salt, pepper, and garlic powder. Let them sit at room temperature for 10 minutes.
- Make the honey garlic sauce by whisking together the honey, soy sauce, minced garlic, rice vinegar, sesame oil, and red pepper flakes in a small bowl. Set aside.
- Heat the olive oil in a large skillet over medium-high heat. Place the chicken thighs skin-side down in the pan. Sear for 5-6 minutes without moving, until deep golden brown. Flip and cook for another 3-4 minutes.
- Remove the chicken from the pan and set aside. Pour off all but about 1 tablespoon of the rendered fat.
- Pour the honey garlic sauce into the hot pan. Stir and scrape up the browned bits. Let the sauce simmer for 1-2 minutes until it thickens slightly.
- Whisk in the cornstarch slurry and stir continuously until the sauce thickens and becomes glossy, about 30 seconds.
- Return the chicken to the pan, skin-side up. Spoon some sauce over each piece. Reduce heat to medium-low, cover, and cook for 10-12 minutes until chicken is tender and cooked through (165°F internal temperature).
- Remove the lid and increase heat to medium-high for the last 2 minutes to reduce the sauce to a sticky glaze. Spoon sauce over the chicken.
- Let the chicken rest in the pan for 5 minutes before serving. Sprinkle with sesame seeds and green onions.
Notes
For a thicker glaze, let the sauce simmer an extra minute or two before adding the chicken back to the pan. If using boneless chicken thighs, reduce cooking time by about 5 minutes. For a gluten-free version, use tamari or coconut aminos instead of soy sauce.
Nutrition
- Serving Size: 1 serving
- Calories: 380
- Sugar: 16
- Sodium: 680
- Fat: 22
- Saturated Fat: 6
- Carbohydrates: 18
- Protein: 28
Keywords: honey garlic chicken, one-pan chicken, chicken thighs, easy dinner, weeknight meal, Asian chicken


