Love this? Save it for later!
Share the inspiration with your friends
That crisp, cool snap of a fresh romaine leaf — the kind that echoes in the quiet of a packed lunchbox — still takes me straight to my kitchen counter at 6:00 AM on a Tuesday. You know the feeling. The coffee is barely brewed, the dog is circling your ankles, and you are trying to remember if you wrote down the grocery list. Honestly, I used to dread the midweek slump. It was that specific moment when lunch options felt like a chore rather than a necessity. I would stare into the fridge, hoping for inspiration, but usually finding only leftovers that had turned slightly rubbery.
Then came the realization that lunch didn’t have to be a scramble. It could be prepared the night before, wrapped tight, and ready to go. The first time I made these wraps, I was skeptical. Would the tortilla get soggy? Would the chicken dry out? Let’s face it, most meal prep ideas sound great in theory but fail in practice. But this one stuck. It became the anchor of my week. The scent of creamy dressing mixing with sharp parmesan and charred chicken isn’t just dinner; it’s peace of mind for the next day.
I remember standing there, watching the steam rise off the chicken as I sliced it. It wasn’t fancy. It didn’t require a chef’s knife or a degree in culinary arts. It just required a little planning. That simple act of wrapping it up, sealing it, and putting it in the fridge changed how I approached my weekdays. It turned a potential stress point into a quiet moment of preparation. And now, years later, that same quiet moment is the best part of my morning routine.
It’s not about perfection. It’s about having something delicious waiting for you when you’re hungry. That’s the promise of this recipe. It’s reliable, it’s tasty, and it actually works. You don’t have to wonder what to eat. It’s just there, ready to be unwrapped and enjoyed.
Why You’ll Love This Recipe
After years of testing different meal prep strategies, I’ve learned that the secret to success isn’t complicated techniques; it’s understanding how ingredients behave over time. These Easy Make-Ahead Chicken Caesar Wraps are the result of countless trials where I tried to make lunch easier, only to end up with soggy messes. This version is different because it respects the texture of every component. I tested this recipe with various types of lettuce and tortillas to find the perfect balance, and what I landed on is nothing short of a game-changer for busy schedules.
- Quick & Easy: The entire assembly process takes less than 20 minutes. You can batch-prep five wraps in the time it takes to brew a pot of coffee, making it perfect for those chaotic weeknights or last-minute planning sessions.
- Simple Ingredients: You likely already have most of these items in your kitchen. Chicken breast, romaine, parmesan, croutons, and Caesar dressing are pantry and fridge staples. No fancy grocery trips needed.
- Perfect for Meal Prep: These wraps hold up exceptionally well in the refrigerator for up to three days. They are ideal for office lunches, school lunches, or quick dinners when you’re too tired to cook.
- Crowd-Pleaser: Whether you are packing lunch for a picky eater or feeding a hungry family, this flavor profile is universally loved. The classic Caesar combination never fails to satisfy.
- Unbelievably Delicious: The contrast between the warm, seasoned chicken and the cool, crisp lettuce is next-level comfort food. It feels like a treat, even on a random Wednesday.
What makes this recipe stand out from the rest is the specific layering technique. Many people fail because they toss everything together in a bowl. That leads to sogginess. By keeping the dressing and crunchy elements separate until you are ready to eat, you preserve the integrity of the wrap. It’s a small detail, but it makes all the difference. It’s not just another chicken wrap; it’s the best version of one because it prioritizes texture and longevity without sacrificing flavor.
This recipe isn’t just good—it is the kind that makes you sigh with relief when you open your lunchbox. It’s comfort food reimagined for the modern, busy lifestyle. It’s healthier than takeout, faster than ordering delivery, and with the same soul-soothing satisfaction. Perfect for impressing guests who drop by unannounced or turning a simple solo meal into something memorable.
What Ingredients You Will Need
This recipe uses simple, wholesome ingredients to deliver bold flavor and satisfying texture without the fuss. The beauty of a Caesar wrap lies in the quality of its components. Since there are so few ingredients, each one carries more weight. You want fresh produce and high-quality proteins to ensure the final product tastes as good on day three as it does on day one. Here is what you need to get started.
- Chicken Breast: Boneless, skinless chicken breasts are the standard here. I recommend using a high-quality, antibiotic-free brand if possible, as the flavor difference is noticeable. You will need about 1.5 pounds. If you are short on time, rotisserie chicken works perfectly too.
- Large Flour Tortillas: You need large, pliable wraps that won’t tear. Flour tortillas are superior to corn tortillas for this specific recipe because they hold moisture better and don’t crack when rolled. Look for brands that list simple ingredients.
- Romaine Lettuce: Fresh, crisp heads of romaine are non-negotiable. Iceberg lettuce is too watery, and spinach wilts too quickly in dressing. Romaine provides that essential crunch. Use about four large leaves per wrap.
- Caesar Dressing: Homemade is best, but a high-quality store-bought version works fine. I prefer dressings that are creamy but not overly thick. If you are watching sodium, look for a low-sodium option. Avoid dressings with added sugar if possible.
- Parmesan Cheese: Freshly grated parmesan adds a salty, umami punch. Pre-grated cheese often contains anti-caking agents that prevent it from melting or blending smoothly. Buy a wedge and grate it yourself for the best texture.
- Garlic Cloves: Fresh garlic is key for seasoning the chicken. Powdered garlic works in a pinch, but fresh minced garlic provides a sharper, more aromatic flavor that complements the Caesar profile.
- Olive Oil: Extra virgin olive oil for cooking the chicken. It adds richness and helps the seasonings adhere to the meat.
- Croutons: For the crunch factor. Store-bought croutons are convenient, but you can easily make your own by cubing stale bread and toasting it with olive oil and garlic powder. Keep these separate until eating.
- Seasonings: Salt, black pepper, and dried Italian herbs. These are basic staples, but don’t skimp on the salt. It brings out the natural flavors of the chicken and vegetables.
For the best results, I personally recommend using a cast-iron skillet for the chicken if you have one. It gives a better sear than a non-stick pan. Also, if you are buying pre-grated parmesan, try to find one that is vacuum-sealed to maintain freshness. Seasonal variations are minimal here since this is a winter/spring staple, but in the summer, you might swap the romaine for butter lettuce for a softer texture.
Equipment Needed
You don’t need a fancy kitchen to make this recipe. A few basic tools will get the job done efficiently. A large skillet is essential for cooking the chicken evenly. I prefer stainless steel or cast iron because they retain heat well, ensuring a good sear on the chicken. If you don’t have one, a heavy-bottomed non-stick pan works too, just keep the heat moderate.
A cutting board and a sharp chef’s knife are necessary for slicing the chicken and prepping the vegetables. Keep your knife sharp; a dull knife is dangerous and makes prep work tedious. For mixing the chicken with seasonings, a small bowl is sufficient. If you are grating parmesan, a microplane grater is the best tool for the job, creating fine shreds that distribute evenly. A box grater works, but it takes more effort.
For assembly, you will need a clean surface. A large plate or a sheet of parchment paper can help keep things tidy. When it comes to storage, airtight containers or heavy-duty resealable bags are best. If you prefer to wrap them in plastic wrap, make sure it is food-grade and sturdy. Budget-friendly options include using leftover plastic containers from takeout or repurposing glass jars if you prefer not to roll the wraps tightly.
Maintenance tip: Always wash your cutting board immediately after handling raw chicken to prevent cross-contamination. A quick rinse with hot soapy water is usually enough, but a disinfectant spray adds an extra layer of safety.
Preparation Method
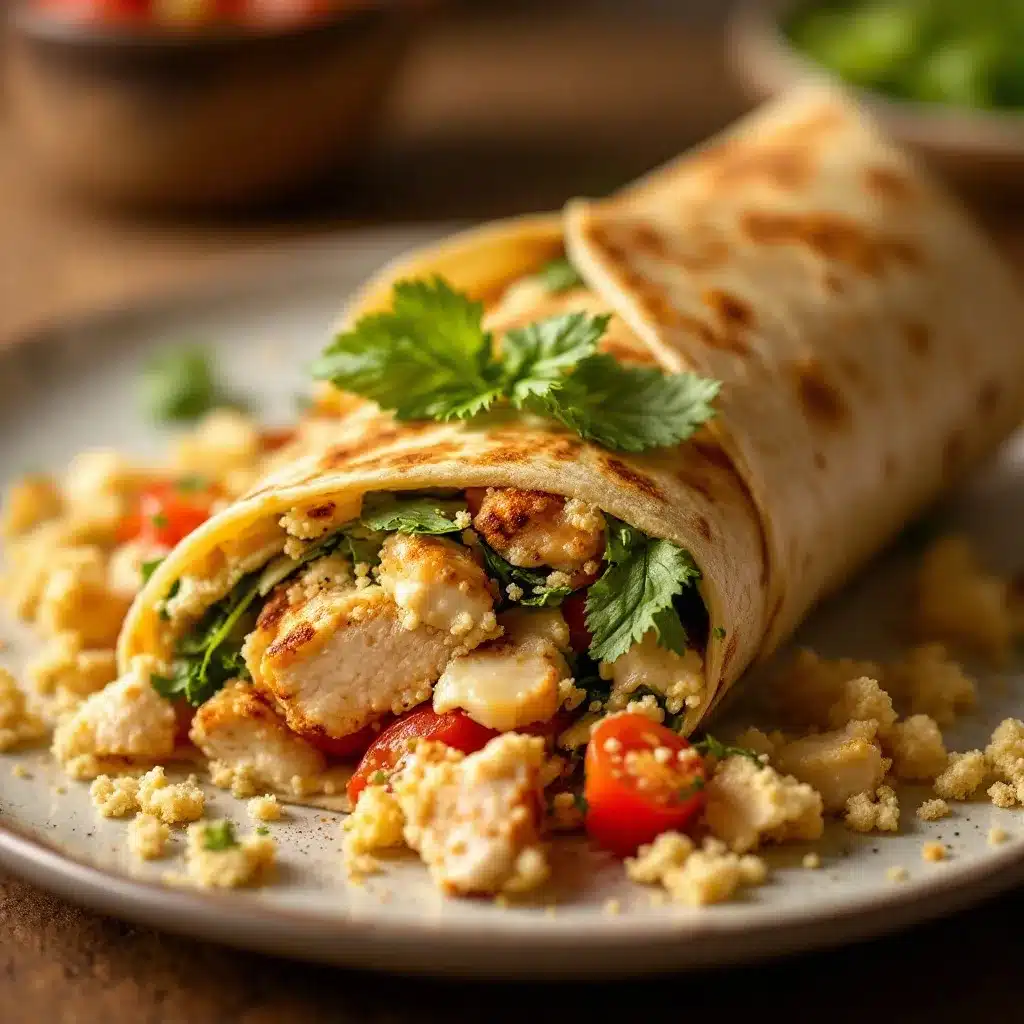
Getting these wraps ready is straightforward, but attention to detail ensures they stay fresh. Follow these steps carefully for the best results.
- Prepare the Chicken: Start by patting the chicken breasts dry with paper towels. This step is crucial for getting a good sear. Season both sides generously with salt, pepper, dried Italian herbs, and minced garlic. Heat a skillet over medium-high heat and add a tablespoon of olive oil. Once the oil shimmers, add the chicken breasts. Cook for 6-7 minutes per side, or until the internal temperature reaches 165°F (74°C). Remove from heat and let them rest for 5 minutes. This resting period allows the juices to redistribute, keeping the meat moist. (Time estimate: 15 minutes)
- Chop the Vegetables: While the chicken rests, wash and dry the romaine lettuce thoroughly. Wet lettuce leads to soggy wraps. Pat the leaves dry with a towel or use a salad spinner. Trim the tough ends and chop the leaves into bite-sized pieces. You want them small enough to fit comfortably in the wrap but large enough to provide crunch. (Time estimate: 5 minutes)
- Slice the Chicken: Once the chicken has rested, slice it against the grain into thin strips. Slicing against the grain makes the chicken more tender and easier to eat. Place the sliced chicken in a large bowl. (Time estimate: 3 minutes)
- Mix the Filling: To the bowl with the chicken, add the chopped romaine, grated parmesan cheese, and most of the croutons (save a few for topping). Drizzle with Caesar dressing. Toss everything gently until the ingredients are evenly coated. Be careful not to overmix, or the lettuce will wilt. (Time estimate: 2 minutes)
- Assemble the Wraps: Lay a tortilla flat on your work surface. Spoon a portion of the chicken mixture onto the center of the tortilla, leaving a 2-inch border on all sides. Roll the tortilla tightly from the bottom up, tucking in the sides as you go. The roll should be snug but not bursting. (Time estimate: 5 minutes)
- Wrap and Store: Wrap each finished wrap tightly in plastic wrap or foil. Place them in an airtight container or a resealable bag. Label with the date if you are prepping for the week. Store in the refrigerator until ready to eat. (Time estimate: 5 minutes)
Pro tip: If you notice the tortillas are cracking, microwave them for 10-15 seconds before rolling. This makes them more pliable. Also, ensure your chicken is completely cool before assembling, as heat creates steam, which leads to sogginess.
Cooking Tips & Techniques
Cooking chicken breast can be tricky because it dries out easily. The key is to not overcook it. Use a meat thermometer if you have one. Pull the chicken off the heat when it hits 160°F (71°C); the residual heat will finish the cooking process. I once overcooked a batch of chicken for wraps, and the result was like chewing on leather. Don’t make that mistake. Patience pays off.
Another common mistake is using too much dressing. It’s tempting to drown the salad in Caesar dressing for extra flavor, but this is the enemy of make-ahead meals. Too much liquid breaks down the tortilla. Start with a light coating and add more dressing fresh when you are ready to eat if you prefer it wetter. This technique preserves the texture of the wrap.
Timing is everything. Prepare the chicken first, then the vegetables, then assemble. This workflow prevents bottlenecks. If you are prepping multiple wraps, set up an assembly line. Have all ingredients in separate bowls and just roll them one after another. It becomes almost meditative after a while.
For consistency, weigh your chicken portions if you are tracking macros. Uniform pieces ensure even cooking. Also, always dry your lettuce. Moisture is the enemy of crispness. If you wash your lettuce, spin it dry and then pat it with paper towels. It takes an extra minute, but it saves your lunch from becoming a soup.
Personal lesson: I used to add the croutons before storing. Big mistake. They turned into mush within hours. Always add croutons right before eating. Keep them in a small separate container or baggie. This simple change transformed the quality of my wraps.
Variations & Adaptations
One of the best things about this recipe is its flexibility. You can adapt it to suit your dietary needs or taste preferences. Here are a few variations I’ve tried.
Gluten-Free Option: Swap the flour tortilla for a gluten-free wrap. Look for brands made with rice flour or almond flour, as they tend to hold together better than corn tortillas. You may need to use slightly less filling to prevent tearing.
Low-Carb/Keto: Skip the tortilla entirely. Use large lettuce leaves as a wrap instead. This creates a “lettuce wrap” version that is lower in carbs and higher in fiber. You can also omit the croutons and add avocado slices for healthy fats.
Spicy Kick: Add a pinch of red pepper flakes to the chicken seasoning or mix some chipotle peppers in adobo sauce into the Caesar dressing. This adds a smoky heat that pairs beautifully with the creamy dressing.
Veggie-Heavy: Add shredded carrots, sliced cucumbers, or roasted red peppers to the mix. These vegetables add color and crunch without altering the core flavor profile. Just ensure they are dry before adding.
Dairy-Free: Use a dairy-free Caesar dressing and omit the parmesan or use a nutritional yeast substitute for that cheesy flavor. This version is surprisingly satisfying and maintains the classic taste.
I personally love adding a slice of provolone cheese to mine. It melts slightly into the warm chicken and adds a nice creamy texture. It’s not traditional, but it works well.
Serving & Storage Suggestions
These wraps are best served cold or at room temperature. Take them out of the fridge 15 minutes before eating to take the chill off. Presentation matters, so slice the wrap diagonally in half. This makes it easier to handle and shows off the layers inside.
Pair your wrap with a side of fresh fruit or a small bag of chips. A glass of iced tea or lemonade complements the savory flavors perfectly. For a heartier meal, serve it with a side of dilly green bean refrigerator pickles for a tangy contrast.
Storage: Store the wraps in an airtight container in the refrigerator for up to 3 days. Keep them in a single layer to prevent crushing. Do not freeze the wraps, as the lettuce and tortilla will become mushy upon thawing.
Reheating: Do not reheat these wraps in the microwave. The tortilla will become tough and the lettuce will wilt. If you want warm chicken, you can heat the chicken separately and assemble the wrap fresh. However, the cold version is typically preferred for meal prep.
Flavors meld over time, so the wraps taste even better on day two. The chicken absorbs the dressing, and the cheese softens slightly. This is a feature, not a bug. Plan your meals accordingly to enjoy the peak flavor on the second day.
Nutritional Information & Benefits
Each wrap contains approximately 450-500 calories, depending on the size of the tortilla and the amount of dressing used. The chicken provides a good source of lean protein, which helps keep you full and satisfied throughout the afternoon. The romaine lettuce adds fiber and vitamins A and K, supporting digestive health and bone strength.
Caesar dressing adds fat, so be mindful of the portion if you are watching your intake. Using a light dressing or controlling the amount you use can significantly reduce the calorie count. The parmesan cheese contributes calcium and protein.
This recipe is not naturally gluten-free or dairy-free, but adaptations are easy. For those with allergies, always check the labels of your tortillas and dressings. Personally, I find this meal helps me stay on track with my nutrition goals because it is balanced and prevents the urge to grab unhealthy snacks later in the day.
Conclusion
These Easy Make-Ahead Chicken Caesar Wraps are a lifesaver for busy weeks. They are simple to make, delicious to eat, and reliable in storage. I hope you find as much joy in making them as I do. Feel free to customize the ingredients to suit your taste. Add extra veggies, change the protein, or tweak the dressing. Make it your own.
I love this recipe because it takes the stress out of lunch. It’s a small act of self-care that pays off all week long. If you try this recipe, I’d love to hear how it turned out for you. Leave a comment below with your favorite variation or a tip you discovered. Share this post with a friend who needs some lunch inspiration.
Happy cooking, and enjoy your wraps!
FAQs
Can I use leftover rotisserie chicken?
Yes, absolutely. Rotisserie chicken is a great time-saver. Just shred it and mix it with the other ingredients. You may need to reduce the cooking time since the chicken is already cooked.
How do I prevent the tortilla from getting soggy?
Ensure the chicken is completely cool before assembling. Also, use a barrier layer like cheese or lettuce directly against the tortilla. Avoid adding too much dressing, and keep the croutons separate until you are ready to eat.
Can I freeze these wraps?
No, freezing is not recommended. The lettuce and tortilla do not freeze well and will become mushy when thawed. It is best to store them in the refrigerator for up to 3 days.
What kind of lettuce is best for this recipe?
Romaine lettuce is the best choice because it is crisp and holds up well to dressing. Iceberg lettuce is too watery, and spinach wilts too quickly. Butter lettuce is a good alternative for a softer texture.
Can I make the dressing ahead of time?
Yes, you can make the Caesar dressing a few days in advance. Store it in an airtight container in the refrigerator. It will thicken slightly when cold, so let it sit at room temperature for a few minutes before using.
Pin This Recipe!
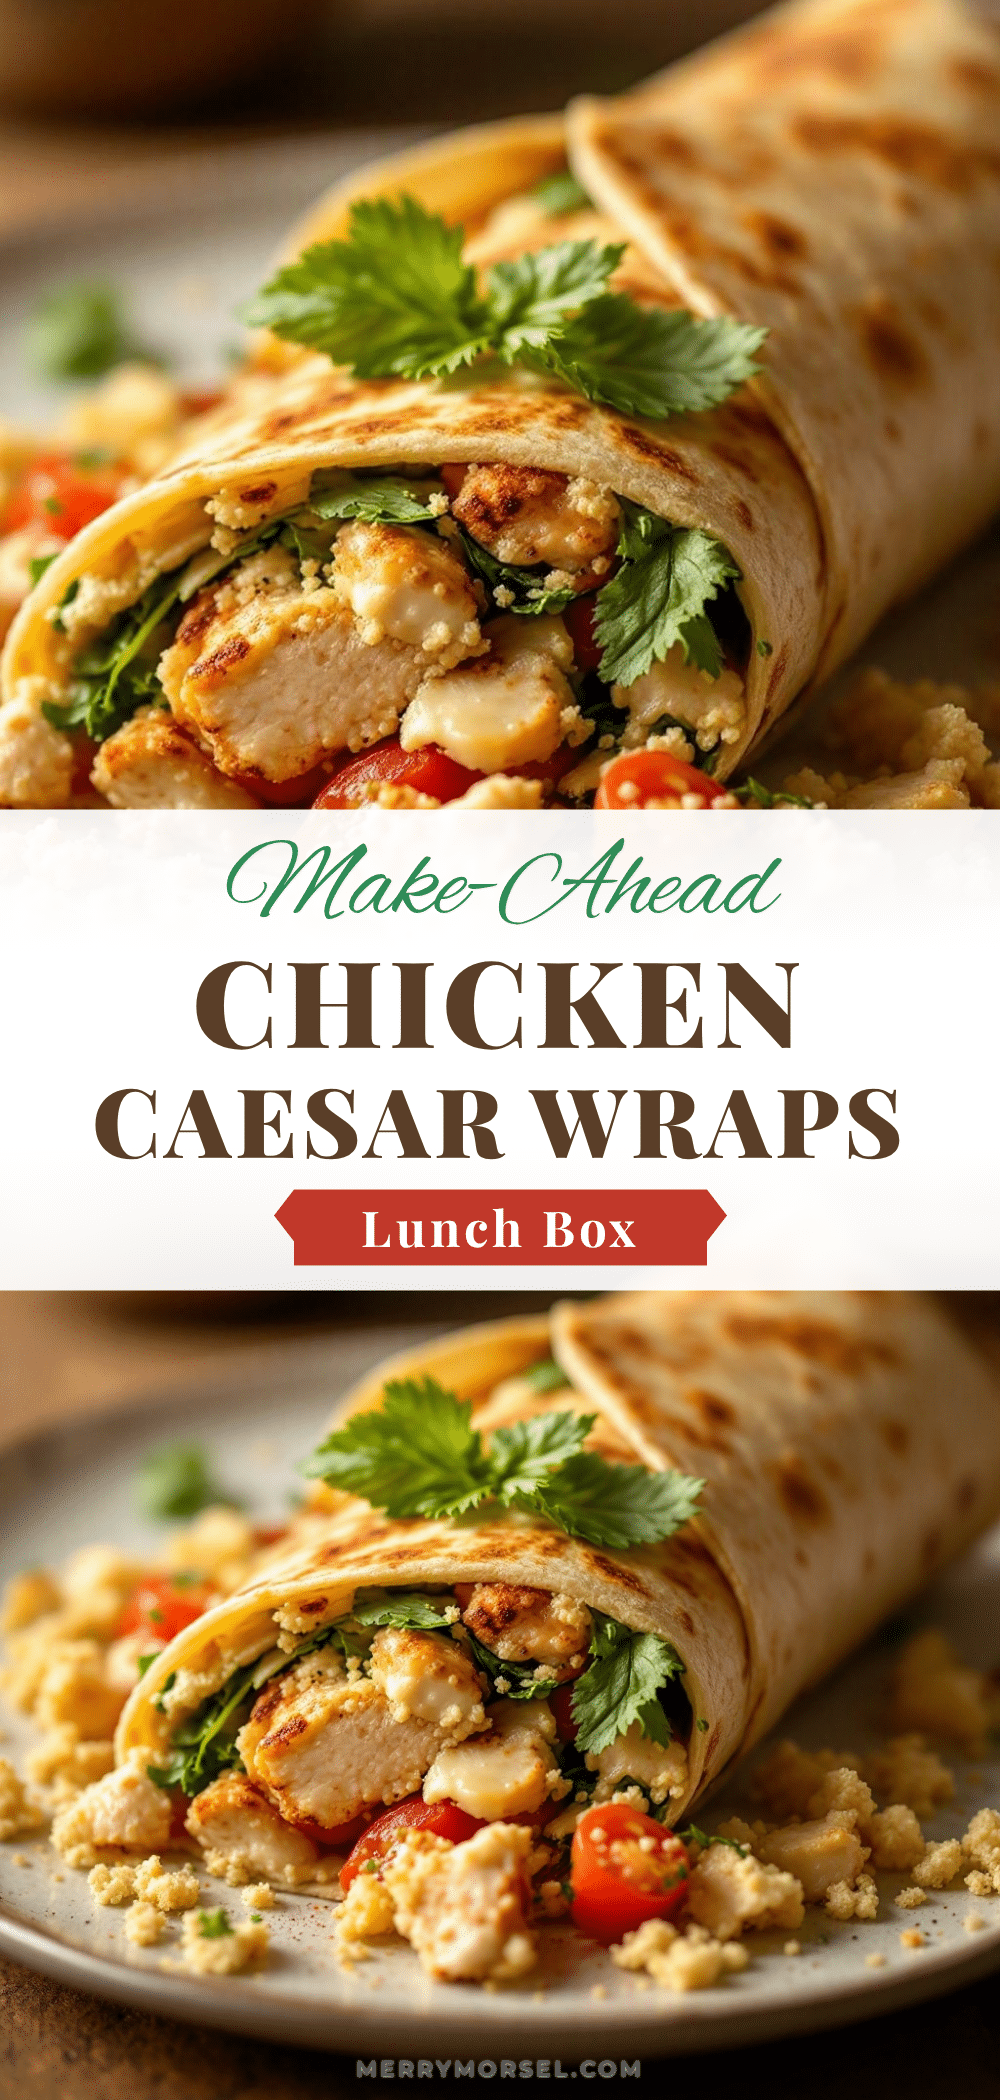
Easy Make-Ahead Chicken Caesar Wraps

A reliable and delicious meal prep solution featuring seasoned chicken, crisp romaine, and Caesar dressing wrapped in pliable tortillas. Designed to stay fresh and textured for up to three days.
- Prep Time: 15 minutes
- Cook Time: 15 minutes
- Total Time: 30 minutes
- Yield: 4 servings 1x
- Category: Lunch
- Cuisine: American
Ingredients
- 1.5 lbs boneless, skinless chicken breasts
- Large flour tortillas
- 4 large romaine lettuce leaves per wrap
- Caesar dressing (homemade or high-quality store-bought)
- Freshly grated parmesan cheese
- Fresh garlic cloves, minced
- Extra virgin olive oil
- Croutons
- Salt
- Black pepper
- Dried Italian herbs
Instructions
- Pat chicken breasts dry and season generously with salt, pepper, dried Italian herbs, and minced garlic.
- Heat a skillet over medium-high heat with olive oil. Cook chicken for 6-7 minutes per side until internal temperature reaches 165°F (74°C).
- Remove chicken from heat and let rest for 5 minutes to redistribute juices.
- Wash, dry thoroughly, and chop romaine lettuce into bite-sized pieces.
- Slice the rested chicken against the grain into thin strips.
- In a large bowl, combine sliced chicken, chopped romaine, grated parmesan, and most of the croutons.
- Drizzle with Caesar dressing and toss gently to coat without wilting the lettuce.
- Lay a tortilla flat and spoon the mixture onto the center, leaving a 2-inch border.
- Roll the tortilla tightly from the bottom up, tucking in the sides.
- Wrap each finished wrap tightly in plastic wrap or foil and store in an airtight container in the refrigerator.
Notes
Ensure chicken is completely cool before assembling to prevent sogginess. Keep croutons separate until eating time to maintain crunch. Do not freeze these wraps as the lettuce and tortilla will become mushy. For best texture, use a barrier layer like cheese or lettuce directly against the tortilla.
Nutrition
- Serving Size: 1 wrap
- Calories: 475
- Sugar: 2
- Sodium: 650
- Fat: 22
- Saturated Fat: 5
- Carbohydrates: 35
- Fiber: 3
- Protein: 30
Keywords: chicken caesar wraps, meal prep, make ahead lunch, healthy lunch ideas, chicken wrap recipe, easy meal prep