Love this? Save it for later!
Share the inspiration with your friends
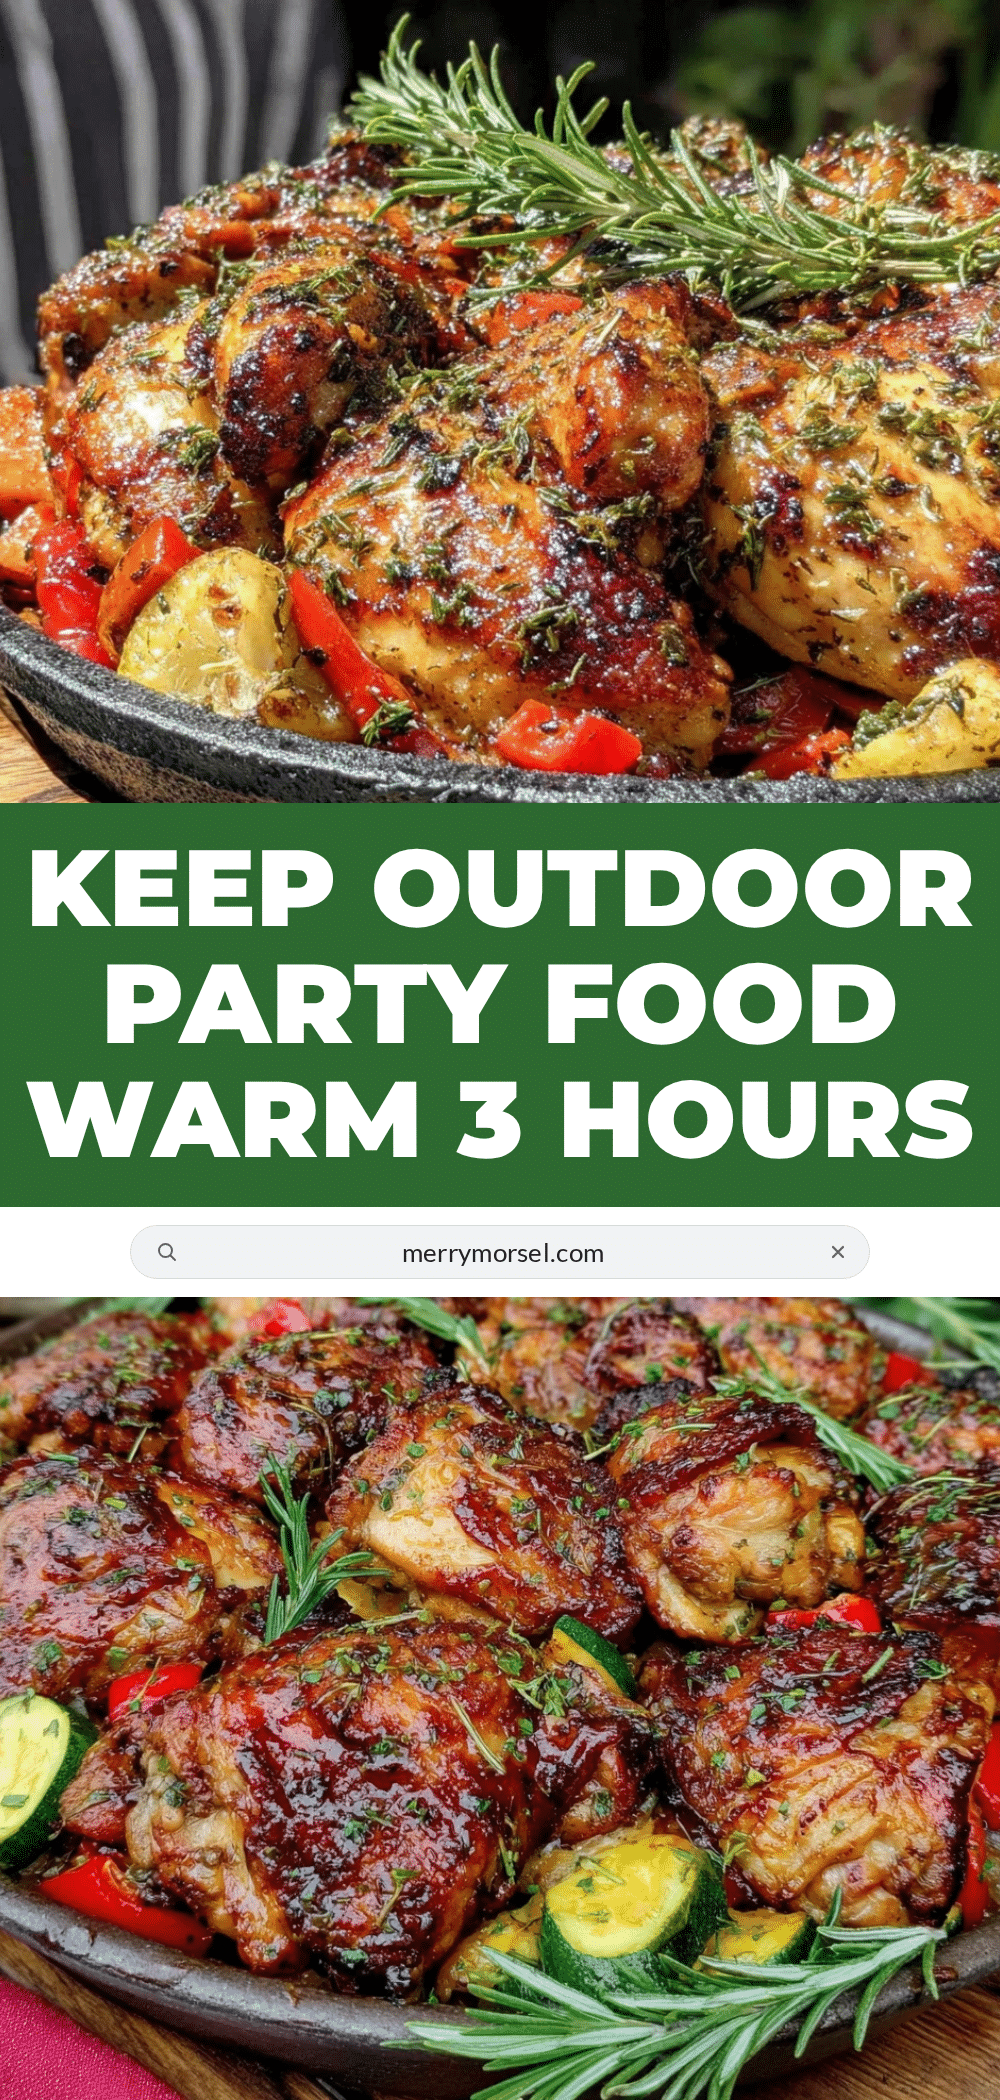
“I never thought keeping food warm for hours outdoors could be such a challenge,” my friend Mark confessed last summer as we prepared for a backyard barbecue. It was a sunny Saturday, and the grill was fired up, but the real test was yet to come. We had a big crowd expected, and the food needed to stay warm for at least three hours while folks mingled and played yard games. Honestly, I wasn’t expecting much beyond the usual heat lamps and foil wraps, but let me tell you, what happened next changed the way I think about outdoor parties forever.
That day, between chasing down a wayward frisbee and dodging a sudden summer shower, I accidentally discovered some easy-to-do tricks that kept our dishes hot, tasty, and safe from the elements for hours. Maybe you’ve been there—food served lukewarm or cold, guests waiting impatiently, and the cook feeling defeated. This isn’t just another “cover with foil” story; it’s a practical, tested guide born out of a slightly chaotic afternoon that turned into a delicious success. So, whether you’re planning a family picnic, a tailgate, or a simple outdoor gathering, these tips on how to keep food warm for 3 hours at outdoor parties will be your new secret weapon.
And trust me, there was one moment when I realized this wasn’t just luck. After the game of cornhole ended, the trays were still steaming, and the flavors were as good as fresh from the oven. That cracked bowl of chili I forgot to cover? Well, that was a lesson learned (spoiler: don’t forget!). But the rest? Absolutely perfect. Let me share how you can keep your party food warm and inviting no matter how long your guests stay.
Why You’ll Love This Recipe
After plenty of trial and error (and a few chilly bites), I’ve honed these easy techniques to keep food warm for 3 hours at outdoor parties. Not only does it save you the stress of reheating or rushing your guests to eat, but it also keeps every bite tasting just right. Here’s why this method is a game changer:
- Quick & Easy: You can set it up in under 15 minutes, freeing you up to enjoy the party instead of hovering over the stove.
- Simple Ingredients & Tools: No need for fancy gadgets—most things you already have in your kitchen will do the trick.
- Perfect for Outdoor Occasions: Whether it’s a picnic, potluck, or casual barbecue, your food stays at the ideal temperature without complicated setups.
- Crowd-Pleaser: Hot, fresh-tasting food keeps guests happy and coming back for seconds (or thirds!).
- Unbelievably Reliable: Tested on breezy porches, sunny parks, and even a windy beach day—these tips hold up.
This approach isn’t just about wrapping food in foil and hoping for the best. It’s about smart layering, insulation, and a few clever hacks (like using towels and thermal bags) that I picked up from a mix of grilling pros and a particularly resourceful caterer. It’s comfort food, made easy and foolproof, so you can focus on the good times without worrying about lukewarm plates.
What Ingredients You Will Need
Keeping food warm doesn’t require ingredients per se, but the right food choices and accompaniments can make all the difference. Here’s what you’ll want to gather for a successful warm-food outdoor party:
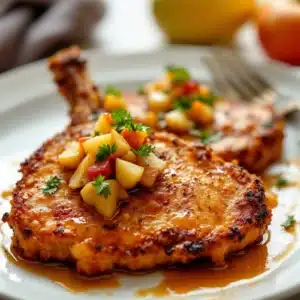
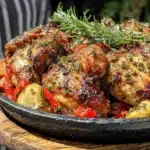
- Hot Dishes: Choose foods that hold heat well like casseroles, stews, baked pasta, grilled meats, or thick soups.
- Insulating Wraps: Heavy-duty aluminum foil (preferably thick gauge for better heat retention), clean kitchen towels or old cotton t-shirts (for wrapping and insulating).
- Thermal Containers: Large insulated coolers or thermal bags designed to keep heat in (I recommend Igloo or Thermos brands for reliability).
- Hot Water Bottles or Heat Packs: Reusable heat packs or microwavable gel packs to nestle around dishes inside containers.
- Serving Trays and Covered Containers: Use lidded casserole dishes or slow cooker inserts with lids to trap heat.
- Chafing Dishes or Sterno Fuel: Optional, but great for extended warming if you have access to power or fuel safely outdoors.
For the actual food, I suggest prepping items like:
- Hearty chili or stew (thick enough to retain heat)
- Baked ziti or lasagna (holds warmth well under cover)
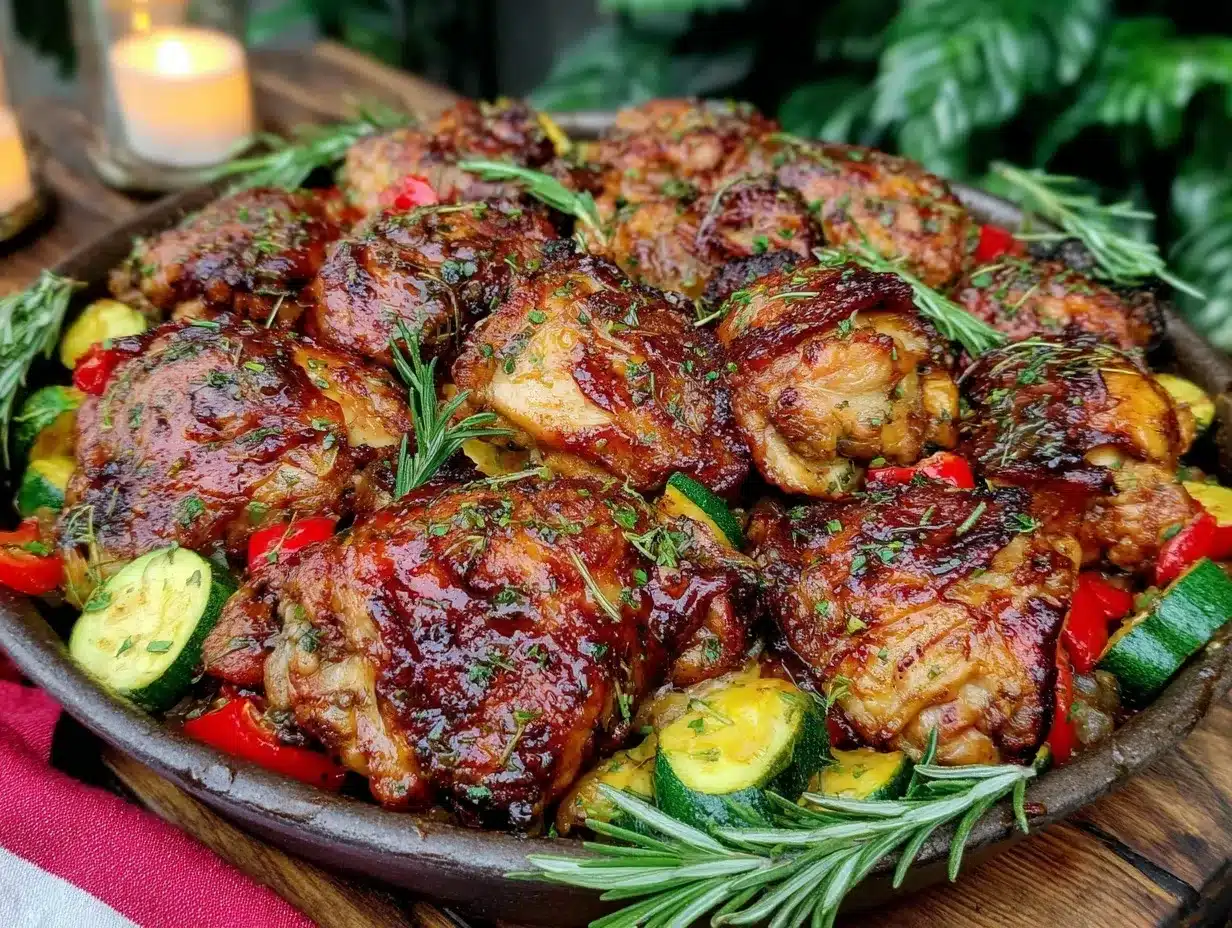
- Roasted chicken pieces or ribs (wrap tightly to lock in heat)
- Vegetable gratins or casseroles (dense and comforting)
Pro tip: Avoid foods with delicate sauces or raw greens that wilt quickly if left warm too long. And if you’re bringing sides, consider room-temperature options like grain salads or roasted veggies that taste great without heat.
Equipment Needed
Aside from your usual cookware, a few key tools will help keep your food hot and ready to serve at outdoor parties:
- Insulated Cooler or Thermal Carrier: A large, clean cooler works wonders for trapping heat, not just cold.
- Heavy-Duty Aluminum Foil: Thick foil helps hold heat better and prevents tearing.
- Kitchen Towels or Blankets: Use old cotton towels, blankets, or even picnic blankets to wrap around foil-covered dishes for extra insulation.
- Heat Packs or Hot Water Bottles: These can be tucked inside coolers to maintain warmth without drying out food.
- Lidded Serving Dishes: Glass or ceramic dishes with tight-fitting lids work best to trap steam inside.
- Portable Chafing Dishes or Sterno Fuel: If your outdoor setup allows, these provide gentle heat for several hours.
Personally, I’ve found that a trusty insulated cooler combined with kitchen towels creates a surprisingly effective warming station. It’s budget-friendly and easy to clean up, making it my go-to when electric options aren’t an option. And if you don’t have a thermal bag designed for food, you can even improvise with a regular cooler lined with towels.
Preparation Method
- Cook and Rest Your Food: Prepare your dishes completely, then let them rest at room temperature for about 10-15 minutes. This helps balance the internal temperature before wrapping.
- Preheat Your Containers: If using ceramic or glass dishes, warm them in the oven at 200°F (93°C) for 10 minutes before adding food. This prevents rapid heat loss.
- Wrap Tightly With Foil: Cover each dish with heavy-duty aluminum foil, pressing snugly to seal the edges and trap steam. Make sure there are no gaps.
- Insulate With Towels: Wrap the foil-covered dish in a thick kitchen towel or blanket. This layer slows heat escape and protects the dish from outdoor drafts.
- Prepare Your Thermal Carrier: Line the bottom of your insulated cooler or thermal bag with towels or blankets. Place heat packs or hot water bottles inside to create a warm base.
- Place Wrapped Dishes Inside: Nestle your insulated dishes into the cooler or thermal bag, layering towels between items if stacking.
- Close and Seal: Shut the cooler lid tightly and keep it closed until serving time to preserve heat.
- Optional Chafing Dish Setup: If using chafing dishes, set up your stand, fill the water pan with hot water, and light sternos beneath to maintain a gentle simmer. Keep the lids on when not serving.
- Check Temperature Before Serving: About 10 minutes prior to serving, open the cooler and confirm the food is still steaming hot (at least 140°F / 60°C). If it’s a bit cooler than desired, you can quickly reheat or add fresh heat packs.
- Serve and Enjoy: Bring out your perfectly warm dishes and watch your guests’ faces light up. Bonus: the food will stay warm for another hour or so if re-covered promptly.
One time, I forgot the towels in the rush (classic!), and the food cooled faster than expected. Lesson learned: that extra insulation is a small step with big payoff. Also, avoid opening the cooler repeatedly—that’s like letting the heat out of a balloon. Keep it closed tight until you’re ready to dish up.
Cooking Tips & Techniques
Keeping food warm outdoors is as much about patience and planning as it is about technique. Here are some tips I’ve picked up along the way:
- Choose Dense, Moist Foods: Thick stews or baked dishes retain heat better than thin soups or dry items.
- Don’t Overcook: Food will continue to cook slightly in the insulated container; avoid drying out by pulling it off the heat just before done.
- Use Layering: Combining foil, towels, and insulated carriers creates a multi-barrier effect that traps steam and heat.
- Mind the Lid: Always cover dishes tightly to keep moisture in; dry heat cools food faster.
- Work Fast: The less time food spends uncovered or at room temp, the better it holds heat.
- Test Your Setup: Before a big event, trial your warming method with similar dishes so you know how long they’ll stay warm.
One mistake I made once was stacking hot and cold dishes in the same cooler—never do that! The cold items suck out heat like a vacuum. Keep warm foods separate or use different containers. Also, if you’re using heat packs, be sure they’re evenly distributed and not touching plastic containers directly, which could melt or deform.
Variations & Adaptations
This warming method is flexible and works well with many types of dishes and party styles. Here are some ways to make it your own:
- Dietary Adaptations: For vegan or gluten-free guests, try warming hearty vegetable stews or quinoa casseroles using the same technique.
- Seasonal Twists: In cooler months, add extra insulation layers or use insulated food jars for individual servings of soups or chili.
- Cooking Method Variations: Instead of a cooler, use a slow cooker on the “warm” setting plugged into an outdoor power source for continuous heat.
- Flavor Boosts: Add fresh herbs or a squeeze of lemon just before serving to brighten flavors that have been resting.
- Personal Favorite: I once wrapped a baked mac and cheese in foil, layered it in towels inside a thermal bag, and it stayed creamy and hot for nearly 4 hours—perfect for a picnic!
Serving & Storage Suggestions
When it comes time to serve your warm dishes, presentation and timing matter. Serve your food directly from the insulated containers or transfer to attractive serving dishes warmed in advance. Garnish with fresh herbs or a sprinkle of cheese to add a pop of color and freshness.
If you have leftovers, store them promptly in airtight containers and refrigerate within two hours. Reheat gently on the stove or in the oven, adding a splash of broth or water to prevent drying. This method keeps the texture and flavor close to the original.
Flavors often deepen after sitting warm for a bit, so if you can let dishes rest inside the insulated carrier for an hour or two before serving, you might notice even richer tastes. Just keep lids on tight to avoid moisture loss.
Nutritional Information & Benefits
The foods best suited for keeping warm at outdoor parties tend to be nutrient-dense and comforting. Many include protein-rich meats, fiber-packed vegetables, and slow-cooked grains. For example, a warm chili provides protein and fiber, helping keep you full and energized during long celebrations.
Choosing homemade dishes over processed options means less sodium and additives, making your party food healthier overall. If you’re mindful of allergens, these techniques work well with gluten-free or dairy-free recipes too—just swap ingredients accordingly.
From a wellness perspective, having warm, satisfying food outdoors encourages guests to eat well and linger longer, fostering social connection and enjoyment. I always feel better when I know my meal was prepared thoughtfully and served just right.
Conclusion
Keeping food warm for 3 hours at outdoor parties isn’t rocket science, but it does require a little planning and the right tricks. Whether you’re serving up a bubbling casserole or a hearty stew, these easy, practical tips will help you avoid lukewarm disappointments and keep your guests happily satisfied.
I love this method because it takes the stress out of party prep and lets me enjoy the event alongside my friends. Plus, there’s something special about pulling out steaming dishes that taste just like they came straight from the oven—no matter how long they’ve been waiting.
Give these tips a try at your next outdoor get-together, and I’d love to hear how it goes! Share your own warming hacks or variations in the comments below, and let’s make every meal outdoors a warm success.
FAQs
How long can food stay warm safely at outdoor parties?
Food should stay above 140°F (60°C) to be safe and tasty. With proper insulation, many dishes can remain warm for up to 3 hours.
Can I keep cold dishes warm using these methods?
No, cold dishes should be kept cold separately to avoid food safety risks. Use coolers with ice packs for salads and desserts.
What should I avoid when trying to keep food warm outdoors?
Avoid frequently opening your insulated carrier and mixing warm and cold items together. Also, avoid thin or delicate foods that dry out quickly.
Are heat packs reusable and safe for food warming?
Yes, many heat packs are reusable and safe when wrapped properly and not placed directly on plastic containers to prevent melting.
Can I use a slow cooker to keep food warm outside?
Absolutely! If you have access to power, slow cookers on the “warm” setting are excellent for long-lasting heat during outdoor events.
By mastering these easy techniques to keep food warm for 3 hours at outdoor parties, you’ll be the host everyone remembers for serving delicious, comforting meals—no matter the weather or timing challenges.
Pin This Recipe!
Easy How to Keep Food Warm for 3 Hours at Outdoor Parties Perfect Tips
A practical, tested guide with easy techniques to keep your outdoor party food warm, tasty, and safe for up to three hours using simple tools and smart layering.
- Prep Time: 15 minutes
- Cook Time: Varies depending on dishes prepared
- Total Time: 3 hours (including warming period)
- Yield: Varies depending on quantity prepared
- Category: Party Tips / Food Preparation
- Cuisine: General / Outdoor Entertaining
Ingredients
- Hot dishes such as casseroles, stews, baked pasta, grilled meats, or thick soups
- Heavy-duty aluminum foil (thick gauge preferred)
- Clean kitchen towels or old cotton t-shirts for wrapping and insulating
- Large insulated coolers or thermal bags (e.g., Igloo or Thermos brands)
- Reusable heat packs or microwavable gel packs
- Lidded casserole dishes or slow cooker inserts with lids
- Optional: chafing dishes or Sterno fuel for extended warming
Instructions
- Cook and rest your food completely, then let it rest at room temperature for about 10-15 minutes.
- Preheat ceramic or glass containers in the oven at 200°F (93°C) for 10 minutes before adding food.
- Cover each dish tightly with heavy-duty aluminum foil, sealing edges to trap steam.
- Wrap the foil-covered dish in a thick kitchen towel or blanket for insulation.
- Line the bottom of an insulated cooler or thermal bag with towels or blankets and place heat packs or hot water bottles inside.
- Nestle the wrapped dishes into the cooler or thermal bag, layering towels between items if stacking.
- Close and seal the cooler lid tightly until serving time.
- Optional: Set up chafing dishes with hot water pans and Sterno fuel for gentle heat if available.
- About 10 minutes before serving, check that food is steaming hot (at least 140°F / 60°C); reheat or add heat packs if needed.
- Serve the warm dishes and enjoy.
Notes
Avoid opening the cooler repeatedly to prevent heat loss. Do not mix warm and cold dishes in the same container. Use thick, dense foods that retain heat well. Heat packs should not touch plastic containers directly to avoid melting. Trial your warming setup before big events.
Nutrition
- Serving Size: Varies by dish and p
Keywords: keep food warm, outdoor parties, food warming tips, insulated cooler, thermal bags, party food, food safety, heat packs, chafing dishes