Love this? Save it for later!
Share the inspiration with your friends
The neighborhood block party was in six hours and I’d completely forgotten. Everyone else would be bringing their signature dishes—Martha with her famous seven-layer dip, Dave with his award-winning smoked brisket, and Linda who always shows up with those perfect little tartlets that look like they came from a bakery. I had a fridge full of green beans from my CSA box and a sudden, sinking feeling in my stomach.
Let me tell you, I was not about to show up empty-handed. I mean, I’ve lived on this street for three years and I still feel like the new kid sometimes. So I did what any reasonable person would do when faced with a deadline and limited ingredients—I started frantically scrolling through my mental recipe bank. That’s when I remembered my grandmother’s dilly beans. She used to can them every summer, and the smell of dill and vinegar would fill her entire kitchen.
Now, I’m not a canner. Honestly, the thought of water bath canning terrifies me a little—all that pressure and the fear of botulism? No thank you. But refrigerator pickles? That I could handle. I grabbed a bunch of dill from my garden, found some garlic cloves that were starting to sprout (don’t judge, we’ve all been there), and got to work. The best part? These dilly green bean refrigerator pickles take about 15 minutes of actual prep time. The hardest part is waiting for them to pickle.
I showed up to that block party with a big mason jar full of these crunchy, tangy beauties. Dave’s brisket was amazing, as always. But you know what people kept coming back to? The green beans. Seriously. People were standing around the cooler, crunching on these things like they were potato chips. Martha asked for the recipe before she even finished her first one. And I’ve been making them ever since—for barbecues, for holiday appetizer platters, and honestly, just for snacking straight from the fridge on a hot afternoon. Maybe you’ve been there—needing something quick that still feels special. These pickles are that recipe.
Why You’ll Love This Recipe
These easy dilly green bean refrigerator pickles have become my signature dish, and I’ve tested them at least a dozen times to get them just right. Here’s why I think you’ll fall for them too:
- Incredibly Quick: We’re talking 15 minutes of active prep time. The rest is just waiting—and that waiting happens in your fridge, not over a hot stove.
- Simple Pantry Ingredients: You probably have most of these already. Vinegar, salt, garlic, dill—these are things I bet you’ve got in your kitchen right now.
- Perfect for Entertaining: These are the ultimate make-ahead appetizer. They look gorgeous on a charcuterie board and people always ask what they are.
- Crunchy and Satisfying: Unlike canned green beans that turn into sad, mushy strings, these stay crisp and snappy. That crunch is everything.
- No Canning Required: No special equipment, no boiling water baths, no stress. Just a jar and a fridge.
What makes these different from every other pickle recipe out there? It’s the balance, honestly. I’ve tried versions that were too vinegary, too salty, or just plain bland. This one hits that sweet spot where the dill is fragrant, the garlic is punchy, and the brine is perfectly tangy without making you pucker. I’ve had friends tell me these are better than the ones their grandmothers used to can—and that’s high praise in my book.
There’s something about opening a jar of these on a Tuesday night after a long day. The pop of the lid, the smell of dill and garlic, that first satisfying crunch—it’s comfort food, but somehow healthier and brighter. You can serve them at a fancy dinner party or eat them straight from the jar while standing in front of the open fridge. No judgment here.
What Ingredients You Will Need
This recipe uses simple, honest ingredients to create something that tastes much more complex than it has any right to. Most of these are pantry staples, which makes this recipe perfect for those moments when you need something impressive without a trip to the store.
- Fresh green beans: About 1 pound. Look for beans that are firm, bright green, and snap when you bend them. Avoid any that are limp or have brown spots. I like to use standard green beans, but you can also use haricots verts (the thin French ones) if you want something more delicate.
- White vinegar: 1 cup. This gives the brine its tangy backbone. I’ve tried apple cider vinegar and it works too, but it changes the color slightly. White vinegar keeps those beans looking bright and beautiful.
- Water: 1 cup. Filtered water is best if you have it, especially if your tap water has a strong chlorine taste.
- Kosher salt: 1 tablespoon. Don’t use table salt here—it has anti-caking agents that can make the brine cloudy. Kosher salt dissolves cleanly and gives you better control over the saltiness. I prefer Diamond Crystal brand.
- Granulated sugar: 1 teaspoon. Just a touch to balance the acidity. You won’t taste sweetness, I promise. It’s just there to round things out.
- Fresh dill: 4-6 sprigs per jar. Fresh is non-negotiable here. Dried dill just doesn’t have the same bright, grassy flavor. If you have dill growing in your garden, even better.
- Garlic cloves: 3-4 per jar, smashed slightly. Smashing them releases more flavor than just slicing. You want that garlic to infuse into the brine.
- Red pepper flakes: ½ teaspoon per jar (optional). This is for heat. I add them about half the time, depending on my mood. You can leave them out or add more if you like things spicy.
- Black peppercorns: 1 teaspoon per jar. Whole peppercorns add a subtle warmth that ground pepper just can’t match.
- Mustard seeds: 1 teaspoon per jar (optional). These add a lovely pop of texture and a mild, earthy flavor. I love them, but you can skip them if you don’t have them.
One thing I’ve learned through trial and error—don’t skip the sugar. I know, it seems unnecessary in a savory pickle. But that tiny bit of sweetness is what keeps the vinegar from being too harsh. It’s the same principle as adding a pinch of sugar to tomato sauce. You don’t taste it, but you’d notice if it were missing.
Equipment Needed
The beauty of refrigerator pickles is that you don’t need any special canning equipment. Here’s what you’ll need:
- Quart-sized mason jars: You’ll need 2-3 jars, depending on how tightly you pack them. Wide-mouth jars are easier to work with, but regular ones work fine too. I’ve been using the same Ball jars for years and they still seal perfectly.
- Small saucepan: For making the brine. Any small pot will do.
- Cutting board and knife: For trimming the green beans and smashing the garlic.
- Measuring cups and spoons: Accuracy matters with pickling brine. Too much vinegar and it’s inedible, too little and it won’t preserve properly.
- Funnel: Optional, but really helpful for getting the brine into the jars without spilling it everywhere. I learned this the hard way after cleaning up sticky vinegar off my counter three times.
- Tongs: For handling the hot jars if you’re filling them while the brine is still warm.
If you don’t have mason jars, you can use any glass jar with a tight-fitting lid. I’ve used cleaned-out pasta sauce jars and pickle jars (how’s that for meta?) and they work great. Just make sure they’re thoroughly washed and dried. Plastic containers aren’t recommended because the vinegar can react with them over time.
Preparation Method
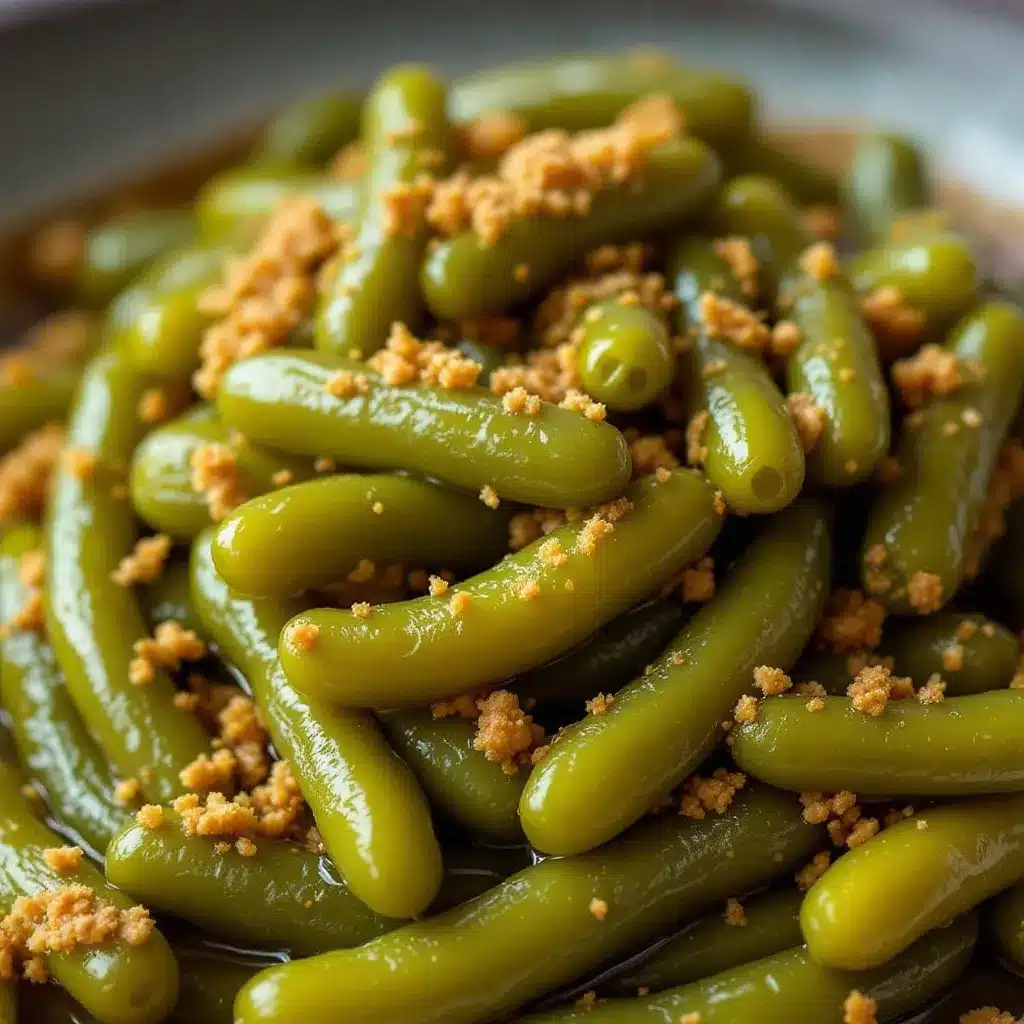
This is where the magic happens. Follow these steps and you’ll have the most delicious dilly green bean refrigerator pickles in no time.
- Prepare your green beans (5 minutes). Wash the beans thoroughly and trim off the stem ends. You can leave the tail ends on for a rustic look, or trim those too if you prefer. I like to cut them to fit my jars—usually about 3-4 inches long. If you’re using smaller jars, cut them shorter. The important thing is that they stand upright in the jar or lay flat without being crammed in.
- Make the brine (5 minutes). In your small saucepan, combine 1 cup white vinegar, 1 cup water, 1 tablespoon kosher salt, and 1 teaspoon sugar. Bring this to a boil over medium-high heat, stirring occasionally to dissolve the salt and sugar. Once it’s boiling, remove it from the heat and let it cool for about 5 minutes. You want it warm, not boiling hot, when you pour it over the beans. I’ve made the mistake of pouring boiling brine over the beans and ended up with slightly softened pickles—still good, but not as crunchy.
- Pack your jars (5 minutes). While the brine is cooling, divide your seasonings between your jars. Into each jar, put: 3-4 smashed garlic cloves, 2-3 sprigs of fresh dill, ½ teaspoon red pepper flakes (if using), 1 teaspoon black peppercorns, and 1 teaspoon mustard seeds (if using). Then pack the green beans in tightly. Stand them upright if you can—it looks beautiful and allows the brine to circulate evenly. Pack them in there snugly; they’ll shrink slightly as they pickle.
- Pour the brine (2 minutes). Carefully pour the warm brine over the green beans, filling the jar to about ½ inch from the top. Make sure all the beans are completely submerged. If any are sticking out, push them down with a clean spoon or chopstick. Tap the jar gently on the counter to release any air bubbles.
- Seal and cool (2 minutes). Screw the lids on tightly and let the jars cool to room temperature on the counter. You’ll hear the lids pop as they cool and seal—that satisfying sound means you’ve got a good seal. Once they’re cool, pop them in the refrigerator.
- Wait (This is the hard part). Here’s the thing about refrigerator pickles—they need time. I know you want to try them immediately. I’ve been there. But trust me on this. Let them sit in the fridge for at least 48 hours before you open them. The flavor really develops after about 3-4 days. At the one-week mark, they’re absolutely perfect. The garlic mellows, the dill infuses everything, and the beans absorb just the right amount of brine.
A note on timing: I usually make these on a Sunday afternoon for the following weekend. That way they’ve had a full week to develop, and they’re at their peak when I need them. If you’re in a hurry, 48 hours will do, but they won’t have that deep, complex flavor that makes people ask for the recipe.
Cooking Tips & Techniques
I’ve made these dilly green bean refrigerator pickles more times than I can count, and I’ve definitely learned a few things along the way. Here are my best tips for pickle success.
Don’t skip the ice bath. If you want the crunchiest pickles possible, blanch the green beans in boiling water for 1 minute, then immediately transfer them to a bowl of ice water. This stops the cooking process and locks in that bright green color and snappy texture. I only do this when I’m feeling extra fancy, but it does make a difference.
Watch your salt. Different salts have different densities. If you’re using Morton’s kosher salt instead of Diamond Crystal, use slightly less—about 2 teaspoons instead of 1 tablespoon. Morton’s is denser and saltier by volume. I learned this the hard way when I made a batch that was practically inedible because I used the wrong salt measurement.
Keep them submerged. If you open the jar and find that some beans have floated above the brine line, don’t panic. Just eat those ones first. They’ll be slightly less pickled but still delicious. To prevent this, I always pack my jars as tightly as possible and use a smaller jar if needed.
Temperature matters. The brine should be warm when you pour it over the beans, not boiling hot. If it’s too hot, it can start cooking the beans and make them soft. If it’s too cold, it won’t penetrate the beans as effectively. Warm—like a comfortable bath temperature—is perfect.
Label your jars. I know this sounds silly, but I’ve definitely had moments where I couldn’t remember which batch was which. I use a piece of masking tape and a Sharpie to write the date and what’s in the jar. It takes two seconds and saves so much confusion later.
One of my biggest failures with this recipe came when I tried to double it without adjusting my jar sizes. I ended up with too much brine and not enough beans, and I had to scramble to find more green beans at 9 PM on a Tuesday. Not my finest moment. Now I always make sure I have extra beans on hand, just in case.
Variations & Adaptations
One of the best things about this recipe is how easy it is to customize. Here are some variations I’ve tried and loved.
Spicy Dilly Beans: If you like heat, double the red pepper flakes and add a sliced jalapeño or two to each jar. I made a batch like this for a Super Bowl party and they disappeared faster than the wings. The heat builds over time, so if you’re not sure, start with less and taste-test after a few days.
Garlic-Lover’s Version: I’m a garlic fiend, so sometimes I’ll add 6-8 cloves per jar instead of 3-4. I also like to add a few slices of fresh ginger for a slightly different flavor profile. It’s not traditional, but it’s delicious.
Herb Swaps: Fresh dill is classic, but you can experiment with other herbs. Tarragon gives a lovely anise flavor, thyme adds earthiness, and rosemary is surprisingly good with green beans. I made a batch with dill and tarragon mixed together and it was fantastic—herby and complex.
Different Vinegars: While white vinegar is my go-to, you can use apple cider vinegar for a fruitier tang or rice vinegar for something milder. Just keep the acid-to-water ratio the same. I tried making a batch with all apple cider vinegar and it turned out darker but still delicious.
Low-Sodium Option: You can reduce the salt to 1½ teaspoons per cup of liquid, but don’t go lower than that. The salt isn’t just for flavor—it helps preserve the pickles and keeps them crunchy. If you’re watching your sodium, these are still a better option than store-bought pickles, which are often loaded with salt and preservatives.
I once made a batch with lemon zest and fresh thyme instead of dill, thinking I was being clever. It was… fine. Not bad, but not as good as the original. Sometimes the classic combination is classic for a reason, you know?
Serving & Storage Suggestions
These dilly green bean refrigerator pickles are incredibly versatile. Here’s how I like to serve and store them.
Serving Temperature: Serve them cold, straight from the fridge. The chill makes them extra crunchy and refreshing. On a hot summer day, there’s nothing better than pulling a cold jar of these out of the fridge.
Presentation Ideas: Arrange them on a charcuterie board alongside cheeses, cured meats, and crackers. They’re especially good with sharp cheddar or creamy goat cheese. You can also spear them with toothpicks and serve them as a simple appetizer at parties. For a Bloody Mary garnish, they’re absolutely perfect—better than a celery stick any day.
Complementary Dishes: These pickles are amazing alongside sandwiches, especially pulled pork or Reubens. They’re also great with grilled meats—think burgers, hot dogs, or steak. I love serving them at barbecues because they cut through the richness of all that grilled food. They’re also fantastic chopped up and added to potato salad or tuna salad for extra crunch and tang.
Storage Instructions: Keep these in the refrigerator at all times. They’ll stay good for up to 3 months, but honestly, they never last that long in my house. The flavor actually improves over the first week or two, so don’t be afraid to make them ahead. After about a month, the beans will start to soften slightly, but they’re still delicious.
Reusing the Brine: Once you’ve eaten all the beans, don’t throw away that brine! You can reuse it to pickle other vegetables. I’ve used leftover brine for hard-boiled eggs, cucumber slices, and even cauliflower. Just bring it to a boil first, let it cool, then pour it over your new vegetables. The flavor won’t be as strong the second time around, but it’s still good.
Freezing Note: I don’t recommend freezing these pickles. The texture of the green beans will become mushy when thawed. If you need to make them far in advance, just keep them in the fridge—they’ll be fine for months.
Nutritional Information & Benefits
These dilly green bean refrigerator pickles are a healthy snack option, especially compared to store-bought versions that are often loaded with sodium and preservatives.
Estimated Nutritional Values (per serving, about ½ cup):
- Calories: 25
- Total Fat: 0g
- Sodium: 350mg (varies based on salt used)
- Total Carbohydrates: 5g
- Dietary Fiber: 2g
- Sugars: 2g
- Protein: 1g
Health Benefits: Green beans are packed with vitamins A, C, and K, as well as fiber and folate. The fermentation process (even quick refrigerator pickling) can introduce beneficial probiotics, though the vinegar-based brine means these aren’t as probiotic-rich as fermented pickles. Still, they’re a much better choice than processed snacks. The garlic in this recipe is known for its immune-boosting properties, and dill has been used for centuries to aid digestion.
Dietary Considerations: This recipe is naturally gluten-free, vegan, and dairy-free. It’s also low in calories and fat, making it a great option for anyone watching their weight. If you’re on a low-sodium diet, you can reduce the salt, but keep in mind that the pickles won’t be as crunchy or flavorful.
Potential Allergens: There are no common allergens in this recipe, but always check your ingredient labels if you have sensitivities. Some vinegars are made from grains that may contain gluten, though distilled white vinegar is generally considered gluten-free.
I personally love that I can snack on these without any guilt. When I’m trying to eat healthier, having a jar of these in the fridge means I reach for pickles instead of chips when the afternoon munchies hit. They satisfy that craving for something salty and crunchy without derailing my day.
Conclusion
These easy dilly green bean refrigerator pickles have become a staple in my kitchen for good reason. They’re simple enough for a beginner to make, but impressive enough to serve at a dinner party. The crunch, the tang, the way that dill and garlic come together—it’s just perfect. And the best part? You can make them in 15 minutes and forget about them until you need them.
I’ve shared this recipe with so many people over the years, and every single one of them has come back to tell me how much they love it. There’s something special about opening a jar of homemade pickles that you made yourself. It feels like a small victory, you know? Like you’ve done something good for yourself and the people you feed.
I encourage you to make these your own. Add more garlic if you’re a garlic lover. Throw in some extra red pepper flakes if you like heat. Experiment with different herbs and see what you discover. The beauty of this recipe is that it’s forgiving—it wants you to play with it.
So go ahead, grab some green beans and a jar, and give these a try. I promise you won’t regret it. And when you make them—because I know you will—come back and let me know how they turned out. Did you add something unexpected? Did your family love them? I’d love to hear your pickle stories. Happy pickling!
Frequently Asked Questions
Can I use frozen green beans for this recipe?
I wouldn’t recommend it. Frozen green beans have already been blanched and frozen, which changes their texture. They’ll end up mushy and sad in the brine. Fresh green beans are really the way to go here. If you have a garden that’s overflowing with beans, this is the perfect way to use them up.
How long do these refrigerator pickles last?
They’ll keep in the refrigerator for up to 3 months. The flavor is best between 1 week and 1 month. After that, the beans will start to soften, but they’re still perfectly safe to eat as long as they’ve been kept refrigerated and the brine looks clear. If you see any mold or the brine turns cloudy, toss them.
Can I can these for long-term storage?
This recipe is specifically designed for refrigerator pickles, not water bath canning. If you want to can them for shelf-stable storage, you’ll need to follow a tested canning recipe with precise processing times and acid levels. Improper canning can lead to food safety issues. For safety and best results, stick with the refrigerator method.
Why are my pickles soft instead of crunchy?
Several things could cause soft pickles. First, you might have used older green beans that were already losing their crispness. Second, your brine might have been too hot when you poured it over the beans. Third, you might have let them sit too long—after about 3 months, they’ll naturally start to soften. For the crunchiest results, use the freshest beans you can find and let the brine cool slightly before pouring.
Can I reuse the brine for another batch?
Yes, you can! Once you’ve eaten all the beans, you can reuse the brine for another batch of pickles. Just bring it to a boil, let it cool to warm, and pour it over fresh vegetables. The flavor won’t be as strong the second time around, so you might want to add a little extra dill and garlic. I’ve reused brine up to three times before the flavor gets too weak.
Pin This Recipe!
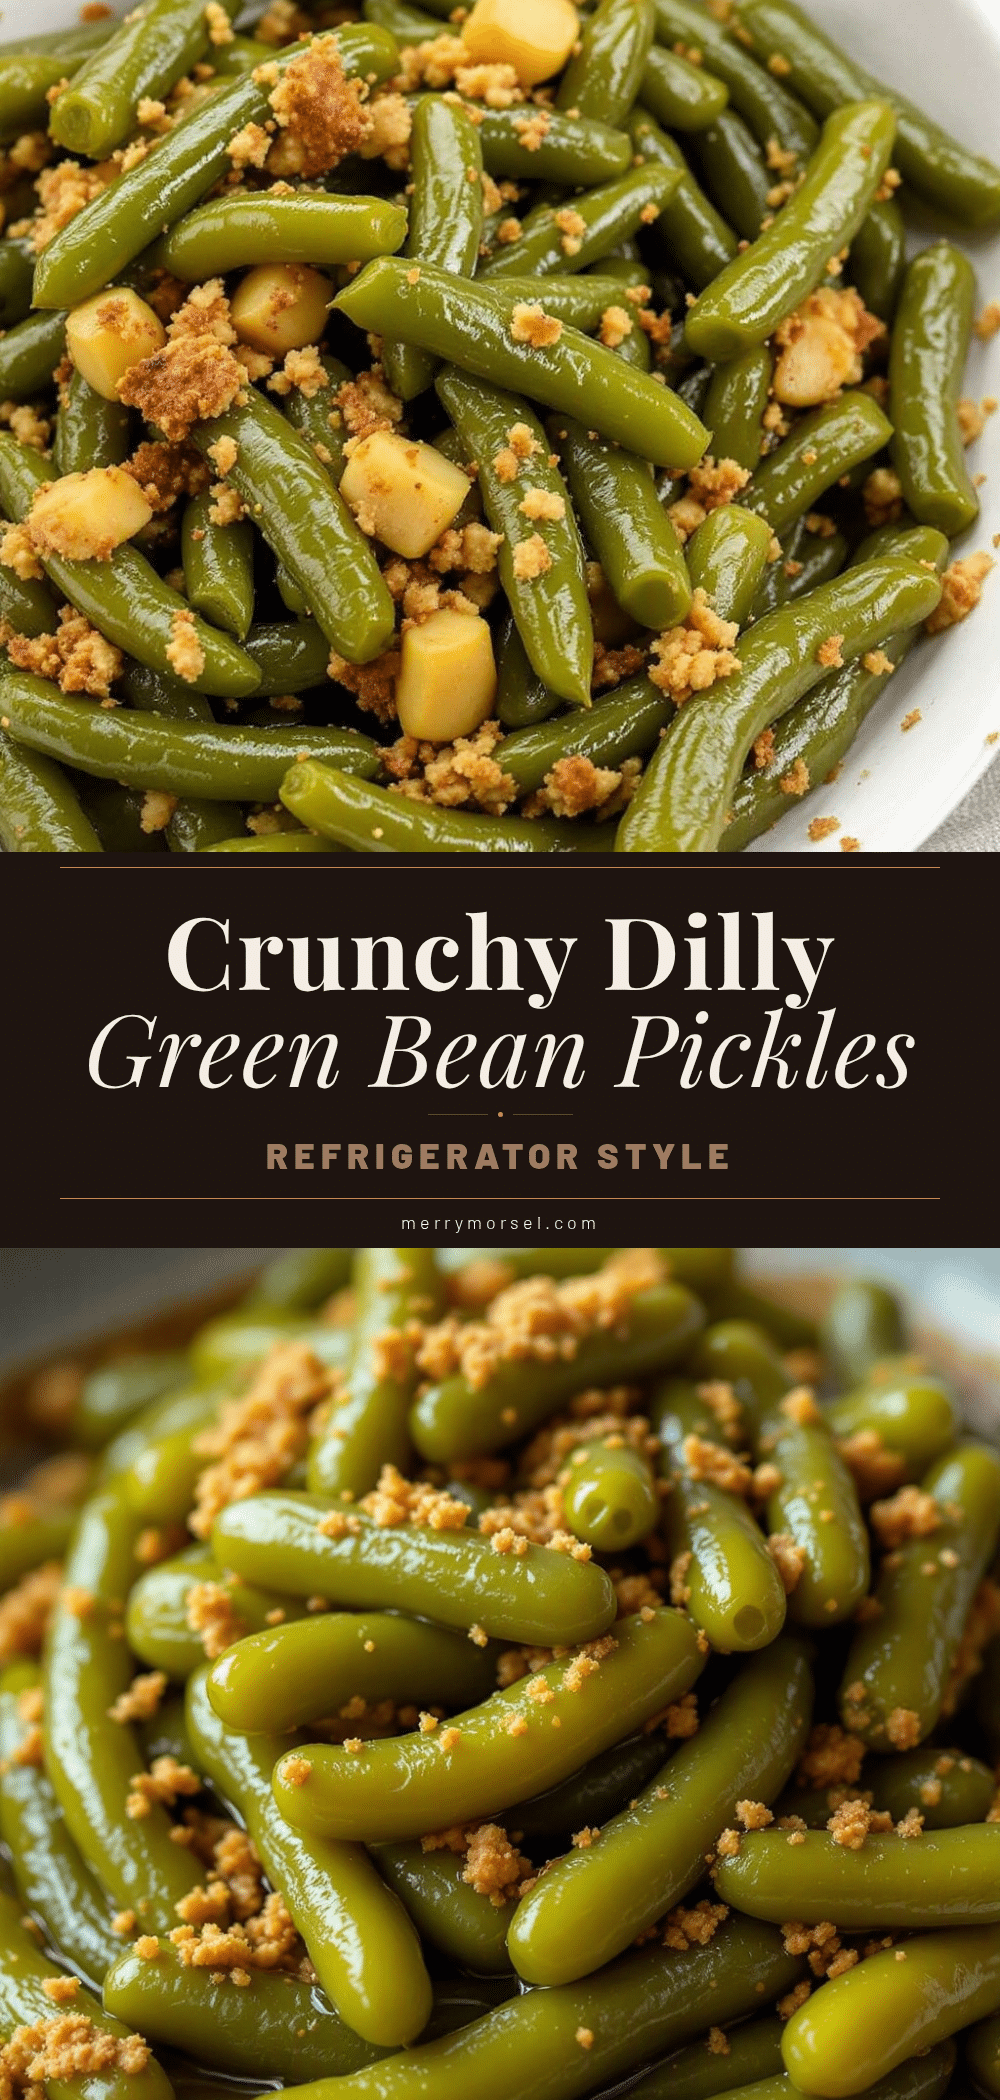
Easy Dilly Green Bean Refrigerator Pickles
These quick and crunchy dilly green bean refrigerator pickles are made with fresh green beans, dill, garlic, and a tangy brine. Perfect for snacking, entertaining, or adding to charcuterie boards, they require only 15 minutes of prep and no canning.
- Prep Time: 15 minutes
- Cook Time: 5 minutes
- Total Time: 20 minutes (plus 48 hours refrigeration)
- Yield: 2-3 quart jars 1x
- Category: Appetizer
- Cuisine: American
Ingredients
- 1 pound fresh green beans
- 1 cup white vinegar
- 1 cup water
- 1 tablespoon kosher salt (Diamond Crystal preferred)
- 1 teaspoon granulated sugar
- 4–6 sprigs fresh dill per jar
- 3–4 garlic cloves per jar, smashed
- ½ teaspoon red pepper flakes per jar (optional)
- 1 teaspoon black peppercorns per jar
- 1 teaspoon mustard seeds per jar (optional)
Instructions
- Prepare your green beans: Wash thoroughly and trim off the stem ends. Cut to fit your jars (about 3-4 inches long).
- Make the brine: In a small saucepan, combine 1 cup white vinegar, 1 cup water, 1 tablespoon kosher salt, and 1 teaspoon sugar. Bring to a boil over medium-high heat, stirring to dissolve. Remove from heat and let cool for about 5 minutes until warm.
- Pack your jars: Divide seasonings between 2-3 quart-sized mason jars. Into each jar, add 3-4 smashed garlic cloves, 2-3 sprigs fresh dill, ½ teaspoon red pepper flakes (if using), 1 teaspoon black peppercorns, and 1 teaspoon mustard seeds (if using). Pack green beans tightly into jars, standing upright if possible.
- Pour the brine: Carefully pour warm brine over the green beans, filling to about ½ inch from the top. Ensure all beans are submerged. Tap jars gently to release air bubbles.
- Seal and cool: Screw lids on tightly and let jars cool to room temperature on the counter. Once cool, refrigerate.
- Wait: Let pickles sit in the refrigerator for at least 48 hours before opening. Flavor develops best after 3-4 days, and they are perfect at the one-week mark.
Notes
For crunchier pickles, blanch green beans in boiling water for 1 minute then transfer to an ice bath before packing. Use fresh green beans for best texture. Brine should be warm, not boiling hot, when poured over beans. Label jars with date. Pickles keep in refrigerator for up to 3 months. Brine can be reused for another batch.
Nutrition
- Serving Size: ½ cup
- Calories: 25
- Sugar: 2
- Sodium: 350
- Carbohydrates: 5
- Fiber: 2
- Protein: 1
Keywords: dilly beans, refrigerator pickles, green bean pickles, easy pickles, no canning, dilly green beans, homemade pickles


