Love this? Save it for later!
Share the inspiration with your friends
Introduction
Last October, I was wandering through the grocery store aisle when the sharp, salty scent of freshly grated Parmesan hit me — and suddenly I was eight years old again, crouched under the dim kitchen light at my friend Marcy’s house. She was fiercely determined to make the spookiest Halloween snack for her neighborhood party, and her mom had this cracked ceramic bowl filled with dough that looked suspiciously like fingers. I remember how the dough felt cool and sticky between my fingers as we rolled it out, pressing almond slivers into the tips for nails. Honestly, that night was a little chaotic — I spilled flour everywhere, and Marcy’s cat kept batting at the almonds — but the final result was unforgettable: crispy, cheesy breadsticks that looked like creepy witch fingers. I’ve been chasing that exact crunchy, savory feeling ever since, trying to capture what made those breadsticks so perfect. Maybe you’ve been there too — that itch to recreate a snack that tastes like a memory, not just a recipe. This version of the Crispy Halloween Witch Finger Breadsticks with Parmesan isn’t just about the spooky shape; it’s about locking in that golden crisp and cheesy punch that makes you grin every time you bite. Let me tell you, it’s worth the mess.
Why You’ll Love This Recipe
Having tested and tweaked this recipe through a few Halloween seasons (and a handful of flour-covered mishaps), I can say it consistently delivers on both fun and flavor. Here’s why this crispy Halloween witch finger breadsticks recipe should be your go-to for spooky snacks:
- Quick & Easy: Comes together in under 30 minutes, perfect for last-minute party prep or a quick snack when the Halloween mood strikes.
- Simple Ingredients: No need for fancy or hard-to-find items — just pantry basics plus Parmesan and a few extras you might already have.
- Perfect for Halloween Parties: These breadsticks bring a playful, eerie vibe that’s great for potlucks, kids’ gatherings, or adult-themed spooky soirees.
- Crowd-Pleaser: They always vanish fast — the crispy texture and cheesy flavor appeal to both kids and adults alike.
- Unbelievably Delicious: The combination of buttery dough, salty Parmesan, and that toasty crunch is seriously addictive.
This isn’t just a cute Halloween gimmick. The magic lies in the perfectly balanced seasoning and the way the breadsticks bake to a crisp without drying out. Plus, pressing the almond “nails” in just right gives each finger that eerie authenticity. Honestly, after the first bite, you might find yourself closing your eyes and thinking about that childhood kitchen chaos, just like I do. If you’re curious about other easy, crowd-pleasing snacks, my crispy garlic chicken recipe might also catch your interest.
What Ingredients You Will Need
This recipe uses simple, wholesome ingredients to deliver bold flavor and satisfying texture without the fuss. Most are pantry staples, making this an easy one to pull together quickly. Here’s what you’ll want to gather:
- For the breadstick dough:
- All-purpose flour – 2 cups (250g), sifted for lightness
- Active dry yeast – 2 ¼ tsp (1 packet)
- Warm water – ¾ cup (180ml), about 110°F (43°C) to activate the yeast
- Granulated sugar – 1 tbsp (adds just a touch of sweetness to balance the cheese)
- Salt – 1 tsp
- Olive oil – 2 tbsp (for moisture and richness; I prefer Colavita for a fruity note)
- For the topping and finishing touches:
- Grated Parmesan cheese – ⅓ cup (35g), finely grated for even coverage
- Unsalted butter – 3 tbsp (melted, for brushing before and after baking)
- Almonds – 24 whole slivers (for the creepy “nails” — blanched almonds work best)
- Optional: Garlic powder – ½ tsp (to sprinkle for subtle extra flavor)
- Optional: Paprika or cayenne pepper – a pinch (if you want a little smoky heat)
If you want a gluten-free variation, almond flour and a binding agent like xanthan gum can work, but the texture will be different — I experimented a few times and found it less crisp. For a dairy-free option, swap the butter for a vegan spread and use nutritional yeast instead of Parmesan. In summer, you might want to try topping the breadsticks with fresh herbs like rosemary or thyme for a fresh twist.
Equipment Needed
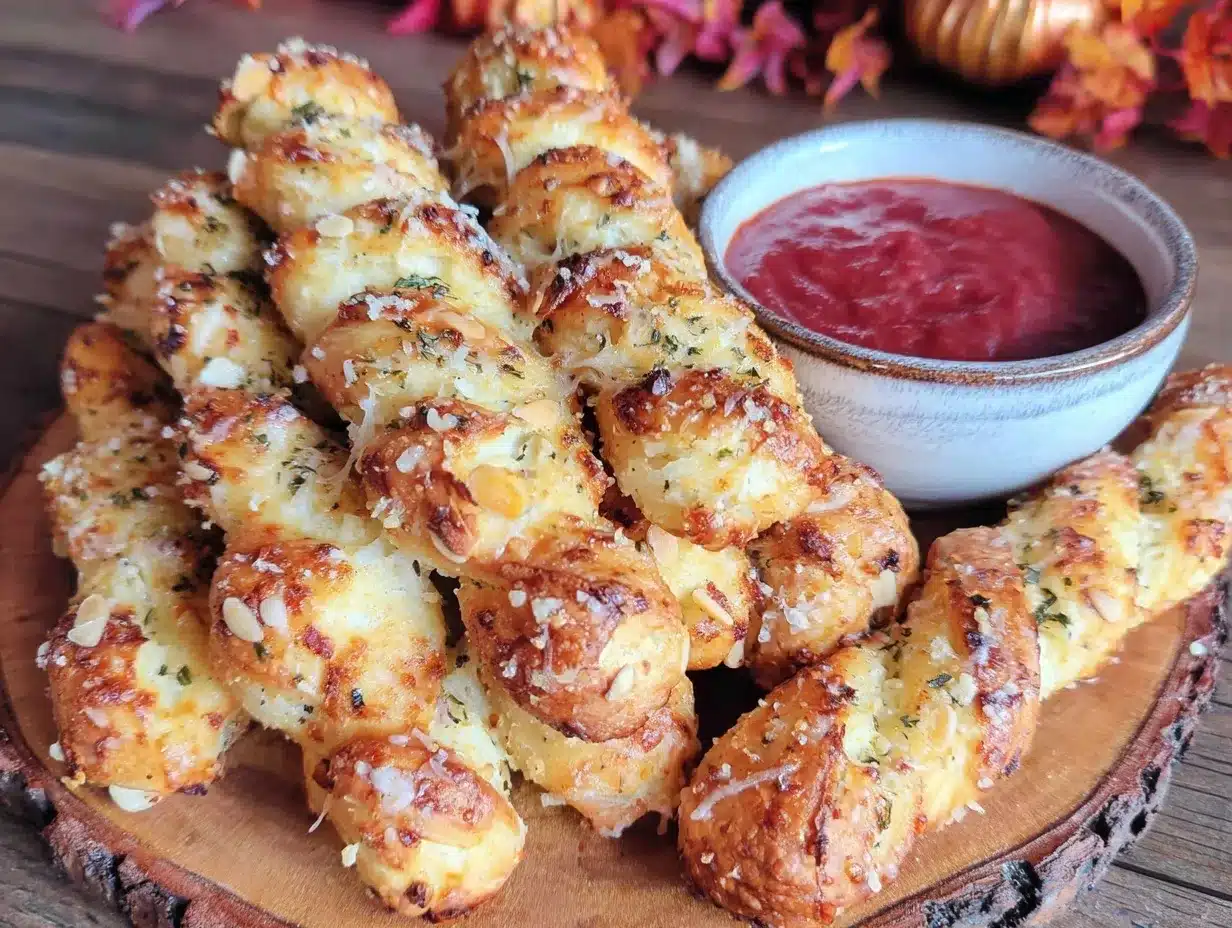
To make these crispy Halloween witch finger breadsticks, you don’t need anything fancy, but a few tools will make your life easier:
- Mixing bowl: A medium or large bowl for combining and proofing the dough. I use a glass bowl because it’s easy to see the dough rising.
- Measuring cups and spoons: For precise ingredient amounts — a kitchen scale helps if you want to be extra exact.
- Baking sheet: A rimmed cookie sheet or pizza stone works well for baking. Non-stick or lined with parchment paper helps prevent sticking.
- Pastry brush: For brushing melted butter on the breadsticks before and after baking. A silicone brush cleans up easily.
- Cooling rack: To let the breadsticks crisp up after baking — this helps keep them from getting soggy.
If you don’t have a pastry brush, a clean spoon or even your fingers can work for butter application. For a budget-friendly option, parchment paper is a great investment for easy cleanup and prevents sticking without oiling the pan. I recommend giving your baking sheet a gentle shake after the first 10 minutes of baking to ensure even cooking if your oven tends to have hot spots.
Preparation Method
- Activate the yeast: In a small bowl, combine the warm water (¾ cup / 180ml), sugar (1 tbsp), and yeast (2 ¼ tsp). Stir gently and let it sit for 5–10 minutes until it becomes frothy and bubbly. If it doesn’t foam, your yeast might be expired or the water too hot/cold — start again with fresh yeast.
- Mix the dough: In your mixing bowl, whisk together the flour (2 cups / 250g) and salt (1 tsp). Make a well in the center and pour in the activated yeast mixture and olive oil (2 tbsp). Stir with a wooden spoon or your hands until a shaggy dough forms.
- Knead the dough: Turn the dough out onto a lightly floured surface. Knead for about 8 minutes until it’s smooth and elastic — it should spring back when you poke it. If the dough feels sticky, sprinkle a little more flour, but don’t overdo it or the breadsticks will get tough.
- Let it rise: Lightly oil your mixing bowl and place the dough inside, turning to coat. Cover with a clean kitchen towel or plastic wrap. Let it rise in a warm, draft-free spot for 45–60 minutes, or until doubled in size.
- Preheat the oven: Set your oven to 400°F (200°C) and line a baking sheet with parchment paper.
- Shape the witch fingers: Punch down the dough and divide it into 12 equal pieces (about 2 oz / 55g each). Roll each piece into a finger shape, about 5 inches (12 cm) long and 1 inch (2.5 cm) thick. Pinch one end to create a knuckle effect by making small indentations with your fingers or the back of a knife.
- Press the almond nails: Gently press one almond sliver into the narrower end of each breadstick for the “nail.” Make small cuts or marks near the knuckle area for added realism.
- Brush and sprinkle: Place the shaped breadsticks on the prepared baking sheet. Brush them with melted butter (about 1 ½ tbsp). Sprinkle grated Parmesan (⅓ cup) evenly over each finger. If you want, dust with garlic powder or paprika for extra flavor.
- Bake: Bake for 15–18 minutes until golden and crisp. The Parmesan should be bubbly and slightly browned. Keep an eye on them — ovens vary, and you don’t want the cheese to burn.
- Final butter brush: As soon as they come out of the oven, brush with remaining melted butter (1 ½ tbsp) for shine and extra richness. Let cool on a wire rack for about 10 minutes — this helps them crisp up perfectly.
Pro tip: If your dough feels too sticky while shaping, wet your hands slightly instead of adding more flour, which can dry out the dough. And if you forget to preheat the oven (don’t ask how I know), just extend baking time by a few minutes and check frequently.
Cooking Tips & Techniques
Making these crispy Halloween witch finger breadsticks is all about balancing the dough’s softness with the perfect crunch. Here’s what I’ve learned along the way:
- Don’t rush the yeast activation: If your yeast isn’t bubbly, the dough won’t rise properly, leading to dense breadsticks.
- Keep an eye on dough hydration: The dough should be slightly tacky but not sticky. Too much flour can make the breadsticks tough, too little leads to a mess.
- Shaping is key: Use your fingers or the back of a knife to create knuckle indentations — this small detail makes a big difference for the final look.
- Brush with butter twice: Before baking, it helps the Parmesan stick and browns the crust. After baking, it adds richness and shine.
- Bake on parchment: Prevents sticking and makes cleanup easier, especially when the Parmesan melts and crisps.
- Watch the cheese: Parmesan can burn quickly; if you notice dark spots, tent the breadsticks with foil for the last few minutes.
- Cooling matters: Let breadsticks cool on a wire rack to keep them crisp — placing them on a plate traps steam and softens them.
I once forgot the garlic powder and thought the breadsticks tasted a bit plain — lesson learned: a little seasoning goes a long way. Also, multitasking by prepping the dough while cleaning up the kitchen saves time and keeps you sane when hosting Halloween parties.
Variations & Adaptations
Feel free to make these witch finger breadsticks your own with these fun twists:
- Cheese Swap: Substitute Parmesan with Pecorino Romano or Asiago for a sharper bite or milder mozzarella for a gooier texture.
- Spice it Up: Add herbs like rosemary or thyme into the dough for an herby scent, or sprinkle chili flakes on top for a subtle heat.
- Sweet Version: Swap Parmesan for cinnamon sugar and replace almond nails with slivered candied ginger or dried cranberries for a spooky-sweet treat.
- Gluten-Free: Use a gluten-free flour blend with xanthan gum. The texture changes but still tasty enough for Halloween fun.
- Vegan: Replace butter with coconut oil or vegan margarine and use nutritional yeast instead of Parmesan for that cheesy flavor.
Personally, I’ve tried adding a bit of black sesame seeds on top for a darker, more mysterious look — it gives a nice crunch and looks extra witchy! If you want to bake these on a pizza stone, just preheat the stone in the oven and reduce the baking time by a couple of minutes for a crisper bottom.
Serving & Storage Suggestions
These crispy Halloween witch finger breadsticks are best served warm or at room temperature. Their crispy crust and cheesy aroma really shine right out of the oven, but they keep well too.
- Serving: Arrange them on a platter with a small bowl of marinara sauce or garlic butter dip for dunking — it’s a crowd-pleaser. Pair with a cold cider or pumpkin spice latte for festive vibes.
- Storage: Store leftovers in an airtight container at room temperature for up to 2 days. For longer storage, freeze them in a single layer in a zip-top bag for up to 1 month.
- Reheating: To bring back crispiness, reheat in a 350°F (175°C) oven for 5–7 minutes. Avoid microwaving as it makes them soggy.
- Flavor development: The Parmesan flavor intensifies slightly after resting, and the dough becomes chewier, so leftovers aren’t a bad thing here.
Nutritional Information & Benefits
These witch finger breadsticks are a moderately indulgent snack with some nutritional perks thanks to their simple ingredients. Here’s a rough estimate per serving (2 breadsticks):
| Calories | 180 kcal |
|---|---|
| Carbohydrates | 22g |
| Protein | 6g |
| Fat | 8g |
| Fiber | 1g |
The Parmesan adds a good dose of calcium and protein while the olive oil contributes heart-healthy fats. The recipe can be adapted gluten-free or vegan as noted above. Keep in mind the almonds add a bit of healthy fat and texture but are a potential allergen. For those mindful of sodium, you can reduce the salt slightly and use a lower-sodium Parmesan.
Conclusion
Crispy Halloween Witch Finger Breadsticks with Parmesan are not just a snack — they’re a little crispy, cheesy celebration of childhood memories and spooky fun. I love this recipe because it turns simple ingredients into something playful and delicious that everyone can enjoy. Whether you’re making them for kids’ parties, a casual get-together, or just because the craving hits, these breadsticks deliver on taste and theme with minimal fuss. I encourage you to make this recipe your own — add your favorite spices, swap cheeses, or even try the sweet version! Please drop a comment below sharing your spooky twists or questions — I’d love to hear how your witch fingers turn out. Here’s to crunchy bites and Halloween delights!
Frequently Asked Questions
How do I make the breadsticks extra crispy?
Brush them with melted butter before and after baking, use parchment paper, and let them cool on a wire rack to avoid sogginess.
Can I prepare the dough ahead of time?
Yes! You can prepare the dough, shape the breadsticks, and refrigerate them covered overnight. Let them come to room temperature before baking.
What can I use if I don’t have almonds for the nails?
Peppercorns, pumpkin seeds, or even small pieces of black olives work well as spooky alternatives.
How do I store leftover breadsticks?
Store them in an airtight container at room temperature for 1-2 days or freeze for up to a month. Reheat in the oven for best results.
Are these breadsticks suitable for kids with nut allergies?
If nuts are a problem, skip the almond nails or use a nut-free alternative like small pieces of bell pepper or cheese slices as “nails.”
Pin This Recipe!
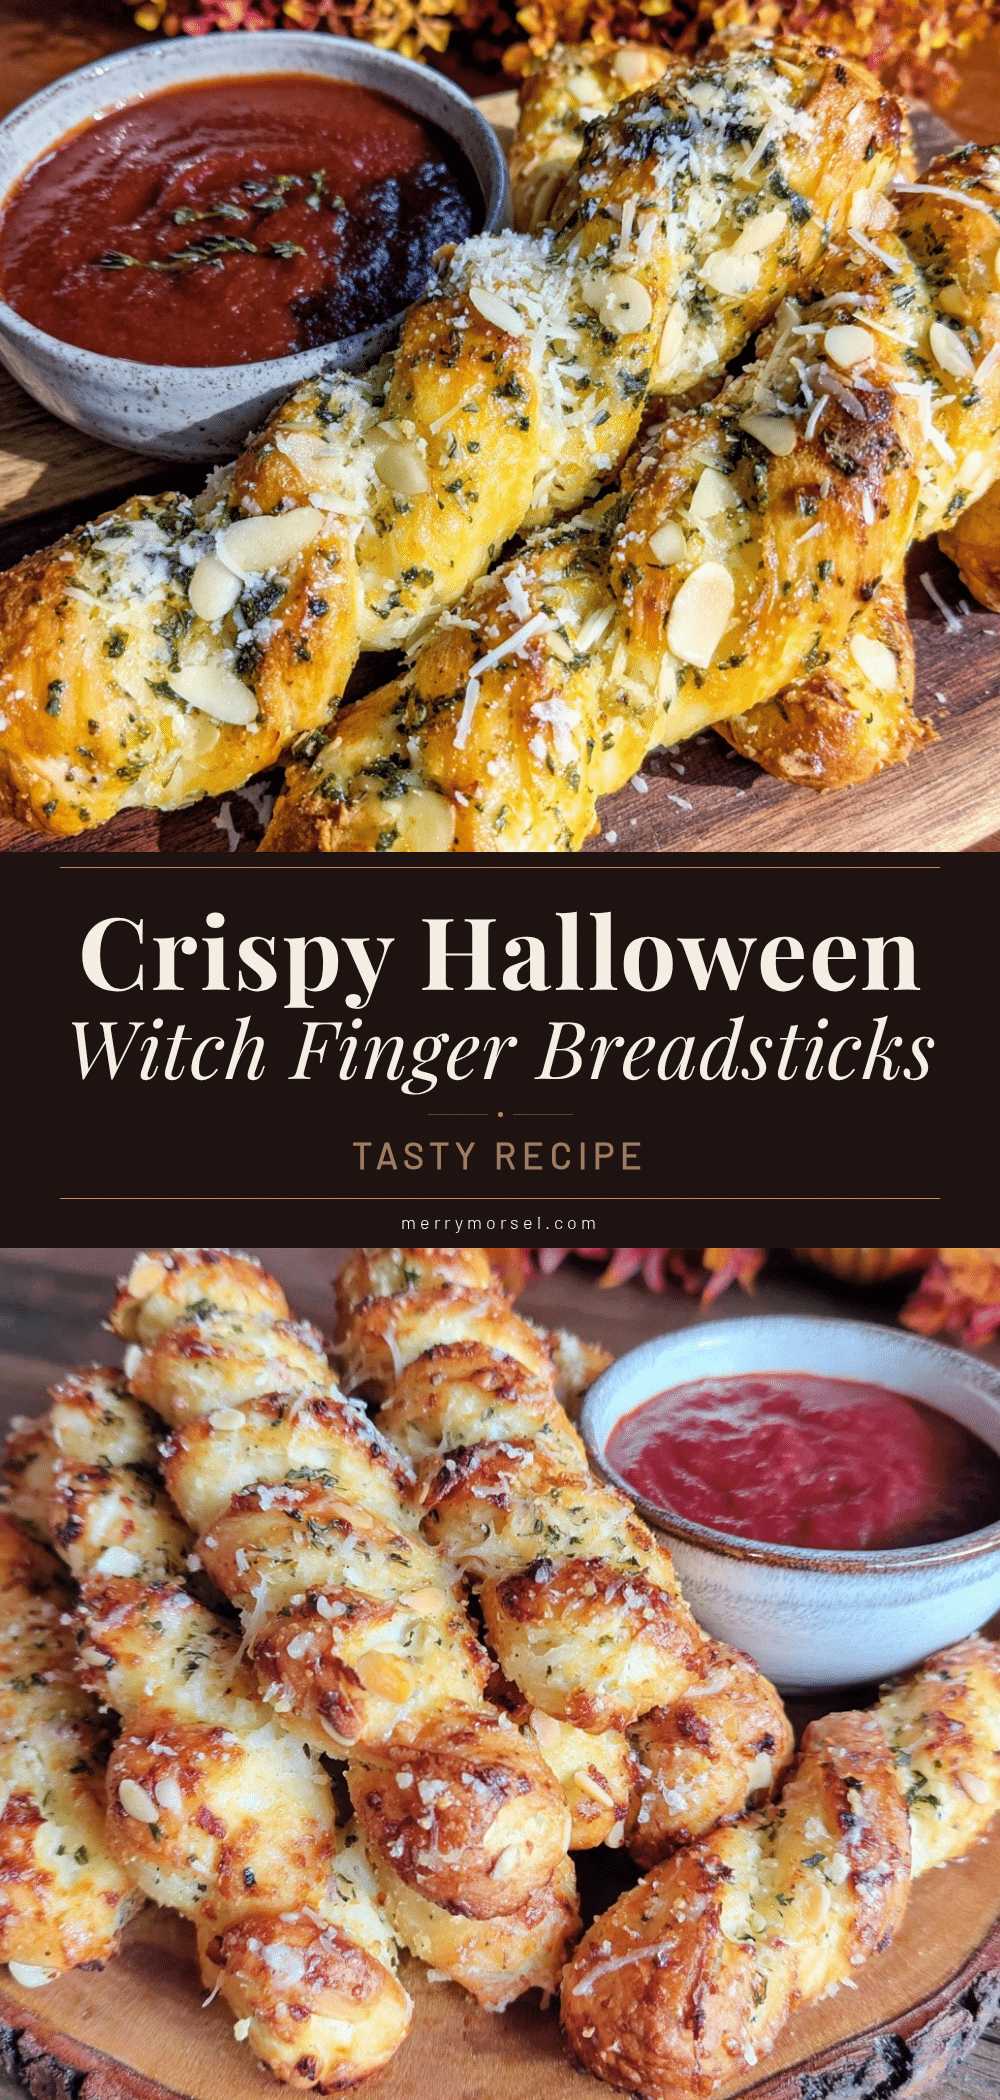
Crispy Halloween Witch Finger Breadsticks
These crispy, cheesy breadsticks shaped like spooky witch fingers are a fun and easy Halloween snack that delivers a perfect crunchy texture and savory Parmesan flavor.
- Prep Time: 15 minutes
- Cook Time: 18 minutes
- Total Time: 1 hour 33 minutes
- Yield: 12 breadsticks (6 servings, 2 breadsticks per serving) 1x
- Category: Snack
- Cuisine: American
Ingredients
- 2 cups (250g) all-purpose flour, sifted
- 2 ¼ tsp (1 packet) active dry yeast
- ¾ cup (180ml) warm water, about 110°F (43°C)
- 1 tbsp granulated sugar
- 1 tsp salt
- 2 tbsp olive oil
- ⅓ cup (35g) grated Parmesan cheese
- 3 tbsp unsalted butter, melted
- 24 whole almond slivers (blanched almonds preferred)
- Optional: ½ tsp garlic powder
- Optional: pinch of paprika or cayenne pepper
Instructions
- Activate the yeast: In a small bowl, combine warm water, sugar, and yeast. Stir gently and let sit for 5–10 minutes until frothy.
- Mix the dough: In a mixing bowl, whisk flour and salt. Make a well and pour in the yeast mixture and olive oil. Stir until a shaggy dough forms.
- Knead the dough: Turn dough onto a floured surface and knead for about 8 minutes until smooth and elastic.
- Let it rise: Lightly oil a bowl, place dough inside, cover, and let rise in a warm spot for 45–60 minutes until doubled in size.
- Preheat oven to 400°F (200°C) and line a baking sheet with parchment paper.
- Shape the witch fingers: Punch down dough and divide into 12 equal pieces. Roll each into a 5-inch long finger shape, about 1 inch thick. Pinch one end to create knuckles.
- Press almond slivers into the narrow end of each breadstick as nails. Make small cuts near knuckles for realism.
- Place breadsticks on baking sheet. Brush with 1 ½ tbsp melted butter and sprinkle Parmesan evenly. Optionally dust with garlic powder or paprika.
- Bake for 15–18 minutes until golden and crisp, watching to avoid burning the cheese.
- Brush with remaining 1 ½ tbsp melted butter immediately after baking. Cool on a wire rack for about 10 minutes.
Notes
If dough is too sticky while shaping, wet your hands slightly instead of adding more flour. Brush with butter before and after baking for extra crispiness and shine. Use parchment paper to prevent sticking. Watch Parmesan closely to avoid burning; tent with foil if needed. Let breadsticks cool on a wire rack to keep crisp. Dough can be prepared and refrigerated overnight; bring to room temperature before baking.
Nutrition
- Serving Size: 2 breadsticks
- Calories: 180
- Fat: 8
- Carbohydrates: 22
- Fiber: 1
- Protein: 6
Keywords: Halloween, breadsticks, witch fingers, Parmesan, snack, crispy, cheesy, easy recipe, party food


