Love this? Save it for later!
Share the inspiration with your friends
Sunday evening, around seven. The dishwasher was humming its low, steady song, and I was staring into the fridge like it held the secrets to the universe. The lunchbox bags for the week were sitting empty on the counter, a silent accusation. I had that familiar, creeping dread—the one that knows you’ll be standing over a cutting board at 6:45 AM, trying to assemble something that won’t come back home uneaten. I just wanted something I could make once, portion out, and forget about until the lunch bell rang. These mini turkey meatball lunchbox cups were born out of that very specific, very tired moment. They’re not fancy. They’re not complicated. They’re just… exactly what a busy week needs. And honestly? They turned out way better than I expected. The kids actually ate them. All of them.
Why You’ll Love This Recipe
Let’s be real—getting a lunch packed that actually comes home empty is a small victory. These mini meatball cups deliver on that front, and they do it without a ton of effort on your part. Here’s why they work so well.
- Quick & Easy: From start to finish, you’re looking at about 30 minutes. That’s less time than it takes to argue about homework.
- Simple Ingredients: Ground turkey, breadcrumbs, an egg, some cheese, and a few pantry staples. No weird, hard-to-find items.
- Perfect for Lunchboxes: They’re portable, they hold up well, and they’re just the right size for little hands (and big ones too).
- Crowd-Pleaser: My own kids are picky, and even they gobble these up. I’ve had friends text me saying their toddlers devoured them.
- Unbelievably Delicious: The trick is in the blend of seasonings and the little bit of cheese inside. They stay juicy, never dry, and have that cozy, familiar flavor that makes everyone happy.
I’ve tested a lot of meatball recipes over the years. Some are too dense, some fall apart, and some are just… bland. This one is different. The combination of grated onion and a touch of garlic powder gives them a savory depth, while the Parmesan adds a salty, nutty finish. It’s not just another turkey meatball—it’s the one you’ll actually want to make again. And when you see that empty lunchbox at the end of the day, you’ll know why.
What Ingredients You Will Need
This recipe uses simple, honest ingredients that come together to create something genuinely satisfying. No complicated shopping list here—just the good stuff.
- 1 lb ground turkey (I prefer 93/7 for a good balance of flavor and moisture; avoid extra lean 99/1 as it can dry out)
- 1/2 cup plain breadcrumbs (panko works great for a lighter texture, or use regular for a denser meatball)
- 1 large egg, lightly beaten
- 1/2 cup grated Parmesan cheese (the real stuff, not the powdery kind in a can—it makes a difference)
- 1/4 cup finely grated onion (use a microplane or the small side of a box grater; this adds moisture without chunks)
- 2 cloves garlic, minced
- 1 teaspoon dried oregano
- 1/2 teaspoon salt
- 1/4 teaspoon black pepper
- 1/2 cup your favorite marinara or pizza sauce (for dipping or spooning over the top)
- Optional: 1/4 cup shredded mozzarella cheese (for an extra gooey center)
You can easily swap the ground turkey for ground chicken or even lean ground beef if that’s what you have on hand. For a gluten-free version, use gluten-free breadcrumbs or almond flour. And if you’re out of Parmesan, try Pecorino Romano for a sharper flavor. The grated onion is my secret weapon—it melts right into the meat, keeping everything tender without any weird texture. Trust me on that one.
Equipment Needed
You don’t need a fancy kitchen to pull this off. Just a few basics that you probably already own.
- Muffin tin (standard 12-cup; this is the key to the “cup” shape)
- Large mixing bowl
- Box grater or microplane (for the onion)
- Measuring cups and spoons
- Cookie scoop or spoon (for portioning the meat mixture evenly)
- Non-stick cooking spray (or a little olive oil for greasing the tin)
If you don’t have a muffin tin, you can shape these into regular meatballs and bake them on a lined baking sheet. They just won’t have that fun cup shape. I’ve used both, and honestly, the muffin tin makes them perfect for little lunchboxes. One tip: give the tin a good spray, even if it’s non-stick. It saves you from scrubbing later.
Preparation Method

Let’s get cooking. This whole process moves fast, so it helps to have everything prepped and ready to go.
- Preheat your oven to 400°F (200°C). Spray a 12-cup muffin tin generously with non-stick cooking spray. Set it aside.
- In a large bowl, combine the ground turkey, breadcrumbs, beaten egg, grated Parmesan, grated onion, minced garlic, oregano, salt, and pepper. Use your hands to mix everything together gently. Don’t overwork it—just until it’s all combined. Overmixing can make the meatballs tough.
- If you’re adding the mozzarella surprise, grab small cubes (about 1/2 teaspoon each) of shredded mozzarella. This is totally optional, but it’s a fun little treat inside the meatball.
- Portion the mixture into 12 equal balls. A cookie scoop makes this super easy. If you’re using the mozzarella, press a cube into the center of each ball and seal the meat around it.
- Place each meatball into a prepared muffin cup. Don’t press them down—just let them sit naturally. They’ll cook up into little cups with slightly rounded tops.
- Bake for 18-20 minutes, or until the internal temperature reaches 165°F (74°C). The tops should be lightly golden and the edges will be a little crispy. Let them cool in the tin for 5 minutes before removing.
- While they bake, warm up your marinara sauce in a small saucepan or in the microwave. You can spoon a little over the meatball cups before serving, or serve it on the side for dipping.
- Remove the meatball cups from the tin using a fork or small spatula. They should pop right out. Let them cool completely on a wire rack before packing them into lunchboxes.
One thing I learned the hard way: don’t skip the cooling step. If you pack them while they’re still warm, they can get a little soggy in the container. Give them a good 15-20 minutes on the counter, and they’ll hold up beautifully.
Cooking Tips & Techniques
I’ve made these more times than I can count, and I’ve definitely had my share of mishaps. Here’s what I’ve learned so you don’t have to repeat my mistakes.
Don’t skip the grated onion. I tried using onion powder once because I was in a hurry, and the meatballs came out dry and a little flat. The moisture from the fresh onion is what keeps them tender. It’s a small step that makes a big difference.
Watch your oven temperature. Every oven runs a little differently. If yours runs hot, check the meatballs at 16 minutes. Overcooked turkey meatballs can get dry fast. A meat thermometer is your best friend here—165°F is the magic number.
Let them rest. I know it’s tempting to dig in right away, but letting them sit in the tin for those 5 minutes helps them set. They’ll hold their shape better and won’t crumble when you try to remove them.
Batch cooking is your friend. These freeze beautifully, so I usually double the recipe. I bake a full batch, let them cool, then pop them in a freezer bag. On busy mornings, I just grab a few, microwave them for 30 seconds, and they’re ready to go. It’s a lifesaver.
Season generously. Ground turkey can be a little bland on its own. Don’t be shy with the salt, pepper, and oregano. The Parmesan helps, but the seasoning is what gives these meatballs their flavor punch.
Variations & Adaptations
One of the best things about this recipe is how easy it is to switch things up. Here are a few ways I’ve adapted it over the months.
Italian Herb Twist: Swap the oregano for a teaspoon of Italian seasoning and add a pinch of red pepper flakes for a little heat. It gives the meatballs a more robust, pizza-like flavor that my older kid loves.
Cheesy Center Surprise: I mentioned this earlier, but it’s worth repeating. Press a small cube of mozzarella or even a little cream cheese into the center of each meatball before baking. It melts into a gooey, delicious pocket that feels extra special.
Gluten-Free Option: Use gluten-free breadcrumbs or crushed pork rinds (for a low-carb version). I’ve tested both, and they work great. The texture is slightly different—the pork rinds make them a bit denser—but the flavor is still spot on.
Mini Meatball Sliders: Instead of baking them in a muffin tin, shape them into small patties and pan-fry them. Serve them on slider buns with a little marinara and a slice of provolone. Perfect for a fun dinner or party appetizer.
Spicy Version: Add 1/2 teaspoon of smoked paprika and a dash of cayenne pepper to the mix. It gives them a warm, smoky kick that pairs beautifully with a creamy ranch dip.
I once tried a version with finely chopped spinach mixed in (my attempt at sneaking in some greens). It actually worked! Just make sure to squeeze the spinach dry first, or it’ll add too much moisture. The kids didn’t even notice.
Serving & Storage Suggestions
These mini turkey meatball cups are incredibly versatile when it comes to serving. Here are my favorite ways to enjoy them.
For Lunchboxes: Pack 3-4 meatball cups in a container with a small side of marinara for dipping. Add some fruit, a cheese stick, and maybe a few crackers, and you’ve got a balanced, kid-approved lunch. They’re great cold or at room temperature, so no need to worry about reheating.
For Dinner: Serve them over a bed of spaghetti or zucchini noodles with extra marinara and a sprinkle of Parmesan. They also work beautifully on a sub roll with melted mozzarella for a quick meatball sub.
For Snacks: These are perfect for after-school snacking. My kids grab them straight from the fridge and eat them with a little ketchup or ranch dressing. They’re filling enough to hold them over until dinner.
Storage: Keep any leftovers in an airtight container in the refrigerator for up to 4 days. To reheat, pop them in the microwave for 30-45 seconds, or warm them in a 350°F oven for about 10 minutes. The oven method keeps them from getting soggy.
Freezing: These freeze like a dream. Arrange the cooled meatball cups in a single layer on a baking sheet and freeze for 1-2 hours. Once frozen solid, transfer them to a freezer-safe bag or container. They’ll keep for up to 3 months. To thaw, just move them to the fridge overnight or microwave them straight from frozen for about 1-2 minutes.
I’ll be honest—the flavors actually get better after a day or two in the fridge. The herbs have time to meld, and the texture stays surprisingly tender. So don’t feel like you have to eat them all right away.
Nutritional Information & Benefits
These meatball cups are a solid choice for a balanced, protein-packed meal. Here’s a rough breakdown per serving (about 3 meatball cups, without sauce).
- Calories: 280
- Protein: 28g
- Fat: 14g
- Carbohydrates: 10g
- Fiber: 1g
- Sugar: 2g
Ground turkey is a lean source of protein that helps keep you full and supports muscle health. The Parmesan adds a little calcium, and the onion and garlic bring some antioxidants to the party. If you use whole wheat breadcrumbs, you’ll get a bit more fiber. These are naturally low in sugar and can easily be made gluten-free or dairy-free with a few simple swaps.
From a wellness perspective, I love that these give me a way to feed my family something hearty without the heavy feeling that comes from beef or pork. They’re satisfying but not greasy, and they fit into most balanced eating plans without a fuss.
Conclusion
These easy mini turkey meatball lunchbox cups are one of those recipes that just works. They’re simple enough for a weekday dinner, practical enough for meal prep, and tasty enough that everyone actually looks forward to eating them. I love that I can make a batch on Sunday and have lunches sorted for days. No stress, no last-minute scrambling, just good food that makes life a little easier.
I’d love to hear how they turn out for you. Did you try a fun variation? Did your kids give them a thumbs up? Drop a comment below and let me know—I read every single one. And if you’re looking for another lunchbox-friendly idea, you might enjoy these easy cheese quesadilla dippers with homemade salsa or these no-bake peanut butter energy bites for a sweet twist. Happy cooking, friends!
Frequently Asked Questions
Can I make these ahead of time?
Absolutely. You can prep the meatball mixture up to 24 hours in advance and keep it covered in the fridge. When you’re ready, just scoop and bake. They also freeze beautifully after baking, as I mentioned above.
Can I use ground beef instead of turkey?
Yes, you can swap in lean ground beef or ground chicken with no other changes. Just keep in mind that beef will have a slightly richer flavor and a bit more fat, so the texture might be a little different.
How do I keep the meatballs from sticking to the muffin tin?
A generous spray of non-stick cooking spray is your best bet. I like using one with flour in it (like Baker’s Joy) for extra insurance. Letting them cool for 5 minutes in the tin also helps them release more easily.
Can I make these dairy-free?
Sure. Omit the Parmesan and mozzarella, and add an extra tablespoon of breadcrumbs to help bind the mixture. You can also use a dairy-free cheese alternative if you prefer. The flavor will be a little milder, but they’ll still be delicious.
What’s the best way to reheat these for lunch?
If you’re packing them for a lunchbox, they’re great cold or at room temperature. If you want them warm, microwave them for 20-30 seconds in the morning, then let them cool slightly before packing. They’ll still be warm by lunchtime.
Pin This Recipe!
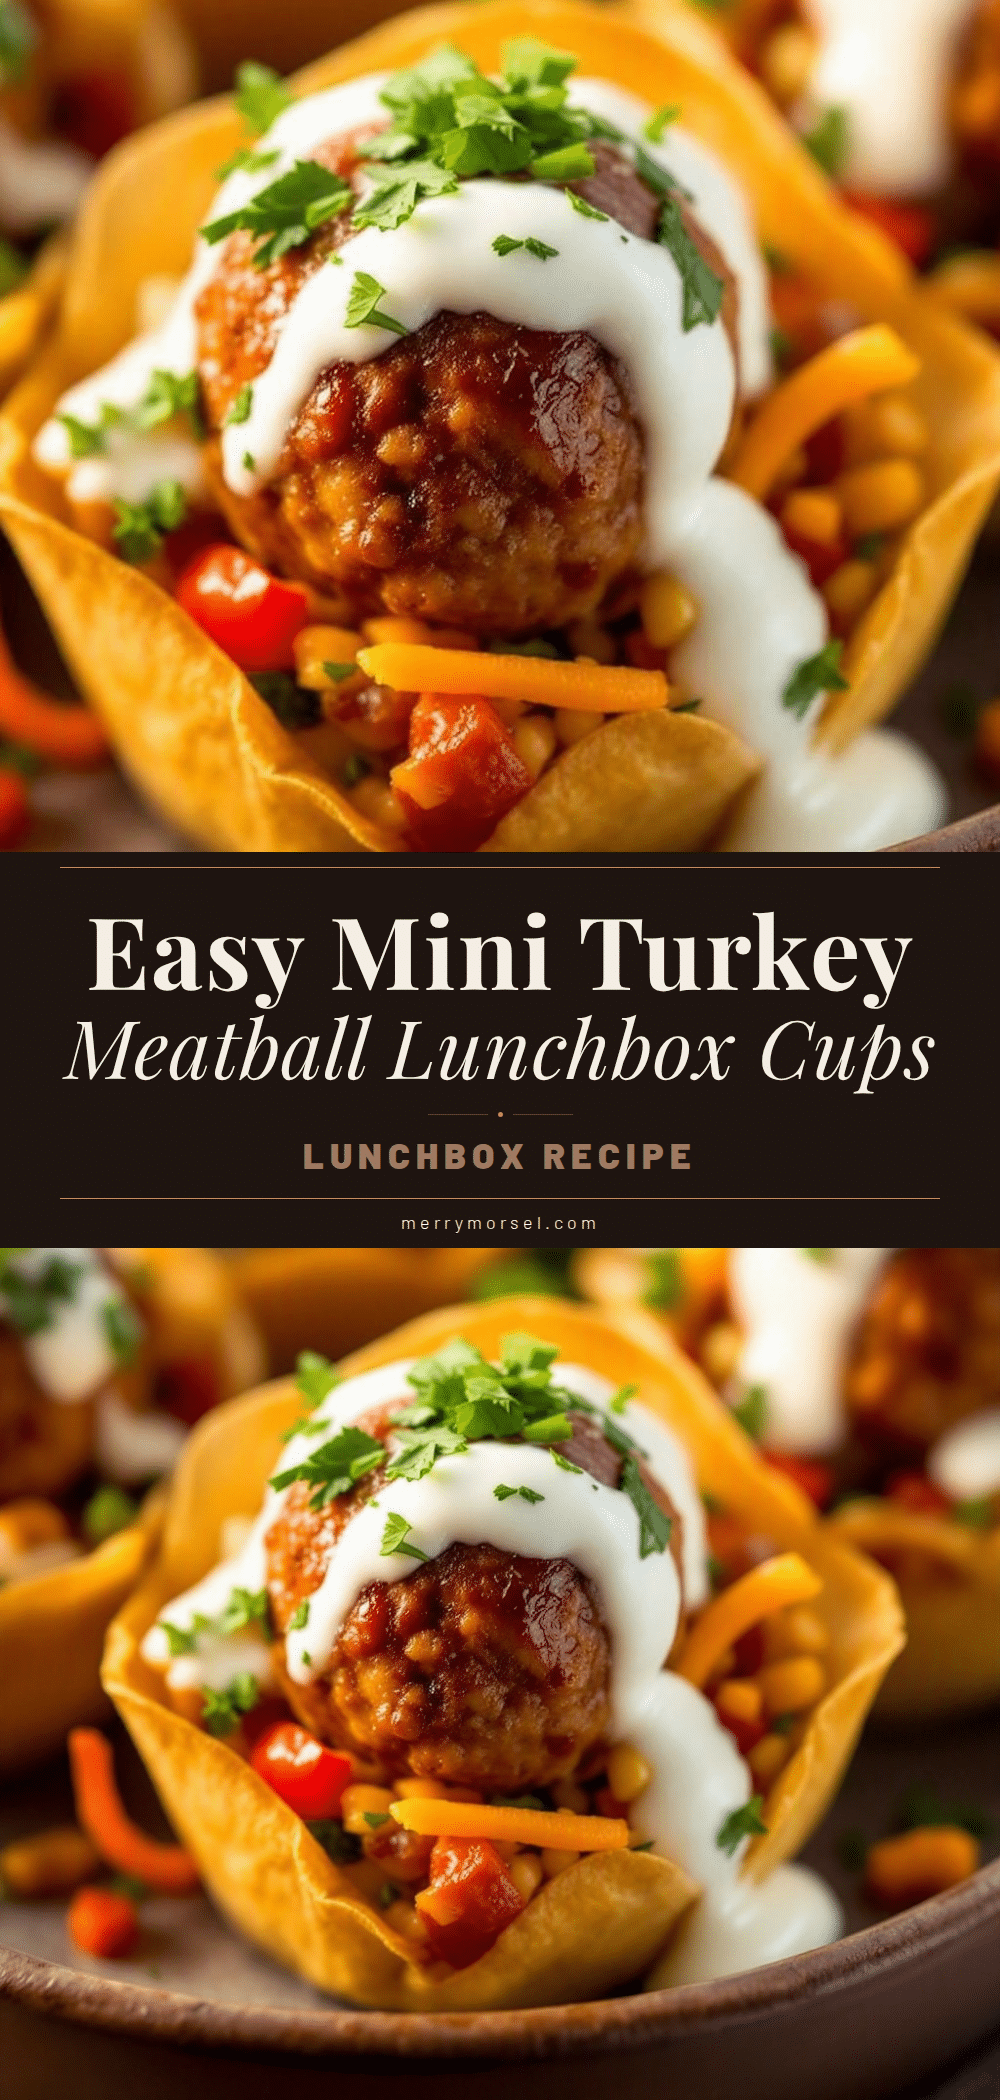
Best Easy Mini Turkey Meatball Lunchbox Cups for Kids

These mini turkey meatball cups are a quick, easy, and kid-friendly lunchbox solution made with simple ingredients. They’re perfect for meal prep, freeze beautifully, and come out juicy and flavorful every time.
- Prep Time: 10 minutes
- Cook Time: 20 minutes
- Total Time: 30 minutes
- Yield: 4 servings (3 meatball cups per serving) 1x
- Category: Main Course
- Cuisine: American
Ingredients
- 1 lb ground turkey (93/7 preferred)
- 1/2 cup plain breadcrumbs (panko or regular)
- 1 large egg, lightly beaten
- 1/2 cup grated Parmesan cheese
- 1/4 cup finely grated onion
- 2 cloves garlic, minced
- 1 teaspoon dried oregano
- 1/2 teaspoon salt
- 1/4 teaspoon black pepper
- 1/2 cup marinara or pizza sauce (for serving)
- Optional: 1/4 cup shredded mozzarella cheese (for gooey center)
Instructions
- Preheat oven to 400°F (200°C). Spray a 12-cup muffin tin generously with non-stick cooking spray.
- In a large bowl, combine ground turkey, breadcrumbs, beaten egg, Parmesan, grated onion, minced garlic, oregano, salt, and pepper. Mix gently with your hands until just combined.
- If using mozzarella, form small cubes (about 1/2 teaspoon each) from the shredded cheese.
- Portion the mixture into 12 equal balls using a cookie scoop. If adding mozzarella, press a cube into the center of each ball and seal the meat around it.
- Place each meatball into a prepared muffin cup. Do not press down.
- Bake for 18-20 minutes, or until internal temperature reaches 165°F (74°C). Let cool in the tin for 5 minutes.
- While baking, warm the marinara sauce in a small saucepan or microwave.
- Remove meatball cups from the tin using a fork or small spatula. Let cool completely on a wire rack before packing into lunchboxes.
Notes
Don’t skip the grated onion—it adds moisture. Let meatballs cool completely before packing to avoid sogginess. These freeze well for up to 3 months.
Nutrition
- Serving Size: 3 meatball cups
- Calories: 280
- Sugar: 2
- Sodium: 580
- Fat: 14
- Saturated Fat: 5
- Carbohydrates: 10
- Fiber: 1
- Protein: 28
Keywords: mini turkey meatball cups, lunchbox recipes, kid-friendly, meal prep, easy turkey meatballs


