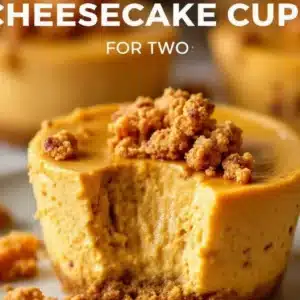
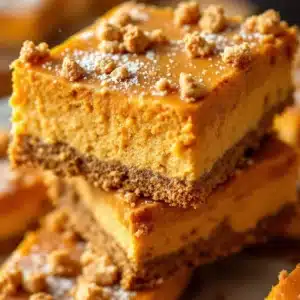
Love this? Save it for later!
Share the inspiration with your friends
My husband asked for the pumpkin cups for the third night in a row, and I was staring at the empty mason jar in the fridge wondering how they had vanished so fast. It wasn’t a polite request, either. He just pointed at the shelf, raised an eyebrow, and waited for me to make them again before he’d even think about eating dinner. I know, I know, it sounds a little intense for a dessert, but you know how it is when you finally find that one recipe that clicks with your family.
I had actually planned to make something more complicated that evening, maybe that creamy tuscan shrimp pasta we usually rotate for weeknights. But the look on his face said otherwise. He didn’t want savory. He wanted sweet, he wanted creamy, and he wanted it right now. So I dug into the pantry and pulled out the basics: cream cheese, pumpkin puree, and some spices. I whipped it up in about ten minutes, knowing full well that if I didn’t make it quickly, he’d eat the whole bowl standing over the sink.
These cups are different from the usual heavy, baked cheesecakes that take hours to cool and set. They’re light, airy, and taste like fall in a spoonful without the hassle of turning on the oven. It’s the kind of dessert that feels indulgent but doesn’t leave you feeling sluggish, which is a win in my book. Plus, serving them in little jars makes them feel fancy, like you spent hours on it, when really you just blended a few things together.
He took one bite and closed his eyes, which is usually the signal that it’s a keeper. I didn’t need to ask if he liked it. The empty jar was proof enough. Now, it’s just a matter of keeping enough in the fridge for the rest of us, because once the kids catch wind of these, they disappear even faster than the adults.
Why You’ll Love This Recipe
There is a specific kind of magic that happens when you stop trying to overcomplicate desserts. This creamy no-bake pumpkin cheesecake cups recipe is that magic in a jar. It’s not just another pumpkin recipe to add to the pile; it’s the solution to your last-minute hosting stress or your midweek sugar craving. I’ve tested this version multiple times, tweaking the ratios until the texture was just right—thick enough to hold its shape but light enough to melt on your tongue.
Here is why this recipe stands out from the crowd:
* **Quick & Easy**: This comes together in under 15 minutes of active time. You don’t need to preheat an oven or wait for a water bath. It’s perfect for busy weeknights or when you need a dessert for a gathering that starts in an hour.
* **Simple Ingredients**: No fancy grocery trips needed. You likely already have cream cheese, pumpkin puree, sugar, and spices in your kitchen. It relies on pantry staples to deliver a bakery-quality result.
* **Perfect for Fall Gatherings**: Great for potlucks, Thanksgiving side-tables, or cozy dinners. Because they are individual portions, they are easy to pass around and serve without making a mess.
* **Crowd-Pleaser**: Always gets rave reviews from kids and adults alike. The flavor profile is familiar and comforting, hitting all the right notes of cinnamon, nutmeg, and vanilla.
* **Unbelievably Delicious**: The texture is next-level comfort food. It’s smooth, rich, and not overly sweet, which allows the pumpkin flavor to shine through.
* **The Secret Twist**: What makes this recipe different is the ratio of whipped cream cheese to pumpkin puree. By using full-fat cream cheese and folding in whipped heavy cream (or just beating it until very light), you get that airy, mousse-like consistency that baked cheesecakes often miss. It’s not dense; it’s cloud-like.
This recipe isn’t just good—it’s the kind that makes you close your eyes after the first bite. It’s comfort food reimagined, healthier in the sense that it’s no-bake and lighter, but with the same soul-soothing satisfaction. Perfect for impressing guests without stress, or turning a simple meal into something memorable.
What Ingredients You Will Need
This recipe uses simple, wholesome ingredients to deliver bold flavor and satisfying texture without the fuss. You don’t need any specialty items, just good-quality basics. The key is using full-fat dairy for that rich, cheesecake mouthfeel. If you try to go low-fat, the texture will suffer, and you’ll miss out on the creamy consistency that makes these cups so addictive.
Here is what you need to gather:
* **Full-fat cream cheese**: 8 ounces, softened to room temperature. This is the base. I recommend brands like Philadelphia or store-brand full-fat varieties for best texture. Do not use the whipped kind with air added; you want the dense block.
* **Pumpkin puree**: 1 cup, unsweetened. Make sure you use pure pumpkin, not pumpkin pie filling, which already has sugar and spices added. Look for smooth, thick puree for best texture.
* **Powdered sugar**: ½ cup, sifted. This dissolves easily into the cream cheese mixture, ensuring no gritty bits remain. If your sugar is clumpy, sift it first.
* **Heavy whipping cream**: 1 cup, cold. This is folded in to lighten the mixture. The cold temperature helps it whip up properly.
* **Vanilla extract**: 1 teaspoon, pure vanilla. Adds depth and balances the spices.
* **Pumpkin pie spice**: 1 teaspoon. A blend of cinnamon, ginger, nutmeg, and cloves. If you don’t have this, you can make your own mix, but pre-made works fine here.
* **Graham cracker crumbs**: ½ cup, for the crust layer. You can crush graham crackers in a bag or use digestive biscuits for a richer flavor.
* **Unsalted butter**: 3 tablespoons, melted. This binds the crumbs together to form the base.
* **Salt**: A pinch. Just a tiny bit to enhance the sweetness and balance the flavors.
For seasonal variations, if you want to switch things up later, you can swap the pumpkin puree for sweet potato puree, though the flavor will be slightly earthier. In summer, you might skip the pumpkin spice and add some fresh berries instead, but for now, let’s stick to the classic fall flavors.
Equipment Needed
You don’t need a lot of fancy gadgets for this recipe. The main tool you’ll use is a mixer. An electric hand mixer or a stand mixer with a paddle attachment works best to get the cream cheese smooth and lump-free. If you mix by hand, you’ll need a sturdy whisk and some elbow grease to get that creamy consistency.
You will also need a small bowl for melting the butter and another for mixing the crust. For serving, individual glass jars or cups are ideal. I like using small mason jars or even cute dessert glasses. They look beautiful on a buffet table and are easy to stack in the fridge.
If you don’t have a food processor, you can crush the graham crackers by hand using a rolling pin inside a plastic bag. It takes a few minutes, but it works just as well. Just be sure to strain the crumbs if you want a very fine texture, or leave them chunky if you prefer a bit of crunch.
Preparation Method
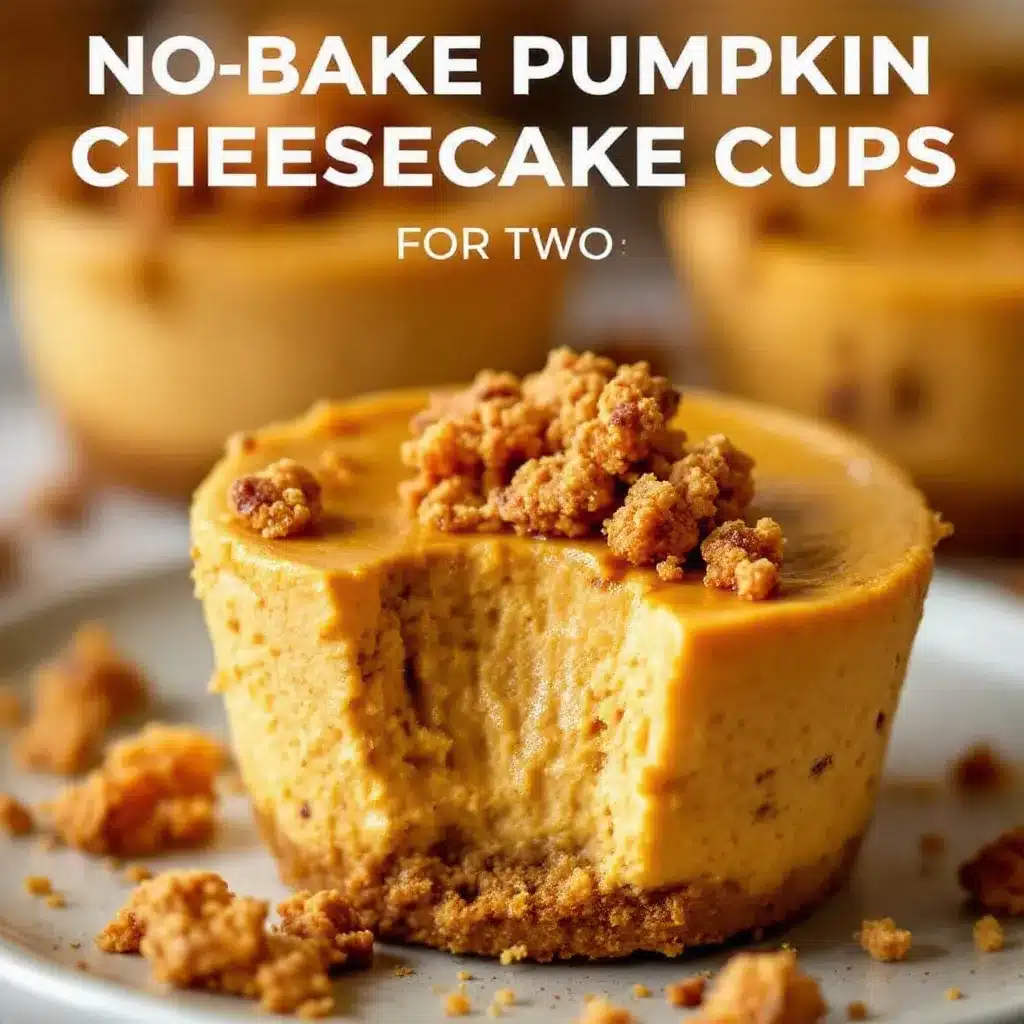
Let’s get started on making these creamy no-bake pumpkin cheesecake cups. It’s straightforward, but a few tips will help you get the best results.
1. **Prepare the Crust**: In a small bowl, combine the graham cracker crumbs, melted butter, and a pinch of salt. Mix until the crumbs look like wet sand. You want them to hold together when pressed but not be soupy. If it’s too dry, add a teaspoon more butter. If too wet, add a bit more crumbs.
2. **Line Your Cups**: Spoon about 1 tablespoon of the crumb mixture into the bottom of each serving jar. Press it down firmly with the back of a spoon or a small glass. You want a solid base. Repeat for all your jars. Place them in the fridge to set while you make the filling.
3. **Beat the Cream Cheese**: In a large mixing bowl, add the softened cream cheese and powdered sugar. Beat on medium-high speed for about 2-3 minutes until the mixture is completely smooth and creamy. Scrape down the sides of the bowl to ensure everything is incorporated. This step is crucial for avoiding lumps.
4. **Add Pumpkin and Spices**: Add the pumpkin puree, vanilla extract, and pumpkin pie spice to the cream cheese mixture. Beat on low speed just until combined. Be careful not to overmix here, or you might incorporate too much air, which can make the filling too fluffy and less dense. You want it rich and creamy.
5. **Whip the Cream**: In a separate cold bowl, whip the heavy cream until stiff peaks form. This means when you lift the beaters, the cream stands up straight. Do not over-whip it into butter, just soft peaks are fine, but stiff is better for folding.
6. **Fold it Together**: Gently fold the whipped cream into the pumpkin mixture. Use a spatula and cut through the middle, sweep along the bottom, and flip over. Do this until no white streaks remain. This keeps the air in the cream, making the filling light and fluffy.
7. **Assemble**: Spoon the pumpkin filling on top of the crust in each jar. Fill them about ¾ of the way to the top. You can pipe it for a pretty look or just spoon it in. Smooth the tops with a spatula.
8. **Chill**: Cover the jars with plastic wrap or lids and refrigerate for at least 2 hours, or overnight. This allows the flavors to meld and the texture to set properly.
9. **Serve**: Before serving, you can add a dollop of extra whipped cream, a sprinkle of pumpkin seeds, or a few fresh cranberries for color. Enjoy immediately after chilling.
Cooking Tips & Techniques
Getting the texture right is the most important part of this recipe. One common mistake is using cold cream cheese. It needs to be fully softened to room temperature. If it’s still cold, you’ll get lumps that are hard to beat out. If you’re in a hurry, you can microwave it in 5-second bursts, but be careful not to melt it.
Another tip is to make sure your pumpkin puree is not watery. If your puree looks runny, spread it out on a paper towel for a few minutes to absorb excess moisture. Too much water can make the filling runny and prevent it from setting properly.
When folding in the whipped cream, go slow. You want to keep as much air in the mixture as possible. If you stir too vigorously, you’ll deflate the cream, and the final product will be dense and heavy. Gentle folds are your friend here.
Also, don’t skip the chilling time. These cups need time to set. If you eat them too soon, they might be too soft and hard to scoop. The overnight chill is best, but 2 hours is usually enough for a quick fix.
Variations & Adaptations
While the classic pumpkin flavor is delicious, there are plenty of ways to tweak this recipe to suit your taste or dietary needs.
* **Gluten-Free Option**: Swap the graham cracker crumbs for gluten-free graham crackers or almond flour. Almond flour gives a nice nutty flavor that pairs well with pumpkin.
* **Dairy-Free Twist**: Use coconut cream instead of heavy cream and dairy-free cream cheese. The flavor will be slightly coconutty, which actually works surprisingly well with pumpkin spices.
* **Lower Sugar**: Reduce the powdered sugar to ¼ cup or use a sugar substitute like erythritol. Keep in mind that sugar also adds bulk, so the texture might be slightly different.
* **Flavor Variations**: Add a tablespoon of bourbon or rum to the filling for an adult twist. Or, stir in some chopped pecans or walnuts for extra crunch.
* **Seasonal Swap**: In the fall, you can use sweet potato puree instead of pumpkin. It’s slightly sweeter and earthier, so you might want to adjust the spices accordingly.
I’ve tried adding a layer of caramel sauce in the middle of the filling, and it was a hit. Just spoon a little caramel into the jar before adding the pumpkin mixture, then top with more filling. It’s a nice surprise when you bite into it.
Serving & Storage Suggestions
These cups are best served chilled. They taste like a cool, creamy dessert that’s perfect for the cooler weather. You can present them on a platter with a few fresh mint leaves or a dusting of cinnamon on top for a pretty finish.
For storage, keep them covered in the refrigerator for up to 3 days. The flavors actually get better after a day or two as the spices have time to infuse the cream cheese. Do not freeze them, as the texture of the cream cheese can become grainy when thawed.
If you are making these ahead for a party, you can prepare them the day before and store them in the fridge. Just add any fresh toppings right before serving to keep them looking fresh. They are also great for lunchboxes if you want a sweet treat, similar to how I use no-bake protein balls for a quick snack.
Nutritional Information & Benefits
These cups are a lighter alternative to traditional baked cheesecakes. Since there is no crust made with a lot of butter and sugar, and the filling is airy, the calorie count is more moderate. One cup (about 150g) contains approximately 250-300 calories, depending on the exact amounts of sugar and cream used.
The pumpkin puree adds a nice dose of vitamin A and fiber, which is a bonus. Cream cheese provides calcium and protein. While it is still a dessert and should be enjoyed in moderation, the ingredients are relatively simple and wholesome.
For those with dietary restrictions, remember to check labels for gluten-free or dairy-free options if needed. The pumpkin itself is naturally gluten-free and dairy-free, so the main considerations are the crust and the dairy components.
Conclusion
These creamy no-bake pumpkin cheesecake cups are a winner every time. They are easy to make, delicious to eat, and look impressive on any table. I love how they capture the essence of fall without the hassle of baking. Give them a try, and I bet you’ll have your family asking for seconds.
Feel free to customize the toppings or the crust to suit your preferences. And if you make them, I’d love to hear how they turn out. Leave a comment below or share a photo on social media. Thanks for reading, and happy baking—or rather, happy no-baking!
FAQs
Can I use pumpkin pie filling instead of pure pumpkin puree?
No, you should not use pumpkin pie filling. It already contains sugar and spices, which will throw off the balance of sweetness and flavor in your recipe. Stick to 100% pure pumpkin puree.
How long do these cheesecake cups last in the fridge?
They last for up to 3 days in the refrigerator when stored in an airtight container. The flavor improves after the first day, so they are best made the day before you plan to serve them.
Can I make these cups ahead of time?
Yes, they are perfect for making ahead. You can prepare them up to 24 hours in advance. Just keep them covered in the fridge until you are ready to serve.
What can I use instead of graham crackers for the crust?
You can use digestive biscuits, ginger snaps, or even crushed pretzels for a sweet-and-salty twist. For a gluten-free option, use almond flour or gluten-free graham crackers.
Can I freeze these cheesecake cups?
It is not recommended to freeze these cups. The texture of the cream cheese and whipped cream can change and become grainy or watery when thawed. It’s best to enjoy them fresh from the fridge.
Pin This Recipe!
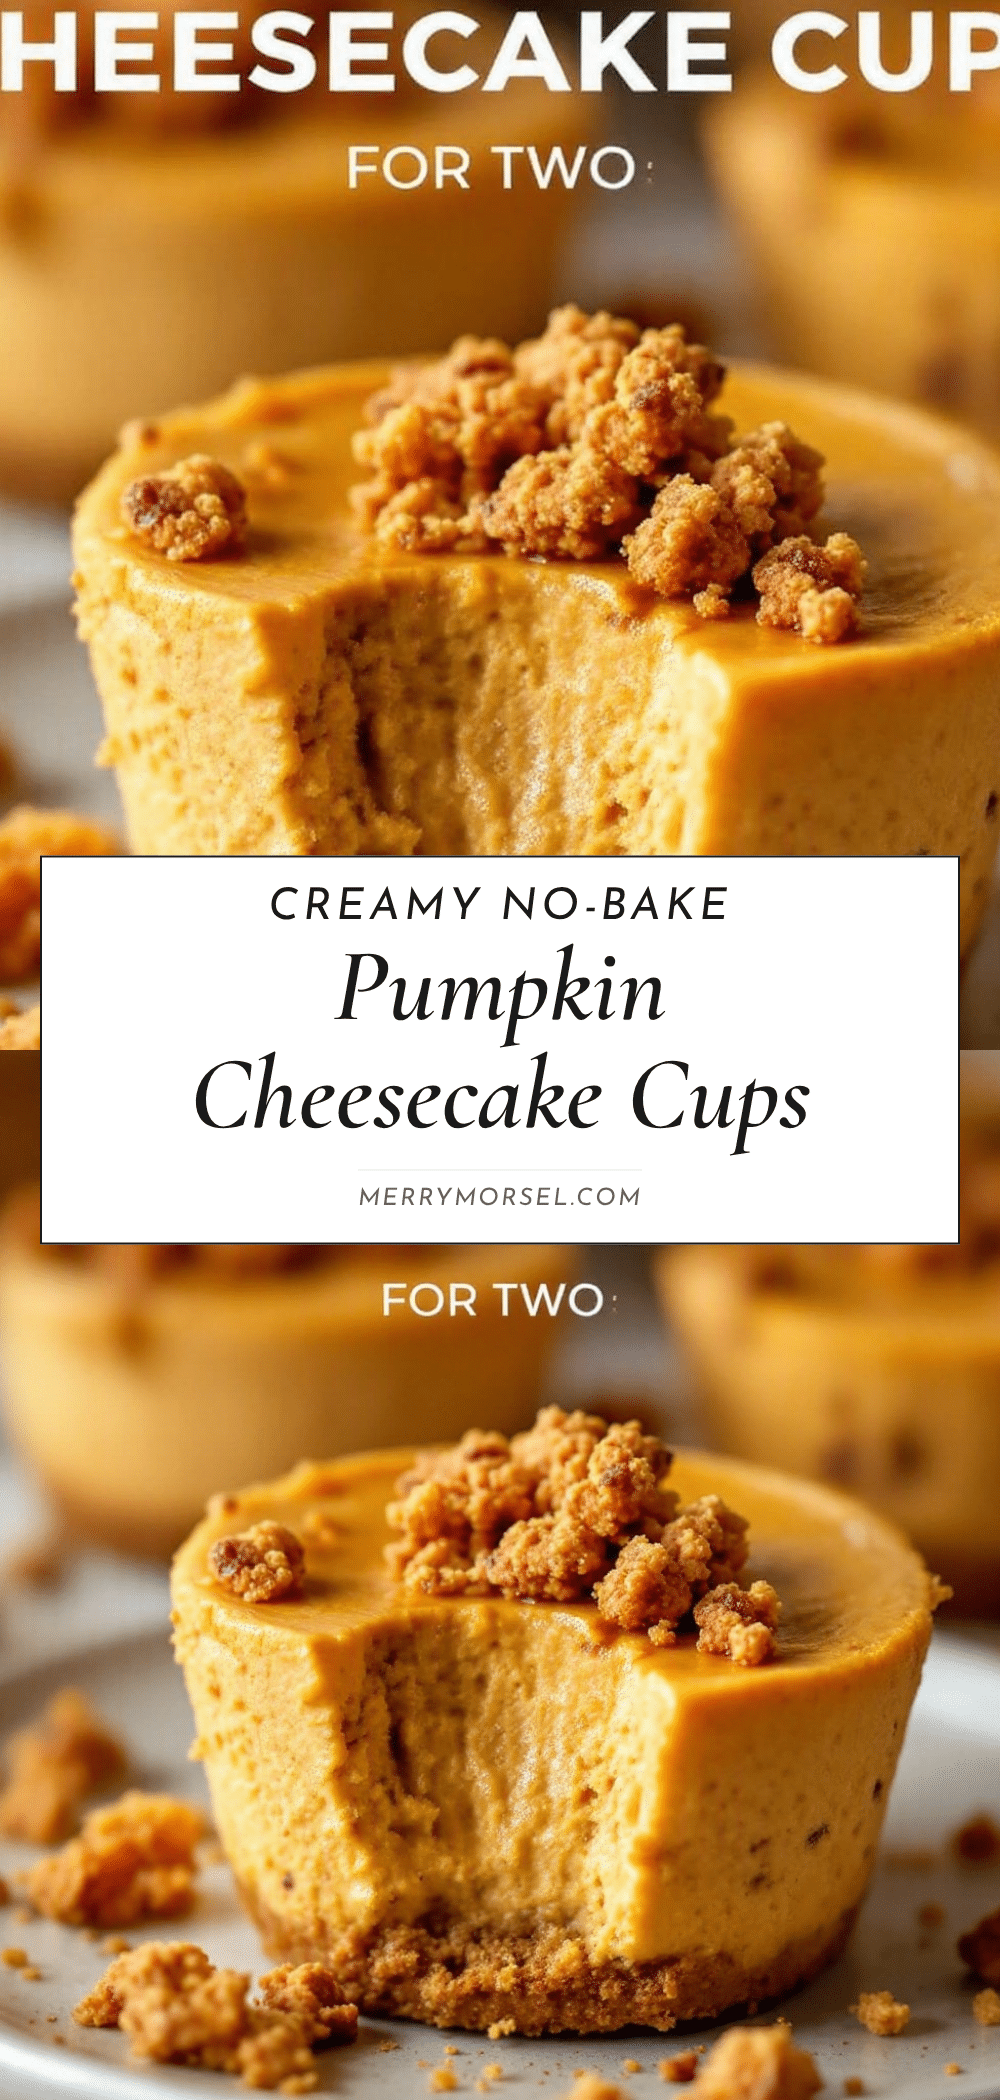
Creamy No-Bake Pumpkin Cheesecake Cups

Light, airy, and creamy no-bake pumpkin cheesecake cups made with just 5-9 simple ingredients. These individual dessert jars are perfect for fall gatherings and require no oven.
- Prep Time: 15 minutes
- Cook Time: 0 minutes
- Total Time: 2 hours 15 minutes
- Yield: 4 servings 1x
- Category: Dessert
- Cuisine: American
Ingredients
- 8 ounces full-fat cream cheese, softened to room temperature
- 1 cup unsweetened pumpkin puree
- ½ cup powdered sugar, sifted
- 1 cup heavy whipping cream, cold
- 1 teaspoon vanilla extract
- 1 teaspoon pumpkin pie spice
- ½ cup graham cracker crumbs
- 3 tablespoons unsalted butter, melted
- Pinch of salt
Instructions
- In a small bowl, combine graham cracker crumbs, melted butter, and a pinch of salt. Mix until the texture resembles wet sand.
- Spoon about 1 tablespoon of the crumb mixture into the bottom of each serving jar. Press down firmly to create a solid base. Place jars in the fridge to set.
- In a large mixing bowl, beat the softened cream cheese and powdered sugar on medium-high speed for 2-3 minutes until completely smooth. Scrape down the sides of the bowl.
- Add the pumpkin puree, vanilla extract, and pumpkin pie spice to the cream cheese mixture. Beat on low speed just until combined.
- In a separate cold bowl, whip the heavy cream until stiff peaks form.
- Gently fold the whipped cream into the pumpkin mixture using a spatula until no white streaks remain.
- Spoon the pumpkin filling on top of the crust in each jar, filling about ¾ of the way to the top.
- Cover the jars and refrigerate for at least 2 hours, or overnight, to allow the flavors to meld and the texture to set.
- Serve chilled, optionally topped with extra whipped cream, pumpkin seeds, or fresh cranberries.
Notes
Ensure cream cheese is fully softened to room temperature to avoid lumps. Use pure pumpkin puree, not pumpkin pie filling. If pumpkin puree is watery, blot it with a paper towel before mixing. Do not freeze, as the texture may become grainy.
Nutrition
- Serving Size: 1 cup (approx. 150g)
- Calories: 275
- Sugar: 15
- Sodium: 150
- Fat: 22
- Saturated Fat: 13
- Carbohydrates: 18
- Fiber: 1
- Protein: 4
Keywords: pumpkin cheesecake, no-bake dessert, fall recipes, easy dessert, pumpkin puree, cream cheese, mason jar desserts, gluten-free option