Love this? Save it for later!
Share the inspiration with your friends
I want a caramel apple right now. Not the whole thing—I never finish those, and the last third always ends up a sticky mess on the counter. What I really want is the first few perfect bites, where the caramel is still cool and the apple is crisp and the nuts are stuck on just right. And I want to make a bunch of them for people, so everyone can pick their own favorite topping without fighting over one apple.
That’s the whole origin story of these caramel apple slices. I was standing in my kitchen last fall, staring at a bag of apples and a jar of caramel, and I just thought—why am I making whole apples? Nobody eats the whole thing. Why not slice them up, drizzle the caramel, and let people go wild with toppings? It’s so obvious I almost laughed at myself for not thinking of it sooner.
So I grabbed a few Granny Smiths (they’re the best for this, honestly) and started experimenting. The first batch was a little messy—caramel everywhere, nuts sliding off—but by the third try, I had it dialed in. The trick is letting the caramel set just enough before adding the toppings. That tiny detail makes all the difference between a slice that looks like it came from a fancy bakery and one that looks like a toddler assembled it.
These caramel apple slices have become my go-to for everything from game day snacks to casual get-togethers. They’re quick, they’re customizable, and they make people happy. Every single time.
Why You’ll Love This Recipe
Let me tell you why these caramel apple slices are going to become your new favorite thing. I’ve tested this recipe more times than I can count, and every single batch has disappeared within minutes. That’s not an exaggeration—I brought a platter to a friend’s Halloween party and people were standing around it like it was the main attraction.
- Ready in 5 Minutes : This is not a project recipe. You can have these assembled and on the table faster than you can say “caramel apple.” No baking, no cooking, no waiting.
- Simple Ingredients : Apples, caramel, nuts, and a few mix-ins. That’s it. You probably already have most of this stuff in your pantry.
- Perfect for Parties : Set up a toppings bar and let guests build their own. It’s interactive, it’s fun, and it keeps people hanging around the snack table.
- Crowd-Pleaser : Kids love them. Adults love them. People who claim they don’t like sweets? They love them too. I’ve seen it happen.
- Endlessly Customizable : The toppings bar concept means every single person gets exactly what they want. No compromises, no picking around things you don’t like.
What makes these different from every other caramel apple recipe out there? It’s the slicing approach. By cutting the apples into rounds or wedges before adding the caramel, you get a perfect ratio of apple to caramel to toppings in every single bite. No more trying to bite through a whole apple and ending up with caramel all over your chin. It’s just smart eating.
This is the kind of snack that makes you feel like a genius without actually having to do much work. It’s comfort food that comes together in minutes, looks impressive on a platter, and tastes like you spent way more effort than you actually did. That’s my favorite kind of recipe.
What Ingredients You Will Need
This recipe uses simple, wholesome ingredients to deliver maximum flavor and texture without any fuss. Here’s what you’ll need to build the ultimate caramel apple slices and toppings bar.
For the Apple Base
- 4 large apples (Granny Smith, Honeycrisp, or Fuji work best; choose firm apples that hold their shape)
- 1 tablespoon lemon juice (mixed with water to prevent browning; fresh or bottled both work)
For the Caramel
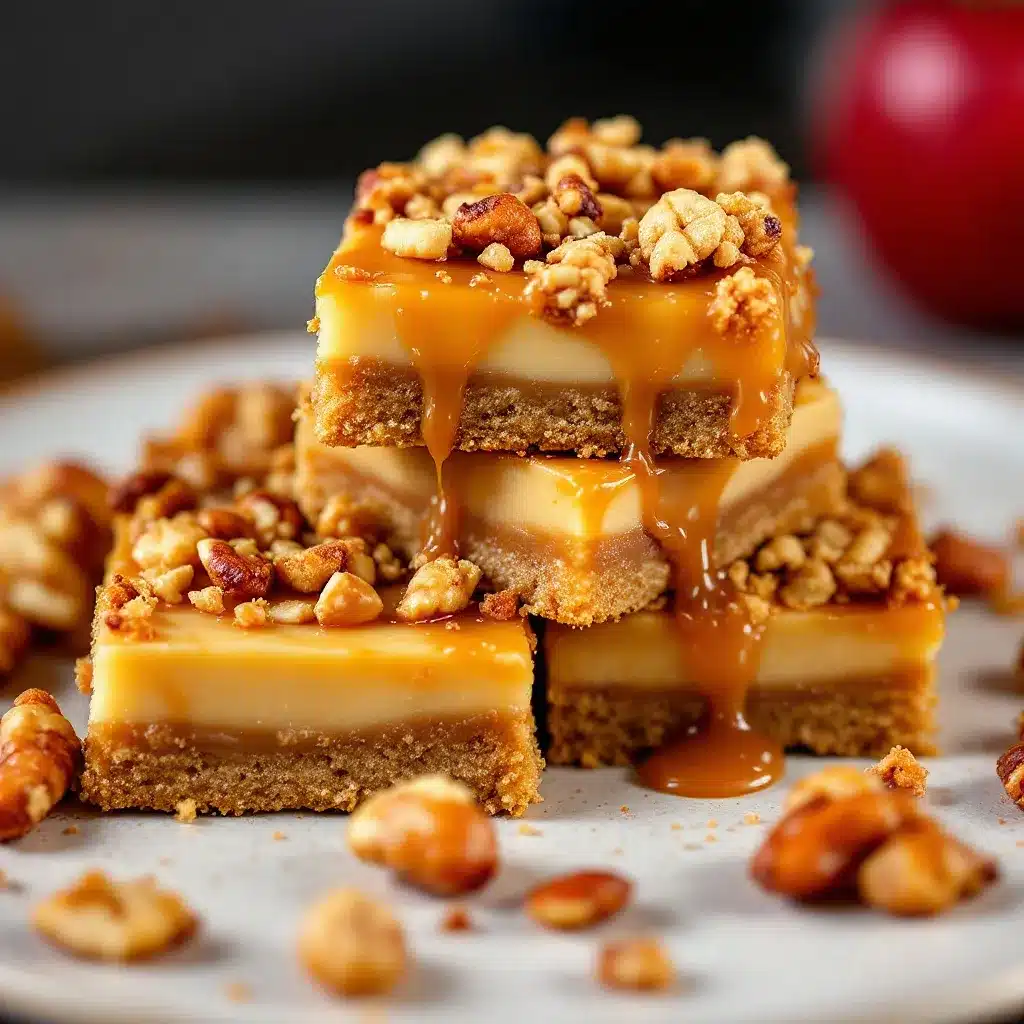
- 1 cup soft caramel candies (about 20-25 pieces; I prefer Werther’s or Kraft for consistent melting)
- 2 tablespoons heavy cream (helps the caramel stay smooth and pourable; whole milk works in a pinch)
- 1 teaspoon vanilla extract (adds warmth and depth to the caramel flavor)
- Pinch of sea salt (optional but highly recommended; it balances the sweetness beautifully)
For the Nut Toppings Bar
- ½ cup chopped pecans (toasted for extra flavor; toast them in a dry pan for 2-3 minutes until fragrant)
- ½ cup chopped walnuts (I like to chop these by hand for varied texture)
- ½ cup sliced almonds (these toast quickly, so watch them carefully)
- ¼ cup crushed peanuts (unsalted is best so you can control the salt level)
- ¼ cup chopped hazelnuts (optional but adds a lovely buttery note)
Optional Mix-Ins for the Toppings Bar
- ¼ cup mini chocolate chips (semi-sweet or milk chocolate both work great)
- ¼ cup crushed pretzels (adds that salty-crunchy element everyone loves)
- ¼ cup shredded coconut (toasted coconut adds a wonderful chewiness)
- 2 tablespoons sprinkles (for fun occasions or kids’ parties)
- Drizzle of melted white chocolate (for an extra-decadent finish)
When selecting your apples, give them a gentle squeeze at the store. You want firm apples that don’t give at all under pressure. Soft apples will turn mushy when you add the caramel, and nobody wants that. I personally reach for Granny Smiths every time because their tartness cuts through the sweet caramel so perfectly, but Honeycrisp apples are a close second if you prefer a sweeter base.
For the caramel, I’ve tried making it from scratch, and honestly? The store-bought soft caramels melt smoother and more consistently. If you want to use caramel sauce instead, go for it—just know it won’t set up quite as firmly on the apple slices.
Equipment Needed
You don’t need much to make these caramel apple slices, which is part of why I love this recipe so much. Here’s what you’ll need:
- Sharp knife and cutting board : A good chef’s knife makes clean slices through apples without crushing them. I learned this the hard way after using a dull knife and ending up with bruised, uneven slices.
- Small saucepan : For melting the caramel. A heavy-bottomed saucepan works best to prevent scorching.
- Silicone spatula or wooden spoon : For stirring the caramel as it melts. Silicone is my preference because it doesn’t scratch your pans.
- Large plate or baking sheet : To arrange the apple slices on while the caramel sets. Line it with parchment paper or wax paper for easy cleanup.
- Small bowls or ramekins : For setting up the toppings bar. I use little ceramic bowls I picked up at a thrift store, but any small containers work.
- Melon baller or small cookie scoop (optional): For removing the apple cores cleanly. A knife works too, but this tool makes it look neater.
If you don’t have a melon baller, just use a paring knife to cut out the core. It takes an extra thirty seconds per apple, but it gets the job done. I actually prefer the knife method because I feel like I have more control.
Preparation Method
Alright, let’s make these caramel apple slices. I’ve broken this down into simple steps so you can follow along without any confusion. Take your time with the caramel—it’s the only part that requires any real attention.
Step 1: Prep the Apples
Wash and dry your apples thoroughly. Any wax or residue on the skin will prevent the caramel from sticking properly. Cut each apple into ½-inch thick rounds, slicing perpendicular to the core. You’ll get about 4-5 rounds per apple, depending on the size. Use a melon baller or small knife to remove the seeds from the center of each round, creating a little hole. Don’t worry if some slices don’t have a perfect hole—just remove any seeds you see. Place the slices in a bowl of water mixed with 1 tablespoon of lemon juice to prevent browning. Let them sit for 2-3 minutes, then pat them dry completely with paper towels.
Step 2: Melt the Caramel
Unwrap your caramel candies and place them in a small saucepan with the heavy cream. Warm over low heat, stirring constantly with your silicone spatula. This is not the time to walk away—caramel burns fast. Keep stirring until the caramels are completely melted and the mixture is smooth and glossy. This usually takes about 4-5 minutes. Remove from heat and stir in the vanilla extract and a pinch of sea salt. Let the caramel cool for 2-3 minutes before using. It should be warm and pourable but not hot enough to cook the apples.
Step 3: Prepare the Toppings Bar
While the caramel cools, set up your toppings bar. Place each nut and mix-in in its own small bowl. Arrange them on a tray or directly on your counter so guests can easily reach everything. If you’re toasting your nuts (highly recommended), do this while the caramel melts. Spread each type of nut on a separate baking sheet and toast at 350°F for 3-5 minutes, watching carefully. Nuts go from toasted to burnt in about thirty seconds, so keep an eye on them. Let them cool completely before adding to the bowls.
Step 4: Assemble the Apple Slices
Arrange your dried apple slices on a parchment-lined baking sheet. Using a spoon or a small ladle, drizzle the warm caramel over each slice. You want enough to coat the top surface but not so much that it drips off the sides completely. A little drip is fine—it looks rustic and inviting. Work quickly here because the caramel will start to set as it cools.
Step 5: Add the Toppings
While the caramel is still warm and sticky, sprinkle your chosen toppings over each slice. Press them in gently with your fingers so they stick. If you’re making these for a party, I recommend leaving some slices plain with just caramel and letting guests add their own toppings from the bar. That way everyone gets exactly what they want, and the caramel doesn’t set before the toppings go on.
Step 6: Let Them Set
Allow the caramel apple slices to rest at room temperature for about 10 minutes. This gives the caramel time to set up slightly so it doesn’t slide off when you pick up a slice. If you’re serving them later, pop the baking sheet in the refrigerator for 15-20 minutes. The caramel will firm up nicely, making the slices easier to handle.
Step 7: Serve and Enjoy
Transfer the slices to a serving platter and arrange them in a single layer. If you’re doing a toppings bar, place the platter next to the bowls of toppings and let people build their own. Serve immediately for the best texture—the apples are crisp, the caramel is soft, and the nuts are crunchy. These are best enjoyed within an hour of assembly.
A quick note: if you’re making these ahead of time for a party, keep the apple slices and caramel separate until just before serving. Brush the apple slices with lemon water, store them in an airtight container in the fridge, and melt the caramel right before your guests arrive. Assembly takes about two minutes once everything is prepped.
Cooking Tips & Techniques
After making these caramel apple slices more times than I can count, I’ve picked up a few tricks that make a real difference. Let me share them so you don’t have to learn the hard way.
Dry your apples completely. This is the number one mistake I see people make. If there’s any moisture on the surface of the apple slices, the caramel will slide right off. I pat each slice individually with a paper towel, even the ones that look dry. It takes an extra minute and saves you a world of frustration.
Don’t overheat the caramel. I burned my first batch because I thought higher heat would make it melt faster. It doesn’t. Low and slow is the way to go. If your caramel starts to bubble or smell scorched, you’ve gone too far. Take it off the heat immediately and stir in a splash of cream to cool it down.
Toast your nuts in small batches. I learned this after toasting a whole sheet pan of pecans and having the ones on the edges burn while the center ones were still raw. Spread them in a single layer and check them after 3 minutes. They’ll continue toasting from residual heat even after you pull them out of the oven.
Use a variety of textures. The best toppings bars have a mix of crunchy nuts, soft add-ins, and salty elements. I always include crushed pretzels alongside the nuts because that salty crunch is irresistible. It’s the same principle I use when making apple nachos—contrast is everything.
Work in batches if you’re making a lot. Don’t try to drizzle caramel over 40 apple slices at once. The caramel will start to set before you’re done, and the last few slices won’t have sticky toppings. Melt the caramel in small batches and assemble 10-12 slices at a time. It takes a little longer, but the results are worth it.
Variations & Adaptations
One of the best things about this recipe is how easy it is to adapt. I’ve tried dozens of variations over the years, and these are my favorites.
Dietary Variations
Dairy-Free Version : Use dairy-free caramel candies or make your own with coconut cream. Most store-bought soft caramels contain dairy, so check the labels carefully. I’ve had good luck with the vegan caramel brands at my local health food store.
Nut-Free Version : Skip the nuts entirely and load up on seeds, crushed pretzels, and chocolate chips. Pumpkin seeds and sunflower seeds add great crunch without any nut allergens. This version is perfect for school events or parties where you don’t know everyone’s dietary restrictions.
Lower Sugar Version : Use smaller apples and go light on the caramel drizzle. You can also make a date-based caramel sauce by blending soaked dates with a splash of almond milk. It’s not exactly the same, but it’s delicious in its own right.
Seasonal Adaptations
Fall Harvest Bar : Add crushed gingersnap cookies, dried cranberries, and pumpkin seeds to your toppings bar. The warm spices pair beautifully with the apples and caramel.
Summer Berry Bar : Swap the nuts for fresh berries—blueberries, raspberries, and chopped strawberries. The tart berries cut through the sweet caramel perfectly. Just add the berries right before serving so they don’t make the apples soggy.
Flavor Twists
Salted Caramel Version : Sprinkle flaky sea salt over the caramel before adding the toppings. The salt enhances the caramel flavor and balances the sweetness. I use Maldon sea salt for this, but any flaky salt works.
Chocolate Lover’s Bar : Drizzle melted dark chocolate over the caramel before adding the nuts. The combination of chocolate and caramel is always a winner. I’ve also tried this with white chocolate and it’s surprisingly good.
My personal favorite variation is the s’mores-inspired bar—graham cracker crumbs, mini marshmallows, and chocolate chips. It’s messy and ridiculous and absolutely delicious. I made it for a camping-themed party and people lost their minds over it.
Serving & Storage Suggestions
These caramel apple slices are best served at room temperature, right after assembly. The apples are crisp, the caramel is soft but not runny, and the toppings are crunchy. That perfect texture window lasts about an hour, so plan your timing accordingly.
For presentation, I like to arrange the slices on a large wooden board or a white platter in a circular pattern. It looks beautiful and makes it easy for people to grab a slice without disturbing the others. If you’re doing a toppings bar, place the platter in the center and surround it with small bowls of toppings. Add a few small spoons or tongs to each bowl so people can help themselves.
These pair wonderfully with a hot cup of cider or coffee. The warmth of the drink contrasts with the cool apple slices, and the flavors complement each other beautifully. For a party, I’ll sometimes set up a pumpkin spice coffee station right next to the apple slices—it’s a fall flavor powerhouse.
Storage Instructions: If you have leftovers (which rarely happens in my house), store them in an airtight container in the refrigerator for up to 24 hours. The apples will soften slightly and the caramel will harden, but they’re still tasty. Let them sit at room temperature for 10-15 minutes before serving to soften the caramel.
Reheating Tips: I don’t recommend microwaving these because the apples will turn mushy. Instead, let them come to room temperature naturally. If you want warm caramel, melt a fresh batch and drizzle it over the cold slices right before serving.
Make-Ahead Tip: Prep all your toppings and slice your apples (tossed in lemon water) up to a day in advance. Store the apple slices in an airtight container in the fridge and keep the toppings in separate containers at room temperature. Assemble everything right before serving—it takes less than 10 minutes.
Nutritional Information & Benefits
Here’s the thing about these caramel apple slices—they’re a treat, but they’re not a total nutritional disaster. The apples themselves are packed with fiber and vitamin C, and the nuts add healthy fats and protein. It’s the caramel and chocolate that bump up the sugar content, but that’s what makes it a special occasion snack.
Per serving (approximately 2 slices with caramel and nuts):
- Calories: 220-280
- Total Fat: 12-15g
- Saturated Fat: 4-6g
- Carbohydrates: 28-35g
- Fiber: 4-5g
- Sugar: 18-22g
- Protein: 4-6g
These values will vary depending on your toppings and how much caramel you use. Going heavy on the nuts adds more healthy fats and protein, while loading up on chocolate chips and sprinkles adds more sugar. It’s all about balance and what you’re in the mood for.
Dietary Considerations: This recipe contains dairy (caramel) and nuts. It can be made gluten-free by using certified gluten-free pretzels and checking your caramel ingredients. For a vegan version, use dairy-free caramel and skip any chocolate chips that contain milk solids.
I personally love that this snack offers some nutritional value alongside the indulgence. The fiber in the apples helps slow down sugar absorption, and the protein from the nuts keeps you feeling satisfied. It’s not health food, but it’s not empty calories either. That’s my kind of treat.
Conclusion
These caramel apple slices with a nut toppings bar are everything I want in a snack—quick, customizable, and genuinely delicious. They’ve become my go-to for everything from casual family movie nights to holiday parties, and they never fail to impress. The best part? They take five minutes to put together and look like you spent an hour on them.
I love that this recipe lets everyone build their perfect bite. Some people want heavy pecans and a sprinkle of salt. Others want crushed pretzels and chocolate chips. And some purists just want the caramel and nothing else. All of those are valid, and all of them are delicious.
So go ahead and give these a try. Set up your toppings bar, invite some people over, and watch those apple slices disappear. And when you make your own version—because I know you will—come back and tell me about it. I love hearing what combinations people come up with. Drop a comment below or tag me in your photos. Happy snacking!
Frequently Asked Questions
Can I use pre-made caramel sauce instead of melting caramels?
Yes, you can absolutely use store-bought caramel sauce. Just know that it will be thinner and won’t set up as firmly on the apple slices. If you go this route, drizzle the sauce right before serving and add toppings immediately. The slices will be a bit messier to eat, but just as tasty.
How do I keep the apples from turning brown?
The lemon water bath does the trick. Mix 1 tablespoon of lemon juice with about 2 cups of water and let your sliced apples soak for 2-3 minutes. Pat them dry completely before adding the caramel. You can also use a commercial fruit preservative like Fruit-Fresh, but I find lemon juice works just fine for a short period.
Can I make these ahead of time for a party?
I recommend assembling them no more than an hour before serving. The apples start to soften and the caramel can slide off if they sit too long. What you can do ahead is slice the apples (store in lemon water in the fridge), prep your toppings, and have the caramel ready to melt. Assembly takes about 5 minutes.
What are the best apples for this recipe?
Granny Smith apples are my top choice because their tartness balances the sweet caramel. Honeycrisp and Fuji apples are great options too—they’re sweet but firm enough to hold up to the caramel. Avoid soft apples like Red Delicious or McIntosh, which tend to get mushy.
How do I store leftover caramel apple slices?
Place leftovers in an airtight container in the refrigerator for up to 24 hours. The apples will soften and the caramel will harden, but they’re still good. Let them sit at room temperature for 10-15 minutes before eating to soften the caramel. I don’t recommend freezing them—the texture just isn’t the same after thawing.
Pin This Recipe!
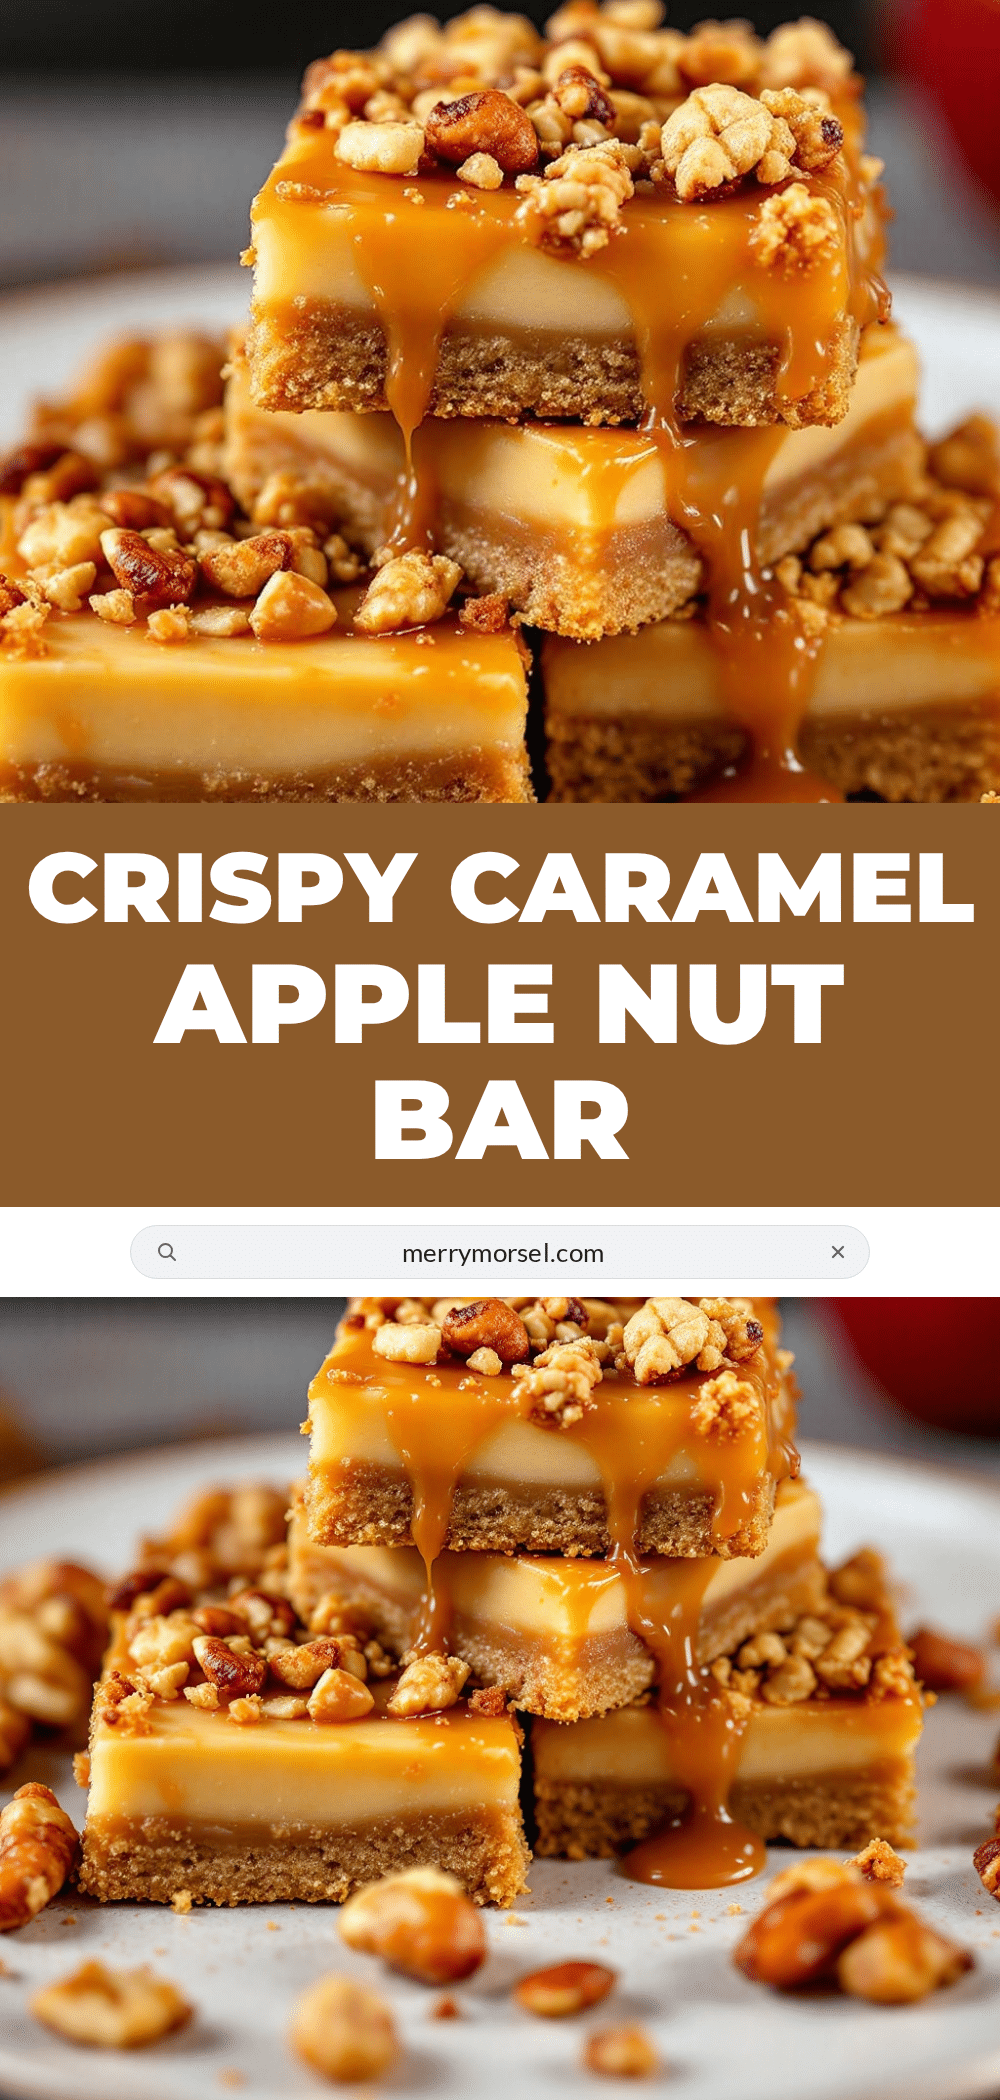
Best Caramel Apple Slices: Easy 5-Minute Nut Bar

These caramel apple slices are the perfect snack—ready in 5 minutes, endlessly customizable with a nut toppings bar, and ideal for parties. Crisp apple rounds topped with warm caramel and your choice of crunchy nuts, chocolate chips, and more.
- Prep Time: 5 minutes
- Cook Time: 5 minutes
- Total Time: 10 minutes
- Yield: 8 servings 1x
- Category: Dessert
- Cuisine: American
Ingredients
- 4 large apples (Granny Smith, Honeycrisp, or Fuji)
- 1 tablespoon lemon juice (mixed with water)
- 1 cup soft caramel candies (about 20–25 pieces)
- 2 tablespoons heavy cream
- 1 teaspoon vanilla extract
- Pinch of sea salt (optional)
- ½ cup chopped pecans (toasted)
- ½ cup chopped walnuts
- ½ cup sliced almonds
- ¼ cup crushed peanuts (unsalted)
- ¼ cup chopped hazelnuts (optional)
- ¼ cup mini chocolate chips (semi-sweet or milk chocolate)
- ¼ cup crushed pretzels
- ¼ cup shredded coconut (toasted)
- 2 tablespoons sprinkles
- Drizzle of melted white chocolate (optional)
Instructions
- Wash and dry apples thoroughly. Cut each apple into ½-inch thick rounds, slicing perpendicular to the core. Remove seeds from the center of each round using a melon baller or small knife. Place slices in a bowl of water mixed with 1 tablespoon lemon juice for 2-3 minutes, then pat dry completely with paper towels.
- Unwrap caramel candies and place in a small saucepan with heavy cream. Warm over low heat, stirring constantly, until caramels are completely melted and smooth (about 4-5 minutes). Remove from heat and stir in vanilla extract and a pinch of sea salt. Let cool for 2-3 minutes.
- While caramel cools, set up toppings bar by placing each nut and mix-in in its own small bowl. If toasting nuts, spread each type on a separate baking sheet and toast at 350°F for 3-5 minutes, watching carefully. Let cool completely.
- Arrange dried apple slices on a parchment-lined baking sheet. Drizzle warm caramel over each slice using a spoon or small ladle, coating the top surface. Work quickly as caramel will start to set.
- While caramel is still warm and sticky, sprinkle chosen toppings over each slice and press gently with fingers to adhere. For parties, leave some slices plain with just caramel and let guests add their own toppings.
- Let caramel apple slices rest at room temperature for about 10 minutes to allow caramel to set. If serving later, refrigerate for 15-20 minutes.
- Transfer slices to a serving platter in a single layer. Serve immediately for best texture—apples crisp, caramel soft, nuts crunchy. Best enjoyed within an hour of assembly.
Notes
Dry apples completely to prevent caramel from sliding off. Don’t overheat caramel—low and slow is key. Toast nuts in small batches to avoid burning. Work in batches if making a lot to keep caramel from setting before toppings are added. For make-ahead, prep apple slices and toppings separately, then assemble just before serving.
Nutrition
- Serving Size: 2 slices
- Calories: 250
- Sugar: 20
- Sodium: 120
- Fat: 13.5
- Saturated Fat: 5
- Carbohydrates: 31.5
- Fiber: 4.5
- Protein: 5
Keywords: caramel apple slices, easy caramel apples, nut toppings bar, party snack, fall dessert, 5-minute recipe


