Love this? Save it for later!
Share the inspiration with your friends
I set the cake pan on the counter and walked away to rinse the mixing bowl. By the time I turned back around, my husband had already cut himself a slice. Not a neat little square either—a wedged, jagged hunk that he was eating right over the sink. He looked at me, mid-chew, and just pointed at the cake with his fork. That was it. No words. Just the fork point. Honestly, that’s probably the highest praise you can get from someone who usually waits for dessert to be plated.
This cake wasn’t supposed to be anything special. It was a Thursday, and I had a serious craving for something chocolatey and peanut buttery, but I didn’t want to pull out the stand mixer or wait for butter to soften. I wanted instant gratification. So I threw together a simple single-layer cake using pantry staples, chopped up a few Reese’s cups I had stashed in the fridge, and hoped for the best. What came out of the oven was so much more than I expected—a tender, fudgy chocolate cake with melty pockets of peanut butter cup in every single bite.
I’ve made it four times since that first Thursday. Once for a neighbor who was having a rough week, once for a last-minute potluck, and twice just because. It’s become my go-to when I need something that feels like a real dessert but doesn’t require a whole production. And the best part? It’s ready in about 30 minutes, start to finish. No fuss, no fancy techniques, just pure chocolate-peanut butter magic.
Why You’ll Love This Recipe
Let me tell you why this cake keeps showing up in my kitchen. First off, it’s genuinely easy. Like, embarrassingly easy. You mix everything in one bowl, pour it into a pan, and let the oven do the work. No creaming butter, no sifting flour, no complicated steps that make you question your life choices. It’s the kind of recipe you can make on a random Tuesday when the craving hits hard.
- Quick & Easy: From start to finish, this cake takes about 30 minutes. That’s mixing, baking, and cooling time all included. Perfect for those moments when you need dessert now.
- Simple Ingredients: You probably have most of these in your pantry right now. Flour, sugar, cocoa powder, eggs, oil—the usual suspects. The only special ingredient is a bag of Reese’s cups, and let’s be honest, those are practically a pantry staple in my house.
- Perfect for Any Occasion: This cake works for birthday parties, potlucks, after-school snacks, or just a quiet night in. It’s not too fancy to feel fussy, but it’s impressive enough to get compliments.
- Crowd-Pleaser: I have never, and I mean never, seen anyone turn down a slice of this cake. Kids love it. Adults love it. Even my friend who claims she doesn’t have a sweet tooth asked for the recipe.
- Unbelievably Delicious: The texture is what gets me. It’s moist and tender with a slightly fudgy crumb, and those chunks of Reese’s cups melt into gooey pockets of peanut butter heaven. It’s comfort food in cake form.
What makes this recipe different from other chocolate snack cakes is the way the peanut butter cups are distributed. Instead of just stirring them into the batter, I like to save a handful to press into the top right before baking. That way, you get those beautiful melty spots on the surface. It’s a small trick, but it makes a big difference.
This isn’t just another chocolate cake recipe. It’s the one you’ll reach for when you need something reliable, something that delivers every single time. The kind of cake that makes you close your eyes after the first bite and just breathe for a second. That’s what this is.
What Ingredients You Will Need
This recipe uses simple, everyday ingredients to create something truly special. No weird specialty items or hard-to-find extracts—just honest, pantry-friendly staples that come together beautifully.
For the Cake Batter
- All-purpose flour – 1 ½ cups (180g). This gives the cake structure without making it dense. Spoon and level your flour for the best results.
- Granulated sugar – 1 cup (200g). Just enough sweetness to balance the cocoa and peanut butter.
- Unsweetened cocoa powder – ⅓ cup (40g). I prefer Dutch-processed for a richer flavor, but natural cocoa works great too.
- Baking soda – 1 teaspoon. This helps the cake rise and stay tender.
- Salt – ½ teaspoon. Don’t skip this—it enhances the chocolate flavor.
- Large egg – 1, at room temperature. It binds everything together and adds richness.
- Milk – 1 cup (240ml). Whole milk gives the best texture, but 2% works too. For a dairy-free version, use oat or almond milk.
- Vegetable oil – ⅓ cup (80ml). Oil keeps the cake moist longer than butter. I use canola or avocado oil.
- Vanilla extract – 1 teaspoon. Pure vanilla adds warmth and depth.
- Hot water or coffee – ½ cup (120ml). This is the secret to a really moist chocolate cake. Coffee enhances the chocolate flavor without making it taste like coffee at all. Trust me on this one.
For the Reese’s Addition
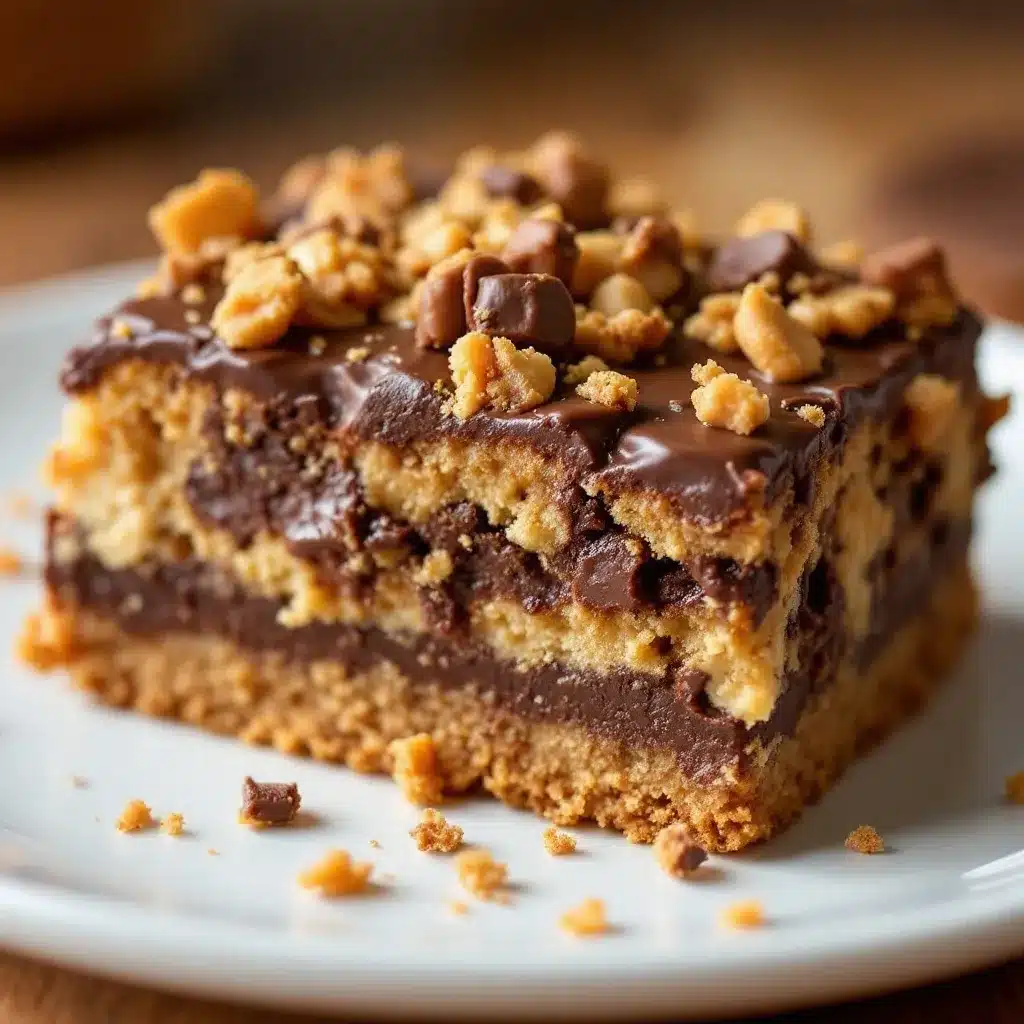
- Reese’s Peanut Butter Cups – 1 cup (about 8-10 regular-sized cups), roughly chopped. I like to leave some chunks a little bigger so you get distinct pockets of peanut butter. You can also use mini cups if that’s what you have on hand.
Optional Topping
- Powdered sugar – For dusting. It adds a nice finishing touch, but honestly, the cake is amazing on its own.
- Chocolate ganache or peanut butter drizzle – If you want to go all out, a simple drizzle takes this over the top. Mix ½ cup chocolate chips with ¼ cup heavy cream for a quick ganache.
When it comes to the Reese’s cups, I recommend buying the standard unwrapped cups for easier chopping. The seasonal shapes (like the eggs or trees) work too, but they have a slightly different chocolate-to-peanut butter ratio. If you’re feeling adventurous, try using the white chocolate Reese’s cups for a fun twist.
Equipment Needed
You don’t need a fancy kitchen to make this cake. Here’s what you’ll need:
- 8×8-inch square baking pan – This is the perfect size for a snack cake. If you only have a 9×9, the cake will be slightly thinner and bake a few minutes faster.
- Mixing bowls – One large bowl for the dry ingredients and another for the wet. Or just use one bowl and mix the dry first, then add the wet.
- Whisk – For combining the dry ingredients. A fork works in a pinch.
- Spatula or wooden spoon – For folding in the chopped Reese’s cups.
- Parchment paper – Line your pan for easy removal. I’m a big fan of parchment slings—they make lifting the cake out so much easier.
- Measuring cups and spoons – Accurate measurements matter, especially for the cocoa powder and baking soda.
- Cooling rack – Helps the cake cool evenly so the bottom doesn’t get soggy.
If you don’t have an 8×8 pan, you can use a 9-inch round cake pan or even a loaf pan. Just adjust the baking time slightly. A cast iron skillet works beautifully too—it gives the edges a nice, slightly crispy texture.
Preparation Method
Alright, let’s get to the good part. Here’s how to make this cake step by step.
- Preheat your oven to 350°F (175°C). Line your 8×8 pan with parchment paper, leaving a little overhang on two sides. This makes lifting the cake out super easy later. Lightly grease the parchment with cooking spray or a swipe of butter.
- In a large mixing bowl, whisk together the dry ingredients. Add the flour, sugar, cocoa powder, baking soda, and salt. Whisk until everything is evenly combined. Make sure there are no lumps of cocoa—nobody wants a bitter pocket of powder in their cake.
- Add the wet ingredients. Make a well in the center of the dry ingredients and add the egg, milk, oil, and vanilla extract. Stir gently with a spatula or wooden spoon until just combined. Don’t overmix here—a few lumps are totally fine.
- Pour in the hot water or coffee. This is the step that makes the batter beautifully thin and silky. Stir until the water is fully incorporated. The batter will be quite liquid, which is exactly what you want. It helps create that tender, moist crumb.
- Fold in the chopped Reese’s cups. Reserve about ¼ cup of the chopped cups to sprinkle on top. Gently fold the rest into the batter. Don’t overmix—you want distinct chunks of peanut butter cup, not a fully blended batter.
- Pour the batter into the prepared pan. Use your spatula to spread it evenly. It will be thin, so tilt the pan gently to help it reach the corners.
- Sprinkle the reserved Reese’s chunks on top. Press them down lightly so they sink just a little into the batter. This creates those gorgeous melty spots on the surface.
- Bake for 22-26 minutes. Start checking at 22 minutes. The cake is done when a toothpick inserted into the center comes out with just a few moist crumbs attached. If it comes out wet with batter, give it another 2-3 minutes. The edges should look set and slightly pulling away from the pan.
- Let the cake cool in the pan for 10 minutes. Then use the parchment sling to lift it out and transfer it to a cooling rack. Let it cool completely before slicing if you want clean pieces. But honestly, warm cake with melty peanut butter is pretty hard to resist.
- Slice and serve. Cut into 9 squares for a standard serving, or 16 smaller squares if you’re sharing with a crowd. Dust with powdered sugar or drizzle with chocolate sauce if you’re feeling fancy.
One thing I learned the hard way—don’t overbake this cake. Because it’s a snack cake, it can go from perfectly moist to dry pretty quickly. Set a timer and check it early. The toothpick test is your best friend here.
Cooking Tips & Techniques
Over the years, I’ve made enough snack cakes to fill a bakery. Here are some things I’ve learned that will help you nail this recipe every time.
Use room temperature ingredients. I know, I know, it’s annoying to wait for eggs and milk to come to room temperature. But it really does make a difference. Room temperature ingredients blend together more evenly, which means a smoother batter and a more tender cake. If you’re in a rush, place the egg in a bowl of warm water for 5 minutes and microwave the milk for 15 seconds.
Don’t skip the hot water or coffee. This is the trick that takes a good chocolate cake and makes it great. Hot liquid helps bloom the cocoa powder, which deepens the chocolate flavor. Coffee adds an extra layer of richness without tasting like coffee. I’ve used both, and honestly, I can’t tell the difference in the final cake. Use whatever you have on hand.
Chop the Reese’s cups into varied sizes. Some small pieces, some bigger chunks. The smaller bits melt into the batter and distribute the peanut butter flavor throughout. The bigger chunks stay intact and give you those gooey pockets of goodness. I like to keep a few pieces about the size of a dime for maximum melty effect.
Let the cake cool properly. I know it’s tempting to dig in right away, but letting the cake cool for at least 10-15 minutes helps it set. If you slice it too soon, the peanut butter will be super melty and the cake might fall apart. Warm is great, but give it a little time to firm up.
Double the recipe for a crowd. This recipe fits perfectly in an 8×8 pan, but if you’re feeding a bigger group, double everything and bake it in a 9×13 pan. Bake for about 30-35 minutes, checking at the 30-minute mark.
I once forgot to add the egg to a batch. The cake still turned out okay—a little denser, a little crumblier—but it wasn’t the same. Learn from my mistakes. Read through the recipe before you start, and double-check as you go.
Variations & Adaptations
One of the best things about this cake is how easy it is to change up. Here are some of my favorite variations.
Peanut Butter Swirl Version: Before baking, drop spoonfuls of creamy peanut butter on top of the batter and swirl it in with a knife. This creates ribbons of peanut butter throughout the cake. Use about ¼ cup of peanut butter, warmed slightly so it’s easy to swirl.
Gluten-Free Adaptation: Swap the all-purpose flour with a 1:1 gluten-free baking flour. I’ve used Bob’s Red Mill and King Arthur brands with great results. Make sure your baking soda is fresh, and don’t overmix the batter. The texture will be slightly different, but still delicious.
Double Chocolate Version: Stir in ½ cup of chocolate chips along with the Reese’s cups. Use semi-sweet or dark chocolate chips for a richer flavor. This turns the cake into an absolute chocolate bomb.
Healthier Twist: Replace the oil with unsweetened applesauce (use the same amount) and cut the sugar to ¾ cup. Use whole wheat pastry flour for a little extra fiber. The cake won’t be as tender, but it’s still really good and a little better for you.
Mini Cupcake Version: Grease a mini muffin tin and fill each cup about ¾ full. Bake for 10-12 minutes. You’ll get about 24 mini cakes, perfect for parties or lunchbox treats. I’ve packed these in lunchboxes alongside some turkey and cheese pinwheel roll-ups for a balanced lunch.
Peanut Butter Frosting Option: If you want to take this cake to the next level, top it with a simple peanut butter frosting. Beat ¼ cup softened butter with ½ cup creamy peanut butter, then add 1 cup powdered sugar and 2-3 tablespoons of milk. Spread it over the cooled cake and sprinkle with crushed Reese’s cups.
Serving & Storage Suggestions
This cake is incredibly versatile when it comes to serving. Here’s how I like to enjoy it.
Serving Temperature: The cake is delicious at room temperature, but I actually prefer it slightly warm. Pop a slice in the microwave for 10-15 seconds, and the peanut butter gets all melty and soft. Serve it with a scoop of vanilla ice cream for the ultimate dessert experience.
Presentation Ideas: For a simple presentation, dust the cake with powdered sugar and cut it into neat squares. For something fancier, drizzle with chocolate ganache and sprinkle with crushed peanuts. If you’re serving it at a party, cut the cake into small bite-sized squares and arrange them on a platter.
What to Serve With It: A cold glass of milk is the classic pairing. For adults, a cup of coffee or a glass of red wine (try a Malbec) complements the chocolate beautifully. If you’re making this for a brunch spread, it pairs well with creamy overnight peanut butter banana oats for a full peanut butter-themed morning.
Storage Instructions: Store the cake in an airtight container at room temperature for up to 3 days. If your kitchen is warm, you can refrigerate it, but let it come to room temperature before serving for the best texture. The cake actually gets more moist on day two, so don’t be afraid to make it ahead.
Freezing Instructions: This cake freezes beautifully. Wrap individual slices tightly in plastic wrap, then place them in a freezer-safe bag. They’ll keep for up to 3 months. To thaw, just leave a slice on the counter for about 30 minutes, or microwave for 20-30 seconds.
How Flavors Develop: The chocolate and peanut butter flavors meld together even more after the cake sits for a day. If you can resist eating it all on day one, you’ll be rewarded with an even more cohesive flavor on day two. Not that I’ve ever managed to wait that long.
Nutritional Information & Benefits
Let’s be real—this is a treat, not a health food. But here’s the nutritional breakdown for one serving (1/9 of the cake) so you know what you’re working with.
| Nutrient | Amount Per Serving |
|---|---|
| Calories | 345 |
| Total Fat | 18g |
| Saturated Fat | 6g |
| Cholesterol | 25mg |
| Sodium | 310mg |
| Total Carbohydrates | 44g |
| Dietary Fiber | 3g |
| Sugars | 28g |
| Protein | 7g |
Health Benefits of Key Ingredients: Cocoa powder is rich in antioxidants called flavonoids, which can help reduce inflammation and support heart health. Peanut butter cups add protein and healthy fats from the peanuts. While this isn’t a health food by any stretch, it’s not the worst thing you could eat either.
Dietary Considerations: This recipe contains dairy, eggs, wheat, and peanuts. For a dairy-free version, use oat milk and dairy-free chocolate. For an egg-free version, replace the egg with a flax egg (1 tablespoon ground flaxseed mixed with 3 tablespoons water). The cake will be slightly denser but still delicious.
Potential Allergens: Peanuts, dairy, eggs, gluten. If you’re serving this at a party, make sure to label it clearly for anyone with allergies.
I personally believe that dessert should be enjoyed without guilt. This cake is a treat, and treats are meant to make you happy. So eat a slice, savor it, and don’t overthink the numbers.
Frequently Asked Questions
Can I use mini Reese’s cups instead of regular ones?
Absolutely. Mini cups are actually easier to chop because they’re already small. Just give them a rough chop—no need to be precise. You can even leave some whole for bigger pockets of peanut butter.
Can I make this cake ahead of time?
Yes, and I actually recommend it. The cake tastes even better the next day after the flavors have had time to meld. Bake it a day ahead, cool it completely, and store it in an airtight container. Dust with powdered sugar right before serving.
Why did my cake turn out dry?
Most likely, it was overbaked. Snack cakes are thin and bake quickly, so check them early. Also, make sure you’re measuring your flour correctly—scooping directly from the bag can pack in too much flour. Spoon it into your measuring cup and level it off.
Can I use a different brand of peanut butter cups?
Sure, but I can’t vouch for the results. Reese’s cups have a specific ratio of chocolate to peanut butter that works really well in baking. Generic brands sometimes have a different texture or sweetness level. If you try another brand, look for one with a similar consistency.
Can I make this in a round cake pan?
Yes, a 9-inch round cake pan works perfectly. The baking time will be about the same, maybe 1-2 minutes less since the cake will be slightly thinner. Grease the pan well and line the bottom with parchment paper for easy removal.
Conclusion
This Reese’s Peanut Butter Chocolate Snack Cake is the kind of recipe that earns a permanent spot in your rotation. It’s quick enough for a weeknight craving, impressive enough for company, and simple enough that you don’t need to be a baker to pull it off. The chocolate cake is tender and moist, the peanut butter cups melt into gooey pockets of goodness, and the whole thing comes together in about 30 minutes.
I love this recipe because it reminds me that dessert doesn’t have to be complicated to be amazing. Sometimes the best things come from a single bowl, a few pantry staples, and a little bit of chocolate. Whether you’re making it for a birthday, a potluck, or just because it’s Tuesday, this cake delivers every single time.
If you try this recipe, I’d love to hear how it turns out. Leave a comment below and let me know if you added any fun variations or if this becomes a new favorite in your kitchen. And if you’re looking for more easy dessert ideas, check out this apple nachos with peanut butter drizzle for another quick peanut butter fix.
Happy baking, friends. Go make something delicious.
Pin This Recipe!
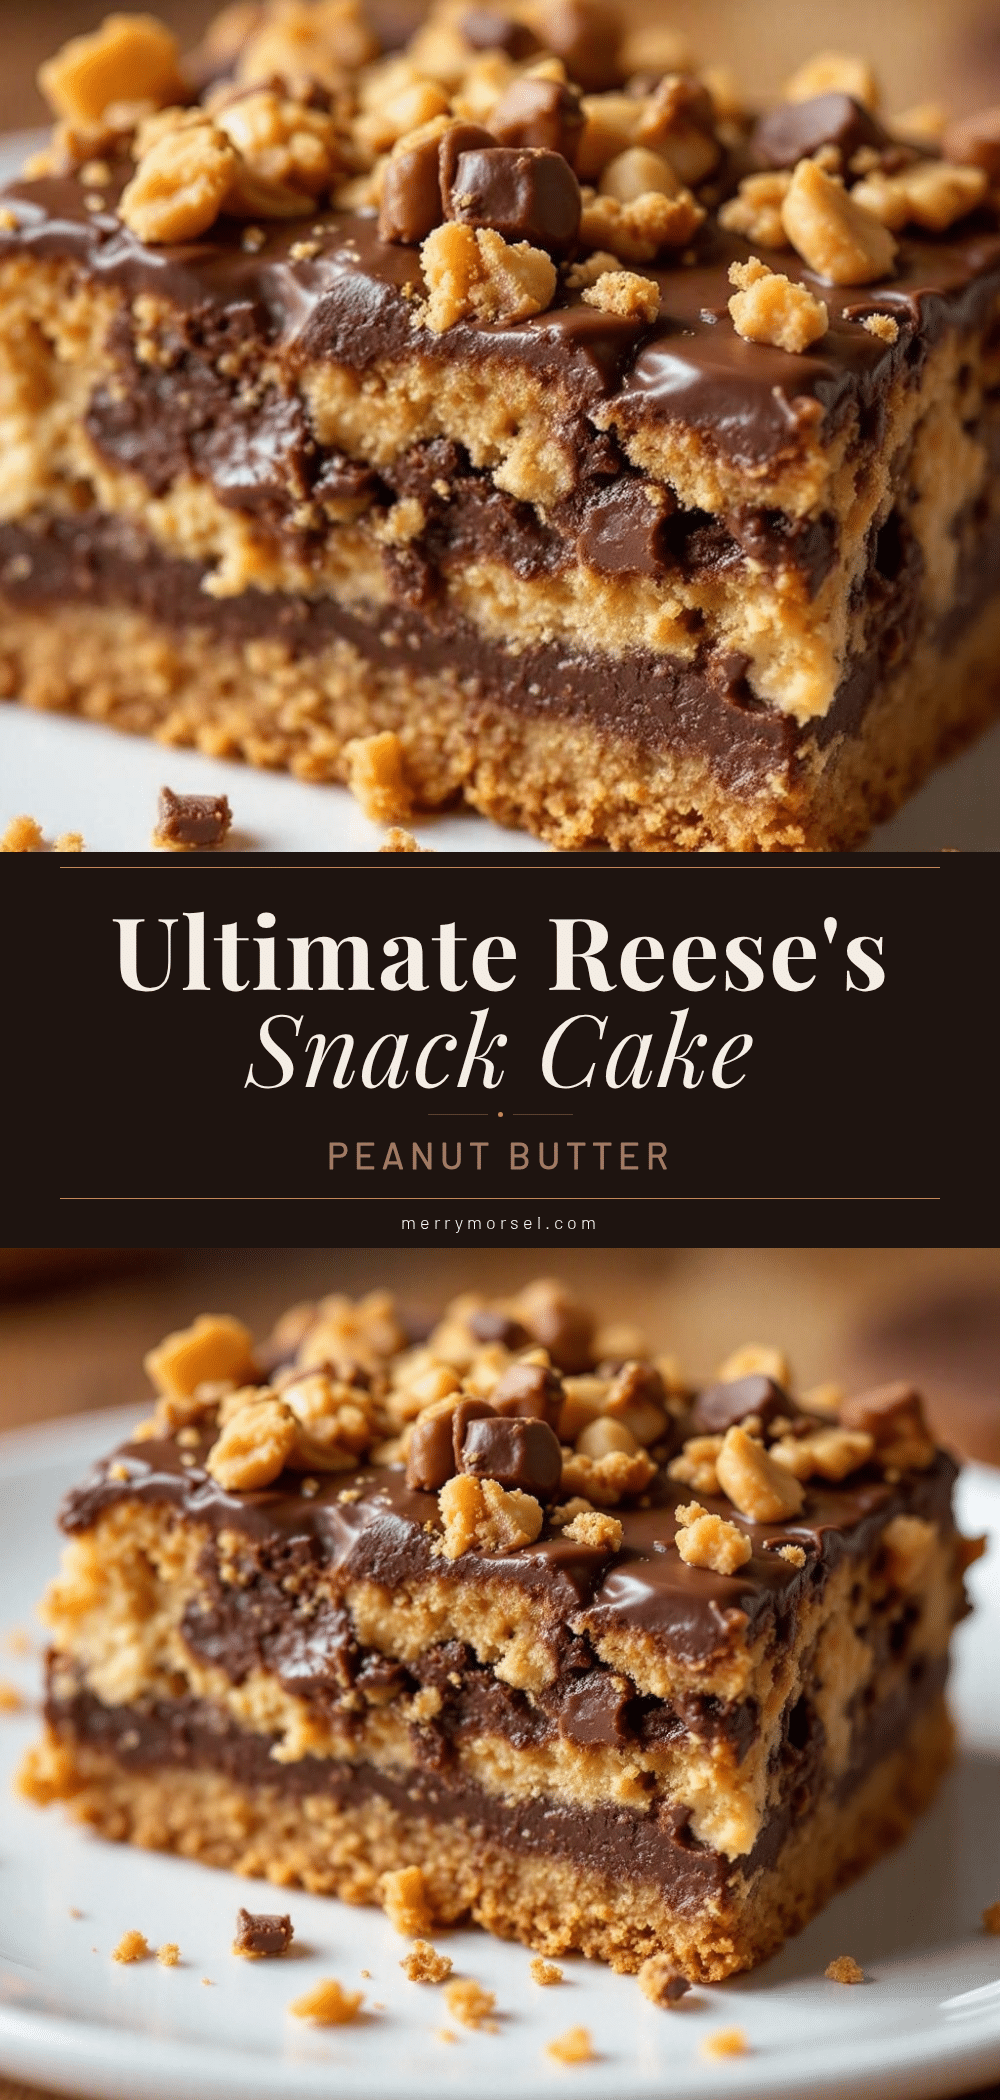
Best Reeses Peanut Butter Chocolate Snack Cake – Easy 30-Min Recipe

A quick and easy single-layer chocolate snack cake loaded with Reese’s peanut butter cups. Ready in about 30 minutes, this tender, fudgy cake is perfect for any occasion.
- Prep Time: 10 minutes
- Cook Time: 22-26 minutes
- Total Time: 30 minutes
- Yield: 9 servings 1x
- Category: Dessert
- Cuisine: American
Ingredients
- 1 ½ cups (180g) all-purpose flour
- 1 cup (200g) granulated sugar
- ⅓ cup (40g) unsweetened cocoa powder (Dutch-processed or natural)
- 1 teaspoon baking soda
- ½ teaspoon salt
- 1 large egg, at room temperature
- 1 cup (240ml) milk (whole or 2%)
- ⅓ cup (80ml) vegetable oil (canola or avocado)
- 1 teaspoon vanilla extract
- ½ cup (120ml) hot water or coffee
- 1 cup (about 8–10 regular-sized) Reese’s Peanut Butter Cups, roughly chopped
- Powdered sugar for dusting (optional)
- Chocolate ganache or peanut butter drizzle (optional)
Instructions
- Preheat your oven to 350°F (175°C). Line an 8×8-inch square baking pan with parchment paper, leaving overhang on two sides. Lightly grease the parchment.
- In a large mixing bowl, whisk together the flour, sugar, cocoa powder, baking soda, and salt until evenly combined.
- Make a well in the center of the dry ingredients and add the egg, milk, oil, and vanilla extract. Stir gently with a spatula until just combined (a few lumps are fine).
- Pour in the hot water or coffee and stir until fully incorporated. The batter will be thin.
- Fold in the chopped Reese’s cups, reserving about ¼ cup to sprinkle on top.
- Pour the batter into the prepared pan and spread evenly. Sprinkle the reserved Reese’s chunks on top and press them down lightly.
- Bake for 22-26 minutes, until a toothpick inserted into the center comes out with a few moist crumbs. Let cool in the pan for 10 minutes, then lift out using the parchment sling and transfer to a cooling rack.
- Cool completely before slicing into 9 or 16 squares. Dust with powdered sugar or drizzle with chocolate ganache if desired.
Notes
For best results, use room temperature ingredients. Don’t overbake; check at 22 minutes. The cake can be stored in an airtight container at room temperature for up to 3 days or frozen for up to 3 months.
Nutrition
- Serving Size: 1 square (1/9 of cak
- Calories: 345
- Sugar: 28
- Sodium: 310
- Fat: 18
- Saturated Fat: 6
- Carbohydrates: 44
- Fiber: 3
- Protein: 7
Keywords: Reese's peanut butter chocolate snack cake, easy chocolate cake, 30-minute dessert, peanut butter cup cake, one-bowl cake


