Love this? Save it for later!
Share the inspiration with your friends
I burned the cheese on my first attempt at chili cheese fries. Not just a little brown on the edges—I mean a blackened, smoking, fire-alarm-going-off kind of disaster. The chili was good, the fries were crispy, but that top layer of cheese had turned into a science experiment gone wrong. I stood there with a spatula in one hand and a guilty conscience, wondering how something so simple could go so sideways.
That was three Super Bowls ago, and honestly, I almost gave up on the whole idea. But here’s the thing about game day food—it’s supposed to be easy, right? It’s supposed to be the kind of thing you throw together while your team is tying their cleats or during a commercial break. So I went back to the drawing board (and the skillet) and figured out where I went wrong. Now this chili cheese fries skillet is my go-to for every big game, and I don’t even stress about it anymore.
There’s something about that first bite—the crunch of the fries, the warmth of the chili, that stretchy, melted cheese pulling apart as you lift your fork. It’s messy, it’s indulgent, and it’s exactly what you want when you’re gathered around the TV with people you actually like. And the best part? This whole thing comes together in about 30 minutes. No complicated steps, no weird ingredients—just honest, satisfying food that makes everyone happy. Trust me on this one.
Why You’ll Love This Recipe
I’ve tested this chili cheese fries skillet more times than I care to admit, and here’s what I’ve learned: it’s not just good—it’s the kind of good that makes people hover around the kitchen island waiting for the next batch. Let me tell you why this version works so well.
- Ready in 30 Minutes – From start to finish, you’re looking at about half an hour. That means you can start cooking at halftime and still have everything hot and ready before the third quarter kicks off.
- Simple Pantry Ingredients – No need to hunt down specialty items. Ground beef, canned chili beans, frozen fries, and shredded cheese—you probably already have most of this stuff in your kitchen.
- Perfect for Game Day – Whether it’s the Super Bowl, a playoff game, or just a regular Sunday afternoon, this skillet fits right in. It’s shareable, scoopable, and satisfying.
- Crowd-Pleaser Guaranteed – I’ve served this to kids, adults, picky eaters, and people who claim they “don’t really like chili.” Every single time, the skillet comes back empty.
- Unbelievably Delicious – The contrast between crispy fries and saucy chili, plus that gooey melted cheese—it’s comfort food at its finest. Seriously, you’ll close your eyes after the first bite.
What makes this recipe different from all the others? It’s the layering technique. Instead of dumping everything on top of the fries and hoping for the best, I build the skillet in stages. The fries get a head start in the oven, then the chili goes on, then the cheese, and finally a quick broil to get everything bubbly without burning. It’s a small change, but it makes a huge difference in texture and flavor.
This isn’t just another appetizer—it’s the kind of dish that brings people together. You know those recipes that just feel right? The ones that make you forget about the score and focus on the food? That’s this skillet. It’s comfort food reimagined—faster, easier, but with all the soul-soothing satisfaction you expect from a game day classic.
What Ingredients You Will Need
This recipe uses straightforward ingredients that work together to create something special. Let me walk you through what you’ll need and why each one matters.
- Frozen French Fries (1 bag, about 24-28 oz) – Go with a thicker cut like steak fries or crinkle cuts. They hold up better under the chili and cheese. I personally prefer Ore-Ida or Alexia brands for consistent crispiness.
- Ground Beef (1 lb, 85/15 lean) – You want some fat for flavor, but not so much that the chili turns greasy. 85/15 hits that sweet spot.
- Yellow Onion (1 medium, diced) – Adds sweetness and depth to the chili. Don’t skip it—it’s the backbone of the flavor.
- Garlic (3 cloves, minced) – Fresh garlic makes a difference here. The jarred stuff works in a pinch, but fresh gives you that punchy aroma.
- Canned Diced Tomatoes (1 can, 14.5 oz, undrained) – Look for fire-roasted if you can find them. They add a subtle smoky flavor that takes the chili up a notch.
- Canned Chili Beans (1 can, 15 oz, undrained) – These are already seasoned, so they save you time. If you prefer, you can use kidney beans and add your own chili seasoning.
- Chili Powder (2 tablespoons) – This is the main spice. I recommend using a good quality brand like McCormick or Penzeys for the best flavor.
- Cumin (1 teaspoon) – Adds warmth and earthiness. It’s a classic chili ingredient for a reason.
- Smoked Paprika (1 teaspoon) – This is my secret weapon. It gives the chili a subtle smokiness that makes it taste like it cooked all day.
- Salt and Black Pepper (to taste) – Don’t be shy with the salt—it brings out all the other flavors.
- Shredded Cheddar Cheese (2 cups) – Sharp cheddar melts beautifully and has enough flavor to stand up to the chili. Shred it yourself if you have the time—pre-shredded cheese has anti-caking agents that can affect melting.
- Monterey Jack Cheese (1 cup, shredded) – This adds creaminess and helps the cheese layer get that perfect stretchy texture.
- Green Onions (3-4, sliced) – For garnish. They add a fresh, mild onion flavor and a pop of color.
- Jalapeño (1, sliced, optional) – If you like heat, add fresh jalapeño slices on top. Pickled jalapeños work too and add a tangy kick.
- Sour Cream (for serving) – A dollop of sour cream balances the richness and adds a cool, creamy element.
Substitution Notes: If you’re feeding a crowd with different dietary needs, you can swap the ground beef for ground turkey or plant-based crumbles. Use dairy-free cheese alternatives if needed, though the melt won’t be quite as stretchy. For a gluten-free option, just check your canned chili beans and spices—most are naturally gluten-free, but always read the labels.
Equipment Needed
You don’t need a fancy kitchen to pull this off. Here’s what you’ll need:
- Cast Iron Skillet (12-inch) – This is ideal because it goes from stovetop to oven without any fuss. If you don’t have one, use an oven-safe skillet or a 9×13 baking dish.
- Baking Sheet – For cooking the fries while you make the chili. A rimmed baking sheet works best to prevent any mess.
- Large Skillet or Dutch Oven – For making the chili. A deep skillet or Dutch oven gives you room to stir without splashing.
- Wooden Spoon or Spatula – For breaking up the ground beef and stirring the chili.
- Chef’s Knife and Cutting Board – For dicing the onion and mincing the garlic.
- Measuring Spoons – For the spices. Eyeballing it works, but measuring ensures consistency.
- Oven Mitts – The skillet gets hot, and you don’t want to learn that lesson the hard way.
If you’re on a budget, don’t stress. A non-stick skillet and a baking sheet from the dollar store will work just fine. I’ve made this recipe in a dorm kitchen with basic equipment, and it still turned out great.
Preparation Method
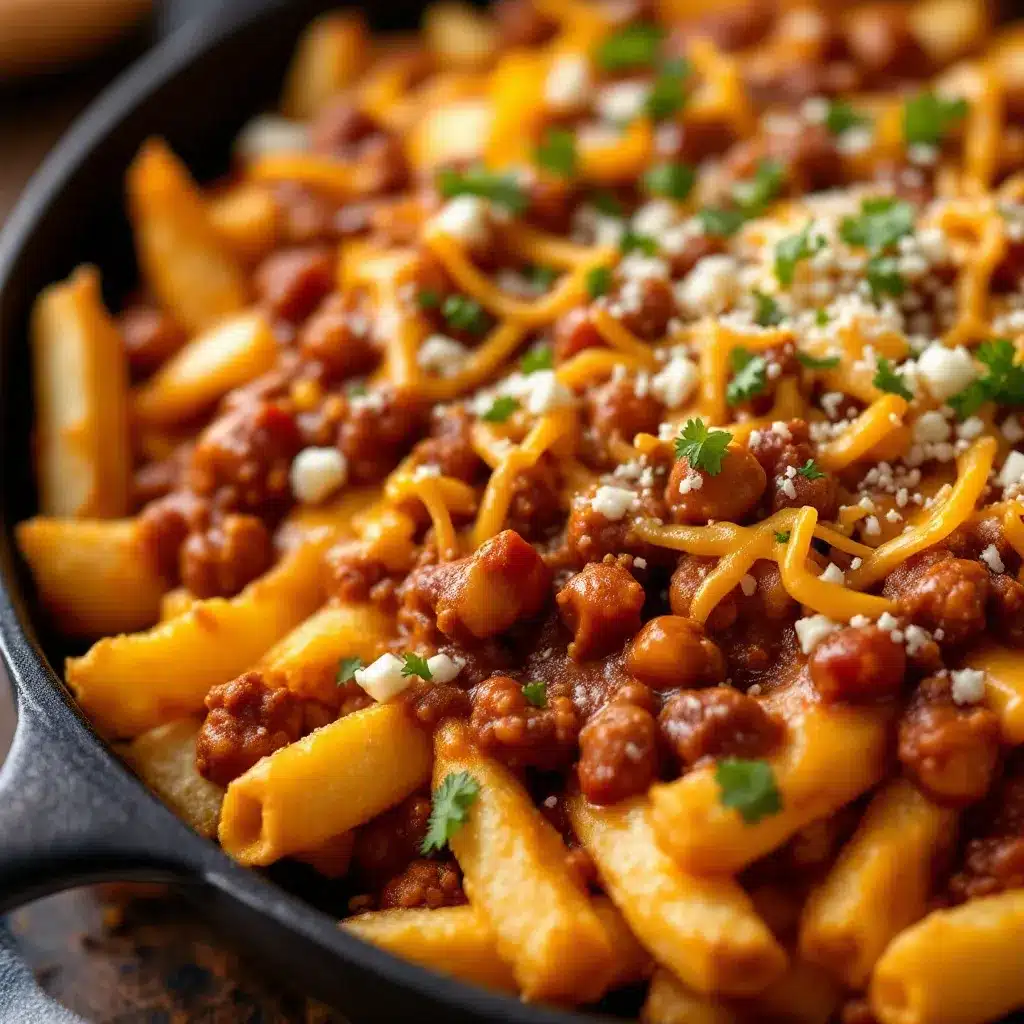
Let’s get cooking. This recipe moves fast, so read through the steps once before you start. Trust me, it helps.
- Preheat your oven to 425°F (220°C). Spread the frozen fries in a single layer on a baking sheet. Bake according to package directions until golden and crispy—usually about 20-25 minutes. Don’t overcrowd the pan, or they’ll steam instead of crisp.
- While the fries are baking, start the chili. Heat a large skillet or Dutch oven over medium-high heat. Add the ground beef and cook, breaking it apart with a wooden spoon, until browned—about 5-7 minutes. Don’t drain all the fat; leave about a tablespoon for flavor.
- Add the diced onion to the beef and cook for 3-4 minutes until softened and translucent. Stir occasionally so the onion doesn’t burn. Add the minced garlic and cook for 30 seconds until fragrant—you’ll smell it when it’s ready.
- Sprinkle the chili powder, cumin, smoked paprika, salt, and pepper over the beef mixture. Stir well and cook for 1 minute to toast the spices. This step wakes up the flavors and makes the chili taste like it simmered for hours.
- Pour in the undrained diced tomatoes and the can of chili beans (undrained). Stir everything together, scraping up any browned bits from the bottom of the pan. Bring the chili to a simmer, then reduce the heat to low and let it bubble gently while the fries finish cooking.
- When the fries are done, remove them from the oven. Change the oven setting to broil (high). Carefully transfer the hot fries to your 12-inch cast iron skillet (or oven-safe dish). Spread them into an even layer.
- Ladle the chili over the fries evenly, making sure every fry gets some love. Don’t drown them—you want a good ratio of chili to fries.
- Sprinkle the shredded cheddar and Monterey Jack cheese over the top. Be generous—this is the best part. Make sure the cheese covers the chili completely for that perfect melt.
- Place the skillet under the broiler for 2-3 minutes. Watch it closely—cheese goes from melted to burnt in seconds. You want bubbly, golden spots, not black edges.
- Remove the skillet carefully (it’s hot!) and let it rest for 2 minutes. This helps the cheese set slightly so it doesn’t slide off when you serve it.
- Garnish with sliced green onions and jalapeño slices if you’re using them. Add dollops of sour cream around the top. Serve immediately while everything is hot and gooey.
Pro tip: The fries will soften slightly under the chili, but that’s part of the charm. If you want extra crunch, reserve a handful of fries and scatter them on top after broiling. That way you get crispy edges and saucy bottoms in every bite.
Cooking Tips & Techniques
I’ve made this chili cheese fries skillet more times than I can count, and I’ve learned a few things along the way. Here are the tips that make the biggest difference.
Don’t skip the broiler step. That’s where I went wrong the first time. I tried to melt the cheese under a low oven temperature, and it took forever—by the time the cheese was melted, the fries underneath had turned into mush. The broiler gives you that quick, bubbly finish without cooking the fries to death. Just keep an eye on it.
Season the chili boldly. The fries and cheese are relatively neutral, so the chili needs to carry the flavor. Taste it before you layer it on the fries. If it tastes good on its own, it’ll be perfect in the skillet. If it’s bland, add more chili powder or a pinch of salt.
Let the chili simmer while the fries bake. This is the secret to making the chili taste like it cooked all day. Even 15 minutes of gentle simmering allows the flavors to meld together. Stir it occasionally and add a splash of water if it gets too thick.
Use room temperature cheese. Cold cheese takes longer to melt, which means it spends more time under the broiler. Let the shredded cheese sit on the counter while you’re making the chili. It’ll melt faster and more evenly.
Multitask like a pro. While the fries are in the oven, you can make the chili, shred the cheese, and prep your garnishes. By the time the fries are done, everything else is ready to go. This is how you get dinner on the table in 30 minutes without losing your mind.
One mistake I made: I once used frozen chili from a can instead of making it fresh. It was watery and thin, and it soaked into the fries like a sponge. Homemade chili (even the quick version) is thicker and more flavorful. Don’t take shortcuts on the chili—it’s the heart of the dish.
Variations & Adaptations
This recipe is flexible, and I love playing around with different versions. Here are some of my favorites.
Loaded Chili Cheese Fries Skillet – Add crumbled cooked bacon and diced avocado after broiling. The salty bacon and creamy avocado take this to another level. I tried this for a playoff party and it disappeared in minutes.
Vegetarian Version – Swap the ground beef for a plant-based crumble or an extra can of black beans. Use vegetable broth to adjust the consistency if needed. The spices do the heavy lifting here, so you won’t miss the meat.
Spicy Southwest Style – Add a diced chipotle pepper in adobo sauce to the chili along with a can of fire-roasted corn. Top with pickled jalapeños and a drizzle of hot sauce. This version has serious kick—perfect for when you want something bold.
White Chicken Chili Cheese Fries – Use shredded rotisserie chicken, white beans, and a creamy base made with chicken broth and a splash of heavy cream. Top with Monterey Jack and a sprinkle of fresh cilantro. It’s a completely different vibe, but just as delicious.
Sweet Potato Fries Version – Swap regular fries for frozen sweet potato fries. The sweetness pairs beautifully with the savory chili and sharp cheddar. Bake the sweet potato fries a few minutes longer to ensure they’re crispy before adding the toppings.
Breakfast Version – Yes, this works for breakfast too. Use tater tots instead of fries, top with chili and cheese, then crack a few eggs over the top and bake until the eggs are set. Serve with hot sauce. It’s a game changer for weekend brunch.
Serving & Storage Suggestions
This skillet is best served hot, straight from the oven. Here’s how to make the most of it.
Serving Temperature: Serve immediately while the cheese is bubbly and the fries are still holding their shape. Let it sit for 2-3 minutes after broiling so the cheese sets slightly, but don’t wait too long—the fries will start to soften.
Presentation: Place the cast iron skillet right on the table with a trivet underneath. It’s rustic and inviting, and everyone can dig in family-style. Set out small bowls of sour cream, salsa, hot sauce, and extra jalapeños so people can customize their portions.
Complementary Dishes: This skillet pairs perfectly with a simple side salad dressed with lime vinaigrette to cut through the richness. If you’re serving a crowd, add a bowl of loaded nachos or creamy chorizo queso for variety. For drinks, cold beer or a tangy margarita balances the savory flavors beautifully.
Storage: Leftovers (if you have any) should be stored in an airtight container in the refrigerator for up to 3 days. The fries will soften significantly, but the flavor is still great. Reheat in a 350°F oven or in a skillet on the stovetop to restore some crispiness. Avoid the microwave—it turns everything into mush.
Freezing: I don’t recommend freezing the assembled skillet because the fries get weird. However, you can freeze the chili separately for up to 3 months. Thaw overnight in the fridge, reheat, and assemble with fresh fries when you’re ready to serve.
Flavor Development: The chili actually tastes better the next day after the flavors have had time to meld. If you’re planning ahead, make the chili a day in advance and store it in the fridge. Reheat it gently while the fries bake, then assemble and broil. Your future self will thank you.
Nutritional Information & Benefits
Let’s be real—this is indulgent food, and that’s okay. Game day is about enjoying yourself. But here’s the breakdown so you know what you’re working with.
Estimated Nutrition (per serving, based on 6 servings):
| Nutrient | Amount |
|---|---|
| Calories | 485 |
| Total Fat | 28g |
| Saturated Fat | 14g |
| Cholesterol | 85mg |
| Sodium | 890mg |
| Total Carbohydrates | 36g |
| Dietary Fiber | 6g |
| Sugars | 5g |
| Protein | 26g |
Health Benefits: The beans in the chili are packed with fiber and plant-based protein, which help keep you full and support digestive health. The tomatoes provide lycopene, an antioxidant linked to heart health. And the cheese? Well, it’s a good source of calcium for strong bones. Everything in moderation, right?
Dietary Considerations: This recipe contains dairy and gluten (from the fries). For a gluten-free version, use certified gluten-free fries and check your canned ingredients. For a lower-carb option, swap the fries for roasted cauliflower florets—it’s not the same, but it’s surprisingly good. The chili itself is naturally low-carb if you skip the beans.
Potential Allergens: Dairy (cheese, sour cream), gluten (fries), and possible traces of soy or other allergens in processed ingredients. Always check labels if you’re cooking for someone with allergies.
I believe in balance. You can enjoy a meal like this on game day and still eat well the rest of the week. Food is about joy, connection, and celebration—and this skillet delivers all three.
Conclusion
This chili cheese fries skillet is the kind of recipe that earns a permanent spot in your game day rotation. It’s fast, it’s forgiving, and it delivers exactly what you want—crispy fries, hearty chili, and melty cheese in every single bite. No complicated techniques, no obscure ingredients, just honest food that makes people happy.
What I love most about this recipe is how customizable it is. You can make it as simple or as loaded as you want. Add bacon, swap the protein, change up the cheese—it all works. The base is solid, and the possibilities are endless. I’ve made this for Super Bowl parties, casual dinners, and even a cozy movie night, and it never disappoints.
I’d love to hear how yours turns out. Did you add your own twist? Did you try the spicy version? Drop a comment below and let me know. And if you’re looking for more game day inspiration, check out these bacon-wrapped smokies or this buffalo chicken dip bread bowl for your next party. Happy cooking, and may your team win—or at least have great snacks.
Frequently Asked Questions
Can I make this chili cheese fries skillet ahead of time?
You can prepare the chili up to 3 days in advance and store it in the fridge. When you’re ready to serve, bake the fries fresh, reheat the chili, assemble, and broil. The fries are best when they’re freshly baked, so I don’t recommend assembling the whole dish ahead of time.
What’s the best type of fries to use?
Thicker cuts like steak fries, crinkle cuts, or waffle fries hold up best under the chili and cheese. Shoestring fries get too soft too quickly. If you’re feeling ambitious, homemade baked fries work great too—just make sure they’re crispy before adding the toppings.
Can I use canned chili instead of making it from scratch?
You can, but I don’t recommend it. Canned chili is usually thinner and less flavorful than homemade. The quick chili in this recipe takes less than 15 minutes to make and tastes significantly better. If you’re in a real pinch, look for a thick, high-quality canned chili and drain off some of the liquid before using it.
How do I prevent the cheese from burning under the broiler?
Watch it like a hawk. Cheese can go from perfectly melted to burnt in under 30 seconds under a high broiler. Position the skillet on the middle rack rather than directly under the heating element. If you see it browning too quickly, pull it out—even if it’s not fully melted. The residual heat will continue to melt the cheese.
Is this recipe freezer-friendly?
The chili freezes beautifully for up to 3 months. But the assembled dish with fries does not freeze well—the fries turn mushy and the texture is off. My advice: freeze the chili in portions, then assemble with fresh fries when you’re ready to eat. It’s almost as fast as reheating leftovers.
Pin This Recipe!
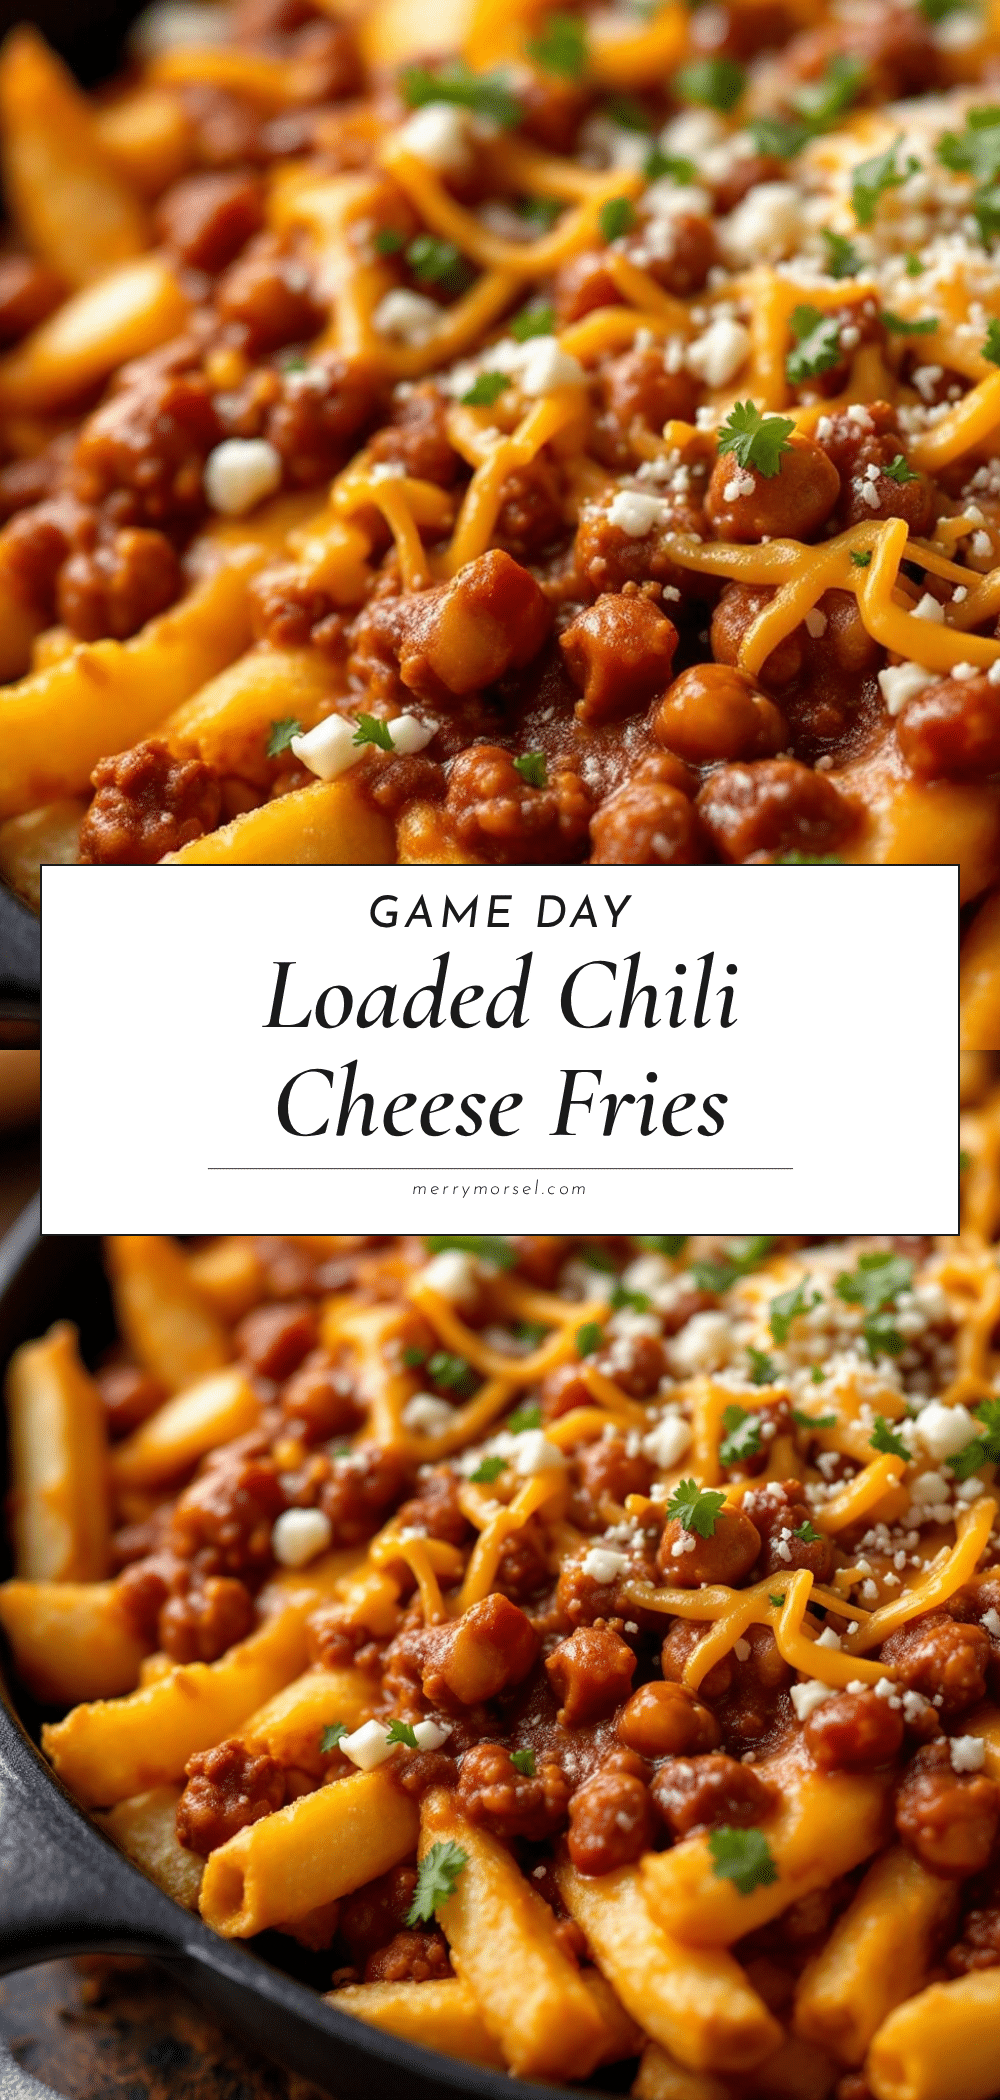
Best Game Day Chili Cheese Fries Skillet – Easy 30-Min Recipe

This chili cheese fries skillet is the ultimate game day comfort food—crispy fries topped with hearty chili and melted cheese, ready in just 30 minutes. Perfect for sharing and guaranteed to be a crowd-pleaser.
- Prep Time: 10 minutes
- Cook Time: 20 minutes
- Total Time: 30 minutes
- Yield: 6 servings 1x
- Category: Appetizer
- Cuisine: American
Ingredients
- 1 bag frozen French fries (24–28 oz), thick cut like steak or crinkle
- 1 lb ground beef (85/15 lean)
- 1 medium yellow onion, diced
- 3 cloves garlic, minced
- 1 can (14.5 oz) diced tomatoes, undrained (fire-roasted preferred)
- 1 can (15 oz) chili beans, undrained
- 2 tablespoons chili powder
- 1 teaspoon ground cumin
- 1 teaspoon smoked paprika
- Salt and black pepper to taste
- 2 cups shredded sharp cheddar cheese
- 1 cup shredded Monterey Jack cheese
- 3–4 green onions, sliced (for garnish)
- 1 jalapeño, sliced (optional, for garnish)
- Sour cream (for serving)
Instructions
- Preheat oven to 425°F (220°C). Spread frozen fries in a single layer on a baking sheet and bake according to package directions until golden and crispy, about 20-25 minutes.
- While fries bake, heat a large skillet or Dutch oven over medium-high heat. Add ground beef and cook, breaking it apart, until browned, about 5-7 minutes. Leave about 1 tablespoon of fat in the pan.
- Add diced onion to the beef and cook 3-4 minutes until softened. Add minced garlic and cook 30 seconds until fragrant.
- Sprinkle chili powder, cumin, smoked paprika, salt, and pepper over the beef mixture. Stir and cook 1 minute to toast spices.
- Pour in undrained diced tomatoes and undrained chili beans. Stir, scraping up browned bits. Bring to a simmer, then reduce heat to low and let bubble gently while fries finish.
- When fries are done, remove from oven and switch oven to broil (high). Carefully transfer hot fries to a 12-inch cast iron skillet (or oven-safe dish) and spread into an even layer.
- Ladle chili evenly over the fries.
- Sprinkle shredded cheddar and Monterey Jack cheese over the top, covering completely.
- Place skillet under broiler for 2-3 minutes, watching closely, until cheese is bubbly and golden.
- Remove skillet carefully and let rest 2 minutes. Garnish with green onions and jalapeño slices (if using). Add dollops of sour cream. Serve immediately.
Notes
For extra crunch, reserve a handful of fries and scatter on top after broiling. Let chili simmer while fries bake for deeper flavor. Use room temperature cheese for faster melting. Watch cheese closely under broiler to prevent burning.
Nutrition
- Serving Size: 1 serving (based on
- Calories: 485
- Sugar: 5
- Sodium: 890
- Fat: 28
- Saturated Fat: 14
- Carbohydrates: 36
- Fiber: 6
- Protein: 26
Keywords: chili cheese fries, game day recipe, easy appetizer, 30-minute meal, comfort food, skillet recipe


