Love this? Save it for later!
Share the inspiration with your friends
The first time I truly needed a perfect game day slider, it was the third quarter of a playoff game that had already gone sideways. I was standing in a friend’s kitchen, staring at a tray of sad, soggy mini sandwiches that had been sitting under a heat lamp for an hour. The buns were limp. The cheese was a congealed, rubbery mess. The patties were dry. Everyone was eating them out of obligation, not excitement. I remember thinking, there has to be a better way to make a mini cheeseburger that actually tastes like a real burger. Not a compromise. Not a sad, scaled-down version. A real, juicy, satisfying cheeseburger in a bite-sized form.
For a while, I just accepted that sliders at parties were going to be a little disappointing. You know how it goes — they sound great in theory, but the execution usually falls flat. The bun-to-meat ratio is off, or they fall apart the second you pick them up. Honestly, I stopped ordering them at bars altogether. But then I started tinkering in my own kitchen, trying to solve the problem. I wanted a slider that held together, had that perfect crispy-edged, juicy patty, and could be made in bulk without turning into a greasy mess. These Easy Mini Football Cheeseburger Sliders are the result of that quiet, stubborn mission. They are the ones I bring to every tailgate now, and they disappear before the kickoff. It’s a simple thing, but getting it right just makes the whole day feel better.
Why You’ll Love This Recipe
These aren’t just mini burgers. They are engineered for game day success. I’ve tested this method through countless parties, from small family gatherings to massive Super Bowl bashes, and it delivers every single time. Here is why this recipe works and why you will keep coming back to it.
- Quick & Easy: From start to finish, these sliders are on the table in about 30 minutes. No grilling required. They bake together on one sheet pan, which makes cleanup a breeze and keeps you in the game.
- Simple Ingredients: You probably have most of these in your kitchen right now. Ground beef, slider buns, cheese, butter, and a few pantry staples. No fancy grocery trips or obscure ingredients needed.
- Perfect for Game Day: These are the ultimate crowd-pleaser. They’re portable, easy to eat standing up, and they hold up well on a buffet table. Plus, they look exactly like little footballs, which just makes them more fun.
- Crowd-Pleaser: Kids devour them. Adults go back for thirds. I have seen people who claim they “don’t like sliders” eat four of these in one sitting. The flavor is just that good.
- Unbelievably Delicious: The secret is in the butter sauce that gets brushed over the tops of the buns before baking. It soaks into the bread, toasts it to golden perfection, and adds a savory richness that takes these sliders to another level.
What makes this recipe different from every other slider recipe out there is the technique. Instead of forming individual tiny patties, you bake the ground beef as one large, thin sheet. This ensures even cooking, perfect browning, and zero dry edges. Then you cut it to fit your buns. It’s a small shift in method, but it makes a massive difference in texture and consistency. This isn’t just another version of a slider. This is the best version.
These sliders are the kind of food that makes you close your eyes after the first bite. It’s comfort food, pure and simple, but executed with a little extra care. Perfect for feeding a hungry crowd without any stress.
What Ingredients You Will Need
This recipe uses simple, straightforward ingredients to deliver big, bold flavor. Each component plays a specific role, and none of them are complicated. Here is what you will need to grab at the store.
- For the Meat Layer:
- 2 pounds ground beef (80/20): The 80/20 ratio is important here. It has enough fat to keep the meat juicy and flavorful without making the sliders greasy. If you use leaner beef, like 93/7, the patty will be drier. I have made that mistake, and it is not worth it.
- 1 teaspoon garlic powder: Adds a subtle savory depth.
- 1 teaspoon onion powder: Rounds out the flavor profile.
- 1 teaspoon salt: Essential for seasoning the meat properly.
- 1/2 teaspoon black pepper: For a little kick.
- 1 tablespoon Worcestershire sauce: This is my secret weapon. It adds umami and a touch of tang that makes the beef taste like it has been grilled for hours.
- For the Sliders:
- 12-count package of slider buns: Look for square, pull-apart slider buns. They fit perfectly on a sheet pan and make assembly a breeze. I prefer the ones from [Baker’s Brand] for their soft texture, but any brand works.
- 12 slices of American cheese: American cheese melts beautifully and has that classic cheeseburger flavor. You can use cheddar, provolone, or pepper jack for a different twist, but American is the gold standard for a reason.
- For the Butter Topping:
- 1/2 cup unsalted butter, melted: This is the magic ingredient. It toasts the buns and adds incredible flavor.
- 1 tablespoon sesame seeds: For that classic burger bun look and a little nutty crunch.
- 1 teaspoon dried minced onion: Adds a pop of texture and savory flavor on top.
- 1/2 teaspoon garlic salt: Enhances the savory notes.
- For Serving (Optional but Recommended):
- Pickle slices: For that essential tangy crunch.
- Ketchup and mustard: The classic condiments.
- Shredded lettuce: Adds a fresh element.
I always recommend using a good quality ground beef. It makes a difference in the final taste. And don’t skip the Worcestershire sauce – it really does elevate the meat.
Equipment Needed
You do not need any fancy gadgets for this recipe. It is designed to be as simple as possible. Here is what you will need.
- Sheet pan (13×18 inch or similar): This is the most important piece of equipment. It needs to be large enough to hold the slider buns in a single layer. A half-sheet pan works perfectly.
- Parchment paper or aluminum foil: For easy cleanup and to prevent sticking.
- Large skillet: For browning the ground beef.
- Sharp knife: For cutting the meat layer and the buns.
- Pastry brush: For brushing the butter mixture onto the buns. A silicone brush is my favorite because it doesn’t shed bristles.
- Mixing bowls: One for the meat mixture and one for the butter topping.
If you don’t have a pastry brush, you can use a spoon to drizzle the butter over the buns. It works just fine, but a brush gives you a more even coating. Also, a good, sharp knife makes cutting the meat layer much cleaner. A dull knife will just tear it up.
Preparation Method
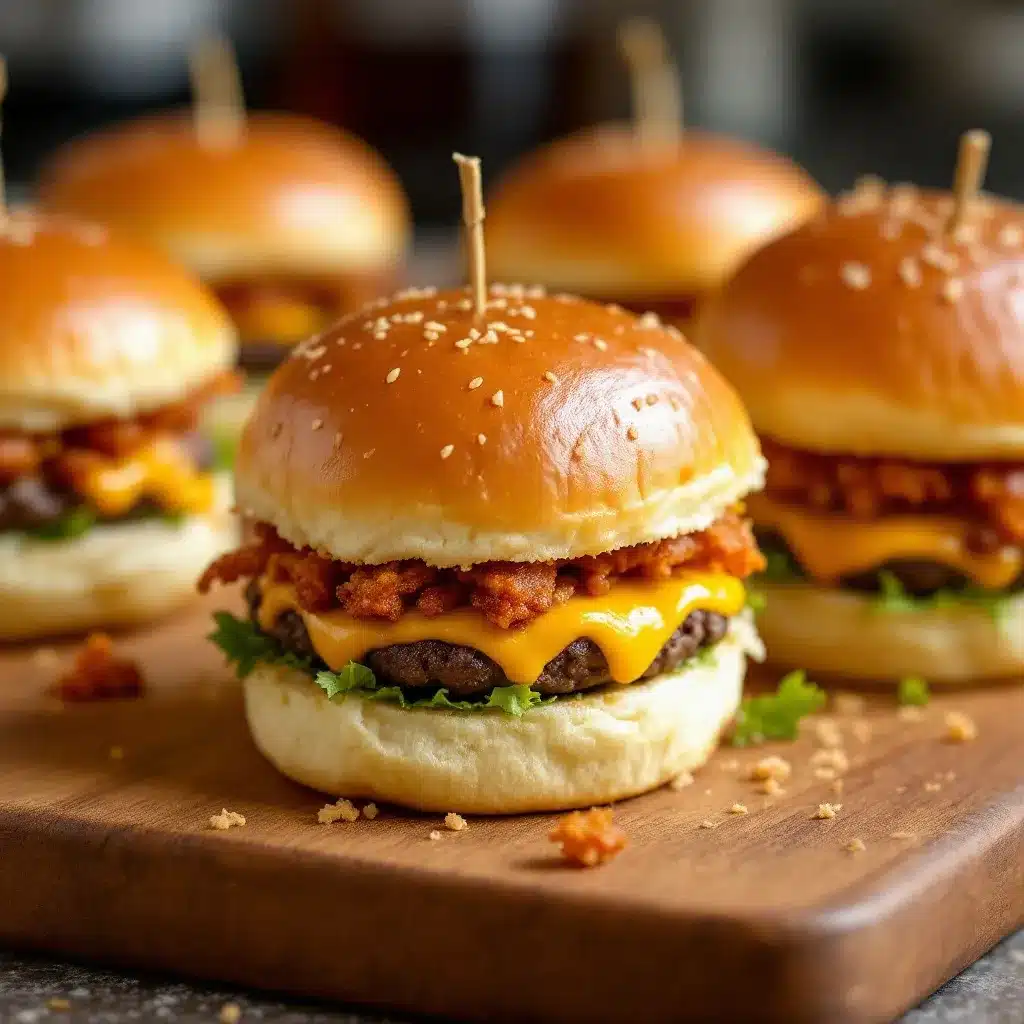
Follow these steps carefully, and you will have perfect sliders every single time. The key is to work efficiently and not overcomplicate things.
- Preheat your oven to 350°F (175°C). While the oven is heating, line your sheet pan with parchment paper or aluminum foil. This step is non-negotiable for easy cleanup.
- Cook the ground beef. In a large skillet over medium-high heat, add the 2 pounds of ground beef. Break it up with a wooden spoon as it cooks. Cook until it is fully browned and no longer pink, about 8-10 minutes. Do not drain all the fat. Leave a little bit in the pan for flavor. Drain off the excess, but leave about a tablespoon.
- Season the meat. Add the garlic powder, onion powder, salt, pepper, and Worcestershire sauce to the cooked beef. Stir everything together and let it cook for another minute so the flavors meld. Taste it and adjust the seasoning if needed. This is your chance to get it right.
- Prepare the buns. Without separating them, carefully slice the entire pack of 12 slider buns in half horizontally. You want to keep them connected as a single slab. Place the bottom half of the buns (the connected slab) on your prepared sheet pan.
- Assemble the sliders. Spread the cooked, seasoned ground beef evenly over the bottom half of the buns. Make sure it covers every corner. Then, lay the 12 slices of American cheese over the meat. It’s okay if they overlap slightly. Place the top half of the buns (the connected slab) over the cheese.
- Make the butter topping. In a small bowl, combine the 1/2 cup of melted unsalted butter, 1 tablespoon of sesame seeds, 1 teaspoon of dried minced onion, and 1/2 teaspoon of garlic salt. Whisk it together until well combined.
- Brush the buns. Using your pastry brush, generously brush the entire top of the slider buns with the butter mixture. Make sure you get the edges. Don’t be shy with it. This is what creates that beautiful golden, crispy top.
- Bake. Place the sheet pan in the preheated oven and bake for 12-15 minutes. You want the cheese to be fully melted and the tops of the buns to be golden brown and slightly crispy. Keep an eye on them after 12 minutes so they don’t burn.
- Rest and slice. Remove the pan from the oven and let the sliders rest for 2-3 minutes. This is important because it allows the cheese to set slightly, making them easier to cut. Using a sharp knife, cut along the seams of the buns to separate the individual sliders.
- Serve immediately. Serve them hot with your favorite toppings like pickles, ketchup, and mustard. They are best enjoyed fresh out of the oven.
A quick note on the resting time: I know it’s tempting to dig in right away, but those two minutes make a real difference in structure. The sliders will hold together much better if you let them rest.
Cooking Tips & Techniques
I have made these sliders more times than I can count, and I have learned a few things along the way. Here are my best tips to ensure your sliders turn out perfect every time.
- Don’t overcook the beef. Since the sliders will bake in the oven, you only need to cook the ground beef until it is just browned. Overcooking it on the stovetop will result in dry meat. Aim for a moist, slightly tender crumb.
- Use a meat chopper. A flat-edged meat chopper is a game-changer for breaking up ground beef. It creates a much more uniform crumb than a wooden spoon. It’s a small tool, but it makes a big difference.
- Toast the buns (optional but amazing). For an extra layer of texture, you can place the bottom buns under the broiler for 1-2 minutes before adding the meat. This prevents them from getting soggy. I do this when I am making a smaller batch.
- Make your own seasoning blend. I have a jar of my own burger seasoning that I use for everything. It’s just salt, pepper, garlic powder, onion powder, and a pinch of smoked paprika. You can use that instead of the individual spices.
- Line the pan with foil. I cannot stress this enough. The butter sauce will drip and caramelize on the pan. If you don’t line it, you will be scrubbing for 20 minutes. Parchment paper also works, but foil is more durable.
I once forgot to line the pan. It was a huge mistake. The butter burned onto the sheet pan, and I spent way too long trying to scrape it off. Learn from my failure and always line your pan.
Variations & Adaptations
This recipe is a fantastic base that you can easily adapt to suit your tastes or what you have on hand. Here are a few of my favorite variations.
- Spicy Buffalo Sliders: Mix 1/4 cup of buffalo sauce into the cooked ground beef before assembling. Use pepper jack cheese instead of American. The heat from the buffalo sauce pairs perfectly with the cool, creamy cheese.
- BBQ Bacon Sliders: Add 1/2 cup of your favorite barbecue sauce to the cooked beef. Top the cheese with 6 slices of cooked, crumbled bacon before adding the top buns. This is a crowd-favorite variation.
- Mushroom & Swiss Sliders: Sauté 8 ounces of sliced mushrooms with a little butter and garlic until they are golden brown. Layer them over the cheese before adding the top buns. Use Swiss cheese instead of American for a more sophisticated flavor.
- Turkey Sliders (Lighter Option): Substitute ground turkey for the ground beef. Be sure to add a little olive oil to the pan when cooking, as turkey is much leaner and can dry out. Season it well with the same spices.
- Veggie-Packed Sliders: Finely dice 1/2 cup of mushrooms, 1/4 cup of onions, and 1/4 cup of bell peppers. Sauté them with the ground beef. This adds moisture, flavor, and a hidden serving of vegetables. My kids don’t even notice.
I personally love the Buffalo variation. It adds such a nice kick and feels perfect for a big game. If you are looking for another easy game day snack that disappears fast, I highly recommend these easy bacon wrapped smokies with brown sugar glaze. They are sweet, savory, and just as simple to make.
Serving & Storage Suggestions
These sliders are best served hot, right out of the oven. The cheese is gooey, the buns are toasty, and the meat is juicy. Here is how to serve and store them.
- Serving Temperature: Serve them immediately after baking. They are at their peak when the cheese is melted and the buns are still warm.
- Presentation: Arrange them on a large platter. I like to put a small bowl of ketchup and a small bowl of mustard in the center for dipping. You can also add a pile of pickle slices on the side.
- Complementary Dishes: These sliders pair perfectly with classic game day sides. A big bowl of loaded nachos is always a hit. You could also serve them with a simple coleslaw, potato chips, or a fresh veggie platter.
- Storage: Store any leftover sliders in an airtight container in the refrigerator for up to 3 days. The buns will soften slightly, but the flavor will still be great.
- Reheating: To reheat, place the sliders on a baking sheet and warm them in a 350°F oven for 5-7 minutes. This will help crisp the buns back up. You can also microwave them, but the buns will be softer.
- Flavor Development: Interestingly, the flavors actually meld together overnight. Leftover sliders, when reheated in the oven, taste just as good, if not better, than fresh ones. The Worcestershire sauce and seasonings have more time to work their magic.
If you are planning a big game day spread, you might also want to check out this ultimate buffalo chicken dip stuffed bread bowl. It is another easy, shareable appetizer that always gets rave reviews.
Nutritional Information & Benefits
While these sliders are definitely a treat, they do offer some nutritional benefits. Here is a quick breakdown for one slider (without additional toppings).
- Estimated Nutritional Values (per slider):
- Calories: 320
- Fat: 18g
- Protein: 22g
- Carbohydrates: 18g
- Fiber: 1g
- Sugar: 3g
- Health Benefits: The ground beef provides a good source of high-quality protein, iron, and B vitamins. Protein is essential for muscle repair and keeping you full and satisfied. The cheese adds calcium for strong bones.
- Dietary Considerations: This recipe is naturally gluten-free if you use gluten-free slider buns. It is also nut-free and egg-free. For a lower-carb option, you can serve the meat and cheese mixture over a lettuce wrap.
- Potential Allergens: This recipe contains dairy (cheese and butter) and gluten (buns). Be sure to check your specific ingredient labels if you have allergies.
- Personal Wellness Perspective: I believe in balance. These sliders are a fun, indulgent food that is perfect for special occasions. Pairing them with a fresh salad or veggie sticks is a great way to round out the meal. They are not an everyday food, but they are absolutely worth every bite on game day.
Conclusion
These Easy Mini Football Cheeseburger Sliders are more than just a recipe. They are a solution to a common party problem. They are reliable, forgiving, and absolutely delicious. The combination of juicy, seasoned beef, melted cheese, and buttery, toasted buns is a classic for a reason. They are the kind of food that brings people together, whether you are watching the big game or just having a casual get-together.
I encourage you to make this recipe your own. Play with the variations. Add your favorite toppings. Serve them with a side of creamy slow cooker chorizo queso for the ultimate game day feast. The beauty of this recipe is its simplicity and adaptability. It is a blank canvas for your own creativity.
I love these sliders because they are the first thing to disappear at any party I bring them to. They are a little piece of comfort that everyone can enjoy. If you make them, I would love to hear about it. Leave a comment below and let me know how they turned out. Share your own variations and tag me in your photos. Happy game day, and happy cooking!
FAQs
Can I make these sliders ahead of time?
Yes, you can assemble the sliders completely up to 24 hours in advance. Cover the sheet pan tightly with plastic wrap and store it in the refrigerator. When you are ready to bake, remove the plastic wrap and let the sliders sit at room temperature for 15 minutes while the oven preheats. Then bake as directed. You may need to add 2-3 minutes to the baking time since they are starting from cold.
Can I use ground chicken or turkey instead of beef?
Absolutely. Ground chicken or turkey works well, but you need to add a little moisture since they are leaner than beef. I recommend adding 2 tablespoons of olive oil or a splash of chicken broth to the pan when cooking. Also, season them generously, as poultry is milder in flavor.
What if I don’t have slider buns?
You can use regular hamburger buns or even dinner rolls. If using regular buns, you will need to cut them in half and arrange them on the sheet pan as close together as possible. The baking time may be slightly shorter, so keep an eye on them. Hawaiian sweet rolls are also an excellent substitute and add a touch of sweetness.
How do I keep the sliders from getting soggy?
The best way to prevent soggy sliders is to not over-saturate the buns with the butter mixture. Brush it on evenly, but don’t let it pool. Also, letting the sliders rest for a few minutes after baking allows the steam to escape, which helps keep the buns crisp. If you are making them ahead, store them uncovered in the fridge to prevent condensation.
Can I add vegetables like onions or peppers to the meat?
Yes, finely diced onions, bell peppers, or even jalapeños are a great addition. Sauté them with the ground beef until they are soft before adding the seasonings. Just make sure they are chopped very small so they distribute evenly. This is a fantastic way to add extra flavor and texture to the sliders.
Pin This Recipe!
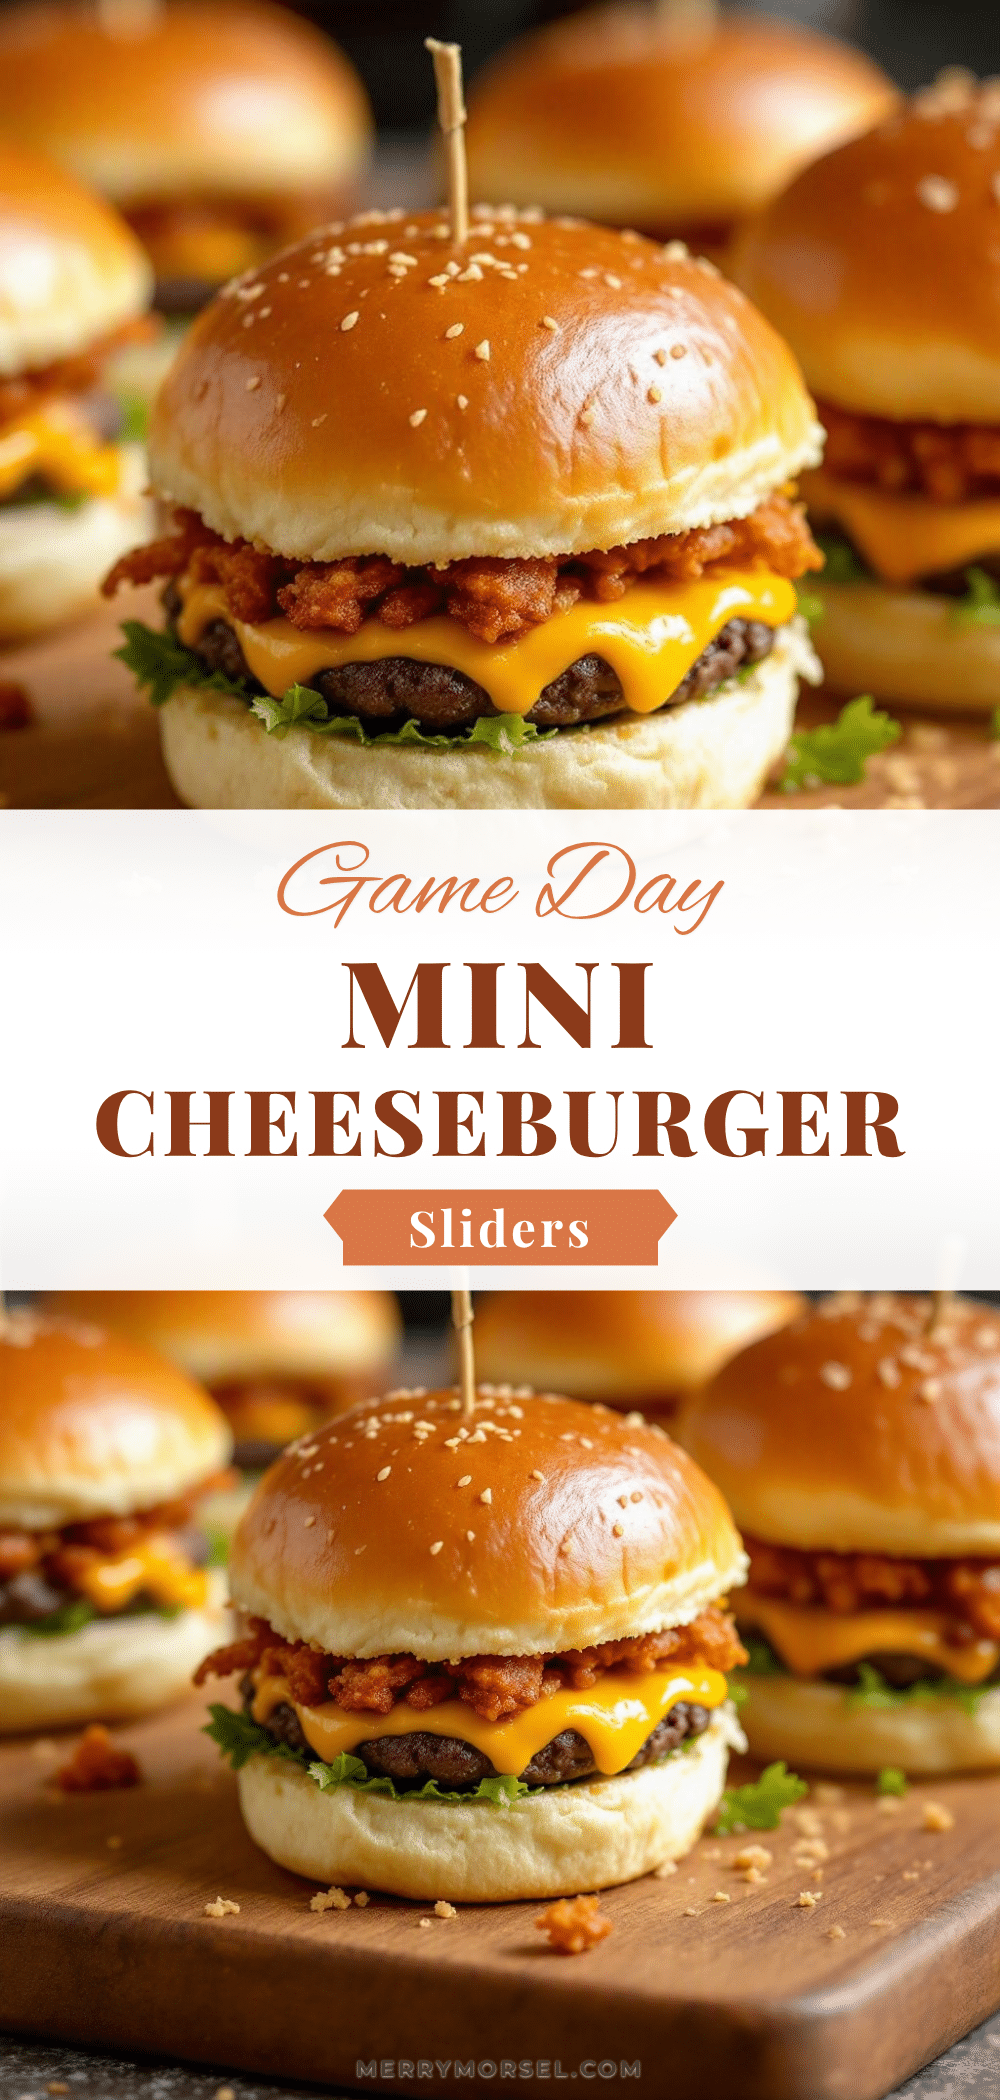
Easy Mini Football Cheeseburger Sliders: Best Game Day Bites

These Easy Mini Football Cheeseburger Sliders are the ultimate game day snack. Juicy seasoned beef, melted cheese, and buttery toasted buns come together on one sheet pan for a crowd-pleasing bite that disappears before kickoff.
- Prep Time: 10 minutes
- Cook Time: 20 minutes
- Total Time: 30 minutes
- Yield: 12 servings 1x
- Category: Main Course
- Cuisine: American
Ingredients
- 2 pounds ground beef (80/20)
- 1 teaspoon garlic powder
- 1 teaspoon onion powder
- 1 teaspoon salt
- 1/2 teaspoon black pepper
- 1 tablespoon Worcestershire sauce
- 12-count package of slider buns
- 12 slices American cheese
- 1/2 cup unsalted butter, melted
- 1 tablespoon sesame seeds
- 1 teaspoon dried minced onion
- 1/2 teaspoon garlic salt
- Pickle slices (optional, for serving)
- Ketchup (optional, for serving)
- Mustard (optional, for serving)
- Shredded lettuce (optional, for serving)
Instructions
- Preheat your oven to 350°F (175°C). Line a sheet pan with parchment paper or aluminum foil.
- In a large skillet over medium-high heat, cook the ground beef until fully browned, about 8-10 minutes. Drain excess fat, leaving about 1 tablespoon in the pan.
- Add garlic powder, onion powder, salt, pepper, and Worcestershire sauce to the cooked beef. Stir and cook for another minute. Adjust seasoning to taste.
- Without separating them, carefully slice the entire pack of 12 slider buns in half horizontally, keeping them connected as a single slab. Place the bottom half on the prepared sheet pan.
- Spread the cooked, seasoned ground beef evenly over the bottom half of the buns. Lay the 12 slices of American cheese over the meat. Place the top half of the buns over the cheese.
- In a small bowl, combine melted butter, sesame seeds, dried minced onion, and garlic salt. Whisk until well combined.
- Generously brush the entire top of the slider buns with the butter mixture, including the edges.
- Bake for 12-15 minutes, until the cheese is fully melted and the tops are golden brown and slightly crispy.
- Remove from the oven and let the sliders rest for 2-3 minutes. Using a sharp knife, cut along the seams of the buns to separate the individual sliders.
- Serve immediately with optional toppings like pickles, ketchup, and mustard.
Notes
For best results, use 80/20 ground beef to keep the sliders juicy. Let the sliders rest for 2-3 minutes after baking to help them hold together when cutting. Line the pan with foil or parchment for easy cleanup. To prevent soggy buns, brush the butter mixture evenly and avoid pooling. For a gluten-free version, use gluten-free slider buns.
Nutrition
- Serving Size: 1 slider
- Calories: 320
- Sugar: 3
- Sodium: 620
- Fat: 18
- Saturated Fat: 9
- Carbohydrates: 18
- Fiber: 1
- Protein: 22
Keywords: sliders, cheeseburger sliders, mini cheeseburgers, game day food, party appetizer, football food, easy slider recipe