Love this? Save it for later!
Share the inspiration with your friends
The way the sauce clings to the skin—like it knows something—is honestly what I made these for. Everything else is secondary. I mean, the garlic hits you the second you walk in the door, and the honey brings this deep, almost caramelized sweetness that makes you slow down and actually taste. But that gloss. That sticky, burnished, lacquered finish on a pan of golden-brown chicken thighs? That’s the whole point of an Easy One-Pan Honey Garlic Chicken Thighs kind of night.
I remember the first time I made this, it was a Tuesday. A completely unremarkable Tuesday where I had zero energy to stand over a stove and even less patience for a sink full of pans. I pulled out my biggest skillet, threw in some thighs (skin-on, because we’re not animals), and just… winged it. I drizzled honey straight from the bottle, smashed a few cloves of garlic, and let the oven do the rest. When I pulled that pan out, the chicken was so glossy it looked like it had been professionally glazed. My husband walked in, took one look, and said, “What restaurant did you order from?” That’s the thing about this recipe—it looks like you fussed, but you really didn’t.
You don’t need a lot of ingredients to make something unforgettable. You just need a hot pan, a good sauce, and the patience to let the chicken get properly sticky. This is the kind of dinner that makes you feel like you’ve got it all together, even when you’re barely holding on. And honestly? That’s my favorite kind of meal.
Why You’ll Love This Recipe
Let me tell you why this one-pan wonder has become my go-to for busy weeknights, last-minute dinner guests, and those days when you just need a win in the kitchen.
- Quick & Easy : Comes together in under 40 minutes with just 10 minutes of hands-on prep. Perfect for those evenings when you’re racing against the clock or just want to sit down sooner.
- Simple Ingredients : You probably have honey, garlic, soy sauce, and chicken thighs in your kitchen right now. No fancy grocery store runs needed—I promise.
- Perfect for Busy Weeknights : This is the kind of dinner that works for a Tuesday family meal, a quick meal prep session, or even a casual dinner party where you want to look impressive without the stress.
- Crowd-Pleaser : The sweet-savory combo gets everyone—kids, picky eaters, even the in-laws. I’ve served this to my friend’s toddler and my grandfather, and both went back for seconds.
- Unbelievably Delicious : The texture is where this recipe shines. That sticky, caramelized exterior gives way to impossibly tender, juicy meat. It’s next-level comfort food that hits every single time.
What makes this different from every other honey garlic chicken recipe out there? It’s the one-pan method. By searing the chicken first and then finishing it in the oven, you get that deep, golden crust without drying out the meat. The sauce reduces right in the same pan, soaking into every nook and cranny. Plus, I’ve tested the honey-to-garlic ratio about a dozen times to get that perfect balance—sweet enough to feel indulgent, savory enough to keep you coming back for another bite. This isn’t just another version of honey garlic chicken. It’s the version you’ll make on repeat.
This recipe is the kind that makes you close your eyes after the first bite. It’s comfort food reimagined—faster, easier, but with the same soul-soothing satisfaction. Perfect for impressing guests without stress, or turning a simple Tuesday into something memorable.
What Ingredients You Will Need
This recipe uses simple, wholesome ingredients to deliver bold flavor and satisfying texture without the fuss. Most of these are pantry staples, which is exactly why I love this dish for busy nights.
- Chicken Thighs (6 bone-in, skin-on thighs, about 2 lbs total): The star of the show. Bone-in, skin-on thighs stay juicy during roasting and develop that irresistible crispy skin. If you only have boneless, skinless thighs, reduce the cooking time by about 10 minutes. I prefer organic, pasture-raised chicken when I can find it—the flavor difference is subtle but real.
- Honey (⅓ cup): The backbone of the glaze. Use a good-quality, runny honey for the best consistency. Local honey adds a lovely floral note, but any honey works. If your honey has crystallized, warm it gently before using.
- Soy Sauce (¼ cup, low-sodium preferred): This brings that essential savory umami to balance the sweetness. Low-sodium gives you more control over the salt level. Tamari or coconut aminos work perfectly as a gluten-free swap.
- Garlic (6 cloves, minced): Fresh garlic is non-negotiable here. Pre-minced stuff from a jar just doesn’t have the same punch. I recommend smashing each clove with the flat side of your knife before mincing—it releases more of the oils.
- Butter (2 tablespoons, unsalted): Adds richness and helps the sauce get that glossy, velvety texture. If you use salted butter, reduce or skip the added salt later.
- Olive Oil (2 tablespoons): For searing the chicken. Avocado oil works great too, especially if you want a higher smoke point.
- Rice Vinegar (1 tablespoon): A splash of acid brightens everything up. Apple cider vinegar or even fresh lemon juice can step in if needed.
- Red Pepper Flakes (½ teaspoon, optional): For a tiny kick of heat that cuts through the sweetness. Leave it out if you’re serving kids or spice-averse folks.
- Salt and Black Pepper (to taste): Simple seasoning to bring out the natural flavor of the chicken.
- Fresh Parsley or Green Onions (for garnish, optional): Adds a pop of color and freshness at the end. Totally optional, but highly recommended for that restaurant-style finish.
One ingredient tip I’ve learned the hard way: don’t skip patting the chicken dry with paper towels before seasoning. It’s the single most important step for getting that golden, crispy skin. Wet skin steams instead of sears, and nobody wants soggy chicken skin.
Equipment Needed
You don’t need a professional kitchen to make this recipe shine. Here’s what you’ll need:
- Large Oven-Safe Skillet (12-inch cast iron or stainless steel): This is your workhorse. The heavy bottom ensures even heat distribution for a perfect sear. If you don’t have cast iron, any oven-safe skillet works—just make sure the handle is metal, not plastic.
- Tongs: For flipping the chicken without piercing the skin. A good pair of tongs is worth their weight in gold.
- Cutting Board and Chef’s Knife: For mincing garlic and prepping any garnishes.
- Small Bowl: To whisk together the honey garlic sauce before pouring it over the chicken.
- Meat Thermometer: Not strictly necessary, but it takes the guesswork out of doneness. Chicken thighs are done at 165°F, but I pull them at 170°F for the juiciest results.
- Paper Towels: For patting the chicken dry. This step matters more than you think.
If you don’t have an oven-safe skillet, you can sear the chicken in a regular pan and transfer everything to a baking dish before adding the sauce and roasting. It adds one extra dish, but the results are still fantastic.
Preparation Method
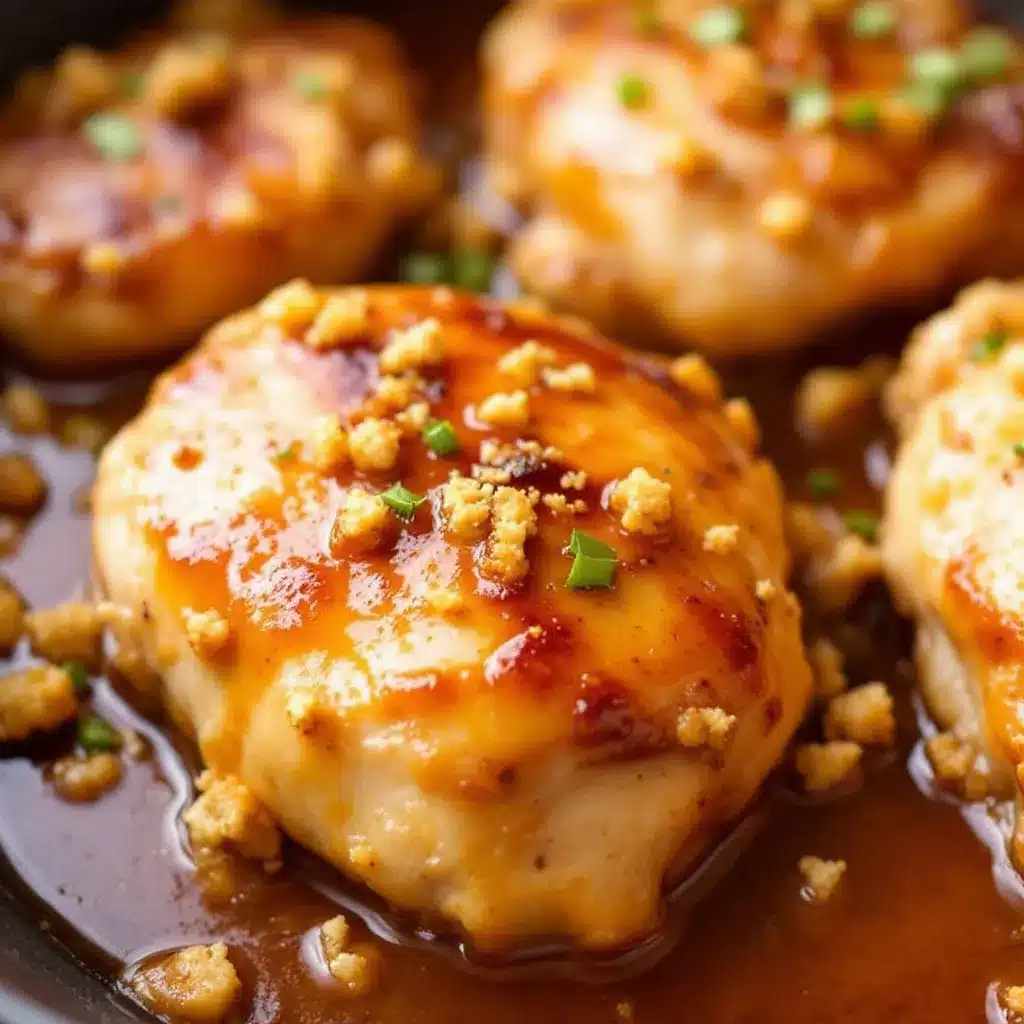
Alright, let’s get cooking. This Easy One-Pan Honey Garlic Chicken Thighs recipe comes together in about 40 minutes, and most of that is hands-off oven time. Here’s how we do it.
- Preheat your oven to 400°F (200°C). Position the rack in the middle of the oven so the chicken cooks evenly.
- Pat the chicken thighs dry with paper towels. This is the most important step for crispy skin. Don’t skip it—I’ve made this mistake before, and the skin ends up rubbery instead of crackly. Season both sides generously with salt and black pepper.
- Heat your large oven-safe skillet over medium-high heat. Add the olive oil and let it get hot—you want it shimmering, almost smoking. Swirl the pan to coat the bottom evenly.
- Sear the chicken thighs, skin-side down first. Place them in the skillet in a single layer, skin-side down. Don’t crowd the pan—if your skillet is too small, work in batches. Let them cook undisturbed for 5-6 minutes. You’ll know they’re ready when the skin is deep golden brown and releases easily from the pan. If it sticks, it needs more time.
- Flip the chicken and sear the other side for 3-4 minutes. The second side won’t get as dark, and that’s okay. Transfer the chicken to a plate and set aside. Don’t wipe out the pan—those browned bits are flavor gold.
- Reduce the heat to medium and add the butter to the same skillet. Once melted, add the minced garlic and cook for about 30 seconds, stirring constantly. You want it fragrant, not browned. Burnt garlic turns bitter, so keep an eye on it.
- Pour in the honey, soy sauce, and rice vinegar. Add the red pepper flakes if using. Whisk everything together, scraping up those browned bits from the bottom of the pan. Let the sauce simmer for 1-2 minutes until it thickens slightly and becomes glossy.
- Return the chicken to the skillet, skin-side up. Spoon some of the sauce over each thigh to coat the skin. Don’t worry if it looks like there’s not enough sauce—it will reduce and concentrate as it roasts.
- Transfer the skillet to the preheated oven and roast for 20-25 minutes, or until the chicken reaches an internal temperature of 170°F (77°C) when tested with a meat thermometer. The skin should be deep golden brown and the sauce bubbly and thickened.
- Remove from the oven and let the chicken rest in the pan for 5 minutes. This allows the juices to redistribute and the sauce to set up slightly. Spoon the pan sauce over the chicken before serving.
- Garnish with fresh parsley or sliced green onions for a pop of color and freshness.
One thing I always tell people: don’t rush the sear. That first 5-6 minutes of undisturbed cooking is what builds the foundation of flavor. If you move the chicken too early, you’ll tear the skin and lose that gorgeous crust. Trust the process, and your patience will be rewarded.
Cooking Tips & Techniques
After making this recipe more times than I can count, I’ve picked up a few tricks that make a real difference. Here’s what I’ve learned.
Patience with the sear. I know I keep saying this, but it’s because I’ve ruined enough batches to know better. The skin needs that uninterrupted contact with the hot pan to render its fat and get properly crispy. If you try to flip it too soon, the skin will tear, and you’ll lose all that beautiful golden crust. Set a timer for 5 minutes and don’t touch it.
Watch the garlic. Garlic burns in seconds, especially in a hot pan with butter. Once you add it, keep it moving. The moment it turns golden, add the liquids. If you walk away for even a minute, you’ll end up with bitter, acrid garlic that ruins the whole sauce. I learned this the hard way during a particularly distracted cooking session—my kitchen smelled like regret for hours.
Don’t skip the rest. I know it’s tempting to dig in immediately, but those 5 minutes of resting time are crucial. The chicken continues to cook slightly from residual heat, and the sauce thickens as it cools. If you serve it right away, the sauce will be too thin and runny. Trust me on this one.
Double the sauce if you’re a sauce person. The recipe as written gives you just enough to coat each thigh with a thin, sticky glaze. If you want extra sauce for drizzling over rice or vegetables, make 1.5 times the sauce ingredients. Just be aware that it will take a few extra minutes to reduce in the oven.
Use a meat thermometer. Chicken thighs are forgiving—they stay juicy even if you go a few degrees over—but a thermometer takes the guesswork out. I use an instant-read digital thermometer and pull the chicken at 170°F. Anything above 175°F and the meat starts to dry out, though thighs are more forgiving than breasts.
Variations & Adaptations
One of the best things about this Easy One-Pan Honey Garlic Chicken Thighs recipe is how adaptable it is. Here are some ways to make it your own.
Spicy Honey Garlic Chicken. Double the red pepper flakes or add a teaspoon of sriracha to the sauce. The heat cuts through the sweetness beautifully and gives the dish a nice kick. I made this version for a game day gathering, and it disappeared faster than the regular batch.
Lemon Herb Twist. Add the zest of one lemon and a tablespoon of fresh thyme leaves to the sauce before roasting. The citrus brightens everything up and makes it feel lighter—perfect for spring or summer dinners.
Baked Not Seared. If you’re in a hurry or want to skip the stovetop step, you can skip the sear entirely. Simply season the chicken, place it skin-side up in the skillet, pour the sauce over it, and bake at 400°F for 35-40 minutes. The skin won’t be as crispy, but the meat will still be tender and flavorful.
Gluten-Free Adaptation. Swap the soy sauce for tamari or coconut aminos, and you’re good to go. The sauce thickens slightly differently with coconut aminos (it’s a bit thinner), so you might want to simmer it on the stovetop for an extra minute before adding the chicken back.
Bone-In vs. Boneless. If you’re using boneless, skinless thighs, reduce the oven time to 15-18 minutes. The sauce will be a bit thinner since there’s less fat rendering, so you might want to remove the chicken and simmer the sauce on the stovetop for a few minutes to thicken it up before serving.
I once tried a version with fresh ginger added to the sauce—grated about a teaspoon of it alongside the garlic—and it was incredible. The ginger adds a warm, spicy note that pairs beautifully with the honey. It’s become my go-to variation when I want something a little different.
Serving & Storage Suggestions
This chicken is incredibly versatile when it comes to serving. Here’s how to make the most of it.
Serving Temperature and Presentation. Serve the chicken hot, straight from the skillet. Spoon the pan sauce over each thigh right before serving. For a beautiful presentation, arrange the chicken on a platter with a sprinkle of fresh parsley or sliced green onions. The green against the deep amber sauce is stunning.
What to Serve With It. This chicken pairs beautifully with steamed jasmine rice or fluffy white rice to soak up all that sticky sauce. For a low-carb option, try cauliflower rice or roasted vegetables like broccoli, green beans, or asparagus. I also love serving it with a simple side salad dressed with a tangy vinaigrette to cut through the richness. If you’re in the mood for something heartier, creamy Tuscan shrimp pasta makes a fantastic side or starter for a more indulgent meal.
Storage Instructions. Store leftover chicken in an airtight container in the refrigerator for up to 4 days. The sauce will thicken as it cools, which is actually a good thing—it gets even stickier and more flavorful overnight. I often make a double batch just for leftovers.
Freezing Instructions. This recipe freezes beautifully. Place the cooled chicken and sauce in a freezer-safe container or zip-top bag. It will keep for up to 3 months. To thaw, transfer to the refrigerator overnight. Reheat gently in a covered skillet over low heat, adding a splash of water or chicken broth if the sauce has thickened too much.
Reheating Methods. The best way to reheat is in a covered skillet over medium-low heat for 5-7 minutes, flipping once. You can also reheat in a 350°F oven for 10-12 minutes. The microwave works in a pinch, but the skin won’t be as crispy. If you’re using the microwave, cover the plate with a damp paper towel to prevent the chicken from drying out.
How Flavors Develop Over Time. Honestly, this dish is even better the next day. The garlic and honey meld together overnight, creating a deeper, more complex flavor. The sauce thickens to a almost jammy consistency that clings to the chicken even more intensely. It’s one of those rare recipes where leftovers are a treat, not a compromise.
Nutritional Information & Benefits
Here’s a rough nutritional breakdown per serving (one chicken thigh with sauce). Keep in mind these are estimates and can vary based on specific ingredients and portion sizes.
- Calories: Approximately 380-420 calories per serving
- Protein: 28-32 grams
- Fat: 22-26 grams
- Carbohydrates: 18-22 grams (mostly from honey)
- Sugar: 16-18 grams (natural from honey)
- Sodium: 500-600 mg (varies with soy sauce brand)
Health Benefits of Key Ingredients. Chicken thighs are an excellent source of high-quality protein, which supports muscle growth and repair. They’re also rich in B vitamins, particularly B6 and B12, which are important for energy metabolism. Honey, while still a sugar, contains antioxidants and has antimicrobial properties. Garlic is well-known for its immune-boosting compounds, including allicin, which may help reduce inflammation and support heart health.
Dietary Considerations. This recipe is naturally gluten-free if you use tamari or coconut aminos instead of soy sauce. It’s also dairy-free if you swap the butter for olive oil or a dairy-free butter alternative. For a lower-sugar version, reduce the honey to ¼ cup and add an extra tablespoon of soy sauce to balance the flavor.
Potential Allergens. This recipe contains soy (from soy sauce) and dairy (from butter). It’s free from nuts, eggs, and shellfish, making it suitable for most common allergies with the substitutions mentioned above.
I personally love that this recipe feels indulgent but isn’t loaded with processed ingredients. It’s the kind of meal that satisfies your craving for something sweet and savory without leaving you feeling heavy or guilty. Balance is everything, and this dish nails it.
Conclusion
This Easy One-Pan Honey Garlic Chicken Thighs recipe is the kind of dinner that makes you look like a hero with almost no effort. It’s sticky, sweet, savory, and impossibly tender—everything you want in a weeknight meal. The one-pan method means less cleanup, and the simple ingredients mean you can make it anytime, even on a Tuesday when your fridge is looking bare.
I love how versatile this recipe is. You can keep it classic, spice it up, add herbs, or make it your own in a dozen different ways. It’s a recipe that grows with you—the more you make it, the more you’ll discover little tweaks that make it perfect for your family. For another quick and satisfying dinner option, don’t miss my easy garlic butter herb crusted salmon—it’s another 20-minute wonder that never fails.
I’d love to hear how this recipe turns out for you. Did you add any twists? Serve it with something unexpected? Leave a comment below and let me know—I read every single one, and your adaptations often inspire my next recipe. Don’t forget to share this post with a friend who needs a good one-pan dinner in their life. Happy cooking, and remember: the best meals are the ones that bring people together, even on the most ordinary of nights.
Frequently Asked Questions
Can I use chicken breasts instead of thighs?
Absolutely, but you’ll need to adjust the cooking time. Boneless, skinless chicken breasts will cook faster—about 15-18 minutes in the oven. Keep an eye on the internal temperature and pull them at 160°F, as they’ll continue cooking while resting. The meat won’t be as juicy as thighs, but it’s still delicious.
How do I prevent the sauce from burning in the pan?
The honey in the sauce can burn if the oven temperature is too high or if you leave it in too long. Stick to 400°F and check the chicken at the 20-minute mark. If the sauce looks like it’s getting too dark, cover the skillet loosely with foil for the last 5-10 minutes of cooking.
Can I make this recipe in a slow cooker?
Yes, but the texture will be different. Sear the chicken as directed, then transfer everything to a slow cooker. Cook on low for 4-5 hours or high for 2-3 hours. The skin won’t be crispy, but the meat will be fall-apart tender. For a crispy finish, broil the chicken for 2-3 minutes after slow cooking.
What’s the best way to reheat leftovers without drying out the chicken?
The stovetop method is your best bet. Place the chicken and sauce in a covered skillet over medium-low heat for 5-7 minutes, flipping once. Add a splash of water or chicken broth if the sauce has thickened too much. The microwave works in a pinch—just cover with a damp paper towel to add moisture.
Can I double this recipe for a crowd?
Definitely. Use a larger skillet or divide the chicken between two pans. Make sure not to crowd the pan during the sear—work in batches if needed. The oven time might increase slightly if you’re cooking a larger quantity, so use a meat thermometer to check for doneness. For a complete meal, pair it with sheet pan chicken fajitas for a fun, festive spread.
Pin This Recipe!
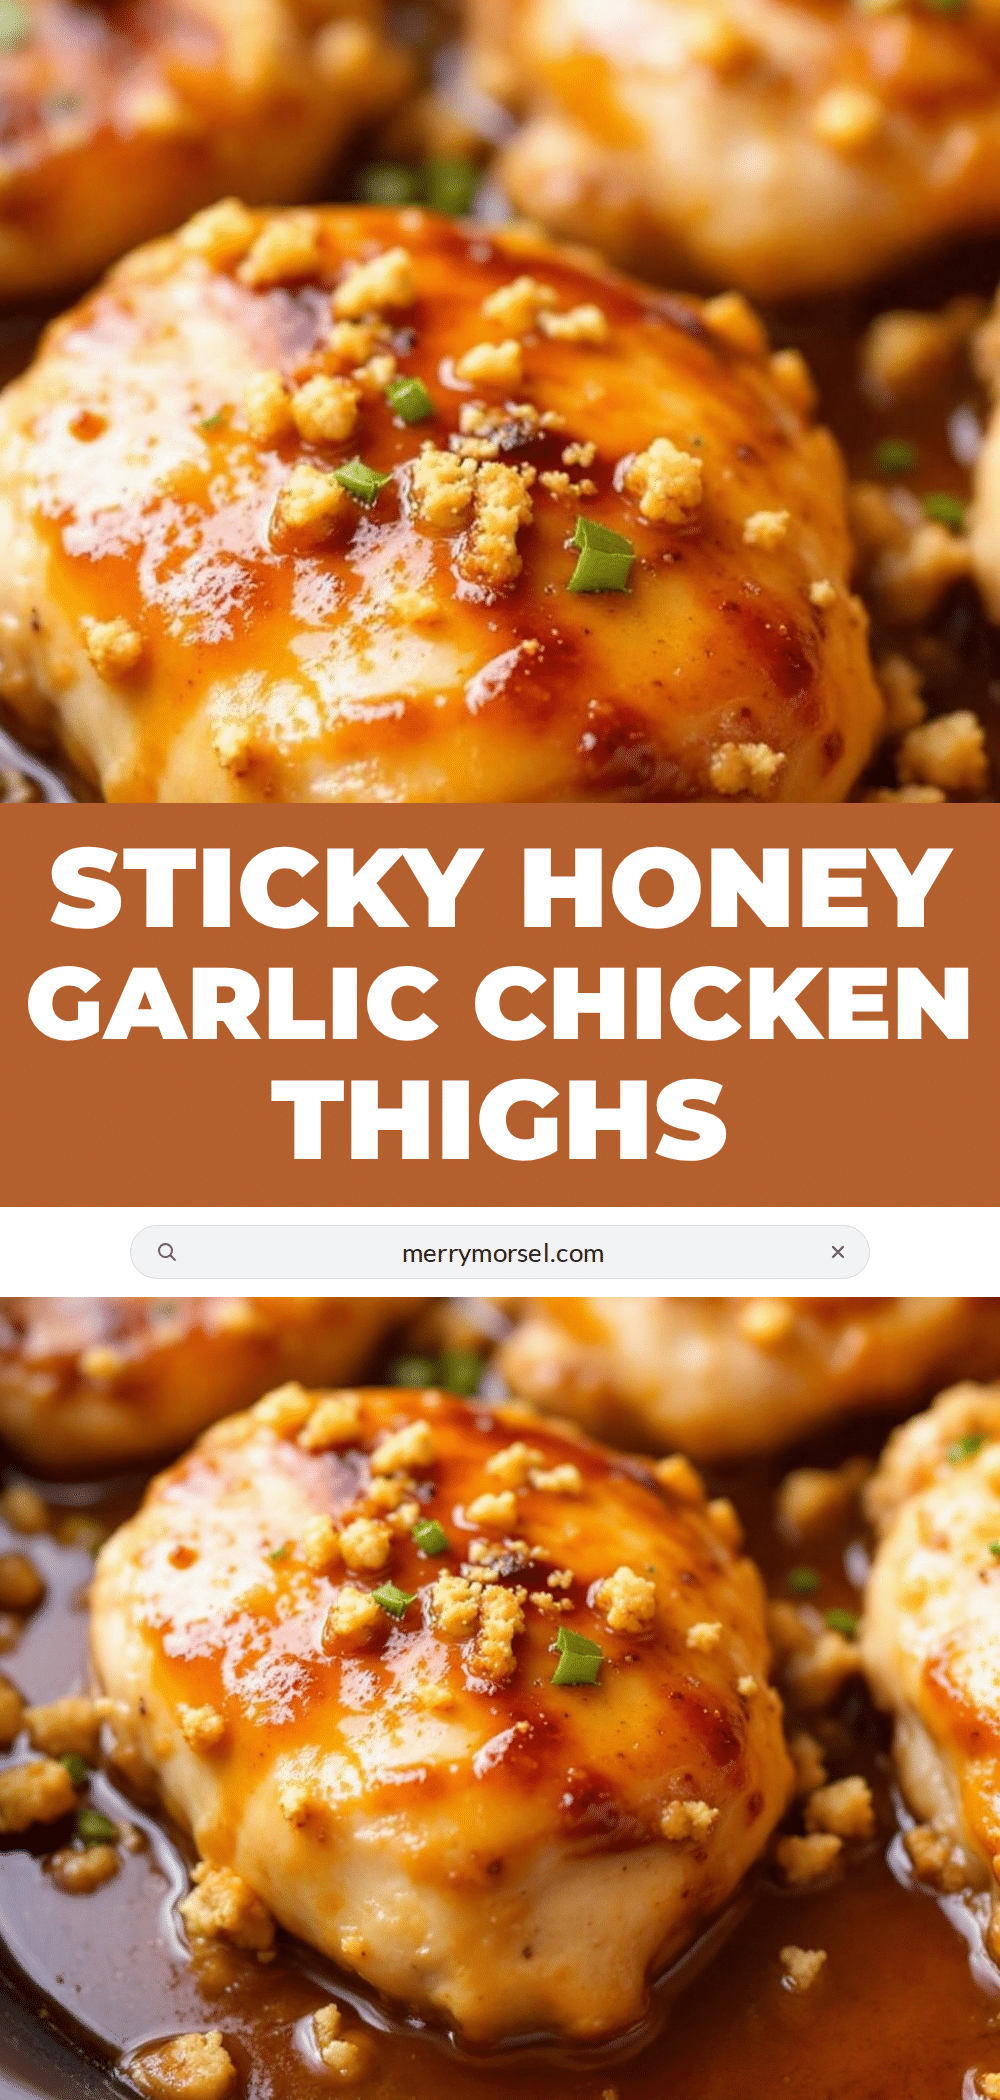
Easy One-Pan Honey Garlic Chicken Thighs

Sticky, sweet, and savory honey garlic chicken thighs made entirely in one pan. This quick and easy recipe delivers crispy skin and tender meat with a glossy, caramelized sauce that’s perfect for busy weeknights.
- Prep Time: 10 minutes
- Cook Time: 30 minutes
- Total Time: 40 minutes
- Yield: 6 servings 1x
- Category: Main Course
- Cuisine: American
Ingredients
- 6 bone-in, skin-on chicken thighs (about 2 lbs total)
- ⅓ cup honey
- ¼ cup low-sodium soy sauce
- 6 cloves garlic, minced
- 2 tablespoons unsalted butter
- 2 tablespoons olive oil
- 1 tablespoon rice vinegar
- ½ teaspoon red pepper flakes (optional)
- Salt and black pepper to taste
- Fresh parsley or green onions for garnish (optional)
Instructions
- Preheat your oven to 400°F (200°C). Position the rack in the middle of the oven.
- Pat the chicken thighs dry with paper towels. Season both sides generously with salt and black pepper.
- Heat a large oven-safe skillet over medium-high heat. Add the olive oil and let it get hot until shimmering.
- Sear the chicken thighs skin-side down in a single layer. Cook undisturbed for 5-6 minutes until the skin is deep golden brown and releases easily from the pan.
- Flip the chicken and sear the other side for 3-4 minutes. Transfer the chicken to a plate and set aside. Do not wipe out the pan.
- Reduce the heat to medium and add the butter to the same skillet. Once melted, add the minced garlic and cook for about 30 seconds, stirring constantly, until fragrant.
- Pour in the honey, soy sauce, and rice vinegar. Add the red pepper flakes if using. Whisk together, scraping up the browned bits from the bottom of the pan. Let the sauce simmer for 1-2 minutes until slightly thickened and glossy.
- Return the chicken to the skillet, skin-side up. Spoon some of the sauce over each thigh.
- Transfer the skillet to the preheated oven and roast for 20-25 minutes, or until the chicken reaches an internal temperature of 170°F (77°C).
- Remove from the oven and let the chicken rest in the pan for 5 minutes. Spoon the pan sauce over the chicken before serving.
- Garnish with fresh parsley or sliced green onions if desired.
Notes
Pat the chicken dry for crispy skin. Don’t rush the sear; let the skin cook undisturbed for 5-6 minutes. Watch the garlic closely to prevent burning. Let the chicken rest for 5 minutes before serving to allow the sauce to thicken. For extra sauce, make 1.5 times the sauce ingredients.
Nutrition
- Serving Size: 1 chicken thigh with
- Calories: 400
- Sugar: 17
- Sodium: 550
- Fat: 24
- Saturated Fat: 8
- Carbohydrates: 20
- Protein: 30
Keywords: honey garlic chicken, one-pan chicken, chicken thighs, easy dinner, weeknight dinner, sticky chicken, garlic chicken


