Love this? Save it for later!
Share the inspiration with your friends
My husband took a bite of these fries, paused, and then just stared at the plate like he was doing mental math. He asked for them three nights in a row—not in a demanding way, more like a hopeful question each afternoon. And honestly, that never happens. I usually get a polite “it’s good, babe” and a kiss on the forehead. But this was different. He was actively planning his day around a vegetable. A squash, technically.
I had been trying to find a way to use up the butternut squash sitting on my counter for over a week. You know how it is—you buy one with big intentions of making soup, and then life gets busy. I almost roasted it plain, but something stopped me. I wanted crunch. I wanted that salty, cheesy hit that makes you forget you’re eating something healthy. So I grabbed the Parmesan, tossed the squash sticks in a few simple seasonings, and crossed my fingers.
The first batch came out of the oven looking like little golden nuggets of hope. The edges were crispy, the centers were tender, and that cheese had melted into every crevice. They disappeared faster than I could take a photo. That’s usually how you know you’ve stumbled onto something worth sharing.
These aren’t your average roasted squash wedges. They’re oven-baked, not fried, but they still deliver that satisfying crunch you crave from a fry. The Parmesan creates a savory crust that makes them almost addictive. I’m not exaggerating when I say this is the kind of recipe that turns squash skeptics into believers.
So if you’ve got a butternut squash sitting around, or you just want a side dish that feels like a treat, you’re in the right place. Let me show you how to make these crispy Parmesan butternut squash fries. They might just become your new favorite way to eat vegetables.
Why You’ll Love This Recipe
I’ve tested this recipe about six times to get the texture just right. The first batch was too soggy. The second batch burned on the edges. But by the third try, I had figured out the tricks that make these fries actually crispy without deep frying. Here’s why this version works:
- Oven-Baked, Not Greasy: You get all the crunch without the mess of hot oil. The Parmesan creates a golden, crispy coating that feels indulgent but is actually pretty light.
- Simple Ingredients: You probably already have Parmesan, garlic powder, and paprika in your kitchen. No fancy shopping trips required.
- Perfect for Fall Dinners: These fries pair beautifully with roasted chicken, grilled steak, or even a hearty salad. They also work great as a snack for game day—trust me, I’ve served them at a party and they vanished.
- Kid-Approved: My niece, who usually pushes vegetables to the side of her plate, ate these without complaint. The cheese helps bridge that gap between healthy and delicious.
- Dietary-Friendly: Naturally gluten-free and vegetarian. You can easily make them vegan by using nutritional yeast instead of Parmesan.
What makes this recipe different from other squash fries is the technique. I don’t just toss the squash in oil and cheese. I soak the cut fries in cold water first to remove excess starch, which helps them crisp up better. Then I coat them in a seasoned Parmesan mixture that sticks to every surface. The result is a fry that’s crunchy on the outside, soft on the inside, and packed with savory flavor.
I’ve made these for weeknight dinners, holiday gatherings, and even as a side for a casual brunch. Every time, someone asks for the recipe. That’s the kind of reaction that tells me I’ve nailed it.
What Ingredients You Will Need
This recipe uses simple, wholesome ingredients to deliver bold flavor and satisfying texture without the fuss. Most of these are pantry staples, which makes it easy to whip up on a whim.
- Butternut Squash: You’ll need one medium butternut squash, about 2 to 2.5 pounds. Look for one that feels heavy for its size with firm, unblemished skin. The neck portion is the easiest to cut into fry shapes, but you can use the bulbous end too—just remove the seeds first.
- Olive Oil: Use a good quality extra virgin olive oil for the best flavor. It helps the seasoning stick and promotes browning in the oven. You can also use avocado oil if you prefer a higher smoke point.
- Grated Parmesan Cheese: This is the star of the show. I recommend using freshly grated Parmesan from a block—it melts better and has a more intense flavor than the pre-shredded stuff in a can. The pre-grated kind often contains anti-caking agents that prevent it from crisping up nicely.
- Garlic Powder: Adds a savory depth without the moisture of fresh garlic. Stick with powder, not garlic salt, so you can control the saltiness.
- Paprika: I use smoked paprika for a subtle, earthy warmth that complements the squash. Regular paprika works too, but the smoked version adds a little extra oomph.
- Salt and Black Pepper: Kosher salt is my go-to for even seasoning. Freshly ground black pepper adds a gentle heat.
- Optional Dips: These fries are delicious on their own, but they’re even better with a side of marinara sauce, ranch dressing, or a garlic aioli. I’ll share my favorite dipping sauce ideas later.
For the best results, I recommend using a high-quality Parmesan like Parmigiano-Reggiano. It costs a bit more, but the flavor is unbeatable. You can also experiment with Pecorino Romano for a saltier, sharper taste.
If you’re looking to make this recipe dairy-free, swap the Parmesan for nutritional yeast. It won’t get quite as crispy, but it still adds a cheesy, umami flavor that’s really satisfying.
Equipment Needed
You don’t need any fancy gadgets to make these fries, but a few tools will make the process easier and more consistent.
- Sharp Chef’s Knife: Butternut squash has a tough skin, so a sharp knife is essential for safety and clean cuts. I use an 8-inch chef’s knife, and it works perfectly.
- Vegetable Peeler: A sturdy peeler makes quick work of removing the squash skin. I prefer a Y-shaped peeler because it gives me more control.
- Cutting Board: Use a large, stable cutting board. A wooden or plastic board is fine—just make sure it doesn’t slide around while you’re cutting.
- Large Bowl: You’ll need one bowl for soaking the squash sticks in cold water and another for mixing the seasoning.
- Baking Sheet: A rimmed baking sheet is ideal for roasting. Line it with parchment paper or a silicone baking mat for easy cleanup and to prevent sticking.
- Cooling Rack: This is optional but highly recommended. Placing a wire rack on the baking sheet allows hot air to circulate around the fries, making them crispier on all sides.
- Tongs: Use tongs to flip the fries halfway through baking. They’re gentler than a spatula and won’t break the delicate squash sticks.
If you don’t have a cooling rack, don’t worry—you can still get good results by flipping the fries carefully with a spatula. Just make sure the fries aren’t overcrowded on the baking sheet, or they’ll steam instead of crisp.
Preparation Method
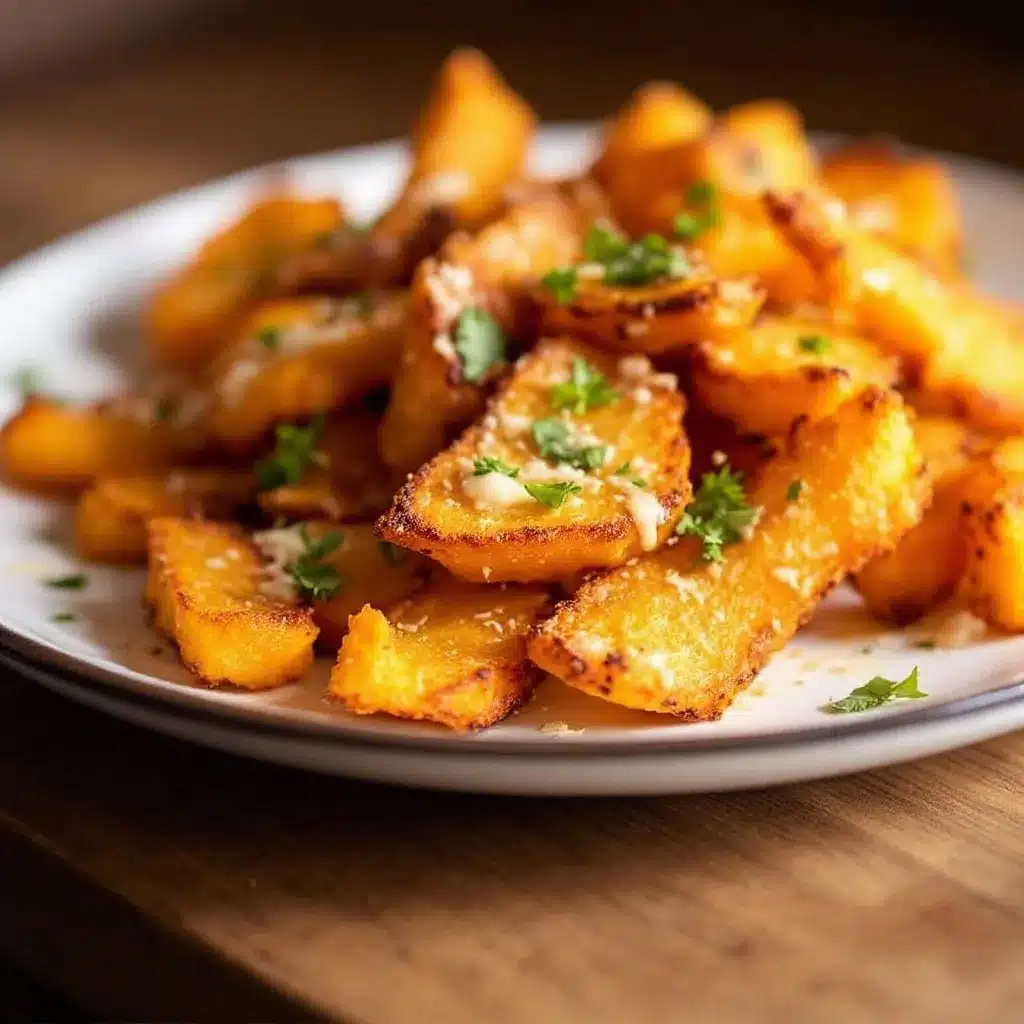
Let’s get into the step-by-step process. I’ve broken it down into clear stages so you can follow along without any confusion.
Step 1: Prep the Squash
Start by cutting off both ends of the butternut squash with a sharp knife. This creates a flat surface so the squash won’t roll around while you’re cutting. Use a vegetable peeler to remove the skin completely. The skin is tough and not pleasant to eat, so take your time here.
Slice the squash in half where the narrow neck meets the bulbous bottom. Cut the neck into planks about 1/2-inch thick, then slice those planks into fry-shaped sticks, about 1/2-inch wide and 3 inches long. Repeat with the bulbous end, but scoop out the seeds and stringy bits first with a spoon before cutting. Try to keep the fries uniform in size so they cook evenly.
Step 2: Soak the Fries
Place the cut squash sticks in a large bowl and cover them with cold water. Let them soak for 15 to 20 minutes. This step removes excess starch, which helps the fries get crispy instead of mushy. I learned this trick after my first soggy batch—it makes a real difference.
After soaking, drain the water and pat the fries completely dry with a clean kitchen towel or paper towels. Any leftover moisture will prevent the seasoning from sticking and cause steaming in the oven.
Step 3: Season the Fries
Preheat your oven to 425°F (220°C). In a small bowl, mix together the grated Parmesan, garlic powder, smoked paprika, salt, and black pepper. In a large bowl, toss the dried squash sticks with olive oil until they’re evenly coated. Then sprinkle the Parmesan mixture over the top and toss again until every fry is coated.
Don’t be shy with the seasoning—the Parmesan will create a beautiful golden crust as it bakes. If you want extra crunch, you can add a tablespoon of cornstarch to the seasoning mix. I’ve done this a few times, and it gives the fries an even crispier texture.
Step 4: Arrange on Baking Sheet
Line a rimmed baking sheet with parchment paper or a silicone mat. If you have a cooling rack, place it on the baking sheet and arrange the fries in a single layer on the rack. If not, place them directly on the parchment paper. Make sure the fries aren’t touching each other—they need space to crisp up. Crowding the pan will trap steam and make them soft.
I usually use two baking sheets if I’m making a full batch. Rotating them halfway through baking ensures even cooking.
Step 5: Bake to Perfection
Bake the fries for 15 minutes, then carefully flip each one using tongs. Return the baking sheet to the oven and bake for another 10 to 15 minutes, or until the fries are golden brown and crispy on the edges. Keep an eye on them during the last few minutes—Parmesan can burn quickly.
The fries are done when they’re firm on the outside and tender on the inside. If you insert a fork, it should slide in easily but the fry should still hold its shape. Let them cool on the baking sheet for 2 to 3 minutes before serving. This allows the crust to set.
Cooking Tips & Techniques
I’ve made plenty of mistakes with this recipe so you don’t have to. Here are the tips I’ve learned along the way.
Don’t skip the soak. I know it’s an extra step, but soaking the fries in cold water removes starch and helps them crisp up. I tried skipping it once, and the fries came out limp and sad. It’s worth the 15 minutes.
Dry them thoroughly. After soaking, make sure the fries are completely dry before adding oil. Water and oil don’t mix, and excess moisture will create steam instead of crispiness. Pat them down with a towel and let them air-dry for a minute if you have time.
Use a cooling rack. This is my number one tip for crispy oven fries. Elevating the fries on a wire rack allows hot air to circulate all around them, so they crisp up on all sides. If you don’t have one, flip the fries halfway through and make sure they’re not touching.
Watch the oven temperature. Every oven runs a little differently. If your fries are browning too quickly on the outside but still soft inside, lower the temperature to 400°F and bake a few minutes longer. Conversely, if they’re not browning at all, your oven might run cool—try increasing the temperature to 450°F for the last few minutes.
Season immediately after baking. I like to sprinkle a tiny pinch of salt on the fries right when they come out of the oven. The residual heat helps the salt stick and enhances the flavor. Just go easy—the Parmesan is already salty.
If you’re looking for other crispy oven-baked recipes, you might enjoy my crispy air fryer pork chops with easy apple chutney. The same principle of a crunchy coating applies, and the apple chutney pairs beautifully with the savory notes of this squash dish.
Variations & Adaptations
One of the best things about this recipe is how easy it is to customize. Here are a few variations I’ve tried and loved.
Spicy Version: Add 1/4 teaspoon of cayenne pepper or red pepper flakes to the seasoning mix. The heat cuts through the sweetness of the squash and adds a nice kick. I made this version for a game day gathering, and it was a hit with the spice lovers.
Herb-Infused: Mix in 1 teaspoon of dried rosemary or thyme with the Parmesan. The earthy herbs complement the squash and make the fries feel more sophisticated. I’ve also used fresh rosemary, finely chopped, and it worked beautifully.
Air Fryer Method: If you have an air fryer, you can make these fries even crispier. Preheat the air fryer to 400°F, arrange the seasoned fries in a single layer in the basket, and cook for 10 to 12 minutes, shaking the basket halfway through. You might need to work in batches depending on the size of your air fryer.
Cheese Alternatives: Swap the Parmesan for Pecorino Romano for a saltier, sharper flavor. You can also use a mixture of Parmesan and panko breadcrumbs for extra crunch. For a dairy-free option, nutritional yeast works surprisingly well—just add a little extra salt.
Sweet and Savory Twist: Drizzle the baked fries with a little honey or maple syrup right before serving. The sweetness balances the salty Parmesan and brings out the natural sugars in the squash. I tried this on a whim one night, and it was unexpectedly amazing.
If you’re in the mood for another fall-inspired side dish, check out my crispy caramel apple nachos. It’s a completely different flavor profile, but it captures that same cozy autumn feeling.
Serving & Storage Suggestions
These fries are best served fresh out of the oven while they’re still hot and crispy. I like to arrange them on a platter and sprinkle a little extra Parmesan and fresh parsley on top for color.
Dipping Sauces: The possibilities are endless. My personal favorite is a simple garlic aioli made with mayonnaise, minced garlic, lemon juice, and a pinch of salt. Ranch dressing is always a crowd-pleaser, and marinara sauce adds an Italian twist. For something lighter, try a Greek yogurt dip with dill and cucumber.
Pairings: These fries go well with almost anything. I’ve served them alongside classic Southern meatloaf with brown sugar glaze for a comforting dinner, and they also work as a side for grilled chicken or fish. For a vegetarian meal, pair them with a hearty salad or a bowl of soup.
Storage: If you have leftovers, let the fries cool completely, then store them in an airtight container in the refrigerator for up to 3 days. Keep in mind that they will lose some of their crispiness over time.
Reheating: To bring back the crunch, reheat the fries in the oven at 400°F for 5 to 7 minutes. Avoid the microwave—it will make them soggy. If you have an air fryer, reheat them at 375°F for 3 to 4 minutes. They won’t be as crispy as fresh, but they’ll still be tasty.
Freezing: You can freeze the baked fries for up to 2 months. Arrange them in a single layer on a baking sheet and freeze until solid, then transfer to a freezer bag. Reheat directly from frozen in the oven at 425°F for 10 to 12 minutes. The texture won’t be quite as good as fresh, but it’s a convenient option for meal prep.
Nutritional Information & Benefits
Here’s an approximate nutritional breakdown per serving (about 1/4 of the recipe). Keep in mind that these values can vary based on the exact ingredients and portion sizes.
| Nutrient | Amount per Serving |
|---|---|
| Calories | 180 |
| Total Fat | 9g |
| Saturated Fat | 3g |
| Cholesterol | 10mg |
| Sodium | 380mg |
| Total Carbohydrates | 22g |
| Dietary Fiber | 4g |
| Sugars | 4g |
| Protein | 6g |
Health Benefits: Butternut squash is packed with vitamin A, which supports eye health and immune function. It’s also a good source of vitamin C, potassium, and fiber. The Parmesan adds calcium and protein, making these fries more satisfying than plain roasted vegetables.
Dietary Considerations: This recipe is naturally gluten-free and vegetarian. To make it vegan, use nutritional yeast instead of Parmesan. It’s also low in added sugars, relying on the natural sweetness of the squash.
Potential Allergens: This recipe contains dairy from the Parmesan. If you have a dairy allergy, use a dairy-free cheese alternative or nutritional yeast. Always check your labels if you’re serving someone with specific dietary needs.
I love that these fries feel indulgent but are actually pretty wholesome. They satisfy that craving for something crunchy and savory without derailing your healthy eating goals. It’s a win-win in my book.
Conclusion
These crispy Parmesan butternut squash fries have earned a permanent spot in my recipe rotation. They’re easy enough for a busy weeknight but impressive enough to serve at a dinner party. The combination of sweet squash, salty Parmesan, and smoky paprika is just irresistible.
I encourage you to make these your own. Play with the seasonings, try different dipping sauces, or experiment with the air fryer method. Cooking should be fun, and this recipe is a great canvas for creativity.
Honestly, I just love that a humble vegetable can turn into something so crave-worthy. It reminds me that you don’t need complicated techniques or fancy ingredients to make something delicious. Sometimes all it takes is a little cheese and a hot oven.
If you give these fries a try, I’d love to hear how they turned out. Leave a comment below and let me know what dipping sauce you chose, or share a photo of your creation. Your feedback helps me keep improving and sharing recipes that actually work in real kitchens.
Happy cooking, and may your fries always be crispy!
Frequently Asked Questions
Can I make these fries ahead of time?
You can prep the squash sticks up to a day in advance. Cut them into fries, soak them in cold water, dry them thoroughly, and store them in an airtight container in the refrigerator. When you’re ready to bake, toss them with oil and seasoning and follow the baking instructions. The texture is best when baked fresh.
Why are my fries soggy?
Soggy fries usually result from too much moisture or overcrowding on the baking sheet. Make sure you soak the fries to remove starch, dry them completely, and arrange them in a single layer with space between each piece. Using a cooling rack on the baking sheet also helps air circulate and prevents sogginess.
Can I use frozen butternut squash?
I don’t recommend frozen squash for this recipe. Frozen squash releases a lot of water as it thaws, which makes it difficult to achieve a crispy texture. Fresh butternut squash is best for fries. If you’re in a pinch, you can try thawing frozen squash and squeezing out as much moisture as possible, but the results won’t be the same.
How do I cut butternut squash safely?
Start by cutting off both ends to create flat surfaces. Use a sharp chef’s knife and a stable cutting board. If the squash is particularly hard, you can microwave it for 2 to 3 minutes to soften the skin slightly. Always cut away from your body and use a claw grip with your non-cutting hand to keep your fingers safe.
Can I double this recipe?
Absolutely. Just make sure you use two baking sheets and rotate them halfway through baking. Don’t overcrowd the pans, or the fries will steam instead of crisp. You may need to bake them a few minutes longer if you’re making a larger batch.
Pin This Recipe!
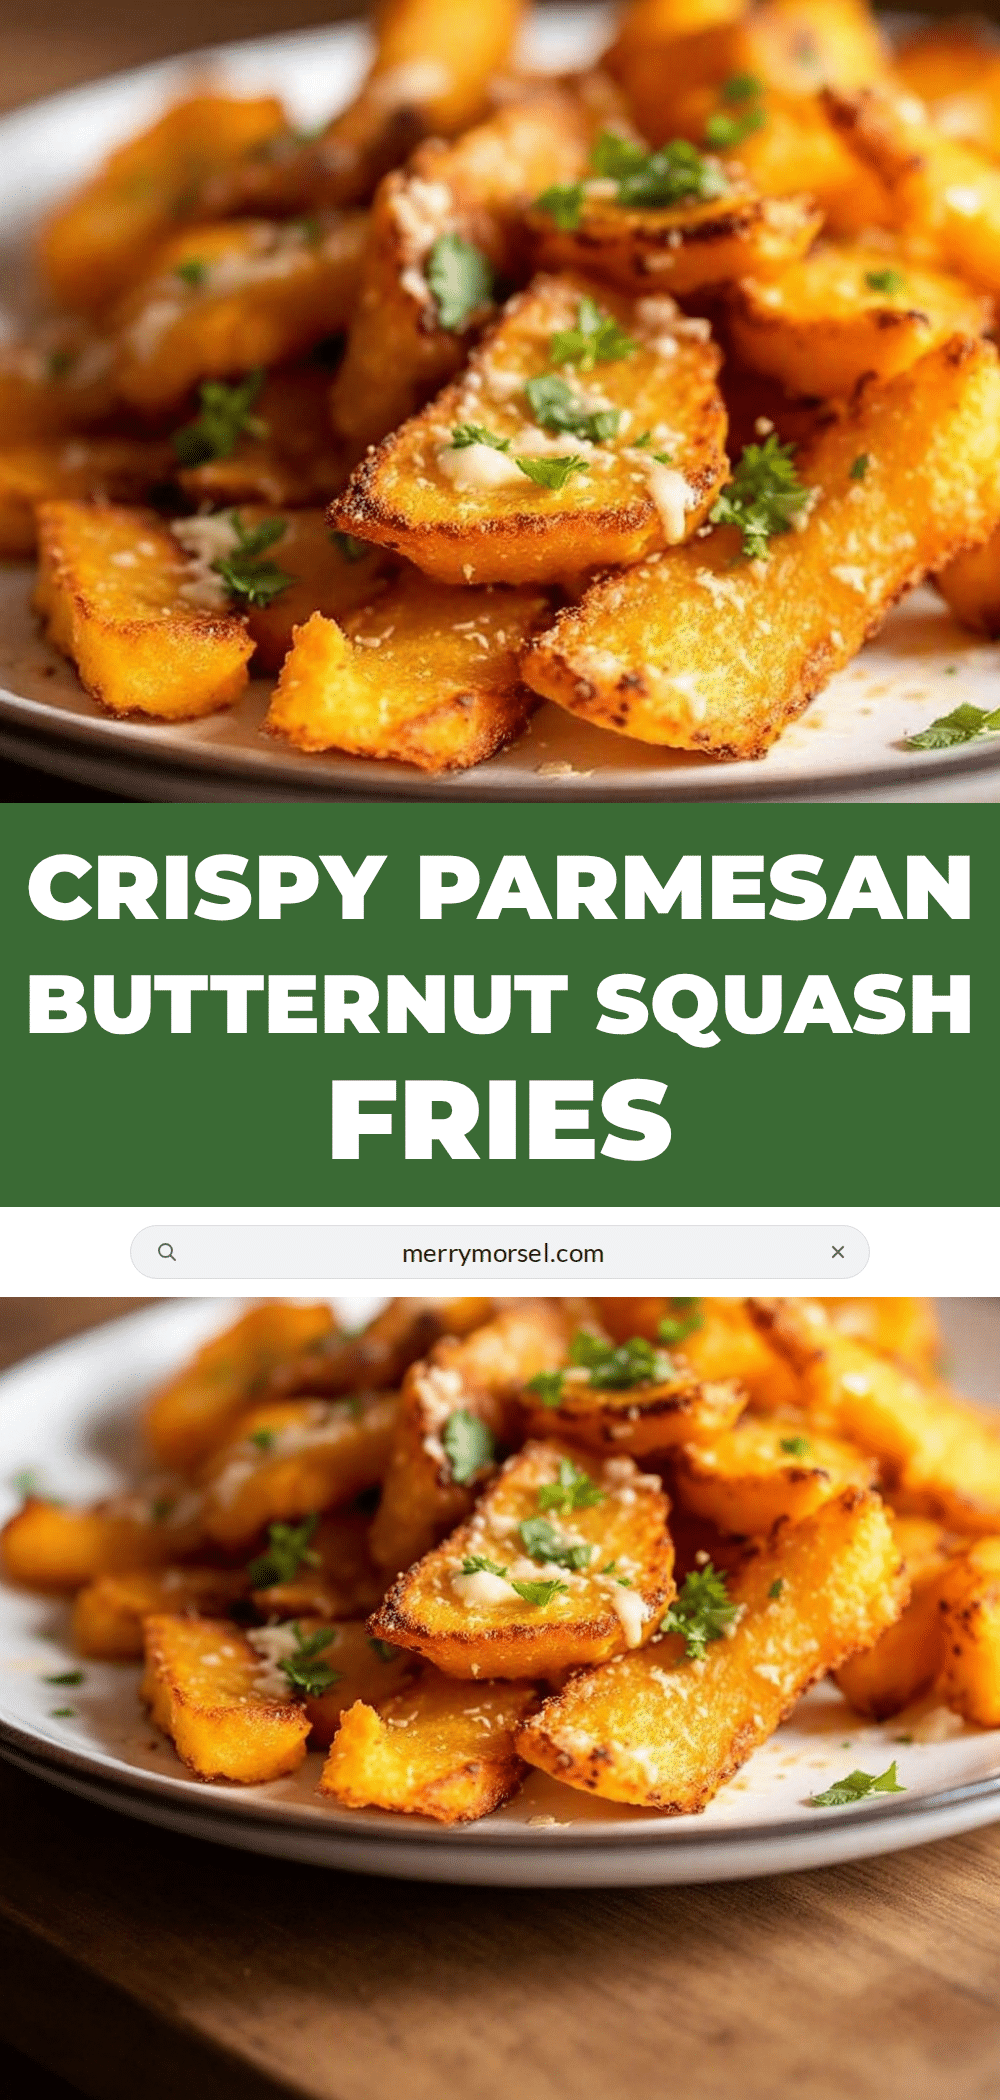
Crispy Parmesan Butternut Squash Fries Best Easy Recipe

These oven-baked butternut squash fries are coated in Parmesan and seasonings for a crispy, savory crust. They’re a healthy, gluten-free side dish that turns squash skeptics into believers.
- Prep Time: 20 minutes
- Cook Time: 25 minutes
- Total Time: 45 minutes
- Yield: 4 servings 1x
- Category: Side Dish
- Cuisine: American
Ingredients
- 1 medium butternut squash (about 2 to 2.5 pounds)
- 2 tablespoons olive oil
- 1/2 cup grated Parmesan cheese (preferably freshly grated)
- 1 teaspoon garlic powder
- 1 teaspoon smoked paprika
- 1/2 teaspoon salt
- 1/4 teaspoon black pepper
Instructions
- Preheat oven to 425°F (220°C).
- Cut off both ends of the butternut squash, then peel the skin with a vegetable peeler. Slice the squash in half where the narrow neck meets the bulbous bottom. Cut the neck into 1/2-inch thick planks, then into fry-shaped sticks about 1/2-inch wide and 3 inches long. For the bulbous end, scoop out seeds and stringy bits, then cut into similar-sized fries.
- Place the cut squash sticks in a large bowl and cover with cold water. Soak for 15 to 20 minutes to remove excess starch. Drain and pat completely dry with a clean kitchen towel or paper towels.
- In a small bowl, mix together the grated Parmesan, garlic powder, smoked paprika, salt, and black pepper.
- In a large bowl, toss the dried squash sticks with olive oil until evenly coated. Sprinkle the Parmesan mixture over the top and toss again until every fry is coated.
- Line a rimmed baking sheet with parchment paper or a silicone mat. For extra crispiness, place a cooling rack on the baking sheet. Arrange the fries in a single layer on the rack or directly on the parchment, making sure they are not touching.
- Bake for 15 minutes, then carefully flip each fry using tongs. Bake for another 10 to 15 minutes, until golden brown and crispy on the edges. Watch closely during the last few minutes to prevent burning.
- Let cool on the baking sheet for 2 to 3 minutes before serving. Optionally, sprinkle with a tiny pinch of salt immediately after baking.
Notes
Soaking the fries in cold water removes excess starch and helps them crisp up. Drying them thoroughly is crucial. Using a cooling rack on the baking sheet allows hot air to circulate for even crispiness. For extra crunch, add 1 tablespoon of cornstarch to the seasoning mix. Reheat leftovers in the oven at 400°F for 5-7 minutes or in an air fryer at 375°F for 3-4 minutes.
Nutrition
- Serving Size: 1/4 of recipe
- Calories: 180
- Sugar: 4
- Sodium: 380
- Fat: 9
- Saturated Fat: 3
- Carbohydrates: 22
- Fiber: 4
- Protein: 6
Keywords: butternut squash fries, crispy Parmesan fries, oven-baked fries, gluten-free side dish, vegetarian, fall recipe


