Love this? Save it for later!
Share the inspiration with your friends
Thursday night, 9:47 PM. I was staring into the fridge, and the lunchbox prep for the next day was not happening. You know that moment. The one where you’ve already made three different meals that week, and the thought of another sad sandwich or a thermos of lukewarm soup just feels like a personal failure. I had a block of cheddar, a stack of flour tortillas that were two days from their expiration, and a jar of salsa that was mostly just liquid at the bottom. That’s when I got stubborn. I wasn’t going to the store. I was going to make this work.
So I made quesadillas. Not the fancy, sit-down kind with sour cream and guacamole. I made the crispy, cheesy, dippable kind. The kind you cut into little strips that fit perfectly into a small container. I made them three times that week. By the third batch, I had it down to a science: a hot pan, a medium-low flame, and the patience to let the cheese get that perfect, gooey pull before flipping. My kid, who usually picks at lunch, came home with an empty container and asked for “the dipper ones” again. That’s when I knew I had stumbled onto something that wasn’t just dinner—it was a lunchbox solution.
These Easy Cheese Quesadilla Dippers are the result of that stubborn Thursday night. They are the kind of recipe that feels like a secret weapon. No elaborate prep, no weird ingredients. Just a simple, reliable trick that turns a basic snack into something the kids actually look forward to. It’s the recipe you make when you’re tired, but you still want to pack a lunch that feels like a win.
Why You’ll Love This Recipe
I have tested this particular quesadilla method more times than I care to admit. I have burned them on high heat. I have made them soggy with too much filling. I have tried every cheese blend in the dairy aisle. This version is the one that works. It is the one that survives a morning commute in a backpack and still tastes good at room temperature.
- Quick & Easy: From start to finish, you are looking at about 10 minutes. That is faster than waiting in a drive-thru line, and you control exactly what goes in them.
- Simple Ingredients: You need tortillas, cheese, and a little butter. That is it. No fancy grocery trips, no obscure spices. You probably have these things right now.
- Perfect for Lunchboxes: These hold up incredibly well. They don’t get mushy. They don’t leak. They are the ideal size for small hands and small appetites.
- Crowd-Pleaser: I have yet to meet a kid who turns down a warm, cheesy quesadilla. It is a universal comfort food. Even the pickiest eaters tend to go for it.
- Unbelievably Delicious: The secret is in the technique. A slow, even toast on the tortilla gives you a shatteringly crisp exterior and a milky, molten center. It is next-level comfort food.
What makes this recipe different from the rest is the focus on texture. A lot of quesadilla recipes rush the process. They blast the heat and end up with a burnt outside and a cold inside. This method uses a gentle heat to ensure the cheese melts completely before the tortilla gets too dark. That patience is the key. It is the difference between a good quesadilla and a great one that makes you close your eyes after the first bite.
What Ingredients You Will Need
This recipe uses simple, wholesome ingredients to deliver bold flavor and satisfying texture without the fuss. The beauty of it is the simplicity—each component plays a specific role.
- Flour Tortillas (8-inch): Use a good quality brand. I prefer Mission or a local bakery brand for their pliability. They need to be soft enough to fold without cracking. Corn tortillas will work, but they are more fragile and don’t hold up as well in a lunchbox.
- Shredded Cheddar Cheese (1 cup / 120g): Sharp cheddar gives the best flavor. Shred it yourself from a block if you have the energy—it melts much smoother than pre-shredded bags (which have anti-caking agents). But honestly, in a pinch, the bagged stuff works fine.
- Shredded Mozzarella Cheese (1/2 cup / 60g): This is the secret to the stretch. The mozzarella adds that gooey, stringy pull that kids love. It balances the sharpness of the cheddar.
- Unsalted Butter (2 tablespoons / 28g): This is for the pan. Butter gives the tortilla a rich, golden-brown crust that oil just can’t replicate. You can use salted butter, just skip adding any extra salt to the filling.
- Optional: Salsa or Ketchup for Dipping: I always pack a small container of salsa or a little squirt of ketchup. It makes the dippers feel like a treat. My kid prefers ketchup (don’t judge), but a mild salsa is a healthier option.
I recommend using Tillamook for the cheddar if you can find it. The flavor is consistently sharp and creamy. For the mozzarella, any whole-milk low-moisture brand works best—it won’t make the quesadilla soggy.
Equipment Needed
You do not need any fancy gadgets for this recipe. That is part of the appeal. Here is what you will need:
- A Non-Stick Skillet (10-inch): This is the most important tool. A good non-stick surface prevents the tortilla from sticking and allows for even browning. I have an old Calphalon that has seen better days, but it still works perfectly for this.
- A Spatula: A thin, flexible metal or silicone spatula is best for flipping the quesadilla without tearing it. A fish spatula works great.
- A Sharp Knife or Pizza Cutter: A pizza cutter makes cutting the quesadillas into strips a breeze. A sharp chef’s knife works too, but the pizza cutter is faster and gives cleaner edges.
- Cutting Board: For cutting the quesadillas once they are cooked.
- Lunchbox Containers: Small, compartmentalized containers work best. I use the Bentgo boxes for my kid, but any small container with a tight lid will do.
If you don’t have a non-stick skillet, a well-seasoned cast iron pan will work. Just make sure it is seasoned well, or the tortilla might stick. You can also use a griddle if you are making a big batch.
Preparation Method
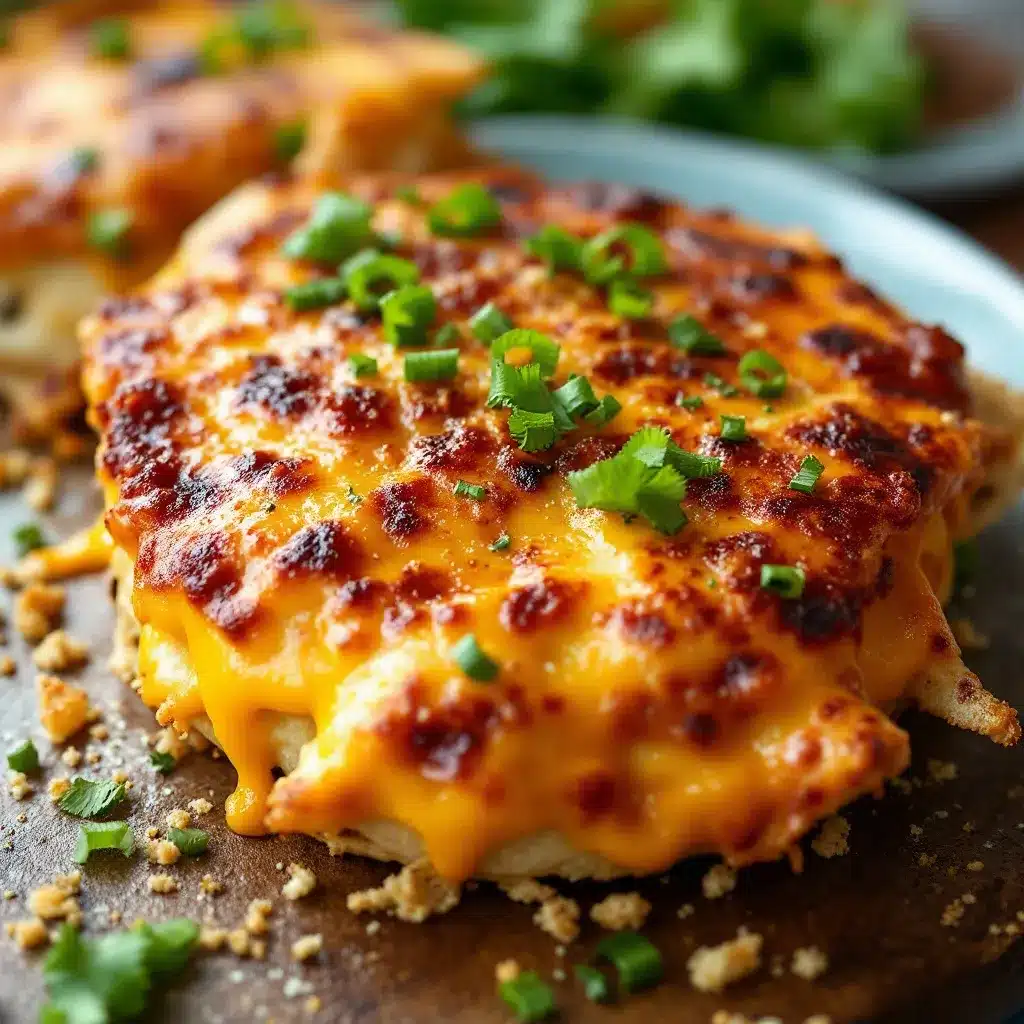
Let’s get into the actual making of these dippers. I will walk you through it step-by-step, because the technique is really what makes them perfect.
- Prep the Cheese Blend: In a small bowl, mix together 1 cup of shredded sharp cheddar and 1/2 cup of shredded mozzarella. Toss them together with your fingers so they are evenly distributed. This takes about 30 seconds. (Pro tip: If the cheese is cold from the fridge, let it sit on the counter for 5 minutes while you prep the pan. Cold cheese takes longer to melt.)
- Heat the Pan: Place your non-stick skillet over medium-low heat. Let it warm up for a full 2 minutes. This is crucial. If the pan is too hot, the tortilla will brown before the cheese melts. If it is too cold, the tortilla will get soggy. You want a gentle, steady heat. I test it by holding my hand a few inches above the surface—it should feel warm, not scorching.
- Butter the Pan: Add 1/2 tablespoon of unsalted butter to the hot pan. Swirl it around until it melts and coats the bottom. You should hear a soft sizzle. If it is silent, the pan is not hot enough. If it is popping and smoking, turn the heat down.
- Assemble the Quesadilla: Place one flour tortilla flat on a cutting board. Sprinkle about 1/3 cup of the cheese blend evenly over one half of the tortilla. Do not overload it—too much cheese will spill out when you fold it. Leave a 1/2-inch border around the edge. Fold the other half of the tortilla over the cheese, creating a half-moon shape. Press down gently to seal it.
- Cook the First Side: Carefully place the assembled quesadilla into the hot, buttered pan. Let it cook undisturbed for 2-3 minutes. Do not move it. You want a golden-brown crust to develop. You will know it is ready when you see the edges of the tortilla starting to turn a light golden color and you can smell the toasty butter.
- Flip and Cook the Second Side: Using your spatula, carefully flip the quesadilla. It should slide easily. If it sticks, let it cook for another 30 seconds before trying again. Add another 1/2 tablespoon of butter to the pan, tilting it to let the butter run under the quesadilla. Cook for another 2-3 minutes, until the second side is golden brown and the cheese is visibly melted and oozing slightly from the edges.
- Rest and Cut: Transfer the cooked quesadilla to a cutting board. Let it rest for exactly 1 minute. This is important! If you cut it immediately, the cheese will be lava-hot and will ooze out everywhere, making a mess. After 1 minute, use a pizza cutter to slice it into 4-5 strips, about 1 inch wide. These are your dippers.
- Repeat: Repeat steps 3 through 7 for the remaining tortillas. You can usually cook two quesadillas at a time in a 10-inch pan if you place them side-by-side, but give them a little space so they cook evenly.
- Cool and Pack: Let the strips cool completely on the cutting board before packing them into lunchboxes. This takes about 5-7 minutes. Warm dippers will steam inside a closed container and get soggy. Room temperature is the sweet spot.
Cooking Tips & Techniques
I have made a lot of mistakes with quesadillas. I want you to learn from them so you don’t have to repeat my failures.
The #1 Mistake: High Heat. I cannot stress this enough. The first time I made these for lunchboxes, I cranked the heat to high because I was in a hurry. The tortilla turned black in spots, and the cheese inside was still cold and solid. It was a disaster. Low and slow is the rule. Medium-low heat gives the cheese time to melt completely while the tortilla toasts to a perfect, even gold.
Don’t Overstuff. It is tempting to pile on the cheese, but a thin, even layer is better. Too much filling makes the quesadilla bulge and leak, and the tortilla won’t get crispy. Think of it as a vehicle for the cheese, not a cheese delivery system with a tortilla wrapper.
Use Room Temperature Cheese. If you can, pull your shredded cheese out of the fridge 10 minutes before you start cooking. Cold cheese takes longer to melt, which means you have to cook the tortilla longer, which increases the risk of burning it. Room temperature cheese melts faster and more evenly.
Multitask with a Griddle. If you are making a big batch for the week (which I highly recommend), use an electric griddle set to 300°F. You can cook 4 quesadillas at once. It saves so much time. I do a batch of 8 every Sunday night, and it takes about 15 minutes total.
The “Press” Trick. For an extra-crispy exterior, after you flip the quesadilla, gently press down on it with the spatula for a few seconds. This ensures the entire surface area is in contact with the hot pan. It makes a noticeable difference in the crunch.
Variations & Adaptations
This base recipe is a blank canvas. Once you have the technique down, you can play around with it endlessly. Here are a few of my favorite variations:
- Protein-Packed Dippers: Add 1/4 cup of shredded rotisserie chicken or crumbled cooked sausage to the cheese blend before folding. This turns them into a more substantial lunch. I have also added leftover balsamic pulled pork for a smoky, sweet twist that my kid actually loved.
- Veggie-Loaded Dippers: Finely dice some bell peppers or spinach and mix them into the cheese. The key is to chop them very small so they blend in and the kid doesn’t notice them. I have also used finely shredded zucchini (squeeze out the water first!).
- Black Bean & Corn Dippers: For a vegetarian option, mix in 2 tablespoons of drained black beans and 2 tablespoons of corn kernels. This adds fiber and a little sweetness.
- Spicy Adult Version: For your own lunch, add a pinch of smoked paprika or a few dashes of hot sauce to the cheese. You can also use pepper jack cheese instead of cheddar for a kick.
- Gluten-Free Option: Use your favorite gluten-free tortillas. They tend to be a little more fragile, so be gentle when flipping. The cooking time may also be a minute shorter, so keep an eye on them.
I once tried a version with a smear of refried beans on the inside. It was good, but it made the tortilla a little too soft for my liking. The bean moisture prevented the crisp from forming perfectly. Stick to dry fillings for the best texture.
Serving & Storage Suggestions
These dippers are best served at room temperature, which makes them perfect for lunchboxes. They do not need to be reheated. In fact, I prefer them cold—the cheese firms up a little, and the tortilla stays pleasantly chewy.
For Serving: Pack the dippers in a small container with a tight lid. Add a separate small container of dipping sauce. My kid’s favorite is salsa, but ketchup, ranch dressing, or even a little sour cream work great. For a fun lunch, I sometimes include these alongside some no-bake protein balls for a balanced meal.
For Storage: Store leftover dippers in an airtight container in the refrigerator for up to 4 days. They will stay fresh and delicious. Do not stack them while they are still warm, or they will stick together. Let them cool completely first.
For Freezing: These freeze beautifully. Place the cooled dippers on a baking sheet in a single layer and freeze for 1 hour, until solid. Then transfer them to a freezer-safe bag or container. They will keep for up to 3 months. To thaw, just move them to the fridge overnight. They are ready to pack straight from the fridge.
Reheating (If Desired): If you want to serve them warm, the best method is an air fryer at 350°F for 3-4 minutes. A toaster oven works too. Do not use a microwave—it will make the tortilla soggy and rubbery.
Nutritional Information & Benefits
These dippers are a surprisingly balanced lunch option. Here is the estimated nutritional breakdown for one serving (about 5 dippers, using the recipe as written):
- Calories: 290 kcal
- Protein: 15g
- Fat: 18g
- Carbohydrates: 22g
- Fiber: 1g
The cheese provides a good amount of calcium and protein, which helps keep kids full and focused through the afternoon. The tortillas offer carbohydrates for quick energy. If you use whole-wheat tortillas, you can bump up the fiber content significantly.
Dietary Considerations: This recipe is vegetarian. For a gluten-free version, use certified gluten-free tortillas. For a lower-fat option, use reduced-fat cheese (though the texture will be slightly less gooey). The main allergen is dairy (milk), so keep that in mind if packing for a school with restrictions.
I feel good about packing these because I know exactly what is in them. No weird preservatives, no hidden sugars. Just real food that happens to taste like a treat.
Conclusion
These Easy Cheese Quesadilla Dippers are the kind of recipe that makes the school week feel a little less chaotic. They are fast, they are reliable, and they genuinely make kids happy. You are not just packing a lunch—you are giving them something to look forward to. A little pocket of golden, cheesy goodness that says, “I thought about you this morning.”
I encourage you to make a batch this weekend. Play with the fillings. Find the combination your kids love. And when they come home with an empty container, you will know you have found your new lunchbox staple. If you try them, I would love to hear about it. Leave a comment below and tell me what dipping sauce your kids chose. Did they go for the classic salsa, or did they surprise you with something weird (like ketchup on a quesadilla—it happens!)? Share your adaptations, too. The best recipes are the ones we make our own.
Happy cooking, and may your mornings be a little less frantic and a lot more cheesy.
Frequently Asked Questions
Can I use corn tortillas instead of flour?
Yes, you can, but they are more fragile. Corn tortillas are smaller and tend to crack when folded. Warm them slightly in the microwave for 10 seconds before filling to make them more pliable. They also have a different, earthier flavor that some kids might not love.
How do I keep the dippers from getting soggy in the lunchbox?
The key is to let them cool completely before packing. If you put them in a container while they are still warm, the steam will condense and make the tortilla soft. Also, make sure your container has a tight seal to prevent moisture from other items in the lunchbox from affecting them.
Can I make these ahead of time for the whole week?
Absolutely. I make a batch of 8-10 quesadillas every Sunday. Cook them, let them cool, and store them in an airtight container in the fridge. They stay good for up to 4 days. Just grab a few dippers each morning and pack them straight from the fridge.
What is the best cheese for the perfect stretch?
A blend of cheddar and mozzarella is the gold standard. The cheddar provides flavor, and the mozzarella provides that iconic stretchy pull. You can also use Monterey Jack or Oaxaca cheese for a similar effect. Avoid pre-shredded cheese blends that are labeled “Mexican blend”—they often contain anti-caking agents that prevent smooth melting.
Can I add meat to these without making them greasy?
Yes, but make sure the meat is fully cooked and drained of any excess fat. For ground beef or sausage, cook it first and then drain it on a paper towel to remove the grease. For chicken, shred it finely. Too much grease will make the tortilla soggy and prevent it from getting crispy.
Pin This Recipe!
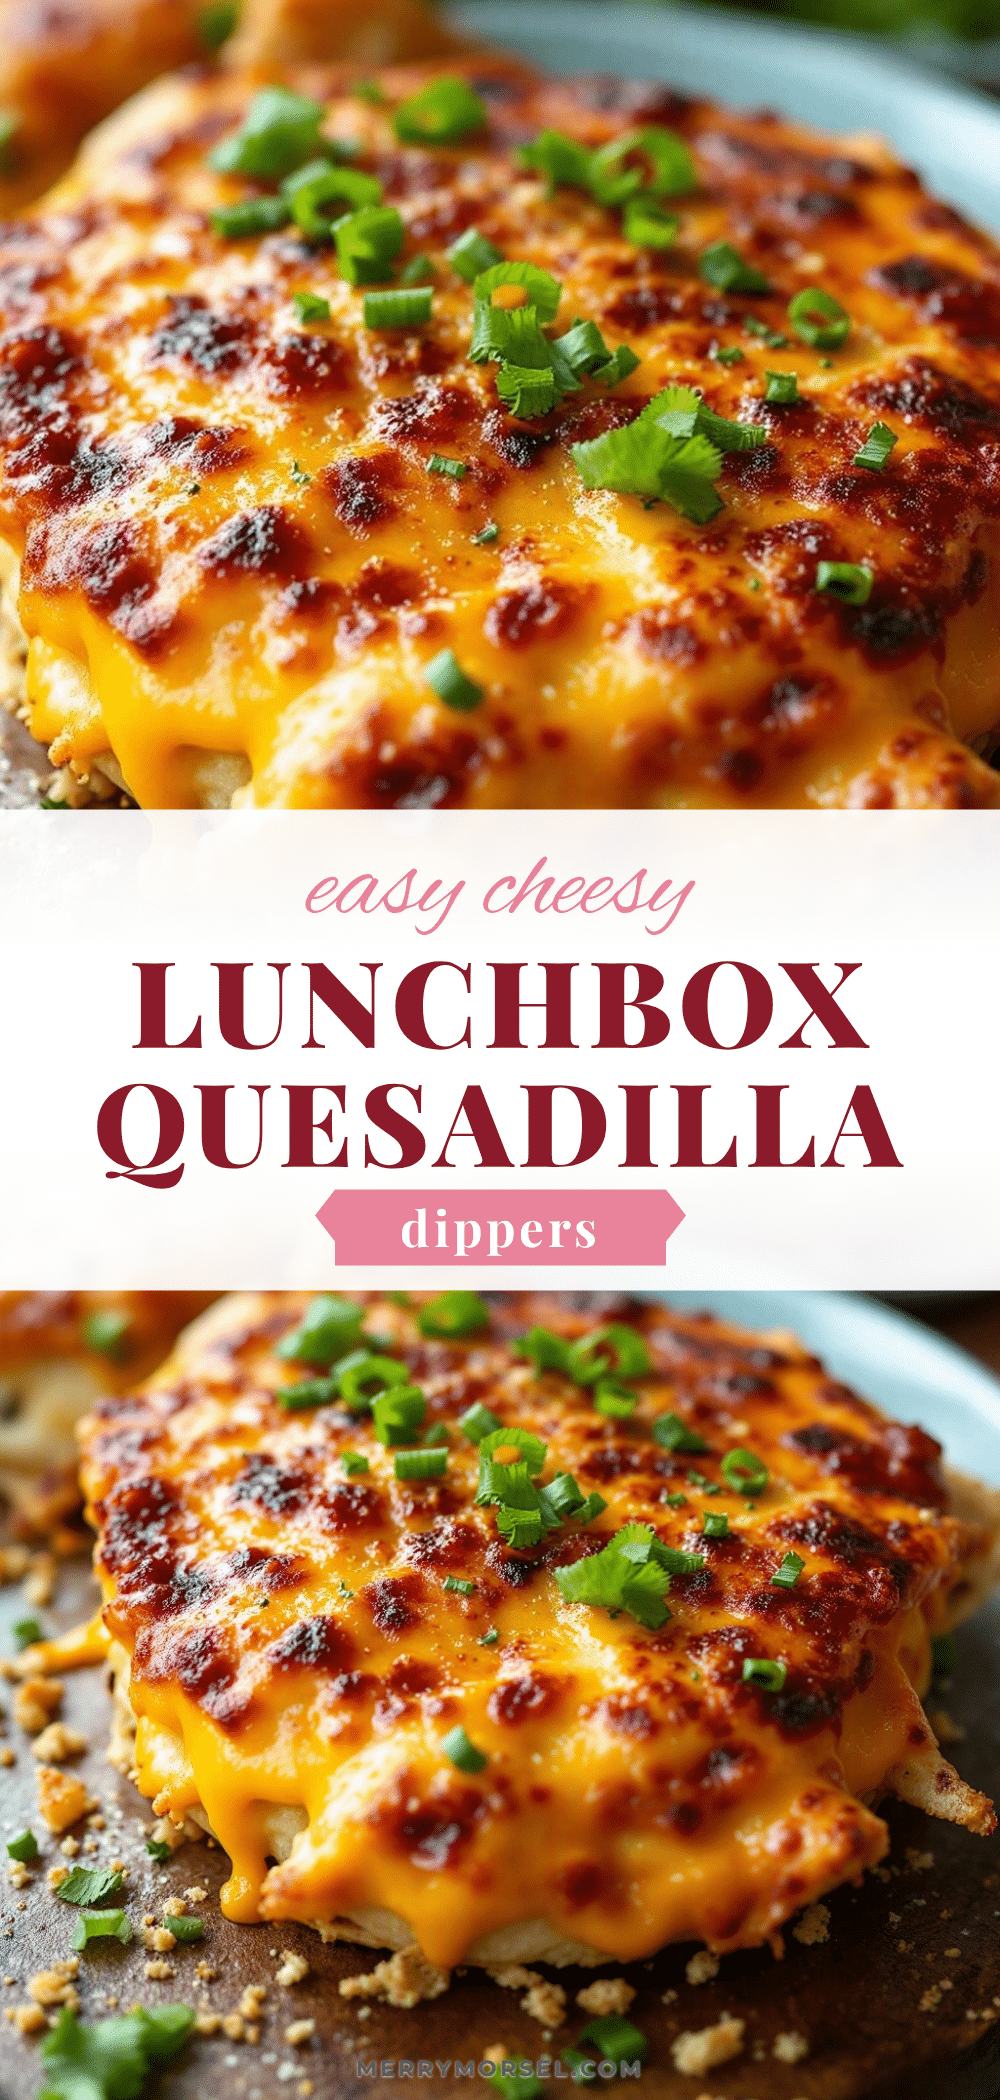
Easy Cheese Quesadilla Dippers: Best Kids Lunchbox Idea

These Easy Cheese Quesadilla Dippers are a quick, simple, and kid-friendly lunchbox solution. Made with just tortillas, cheese, and butter, they feature a perfectly crispy exterior and gooey, stretchy cheese inside, making them a reliable and delicious meal prep staple.
- Prep Time: 5 minutes
- Cook Time: 10 minutes
- Total Time: 15 minutes
- Yield: 4 servings 1x
- Category: Lunch
- Cuisine: Mexican-American
Ingredients
- 4 (8-inch) flour tortillas
- 1 cup (120g) shredded sharp cheddar cheese
- 1/2 cup (60g) shredded low-moisture mozzarella cheese
- 2 tablespoons (28g) unsalted butter
- Optional: salsa or ketchup for dipping
Instructions
- In a small bowl, mix together 1 cup shredded sharp cheddar and 1/2 cup shredded mozzarella. Let the cheese sit at room temperature for 5 minutes if cold.
- Place a non-stick skillet over medium-low heat and let it warm up for 2 minutes.
- Add 1/2 tablespoon of unsalted butter to the hot pan and swirl until melted and coating the bottom.
- Place one flour tortilla on a cutting board. Sprinkle about 1/3 cup of the cheese blend evenly over one half of the tortilla, leaving a 1/2-inch border. Fold the other half over to create a half-moon shape and press gently to seal.
- Carefully place the assembled quesadilla into the hot, buttered pan. Cook undisturbed for 2-3 minutes until the bottom is golden brown.
- Flip the quesadilla using a spatula. Add another 1/2 tablespoon of butter to the pan, tilting to let it run under the quesadilla. Cook for another 2-3 minutes until the second side is golden brown and the cheese is melted.
- Transfer the cooked quesadilla to a cutting board and let it rest for 1 minute.
- Use a pizza cutter to slice the quesadilla into 4-5 strips, about 1 inch wide.
- Repeat steps 3-8 for the remaining tortillas.
- Let the strips cool completely (about 5-7 minutes) before packing into lunchboxes.
Notes
For extra crispy dippers, gently press down on the quesadilla with a spatula after flipping. Let the dippers cool completely before packing to prevent sogginess. For a gluten-free version, use certified gluten-free tortillas. For a lower-fat option, use reduced-fat cheese (texture will be less gooey).
Nutrition
- Serving Size: 5 dippers
- Calories: 290
- Sugar: 1
- Sodium: 480
- Fat: 18
- Saturated Fat: 10
- Carbohydrates: 22
- Fiber: 1
- Protein: 15
Keywords: quesadilla dippers, kids lunchbox, easy cheese quesadilla, lunchbox idea, kid-friendly, quick lunch, cheese dippers


