Love this? Save it for later!
Share the inspiration with your friends
I found the empty container in my bag on Tuesday. It was a small glass meal prep box, the one I’d stuffed with homemade granola bars on Sunday night, and it was completely clean. Not a crumb left. I had been so busy running between meetings that I didn’t even remember finishing them. That’s the thing about these healthy no-bake granola bars — they disappear without you even thinking about it. No wrapper to toss, no sticky mess, just a quiet, satisfying snack that gets the job done.
Honestly, I wasn’t trying to reinvent the snack wheel. I just needed something that wouldn’t let me down at 3 PM when the energy crash hits and the vending machine starts looking way too good. The store-bought bars were either loaded with sugar or tasted like cardboard. So I grabbed a bowl, some oats, and a jar of peanut butter, and I started messing around. The first batch was too crumbly. The second was too sticky. But the third? That one stuck together perfectly, and I knew I had something worth keeping around.
These bars have become my kitchen constant. They’re the reason I stopped buying packaged snacks altogether. No bake, no fuss, and they come together in about five minutes of actual work. If you’ve been looking for a snack that actually keeps you full without a sugar spike, you’re in the right place.
Why You’ll Love These Healthy No-Bake Granola Bars
I’ve tested this recipe about a dozen times. I tweaked the ratios, swapped ingredients, and even left a batch in the fridge too long by accident (still good, by the way). What I landed on is a bar that checks every box — quick, nutritious, and actually delicious.
- Ready in 5 Minutes — No oven, no baking sheet, no waiting around. Just mix, press, and chill.
- Simple Pantry Ingredients — You probably have everything already. Oats, peanut butter, honey, and a few mix-ins. That’s it.
- Perfect for Busy Days — Grab one on your way out the door, toss it in a lunchbox, or keep it in your desk drawer for emergencies.
- Naturally Sweetened — No refined sugar here. Just a touch of honey or maple syrup for sweetness.
- Kid-Approved and Adult-Friendly — My niece calls them “cookie bars,” and I don’t correct her. They’re that good.
What makes these different from every other granola bar recipe? It’s the texture. They’re chewy without being hard, and they hold their shape without turning into a rock in the fridge. The secret is in the ratio of wet to dry ingredients — just enough binder to hold everything together without making it sticky. If you’ve ever made no-bake peanut butter energy bites, you’ll recognize the method, but these bars are firmer and more portable.
Honestly, this is the kind of snack that makes you feel good about eating it. You get fiber from the oats, protein from the peanut butter, and a little sweetness that doesn’t leave you crashing an hour later. It’s comfort food that actually works for you.
What Ingredients You Will Need
This recipe uses simple, wholesome ingredients that come together to create a chewy, satisfying snack without any complicated steps or hard-to-find items. Most of these are probably already sitting in your pantry right now.
- Rolled oats (2 cups) — Use old-fashioned rolled oats for the best texture. Quick oats will work, but the bars will be softer and less chewy. I prefer Bob’s Red Mill for consistent results.
- Creamy peanut butter (1/2 cup) — Natural peanut butter works great, but make sure it’s well-stirred. If you use the kind with oil separation, stir it thoroughly first. You can also use almond butter or sunflower seed butter for a nut-free version.
- Honey (1/3 cup) — This adds sweetness and helps bind everything together. Maple syrup works as a vegan alternative, though the bars will be slightly softer.
- Dark chocolate chips (1/4 cup) — I like using mini chocolate chips because they distribute more evenly, but regular-sized ones work too. Use dairy-free chocolate chips if needed.
- Chia seeds (2 tablespoons) — These add fiber and omega-3s, plus they help absorb moisture and keep the bars from getting too sticky. You can skip them, but I love the little crunch they add.
- Unsweetened shredded coconut (1/4 cup) — Optional, but it adds texture and a subtle sweetness. If you’re not a coconut fan, just leave it out or swap for extra oats.
- Vanilla extract (1 teaspoon) — A little goes a long way in rounding out the flavors. Use pure vanilla extract if you have it.
- Pinch of salt — Don’t skip this. It balances the sweetness and makes the peanut butter flavor pop.
A quick note on ingredient swaps: if you’re gluten-sensitive, make sure your oats are certified gluten-free. Oats are naturally gluten-free, but they’re often processed in facilities that handle wheat. Also, if you want a lower-carb option, you can replace half the oats with unsweetened coconut flakes or chopped nuts. I’ve done this before, and it works beautifully — just expect a crunchier bar.
For the chocolate chips, I recommend using a brand like Enjoy Life for dairy-free options, or Guittard for a rich, high-quality chocolate that melts beautifully into the bars. Trust me, the chocolate quality matters here because it’s one of the main flavor highlights.
Equipment Needed
You don’t need fancy tools for this recipe. In fact, you probably have everything already. Here’s what you’ll need:
- Mixing bowl — A medium-sized bowl is perfect for combining the dry ingredients.
- Small saucepan — For warming the peanut butter and honey together. You can also use a microwave-safe bowl if you prefer.
- Spatula or wooden spoon — For mixing everything together. A sturdy spatula works best for pressing the mixture into the pan.
- 8×8-inch baking pan — Line it with parchment paper for easy removal. If you don’t have an 8×8 pan, a 9×9 works too — the bars will just be slightly thinner.
- Parchment paper — This is non-negotiable for easy lifting. Let the paper hang over the edges so you can pull the whole block out in one piece.
- Measuring cups and spoons — Precise measurements matter here, especially for the wet ingredients, to get the right texture.
If you don’t have a saucepan, you can microwave the peanut butter and honey in a bowl for 30-second intervals, stirring in between. Just be careful not to overheat it — you want it warm enough to mix, not hot. I’ve learned this the hard way after burning my fingers on a too-hot bowl.
Preparation Method
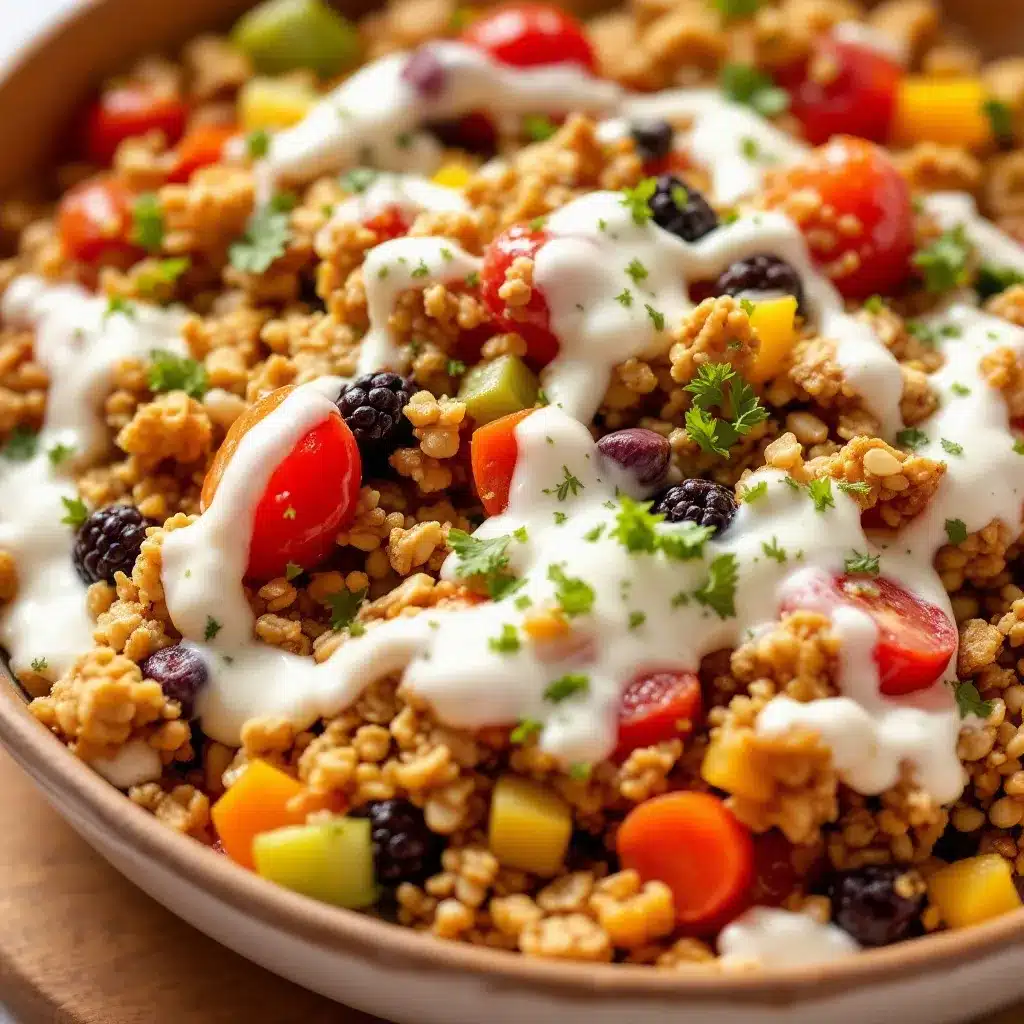
This recipe is almost embarrassingly easy. The hardest part is waiting for them to chill. Here’s how to make these healthy no-bake granola bars step by step.
- Line your pan. Cut a piece of parchment paper to fit your 8×8-inch pan, leaving about 2 inches of overhang on two opposite sides. This will act as handles later. Set the pan aside.
- Mix the dry ingredients. In a large mixing bowl, combine 2 cups rolled oats, 2 tablespoons chia seeds, 1/4 cup shredded coconut (if using), and a pinch of salt. Stir them together so everything is evenly distributed. Set aside.
- Warm the wet ingredients. In a small saucepan over low heat, combine 1/2 cup peanut butter and 1/3 cup honey. Stir constantly until the mixture is smooth and slightly runny — about 2 minutes. Don’t let it boil. Remove from heat and stir in 1 teaspoon vanilla extract.
- Combine wet and dry. Pour the warm peanut butter mixture over the dry ingredients. Use a spatula to fold everything together until all the oats are coated. The mixture should look slightly glossy and feel sticky but not wet. If it looks too dry, add a teaspoon of warm water. If it looks too wet, add a tablespoon of oats.
- Fold in the chocolate chips. Add 1/4 cup dark chocolate chips to the bowl and fold them in gently. You want them distributed evenly without melting too much from the warmth of the mixture.
- Press into the pan. Transfer the mixture to your lined pan. This is the most important step: press it down firmly and evenly. Use the back of a spatula or the bottom of a flat measuring cup. Really lean into it — the more compact it is, the better the bars will hold together. I usually spend a full minute pressing it flat.
- Chill. Place the pan in the refrigerator for at least 2 hours. If you’re in a hurry, 1 hour in the freezer works too. The bars need time to set, so don’t rush this step.
- Slice and serve. Once firm, lift the block out using the parchment paper overhang. Place it on a cutting board and use a sharp knife to cut into 12 even bars. A clean cut is key — wipe the knife between slices if it gets sticky.
A few things I’ve learned from making these bars more times than I can count: if your mixture feels too crumbly when pressing, you might need a little more liquid. Add a teaspoon of honey or a splash of warm water and mix again. Also, if you’re making these on a humid day, they might take a bit longer to set. Just give them extra time in the fridge.
These bars are also perfect for meal prep. I double the recipe and make two pans at once, then keep one in the fridge and one in the freezer. They’re always ready when I need them. If you’re looking for other easy snack ideas, these pair really well with frozen yogurt bark for a sweet and satisfying combo.
Cooking Tips & Techniques
I’ve made plenty of mistakes with no-bake bars, and I’m sharing them so you don’t have to. Here are the most important things I’ve learned.
Press hard and press evenly. The number one reason granola bars fall apart is that they weren’t pressed firmly enough into the pan. Use the back of a measuring cup or a flat-bottomed glass to really compact the mixture. You want it to feel solid, not fluffy. Think of it like packing a snowball — the tighter it is, the better it holds.
Don’t overheat the peanut butter. If you heat the peanut butter and honey too much, the mixture will become too runny, and the bars won’t set properly. Warm it just until it’s smooth and pourable. If you’re using the microwave, do 20-second intervals and stir in between. I once zapped mine for a full minute, and the bars turned out greasy and soft. Not my finest moment.
Let them chill completely. I know it’s tempting to cut into them after an hour, but 2 hours in the fridge makes a huge difference. The bars need time for the oats to absorb the moisture and for the peanut butter to firm up. If you cut too early, you’ll get a crumbly mess.
Use room temperature ingredients. If your peanut butter has been sitting in the fridge, let it come to room temperature before mixing. Cold peanut butter is harder to stir and won’t combine as smoothly with the honey. Same goes for the honey — if it’s crystallized, warm it gently before using.
Wipe your knife between cuts. This is a small thing, but it makes a big difference. The chocolate chips can stick to the knife and drag through the bars, making messy edges. A quick wipe with a damp paper towel between slices keeps everything clean and neat.
Variations & Adaptations
One of the best things about this recipe is how flexible it is. Here are some variations I’ve tried and loved.
Vegan version. Swap the honey for maple syrup or agave nectar. Use dairy-free chocolate chips. Everything else stays the same. The bars will be slightly softer, so chill them for an extra 30 minutes.
Nut-free option. Replace the peanut butter with sunflower seed butter or tahini. Sunflower seed butter can sometimes turn green when combined with baking soda, but since this recipe doesn’t use baking soda, you’re safe. The flavor will be a little different, but still delicious.
Protein boost. Add a scoop of vanilla or chocolate protein powder. Reduce the oats by 1/4 cup to compensate. You might need an extra tablespoon of honey to keep the bars from being too dry. I’ve done this with a chocolate peanut butter protein powder, and it was amazing.
Seasonal twist. In the fall, add 1/2 teaspoon cinnamon and 1/4 teaspoon nutmeg. Swap the chocolate chips for dried cranberries and chopped pecans. It tastes like a cozy autumn morning in bar form. In the summer, use dried cherries and white chocolate chips for a brighter flavor.
Crunchy version. Add 1/4 cup chopped almonds or walnuts. Toast them lightly in a dry pan first for extra flavor. The nuts add a satisfying crunch that contrasts with the chewy oats. If you’re a texture person, this is your version.
I personally love the cinnamon and dried cranberry variation. It reminds me of the oatmeal cookies my grandma used to make, but without all the sugar. If you’re into that kind of cozy flavor, you might also enjoy chocolate chip pumpkin bread for another comforting treat.
Serving & Storage Suggestions
These bars are best served cold or at room temperature. I prefer them straight from the fridge — they’re firmer and chewier that way. If you like a softer bar, let them sit out for 5 minutes before eating.
For serving: These are perfect on their own as a quick snack, but they also pair beautifully with a cup of coffee or a glass of milk. For a more filling option, crumble one over a bowl of Greek yogurt with fresh berries. It’s like a parfait in seconds.
For storage: Place the bars in an airtight container, separating layers with parchment paper to prevent sticking. They’ll keep in the refrigerator for up to 2 weeks. I’ve pushed it to 3 weeks, and they were still good — just a bit drier.
For freezing: These freeze beautifully. Wrap each bar individually in plastic wrap, then place them in a freezer-safe bag or container. They’ll keep for up to 3 months. To thaw, just leave one out at room temperature for 10 minutes, or eat it frozen — they’re actually really good frozen, like a chewy ice cream bar.
For lunchboxes: Pack a frozen bar in a lunchbox in the morning, and it will be perfectly thawed by lunchtime. No mess, no fuss. This has been a lifesaver for my busy workdays.
Nutritional Information & Benefits
Here’s the approximate nutritional breakdown for one bar (based on 12 servings):
- Calories: 185
- Protein: 6g
- Carbohydrates: 24g
- Fiber: 4g
- Sugar: 10g
- Fat: 9g
- Iron: 1.2mg
These bars are packed with fiber from the oats and chia seeds, which helps keep you full and supports healthy digestion. The peanut butter provides protein and healthy fats, making this a balanced snack that won’t spike your blood sugar. Chia seeds are also a great source of omega-3 fatty acids, which are good for heart and brain health.
If you’re watching your sugar intake, you can reduce the honey to 1/4 cup. The bars will be less sweet, but still tasty. For a lower-carb option, replace half the oats with unsweetened coconut flakes. Keep in mind that this will change the texture to be crunchier.
These bars are naturally gluten-free if you use certified gluten-free oats, and they’re dairy-free as long as you use dairy-free chocolate chips. They’re also vegetarian and can be made vegan with a simple swap. The only common allergen to watch for is peanuts, but that’s easily swapped with sunflower seed butter.
Conclusion
These healthy no-bake granola bars have become a staple in my kitchen for a reason. They’re quick, they’re foolproof, and they actually taste good — not like a compromise. I love knowing I have a batch in the fridge ready to grab when hunger hits, especially on days when I don’t have time to think about food.
What I love most about this recipe is how forgiving it is. You can swap ingredients, adjust the sweetness, or add whatever mix-ins you have on hand, and it still works. It’s the kind of recipe that builds confidence in the kitchen because it’s so hard to mess up. And when you nail it? You feel like a snack genius.
I’d love to hear how yours turn out. Did you try a fun variation? Add something unexpected? Drop a comment below and let me know — I read every single one. And if you share a photo on social media, tag me so I can see your creation. Happy snacking!
Frequently Asked Questions
Can I use quick oats instead of rolled oats?
Yes, you can. Quick oats will make the bars softer and less chewy. If you prefer a firmer bar, stick with rolled oats. If you only have quick oats, reduce the honey by a tablespoon to compensate for the extra moisture absorption.
Why did my bars fall apart when I cut them?
This usually happens for one of two reasons: you didn’t press the mixture firmly enough into the pan, or you didn’t chill them long enough. Make sure to press down hard and evenly, and give them at least 2 hours in the fridge. If they still fall apart, add an extra tablespoon of peanut butter next time.
Can I make these without a food processor?
Absolutely. This recipe doesn’t require a food processor at all. Everything is mixed by hand in a bowl. It’s one of the reasons I love it — no cleanup from extra appliances.
How long do these bars stay fresh?
In the refrigerator, they’ll stay fresh for up to 2 weeks in an airtight container. In the freezer, they’ll last up to 3 months. Just make sure they’re well-wrapped to prevent freezer burn.
Can I use almond butter instead of peanut butter?
Yes, almond butter works great. It has a slightly milder flavor, so you might want to add an extra pinch of salt to balance the sweetness. The texture will be similar, though almond butter can be a bit oilier, so chill the bars for an extra 30 minutes.
Pin This Recipe!
Healthy No-Bake Granola Bars: Easy 5-Minute Snack
These healthy no-bake granola bars are a quick, nutritious, and delicious snack made with simple pantry ingredients. Ready in just 5 minutes of prep, they’re perfect for busy days and naturally sweetened with honey.
- Prep Time: 5 minutes
- Cook Time: 0 minutes
- Total Time: 2 hours 5 minutes (includes chilling)
- Yield: 12 bars 1x
- Category: Snack
- Cuisine: American
Ingredients
- 2 cups rolled oats
- 1/2 cup creamy peanut butter
- 1/3 cup honey
- 1/4 cup dark chocolate chips
- 2 tablespoons chia seeds
- 1/4 cup unsweetened shredded coconut (optional)
- 1 teaspoon vanilla extract
- Pinch of salt
Instructions
- Line an 8×8-inch baking pan with parchment paper, leaving overhang on two opposite sides.
- In a large mixing bowl, combine rolled oats, chia seeds, shredded coconut (if using), and a pinch of salt. Stir to combine.
- In a small saucepan over low heat, warm peanut butter and honey together, stirring constantly until smooth and slightly runny (about 2 minutes). Do not let it boil. Remove from heat and stir in vanilla extract.
- Pour the warm peanut butter mixture over the dry ingredients. Fold together with a spatula until all oats are coated. The mixture should be glossy and sticky but not wet. Adjust with a teaspoon of warm water if too dry, or a tablespoon of oats if too wet.
- Gently fold in dark chocolate chips until evenly distributed.
- Transfer the mixture to the lined pan. Press down firmly and evenly using the back of a spatula or a flat measuring cup. Spend about a minute compacting it well.
- Refrigerate for at least 2 hours (or 1 hour in the freezer) until firm.
- Lift the block out using the parchment overhang, place on a cutting board, and slice into 12 even bars with a sharp knife. Wipe the knife between cuts for clean edges.
Notes
Press the mixture firmly into the pan to prevent crumbling. Chill for at least 2 hours for best results. For a vegan version, use maple syrup instead of honey and dairy-free chocolate chips. For a nut-free version, use sunflower seed butter. Store in an airtight container in the refrigerator for up to 2 weeks, or freeze individually wrapped bars for up to 3 months.
Nutrition
- Serving Size: 1 bar
- Calories: 185
- Sugar: 10
- Sodium: 80
- Fat: 9
- Saturated Fat: 2
- Carbohydrates: 24
- Fiber: 4
- Protein: 6
Keywords: healthy no-bake granola bars, easy granola bars, 5-minute snack, no-bake snack, peanut butter granola bars, homemade granola bars, healthy snack


