Love this? Save it for later!
Share the inspiration with your friends
My friend Sarah watched me fumbling with a bento box on a Tuesday morning, my three-year-old already sliding off his chair. She didn’t say anything at first. Then she slid a warm plate across the counter—two triangles of golden, crispy tortilla with melted cheese peeking out the sides. “Try this,” she said. “It’s the only thing my kids actually eat without negotiation.”
I was skeptical, honestly. I mean, a cheese quesadilla? That felt too simple to be the answer to my preschool lunch prayers. But let me tell you, that first bite changed everything. The crunch, the stretchy cheese, the way it fit perfectly in tiny hands. Sarah had been making these Easy Cheese Quesadilla Dippers for her four-year-old twins for months, and she swore by them. She told me the trick was cutting them into strips—dippers, she called them—so kids could hold them like fries. Genius.
The day I tried making them myself, I burned the first one. I got distracted, the pan got too hot, and suddenly I was scraping blackened cheese off a ruined tortilla. My son watched from his booster seat, and I laughed it off. “Mommy’s learning,” I said. We started over, and the second batch came out perfect. He grabbed a strip, dipped it in salsa, and smiled like I’d just handed him gold.
Maybe you’ve been there—staring at a pantry full of ingredients, wondering what will actually get eaten. These Easy Cheese Quesadilla Dippers became my go-to for that exact reason. They’re not fancy, but they’re reliable. And honestly, sometimes that’s exactly what parenting calls for.
Why You’ll Love This Recipe
Let me tell you why this recipe has earned a permanent spot in my weekly rotation. I’ve tested it with picky eaters, hungry toddlers, and even skeptical adults. Every single time, the plate comes back empty.
- Quick & Easy: You can make these Easy Cheese Quesadilla Dippers in under 10 minutes. From start to finish, it’s faster than waiting for takeout.
- Simple Ingredients: You only need three things—tortillas, cheese, and a little butter or oil. That’s it. No fancy grocery trips required.
- Perfect for Preschoolers: These dippers are designed for tiny hands. They’re easy to hold, easy to chew, and easy to dip.
- Crowd-Pleaser: I’ve served these at playdates, birthday parties, and even casual family dinners. Kids and adults both go crazy for them.
- Unbelievably Delicious: The combination of crispy, golden tortilla and warm, melty cheese is pure comfort food magic.
What makes these dippers different from every other quesadilla recipe out there? It’s the cut. By slicing them into strips instead of wedges, you turn a simple snack into something interactive and fun. Kids love dipping things—it’s a developmental thing, honestly. And the texture? Perfectly crispy on the outside, soft and stretchy on the inside.
This isn’t just another recipe you’ll forget about. This is the kind of meal that makes you feel like a superhero parent without actually doing much work. It’s comfort food simplified, with the same soul-soothing satisfaction as a full meal.
What Ingredients You Will Need
This recipe uses simple, everyday ingredients to deliver bold flavor and satisfying texture without any fuss. You probably already have everything in your kitchen right now.
- Flour tortillas (8-inch size works best for small hands) — I prefer Mission or Guerrero brand for their softness and flexibility. Look for tortillas that are pliable, not dry or cracked at the edges. Corn tortillas work too, but they’re smaller and less sturdy for dipping.
- Shredded cheese (1/2 cup per quesadilla) — Cheddar, Monterey Jack, or a Mexican blend all melt beautifully. I personally use Sargento shredded cheddar for its consistent melt and mild flavor that kids love. Shred your own if you have time—it melts even smoother—but pre-shredded works perfectly fine for busy mornings.
- Butter or oil (1 teaspoon per quesadilla) — Unsalted butter adds rich flavor and helps achieve that golden-brown crust. For a dairy-free option, use avocado oil or coconut oil. I’ve tried both, and butter gives the best crunch.
- Optional dippers: Salsa, sour cream, guacamole, or ranch dressing — These are for serving alongside. My son loves mild salsa, but plain Greek yogurt works great as a healthier dip alternative.
That’s seriously it. Three main ingredients, plus whatever dips you have on hand. The beauty of this recipe is its simplicity—no chopping, no measuring beyond the cheese, no complicated steps. It’s the kind of meal you can make with a toddler tugging at your leg.
For ingredient selection, I recommend using full-fat cheese for the best melt. Low-fat cheeses don’t stretch the same way, and honestly, kids don’t need the calorie savings. If you’re using pre-shredded cheese, look for one without anti-caking agents like cellulose—it melts more smoothly. But honestly, in a pinch, any shredded cheese will do.
Substitution-wise, you can use whole wheat tortillas for extra fiber, gluten-free tortillas if needed, or even lettuce wraps for a low-carb option. I’ve tried all three, and while none are quite as crispy as flour tortillas, they still taste great.
Equipment Needed
You don’t need fancy equipment for these Easy Cheese Quesadilla Dippers. Here’s what you’ll need:
- Non-stick skillet or griddle (8 to 10 inches) — This is your best friend for even browning. I use a ceramic non-stick pan because it requires less butter and cleans up in seconds.
- Spatula — A thin, flexible spatula makes flipping easier. I’ve ruined plenty of quesadillas with a thick spatula that tore the tortilla.
- Cutting board and sharp knife — For slicing the cooked quesadilla into strips. A pizza cutter works even better if you have one.
- Measuring spoons — For butter or oil. Honestly, I eyeball it now, but starting out, measuring helps.
- Small bowls — For serving dips. I use those little condiment cups from the dollar store—they’re perfect for tiny portions.
If you don’t have a non-stick skillet, a well-seasoned cast iron pan works beautifully. Just be careful with the heat—cast iron holds temperature longer. I once burned three quesadillas before figuring that out. Budget-friendly tip: a basic non-stick skillet from a discount store costs under $15 and works perfectly for this recipe.
Preparation Method
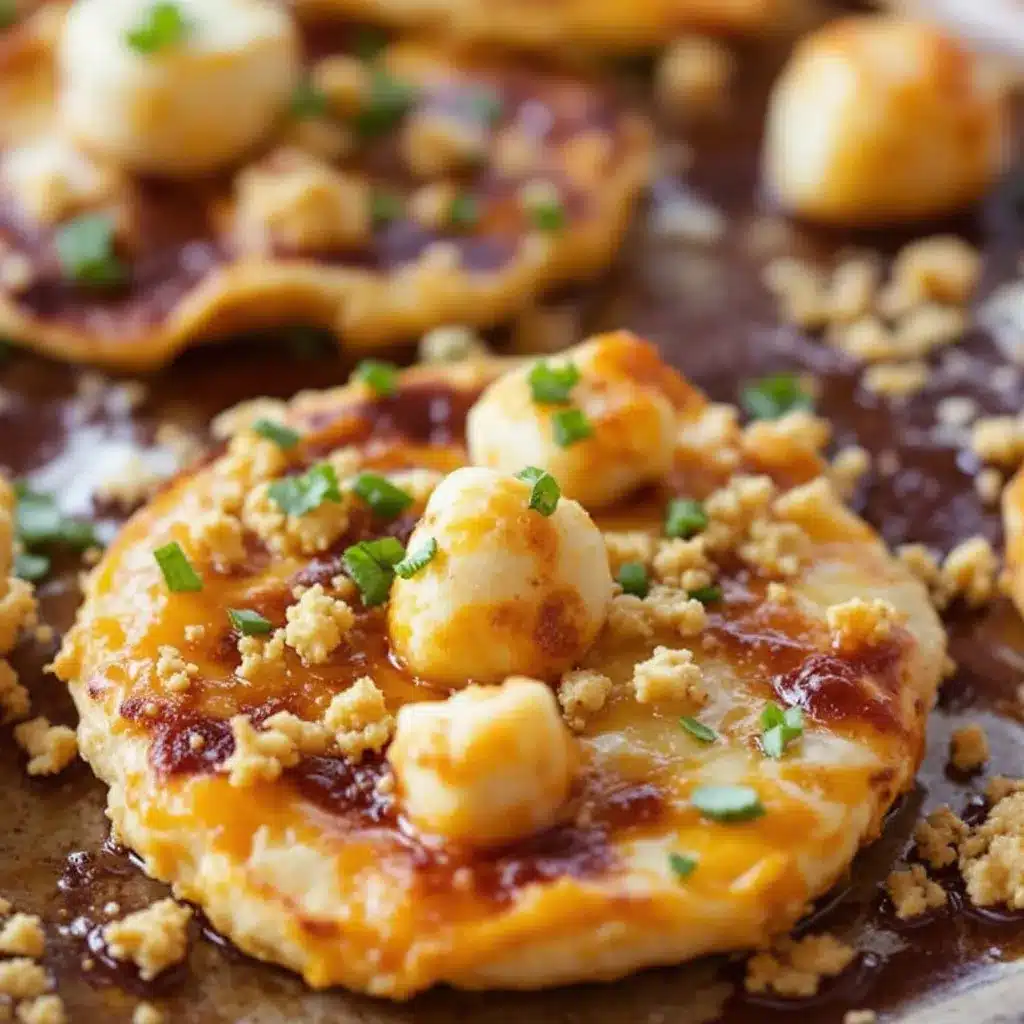
Let me walk you through making these Easy Cheese Quesadilla Dippers step by step. Trust me, you’ll memorize this after the first try.
- Heat your skillet over medium heat. (Not high, not low—medium is the sweet spot.) Let it warm up for about 2 minutes. You want it hot enough to sizzle when the tortilla hits the pan, but not so hot that the butter burns.
- Add 1 teaspoon of butter or oil to the pan. Swirl it around to coat the surface evenly. If using butter, watch for it to melt and foam slightly—that’s your cue to move fast.
- Place one tortilla in the pan. Let it cook for about 30 seconds, just until it starts to soften and warm up. This helps the cheese melt faster later.
- Sprinkle 1/2 cup of shredded cheese evenly over the tortilla. Spread it out, leaving a 1/2-inch border around the edges. This prevents cheese from oozing out when you flip it. I learned this the hard way—my first few attempts looked like a cheese explosion.
- Place the second tortilla on top. Press down gently with your spatula to help it stick. The cheese will start melting almost immediately.
- Cook for 2-3 minutes on the first side. Peek underneath after 2 minutes. You’re looking for golden-brown spots and a crispy texture. If it’s browning too fast, lower the heat. If it’s still pale after 3 minutes, bump it up slightly.
- Carefully flip the quesadilla. Use your spatula to lift one edge, then slide it under the center and flip in one smooth motion. Don’t worry if it’s messy—practice makes perfect. I’ve dropped more than one quesadilla on the stovetop.
- Cook for another 2-3 minutes on the second side. Again, look for golden-brown spots. The cheese should be fully melted and stretchy when you peek inside.
- Transfer to a cutting board and let it rest for 1 minute. This is important—cutting too early makes the cheese ooze everywhere. I’m impatient too, but trust me on this.
- Slice into strips. Using a sharp knife or pizza cutter, cut the quesadilla into 1-inch wide strips. For younger kids, cut them into smaller pieces. For older kids, longer strips work great for dipping.
- Serve immediately with your choice of dips. Warm quesadillas are best—they lose that crispy texture as they cool.
Here’s a sensory cue to watch for: when the cheese starts bubbling at the edges of the tortilla, you’re close to done. The smell should be toasty and buttery, not burnt. If you see smoke, your heat is too high.
For efficiency, I often make two or three quesadillas at a time using a large griddle. They reheat beautifully in a toaster oven or air fryer for 3 minutes at 350°F. Just don’t microwave them—they get soggy.
Cooking Tips & Techniques
After making these Easy Cheese Quesadilla Dippers dozens of times, I’ve picked up a few tricks that make a real difference.
Low and slow wins the race. I know you’re in a hurry, but rushing the heat leads to burnt tortillas and unmelted cheese. Medium heat gives you that perfect balance—crispy outside, gooey inside. I learned this after my third burnt quesadilla in one week.
Don’t overstuff. It’s tempting to pile on the cheese, but too much makes the quesadilla hard to flip and causes cheese to leak everywhere. Half a cup per quesadilla is the sweet spot. If you want extra cheesy, add a little more, but keep it reasonable.
Use room temperature tortillas. Cold tortillas straight from the fridge are stiff and crack when you fold them. Let them sit on the counter for 10 minutes before cooking. Or, microwave them for 10 seconds to soften them up.
Press down gently while cooking. Use your spatula to press the quesadilla down once or twice during cooking. This ensures even contact with the pan and helps the cheese melt uniformly.
Let it rest. I know, I mentioned this already. But seriously, that one-minute rest is non-negotiable. It lets the cheese set slightly so it doesn’t all slide out when you cut.
One mistake I made early on was using too much butter. I thought more butter meant more crispiness. Turns out, too much butter makes the tortilla greasy and soft instead of crispy. One teaspoon per quesadilla is plenty.
For timing, I usually start the quesadilla, then prepare the dips while it cooks. That way everything comes together at once. Multitasking like this saves me at least five minutes on busy mornings.
Variations & Adaptations
One of the best things about this recipe is how customizable it is. Here are some variations I’ve tried and loved.
Dietary adaptations: For gluten-free, use corn tortillas or gluten-free flour tortillas. For dairy-free, use vegan cheese shreds—I like Daiya or Violife brands. They melt differently than dairy cheese, so cook a minute longer. For lower fat, use part-skim mozzarella and skip the butter, cooking the tortilla dry.
Flavor variations: Add a sprinkle of garlic powder or onion powder to the cheese before cooking. Mix in cooked black beans or refried beans for extra protein. Add finely chopped spinach (thawed and squeezed dry) for hidden veggies. My personal favorite? A thin layer of refried beans under the cheese—it adds creaminess without changing the flavor much.
Seasonal twists: In summer, add fresh corn kernels or diced zucchini. In fall, try a sprinkle of pumpkin seeds or a dash of cinnamon. In winter, add roasted butternut squash puree for a sweet-savory combo.
Different cooking methods: You can make these in an air fryer at 350°F for 5-6 minutes, flipping halfway. Or in the oven at 400°F for 8-10 minutes on a baking sheet. Both methods give a slightly different texture—air fryer is crispier, oven is more even. I prefer the stovetop method for speed, but the air fryer is great for making multiple batches.
Protein add-ins: Shredded cooked chicken, ground beef, or crumbled tofu work great. Just make sure the add-ins are already cooked and finely chopped so they blend into the cheese evenly.
I once tried adding a layer of cream cheese to the inside, thinking it would make it extra creamy. It did, but it also made the quesadilla harder to flip. Stick with shredded cheese for the best results.
Serving & Storage Suggestions
These Easy Cheese Quesadilla Dippers are best served warm, right after cooking. The crispy exterior and melty interior are at their peak within the first 10 minutes.
Serving temperature: Serve them warm, not hot. Let them cool for 2-3 minutes after slicing so little fingers don’t get burned. I always test one myself first—quality control, you know.
Presentation ideas: Arrange the strips on a plate in a fan pattern, with a small bowl of dip in the center. For lunchboxes, pack the strips separately from the dip to prevent sogginess. Use silicone muffin cups to hold dip in bento boxes.
Complementary dishes: Serve with a side of fresh fruit (grapes, apple slices, berries), veggie sticks with ranch, or a simple side salad for adults. For a complete meal, add black beans or a small cup of soup.
Storage instructions: Store leftover quesadilla strips in an airtight container in the refrigerator for up to 3 days. Layer them with parchment paper to prevent sticking. For freezing, place strips in a single layer on a baking sheet, freeze for 1 hour, then transfer to a freezer bag. They keep for up to 2 months.
Reheating methods: The best way to reheat is in a toaster oven or air fryer at 350°F for 3-4 minutes. A skillet over medium heat works too—just 2 minutes per side. Avoid the microwave—it makes the tortilla soggy and the cheese rubbery. Trust me, I’ve tried.
Flavor development: These are best fresh, but leftover strips actually hold up surprisingly well. The cheese sets as it cools, so they become more like firm cheese sticks. My son actually eats them cold straight from the fridge sometimes.
Nutritional Information & Benefits
Here’s a rough estimate per serving (one quesadilla cut into strips, without dip):
- Calories: 320-380
- Protein: 14-18g
- Carbohydrates: 28-32g
- Fat: 16-20g
- Fiber: 2-3g
- Calcium: 250-300mg (25-30% of daily value)
Health benefits: Cheese is an excellent source of calcium and protein, both essential for growing kids. Tortillas provide carbohydrates for energy. Using whole wheat tortillas adds fiber and B vitamins. This recipe is naturally vegetarian and can be made gluten-free or dairy-free with simple substitutions.
Dietary considerations: This recipe contains dairy and gluten (unless modified). It’s nut-free, egg-free, and soy-free as written. For lower sodium, use reduced-sodium cheese and skip added salt.
Personal perspective: I love that this recipe lets me feel good about what my son is eating. It’s real food, not processed snacks. And because it’s so quick, I don’t feel guilty making it on busy days. It’s a win-win in my book.
Conclusion
These Easy Cheese Quesadilla Dippers have honestly become a staple in my kitchen. They’re the recipe I turn to on chaotic mornings, tired afternoons, and everything in between. They’re simple, reliable, and always deliver a smile.
I hope you give them a try. Customize them however you like—add beans, swap the cheese, experiment with different dips. That’s the beauty of this recipe. It’s a starting point, not a rigid rulebook.
Personally, I love that these dippers remind me of that morning with Sarah. That simple moment of connection over a warm plate of cheese and tortilla changed how I approached preschool lunches. Sometimes the simplest recipes hold the most meaning.
If you make these, I’d love to hear about it. Leave a comment below, share your favorite variation, or tag me in your photos. Happy cooking, and enjoy those happy little dippers!
Frequently Asked Questions
Can I use corn tortillas instead of flour?
Yes, absolutely. Corn tortillas are smaller and slightly less flexible, but they work great. They crisp up nicely and have a different, slightly nutty flavor. Just be careful when flipping—they can be more fragile.
How do I keep the quesadilla from getting soggy?
The key is not overloading with wet ingredients. If you’re adding beans or veggies, make sure they’re drained and patted dry. Also, serve dips on the side rather than on top. And always reheat in a dry pan or toaster, not the microwave.
Can I make these ahead of time for meal prep?
Definitely. Cook the quesadillas, let them cool completely, then store in the fridge for up to 3 days. Reheat in a toaster oven or air fryer for best results. You can also freeze them for up to 2 months.
What cheese melts best for quesadillas?
I find that cheddar, Monterey Jack, and mozzarella all melt beautifully. A Mexican blend is fantastic too. Avoid very hard cheeses like Parmesan—they don’t melt smoothly. Pre-shredded cheese works fine, but freshly shredded melts even better.
My toddler is a picky eater. Any tips for introducing these?
Start with just cheese—no add-ins. Cut the strips into very small pieces, about the size of a finger. Serve with a familiar dip like ketchup or ranch. Let your child help make them—even just sprinkling the cheese can build excitement. And don’t stress if they don’t eat them right away. Keep offering without pressure.
Pin This Recipe!
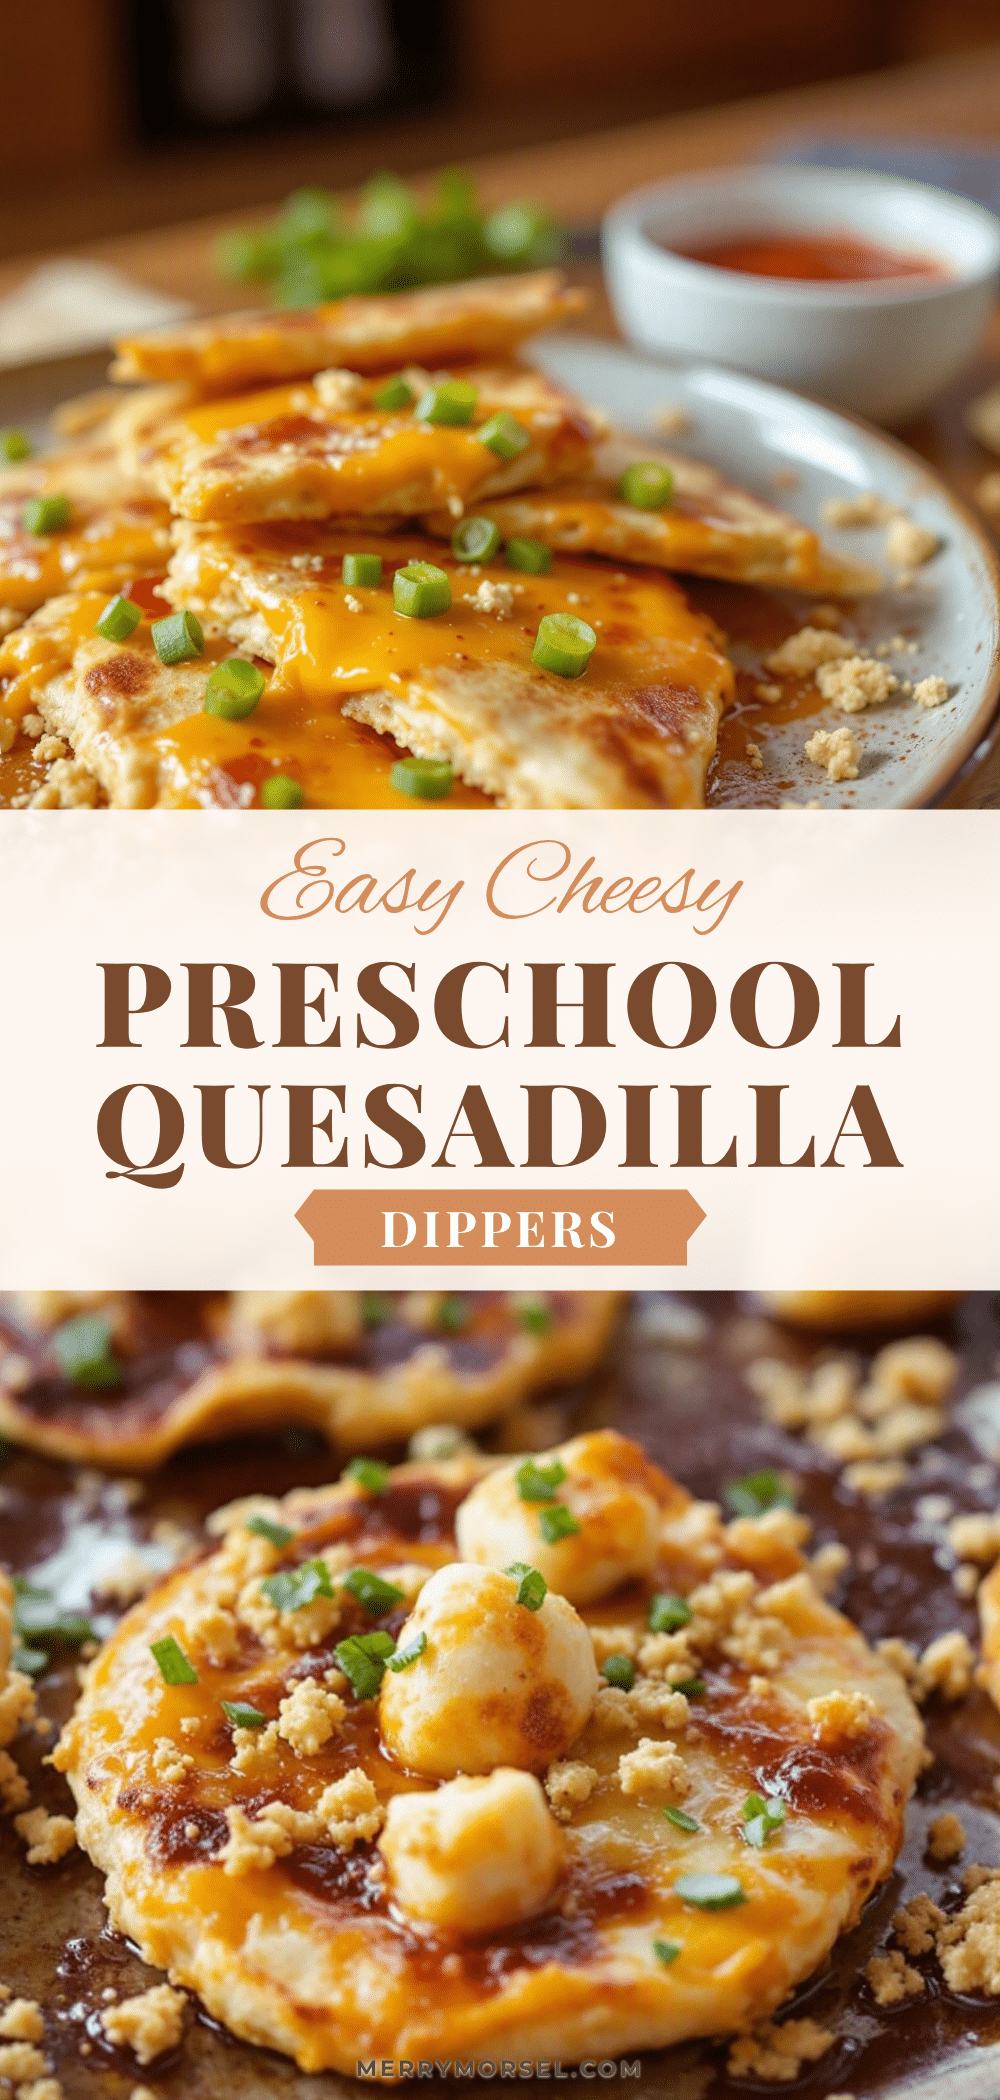
Easy Cheese Quesadilla Dippers: 10-Minute Preschool Lunch

Quick and easy cheese quesadilla dippers made in under 10 minutes with just three ingredients. Perfect for preschool lunches, picky eaters, and busy parents.
- Prep Time: 2 minutes
- Cook Time: 6 minutes
- Total Time: 8 minutes
- Yield: 4 servings (1 quesadilla cut into strips) 1x
- Category: Lunch
- Cuisine: Mexican-American
Ingredients
- 2 flour tortillas (8-inch)
- 1/2 cup shredded cheese (cheddar, Monterey Jack, or Mexican blend)
- 1 teaspoon butter or oil
- Optional: salsa, sour cream, guacamole, or ranch dressing for dipping
Instructions
- Heat a non-stick skillet over medium heat for about 2 minutes.
- Add 1 teaspoon of butter or oil to the pan and swirl to coat.
- Place one tortilla in the pan and cook for 30 seconds until softened.
- Sprinkle 1/2 cup of shredded cheese evenly over the tortilla, leaving a 1/2-inch border around the edges.
- Place the second tortilla on top and press down gently with a spatula.
- Cook for 2-3 minutes on the first side until golden-brown spots appear.
- Carefully flip the quesadilla and cook for another 2-3 minutes on the second side.
- Transfer to a cutting board and let rest for 1 minute.
- Slice into 1-inch wide strips using a sharp knife or pizza cutter.
- Serve immediately with your choice of dips.
Notes
Use medium heat for best results—too high burns the tortilla, too low prevents crisping. Let the quesadilla rest for 1 minute before cutting to prevent cheese from oozing out. For meal prep, cook and refrigerate for up to 3 days; reheat in a toaster oven or air fryer at 350°F for 3-4 minutes. Avoid microwaving as it makes the tortilla soggy.
Nutrition
- Serving Size: 1 quesadilla cut int
- Calories: 350
- Sugar: 2
- Sodium: 520
- Fat: 18
- Saturated Fat: 10
- Carbohydrates: 30
- Fiber: 2
- Protein: 16
Keywords: cheese quesadilla, preschool lunch, easy lunch, kid-friendly, quick meal, dippers, tortilla, cheese


