Love this? Save it for later!
Share the inspiration with your friends
“I wasn’t even planning to make corn on the cob that day,” I confessed to myself one sticky July afternoon. The old grill was on the fritz again—smoke billowing like a fog machine at a concert, and honestly, I was already running late for a last-minute backyard hangout with friends. You know that feeling when you want something simple, juicy, and satisfying, but your tools are working against you? Yeah, that was me.
So there I was, staring at a pile of fresh corn, wondering if I’d have to skip my favorite summer side. Then I remembered a trick a coworker once shared over lunch—something about cooking corn perfectly without the grill. I thought, why not? The kitchen was a mess, the clock was ticking, but that little spark of “let’s just try this” turned into a total game changer.
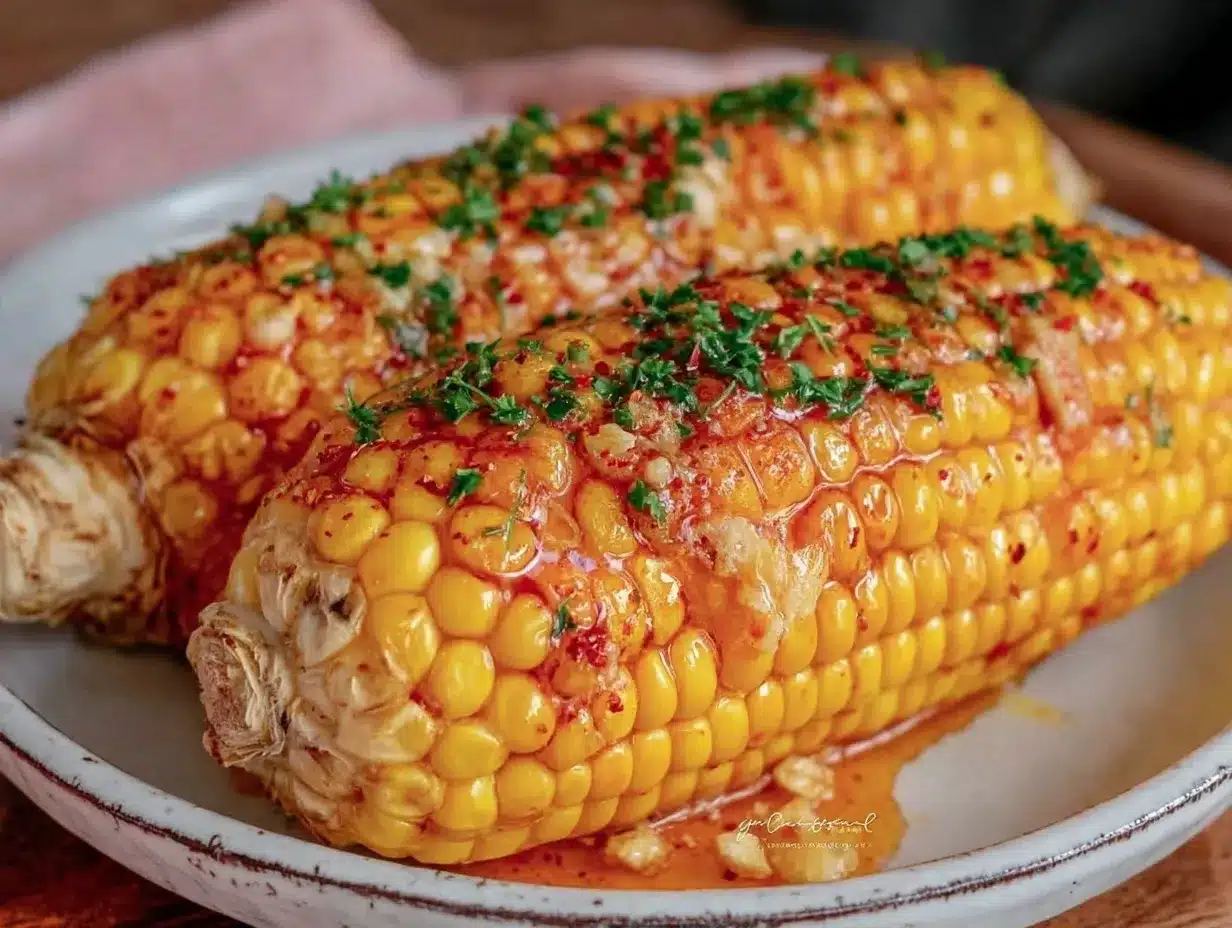
The result? Easy juicy cooler corn on the cob that’s bursting with flavor, tender yet crisp, and all done without firing up a single flame outdoors. I mean, who knew stovetop and ice baths could team up like that? The best part: no smoky mess, no waiting in line for the grill, just pure, sweet corn goodness ready in under 20 minutes.
Maybe you’ve been there too—needing a quick, fuss-free way to make corn that’s just as good (if not better) than grilled. This recipe stuck with me because it’s reliable, delicious, and honestly, it’s the kind of thing I make over and over when the weather’s crazy or when I just don’t feel like dealing with charcoal. Let me tell you, once you try this, you might never go back to the grill for corn again.
Why You’ll Love This Recipe
From my many experiments in the kitchen, this easy juicy cooler corn on the cob recipe stands out for several reasons. It’s not just another boiled corn recipe; it’s thoughtfully crafted to keep every kernel popping with natural sweetness and juicy texture. Here’s what makes it a must-try:
- Quick & Easy: Comes together in about 15-20 minutes—perfect for busy weeknights or impromptu BBQs when time isn’t on your side.
- Simple Ingredients: You only need fresh corn, water, and a few pantry staples. No complicated marinades or specialty items needed.
- Perfect for No-Grill Gatherings: Great for apartment dwellers, rainy days, or anyone avoiding the hassle of outdoor grilling.
- Crowd-Pleaser: Kids love it, adults rave about it, and it pairs beautifully with everything from grilled chicken to light summer salads.
- Unbelievably Delicious: The secret ice bath step locks in the juiciness and crunch that often gets lost in traditional boiling.
What really sets this recipe apart is the cooling method after cooking. It refreshes the corn, keeps it crisp, and gives you that “just picked” feeling that’s honestly rare outside of a farmstand. I’ve tested this method multiple times—whether for a family picnic or a last-minute potluck—and it never fails to impress.
Plus, it’s flexible. Want to add a sprinkle of smoky paprika or a drizzle of lime butter? Go ahead. But even plain, this corn tastes like a little summer vacation on a plate.
What Ingredients You Will Need
This recipe uses simple, wholesome ingredients to deliver bold flavor and satisfying texture without the fuss. Most of these are pantry staples, and fresh corn is the star you’ll want to grab from your local market or farmer’s stand. If fresh corn isn’t in season, frozen can be a decent fallback, but fresh is definitely best.
- Fresh Corn on the Cob: 4 ears, husked and cleaned (look for plump kernels and bright green husks for freshness)
- Water: Enough to cover the corn completely in your pot (about 4 quarts / 3.8 liters)
- Salt: 1 tablespoon for the boiling water (enhances natural sweetness)
- Ice Cubes: 2 cups (for the ice bath to cool the corn quickly)
- Butter: 4 tablespoons, softened (optional but recommended for serving)
- Freshly Ground Black Pepper: to taste (optional)
Optional Additions:
- Smoked Paprika: a pinch for a subtle smoky flavor without the grill
- Lime Wedges: for a bright, zesty finish
- Chopped Fresh Herbs: like parsley or cilantro for a fresh pop
For the butter, I usually go for Plugrá or Kerrygold because they melt beautifully and add a rich, creamy note. If you want a dairy-free option, coconut oil works surprisingly well here too.
Equipment Needed
To make this easy juicy cooler corn on the cob, you don’t need fancy gadgets—just straightforward kitchen essentials:
- Large Pot: A 5-quart (4.7-liter) pot or larger to boil the corn comfortably
- Tongs: For safely removing hot corn from the boiling water
- Large Bowl: Big enough to hold an ice bath (water + ice cubes) to cool the corn quickly
- Knife: For husking and trimming the corn if needed
- Cutting Board: To prep the corn safely
If you don’t have a large bowl for the ice bath, a clean sink works just as well—just make sure it’s spotless! I’ve also used mesh strainers to drain corn, but tongs are more precise and less messy.
Pro tip: Keep your tongs handy and organized—mine always get misplaced mid-cooking, and I swear it adds five minutes of chaos every time.
Preparation Method
- Prep the Corn: Start by removing the husks and silky threads from each ear of corn. Rinse them under cold water to remove any stubborn silk strands. This should take about 5 minutes for 4 ears.
- Boil Water: Fill your large pot with about 4 quarts (3.8 liters) of water, add 1 tablespoon of salt, and bring it to a rolling boil over high heat. This step usually takes 8-10 minutes depending on your stove.
- Cook the Corn: Carefully add the corn ears to the boiling water using tongs. Cover the pot to bring the water back to a boil quickly. Once boiling again, cook the corn for exactly 4 minutes—this keeps it tender-crisp and juicy.
- Prepare Ice Bath: While the corn cooks, fill your large bowl with cold water and ice cubes (about 2 cups). This is crucial to stop the cooking immediately and lock in that juicy texture.
- Cool the Corn: After 4 minutes, remove the corn quickly with tongs and plunge it straight into the ice bath. Let it chill for 3-5 minutes until fully cooled. This step keeps the corn from becoming mushy and adds a refreshing snap.
- Serve: Pat each ear dry with a clean towel. Brush or spread softened butter over the corn, sprinkle with freshly ground black pepper, and add any optional seasonings like smoked paprika or a squeeze of lime. Serve immediately or chill for later.
Note: If the corn finishes cooking before your guests are ready, keep the ears in a warm oven (around 200°F / 93°C) wrapped in foil to maintain warmth without drying out.
From my experience, timing is everything here—overcooking makes the kernels soggy, and skipping the ice bath means losing that fresh, crisp bite. So, set a timer and don’t wander off!
Cooking Tips & Techniques
Cooking corn without a grill might sound simple, but I’ve learned a few things that really make a difference in this recipe:
- Don’t Overcook: Boiling corn for too long is a common mistake (I’ve been guilty!). Four minutes is just enough to heat through and soften kernels without losing snap.
- Ice Bath is Non-Negotiable: Trust me, skipping this step leads to limp corn that feels tired, not fresh. The cold water shocks the corn and keeps it bright and juicy.
- Use Fresh Corn: Fresh, sweet corn is key. If you buy corn a few days old, the sugars start converting and the flavor dulls. I usually shop early on Fridays at the farmer’s market for peak freshness.
- Butter While Warm: Spread butter right after drying the corn so it melts perfectly. If the corn cools too much, the butter won’t spread evenly.
- Season Simply: Sometimes less is more. Salt, pepper, and butter highlight the corn’s natural sweetness. But don’t hesitate to experiment with your favorite herbs or spices later.
One time, I forgot the ice bath (yes, rookie move) and ended up with mushy corn. Lesson learned! Since then, I keep a bowl ready near the stove during summer cookups.
Variations & Adaptations
This recipe is a fantastic base, and I’ve played around with a few variations that add personality without complicating things:
- Mexican-Style: After buttering, sprinkle with chili powder, cotija cheese, and a squeeze of lime for a street-corn vibe.
- Garlic Herb: Mix softened butter with minced garlic and chopped parsley before spreading on the corn. It adds a savory punch that pairs well with grilled meats.
- Vegan Option: Swap butter for olive oil or vegan margarine. Add a sprinkle of smoked paprika or nutritional yeast for extra flavor.
- Microwave Method: For ultra-fast prep, wrap each ear in a damp paper towel and microwave for 3-4 minutes. Then transfer to ice bath as usual. The texture won’t be quite the same, but it’s a handy shortcut.
- Roasted Flavor: Toss cooked corn in a cast iron pan with a bit of smoked salt and olive oil, heating briefly to add a subtle char without a grill.
Personally, I tried the garlic herb variation last weekend when making roasted garlic chicken, and it was a hit. The fresh herbs really lifted the meal without overshadowing the corn’s sweetness.
Serving & Storage Suggestions
This easy juicy cooler corn on the cob is best served warm or at room temperature right after cooking. The butter melts into every crevice, and the kernels pop with juicy sweetness.
Try pairing it with grilled or roasted proteins, fresh summer salads, or even a tangy coleslaw to balance the richness. For drinks, a crisp white wine or an ice-cold lemonade complements the flavors beautifully.
If you have leftovers (and who doesn’t love leftover corn?), store them in an airtight container in the refrigerator for up to 3 days. Reheat gently in the microwave or warm oven wrapped in foil to keep it moist.
Pro tip: You can also cut the kernels off the cob and toss them into salads, salsas, or corn fritters. The flavor is surprisingly versatile and holds up well after chilling.
Over time, the sweetness deepens slightly as the natural sugars settle, so sometimes I make corn a day ahead for potlucks. Just keep it covered and chilled until serving.
Nutritional Information & Benefits
This corn on the cob recipe is a wholesome, naturally gluten-free side that’s low in fat but rich in fiber and essential nutrients.
- Calories: Approximately 100-120 per ear (without butter)
- Fiber: Corn is a good source of dietary fiber, aiding digestion.
- Vitamins: High in vitamin C and B vitamins, supporting immunity and energy.
- Antioxidants: Contains lutein and zeaxanthin, beneficial for eye health.
For those watching carbs, corn is moderate but offers complex carbs and natural sugars, making it a great energy source. Using butter adds some healthy fats and flavor but can be adjusted or substituted as needed.
I personally appreciate this recipe as a way to enjoy seasonal produce without extra additives or complicated processing. It’s one of those simple pleasures that feels good and tastes even better.
Conclusion
This easy juicy cooler corn on the cob recipe is proof that you don’t need a grill to enjoy sweet, tender corn bursting with flavor. Whether you’re short on time, stuck indoors, or just avoiding the smoky mess, this method delivers consistently delicious results.
Feel free to customize the seasoning or serving style to fit your taste—this recipe is forgiving and flexible. Honestly, it’s become my go-to for summer gatherings, casual dinners, or whenever I crave that fresh corn goodness without fuss.
If you give it a try, I’d love to hear how you make it your own. Drop a comment below or share your favorite twist—maybe you add a spicy butter blend or fresh herbs I haven’t thought of yet!
Here’s to juicy, easy corn on the cob that makes every meal a little brighter and every cookout effortless. Happy cooking!
FAQs
Can I use frozen corn for this recipe?
Frozen corn can work in a pinch, but fresh corn on the cob gives you the best texture and sweetness. If using frozen, steam or boil it briefly and skip the ice bath step.
How do I know when the corn is done cooking?
After boiling for 4 minutes, the kernels should be tender but still slightly crisp. Overcooking will make them mushy, so stick to the timing and cool in ice water immediately.
Is the ice bath really necessary?
Yes! The ice bath stops the cooking instantly and locks in juiciness and crunch. Skipping it usually results in softer, less vibrant corn.
Can I prepare the corn ahead of time?
Absolutely. Cook and cool the corn, then refrigerate in an airtight container for up to 3 days. Reheat gently before serving or enjoy cold as a refreshing snack.
What’s the best way to reheat leftover corn?
Wrap corn in foil and warm it in a 350°F (175°C) oven for about 10 minutes or microwave it covered for 1-2 minutes. Avoid overheating to keep the kernels juicy.
Pin This Recipe!
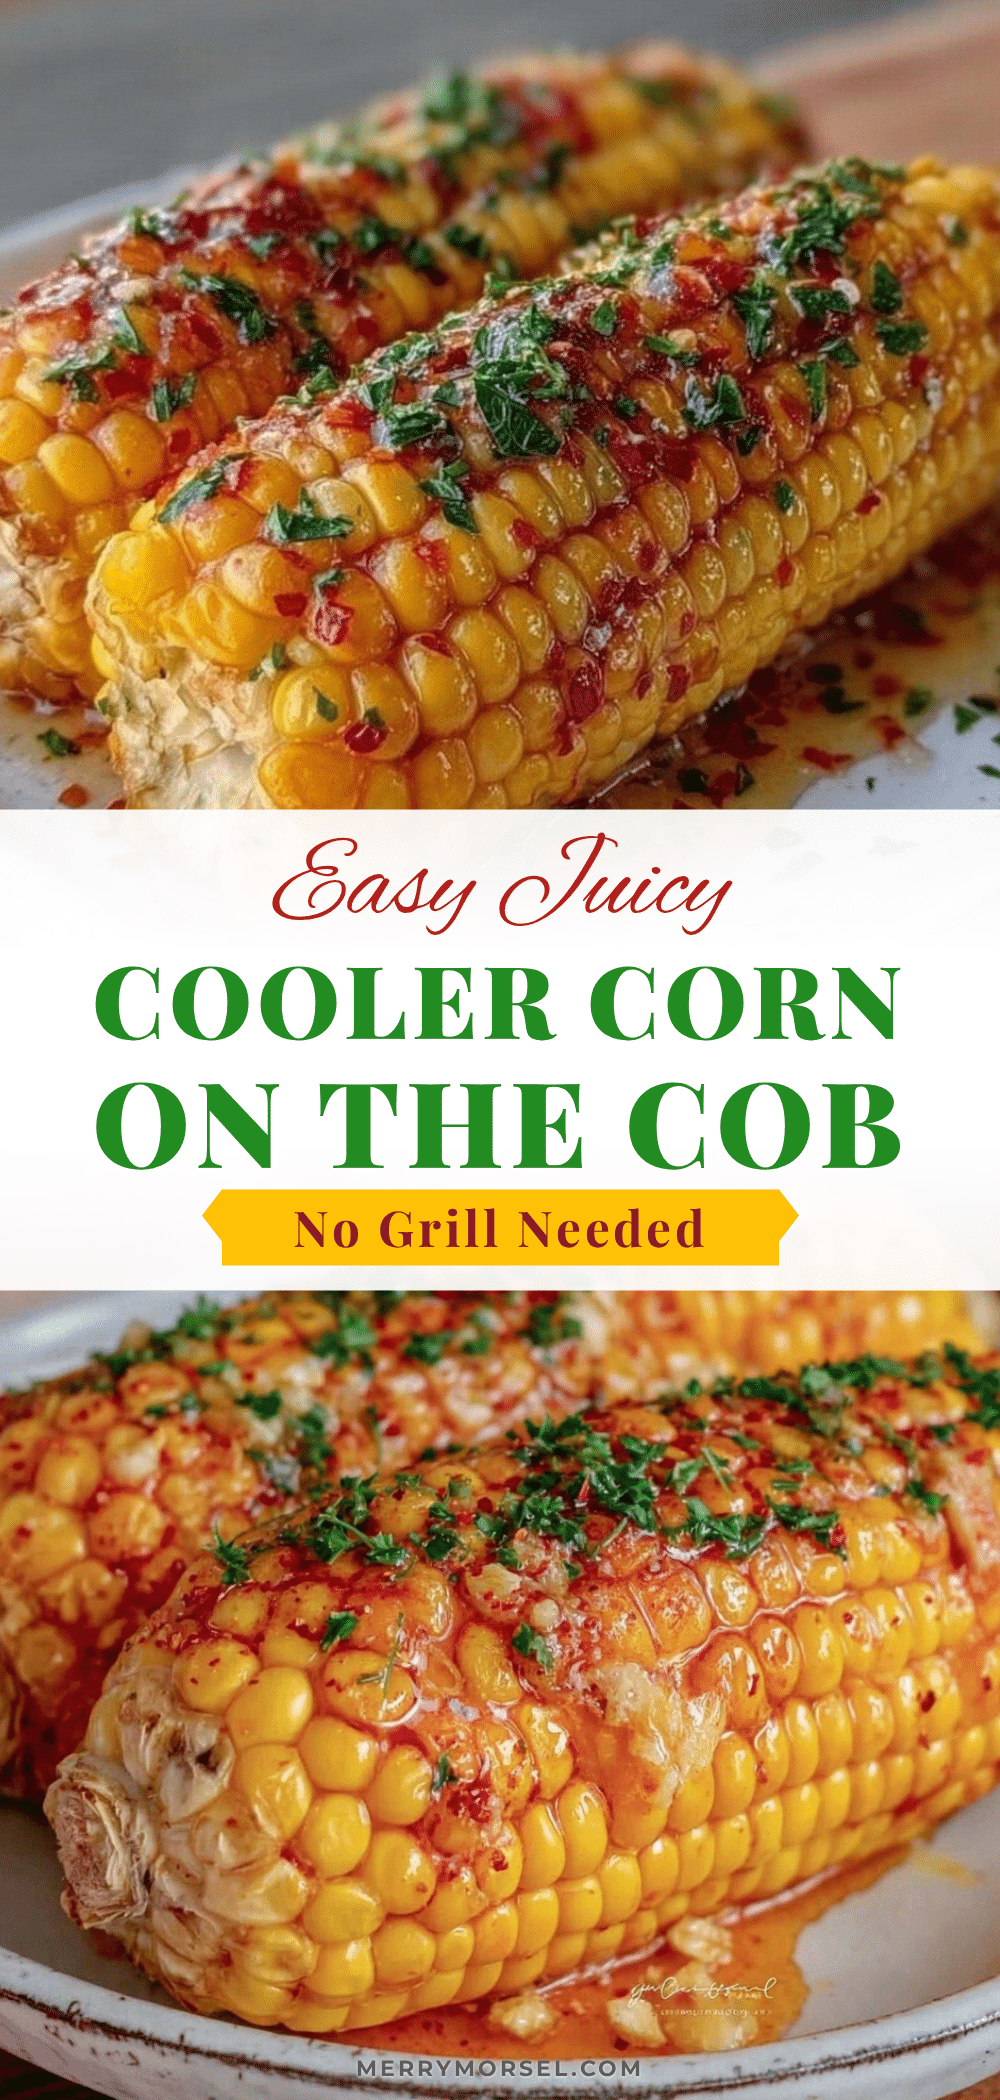
Easy Juicy Cooler Corn on the Cob Recipe Perfect for No Grill BBQs

A quick and easy stovetop corn on the cob recipe that delivers juicy, tender-crisp corn without the need for a grill, featuring a unique ice bath step to lock in freshness.
- Prep Time: 5 minutes
- Cook Time: 12 minutes
- Total Time: 17 minutes
- Yield: 4 servings 1x
- Category: Side Dish
- Cuisine: American
Ingredients
- 4 ears fresh corn on the cob, husked and cleaned
- About 4 quarts (3.8 liters) water
- 1 tablespoon salt
- 2 cups ice cubes
- 4 tablespoons softened butter (optional)
- Freshly ground black pepper to taste (optional)
- Optional: smoked paprika, lime wedges, chopped fresh herbs (parsley or cilantro)
Instructions
- Remove husks and silky threads from each ear of corn. Rinse under cold water to remove any remaining silk strands (about 5 minutes).
- Fill a large pot with about 4 quarts of water, add 1 tablespoon salt, and bring to a rolling boil over high heat (8-10 minutes).
- Carefully add corn ears to boiling water using tongs. Cover pot and bring water back to a boil quickly. Cook corn for exactly 4 minutes.
- While corn cooks, prepare an ice bath by filling a large bowl with cold water and 2 cups of ice cubes.
- Remove corn from boiling water with tongs and immediately plunge into the ice bath. Chill for 3-5 minutes until fully cooled.
- Pat each ear dry with a clean towel. Brush or spread softened butter over the corn, sprinkle with freshly ground black pepper, and add any optional seasonings. Serve immediately or chill for later.
Notes
Do not overcook the corn; 4 minutes boiling keeps kernels tender-crisp. The ice bath is essential to stop cooking and lock in juiciness. Use fresh corn for best flavor and texture. Butter spreads best when corn is warm. If not serving immediately, keep corn warm in a 200°F oven wrapped in foil.
Nutrition
- Serving Size: 1 ear of corn
- Calories: 100120
- Sugar: 6
- Sodium: 400
- Fat: 4
- Saturated Fat: 2.5
- Carbohydrates: 21
- Fiber: 2
- Protein: 3
Keywords: corn on the cob, stovetop corn, no grill corn, easy corn recipe, summer side dish, juicy corn, ice bath corn