Love this? Save it for later!
Share the inspiration with your friends
Introduction
“I wasn’t planning on making anything fancy that Tuesday night,” I admit. It was one of those busy midweek evenings where the last thing I wanted was to spend forever in the kitchen. But then my neighbor, Mr. Ellis—who’s more of a quiet guy and definitely not known for cooking—leaned over the fence and casually mentioned his secret for the crispiest, most flavorful chicken breast he’d ever made. Honestly, I was skeptical at first.
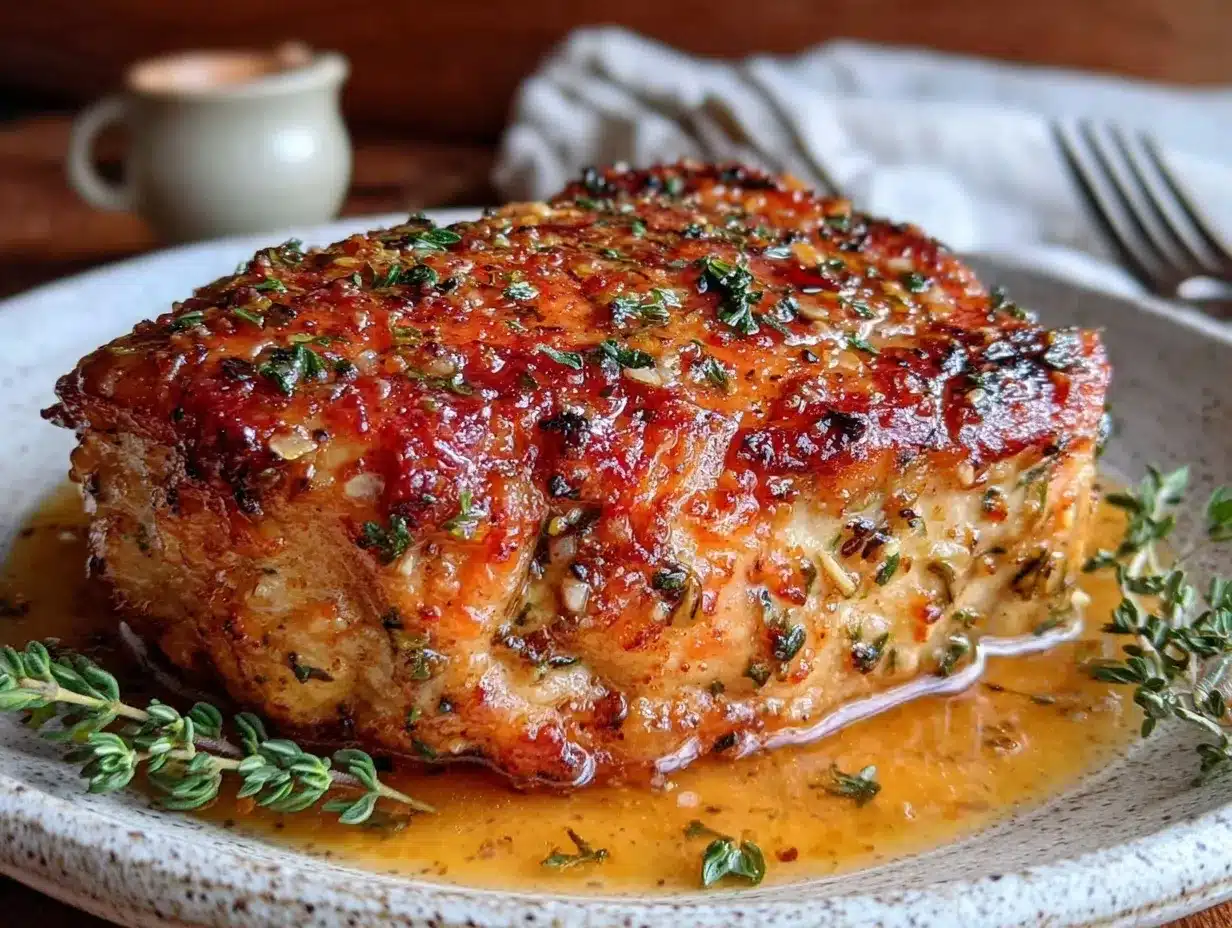
His tip? A simple garlic butter pan-fry technique that takes under 20 minutes from start to finish. I figured, why not? The next day, I tried it with just a few pantry staples I already had lying around. The result was unexpectedly delicious: a golden-crisp crust with juicy, tender meat inside, and that irresistible buttery garlic aroma filling the kitchen. I mean, cooking doesn’t have to be complicated or time-consuming to taste incredible, right?
Maybe you’ve been there too—wanting a quick dinner that feels special without the hassle. This quick crispy garlic butter chicken breast recipe quickly became one of my go-to dishes, perfect for those evenings when life gets hectic but you still want a satisfying meal. Plus, it’s flexible enough to pair with almost anything, so it’s never boring. Let me tell you, the first time I forgot to season the chicken properly, it was a bit of a bummer, but I learned fast. Now, I’m sharing this with you because it deserves to be your kitchen hack too!
Why You’ll Love This Recipe
After testing countless chicken breast recipes over the years, this quick crispy garlic butter chicken breast stands out for a few reasons. I’ve made it for family dinners, rushed weeknight meals, and even casual get-togethers—and it always impresses. Here’s why you might want to keep this recipe handy:
- Quick & Easy: Ready in less than 20 minutes, so it’s perfect when you don’t have time to fuss.
- Simple Ingredients: Mostly pantry staples like garlic, butter, and basic seasonings—no last-minute grocery runs needed.
- Perfect for Dinner: Whether it’s a solo meal or you’re feeding a small crowd, it’s satisfying without being heavy.
- Crowd-Pleaser: The crispy outside and juicy inside combo always earns compliments from both kids and adults.
- Unbelievably Delicious: The buttery garlic flavor seeps into the chicken while keeping it moist and tender.
This isn’t just another fried chicken breast recipe. The trick is in the balance—getting a golden crust without drying out the meat, and the garlic butter adds a rich, aromatic depth you won’t find in ordinary pan-fried chicken. Honestly, it’s the kind of dish that makes you close your eyes and savor each bite. Plus, it’s flexible enough to dress up or down, depending on your mood or occasion.
What Ingredients You Will Need
This recipe uses simple, wholesome ingredients to deliver bold flavor and satisfying texture without much fuss. Most of these are kitchen staples, and you can easily swap a few based on what you have on hand.
- Chicken breasts – 2 large, boneless and skinless (about 6-8 ounces / 170-225 grams each). I prefer fresh, but thawed frozen works fine too.
- Salt and black pepper – to taste (season generously for best flavor).
- Garlic cloves – 3 large, minced or finely chopped (fresh garlic is key for that punch).
- Unsalted butter – 3 tablespoons (I recommend Kerry Gold for its creamy texture).
- Olive oil – 2 tablespoons (helps get that golden crisp without burning the butter).
- Dried Italian herbs – 1 teaspoon (optional, but adds a nice herbal note).
- Fresh parsley – 2 tablespoons chopped (for garnish and freshness).
- Lemon wedges – for serving (adds brightness and cuts through the richness).
Substitution tips: Use avocado oil instead of olive oil if you prefer a higher smoke point. If you’re dairy-free, swap butter for vegan butter or coconut oil, but the flavor will shift slightly. For a bit of extra zing, a pinch of smoked paprika or red pepper flakes can be added to the seasoning.
Equipment Needed
- Non-stick or stainless steel skillet: A 10-inch (25 cm) pan works well. I’ve used both, but stainless steel gives a better crust if you’re comfortable monitoring the heat.
- Tongs: For flipping the chicken safely and easily.
- Sharp knife and cutting board: For prepping garlic and trimming chicken.
- Meat mallet or rolling pin (optional): To gently pound chicken to even thickness, helping it cook evenly.
- Instant-read thermometer (optional): Great for checking doneness without cutting into the meat.
If you don’t have a meat mallet, pressing the chicken between two sheets of parchment paper with a heavy pan works fine. For budget-friendly options, a good-quality non-stick skillet can be found for under $20 and really makes this recipe easier. I keep my tools simple, and that’s part of why this recipe feels so accessible.
Preparation Method
- Prep the chicken: If your chicken breasts are uneven in thickness, gently pound them to about ¾ inch (2 cm) thickness to ensure even cooking. Pat them dry with paper towels—this helps achieve the crispy crust. Season both sides generously with salt, pepper, and Italian herbs if using. (Approx. 5 minutes)
- Heat the pan: Place your skillet over medium heat and add the olive oil. Let it heat until shimmering but not smoking—this usually takes about 2 minutes. (Tip: Don’t rush the oil heating; it’s crucial for crispiness.)
- Add the chicken: Carefully place the chicken breasts in the pan, laying them away from you to avoid splatter. Don’t overcrowd the pan; if needed, cook in batches. Let the chicken cook undisturbed for 5-6 minutes. You’ll know it’s ready to flip when the edges look opaque and the bottom is golden brown. (Use tongs to lift a corner gently to check.)
- Flip and add garlic butter: Flip the chicken breasts over. Immediately add the butter and minced garlic to the pan. As the butter melts, tilt the pan slightly and spoon the garlic butter over the chicken repeatedly for flavor and moisture. Continue cooking for another 5-6 minutes or until the internal temperature reaches 165°F (74°C). (Use an instant-read thermometer if unsure.)
- Rest and garnish: Remove the chicken from the pan and let it rest for 5 minutes—this locks in the juices. Sprinkle chopped fresh parsley on top and serve with lemon wedges on the side for squeezing over. (Resting is key for juicy chicken!)
Pro tip: If the garlic starts to brown too quickly or burn, reduce the heat slightly. Burnt garlic can turn bitter, so keep an eye and stir gently. Also, if your chicken seems to be browning too fast before cooking through, lower the heat and cover the pan loosely for a minute or two to finish cooking.
Cooking Tips & Techniques
One of the trickiest parts of cooking chicken breast is getting it crispy without drying it out. Here’s what I’ve learned from trial and error:
- Pat your chicken dry: Moisture is the enemy of crispiness. Always dry the chicken well before seasoning.
- Don’t move the chicken too soon: Let the crust form properly. Flipping too early means sticking and uneven browning.
- Use a combination of oil and butter: The oil raises the smoke point so the butter doesn’t burn while giving that rich buttery flavor.
- Mind the heat: Medium heat is your friend. Too high and you’ll burn the outside; too low and you won’t get a crust.
- Garlic timing matters: Add garlic after the flip so it doesn’t burn before the chicken cooks through.
From experience, trying to rush the cooking by turning the heat up only leads to burnt edges and dry meat. I once had a batch come out rubbery because I skipped the resting step—don’t be me! Resting lets the juices redistribute, so your chicken stays tender.
Variations & Adaptations
If you want to switch things up or accommodate dietary needs, here are some tasty tweaks I’ve tried or recommend:
- Herb variations: Swap Italian herbs for fresh thyme or rosemary for a different aroma.
- Spicy kick: Add a pinch of cayenne pepper or smoked paprika to the seasoning for a subtle heat.
- Dairy-free option: Use coconut oil or vegan butter instead of regular butter; garlic flavor still shines through.
- Gluten-free coating: For extra crunch, lightly dust chicken in gluten-free flour or almond flour before cooking.
- Cooking method: If you prefer oven baking, sear the chicken in a pan then finish in a 400°F (200°C) oven for 8-10 minutes.
Personally, I love sprinkling a little parmesan cheese over the chicken in the last minute of cooking for an extra savory touch. It’s a simple addition but totally worth it.
Serving & Storage Suggestions
This quick crispy garlic butter chicken breast pairs beautifully with a variety of sides. Serve it hot with a crisp green salad, garlic mashed potatoes, or steamed veggies for a balanced meal. A squeeze of fresh lemon brightens the richness perfectly.
If you have leftovers, store them in an airtight container in the refrigerator for up to 3 days. To reheat, warm gently in a skillet over low heat to keep the crust crispy, or microwave briefly and then crisp in a hot pan for a minute. Avoid reheating in the microwave alone, or you’ll lose that lovely texture.
Flavor-wise, this chicken is best enjoyed the same day, but the garlic butter notes tend to mellow slightly overnight, making it great for meal prep lunches too. Just add fresh parsley before serving to keep things bright.
Nutritional Information & Benefits
Each serving of this garlic butter chicken breast provides approximately 350 calories, 28 grams of protein, 24 grams of fat, and minimal carbohydrates, making it a satisfying low-carb, high-protein option. The garlic not only adds flavor but supports immune health, while butter offers fat-soluble vitamins and the olive oil contributes heart-healthy monounsaturated fats.
This recipe fits well into gluten-free and keto diets with simple ingredient swaps. Just watch out if you have dairy allergies—switching to a plant-based butter alternative works well. I find it comforting to have a go-to dinner that’s both nourishing and indulgent without being over the top.
Conclusion
So, there you have it—a quick crispy garlic butter chicken breast recipe that’s as easy as it is delicious. It’s the kind of meal that feels like you put in way more effort than you actually did, which is honestly the best kind of cooking. Whether you’re cooking for yourself after a long day or for friends who appreciate a tasty, no-fuss dinner, this recipe delivers every time.
I encourage you to make it your own—adjust the herbs, add a bit of spice, or pair it with your favorite side dishes. Let me know how it turns out for you, or if you’ve discovered your own tweaks. Sharing recipes and stories is what makes cooking so much fun, after all!
Go ahead, give it a try tonight—and enjoy that crispy, buttery garlic goodness in every bite.
Frequently Asked Questions
Can I use chicken thighs instead of breasts for this recipe?
Yes! Chicken thighs work great and tend to stay juicier. Just adjust cooking time slightly, about 6-7 minutes per side depending on thickness.
How do I know when the chicken is fully cooked?
Use an instant-read thermometer—chicken is safe at 165°F (74°C). The meat should be opaque and juices clear when cut.
Can I make this recipe ahead of time?
You can prep and season the chicken ahead, then cook just before eating. Cooked chicken can be stored up to 3 days refrigerated.
What’s the best way to get a crispy crust without burning the garlic?
Cook chicken on medium heat, add garlic after flipping, and baste gently with butter to prevent burning.
Is this recipe suitable for a low-carb diet?
Absolutely! It’s naturally low in carbs, especially if served with low-carb sides like steamed vegetables or salad.
Pin This Recipe!
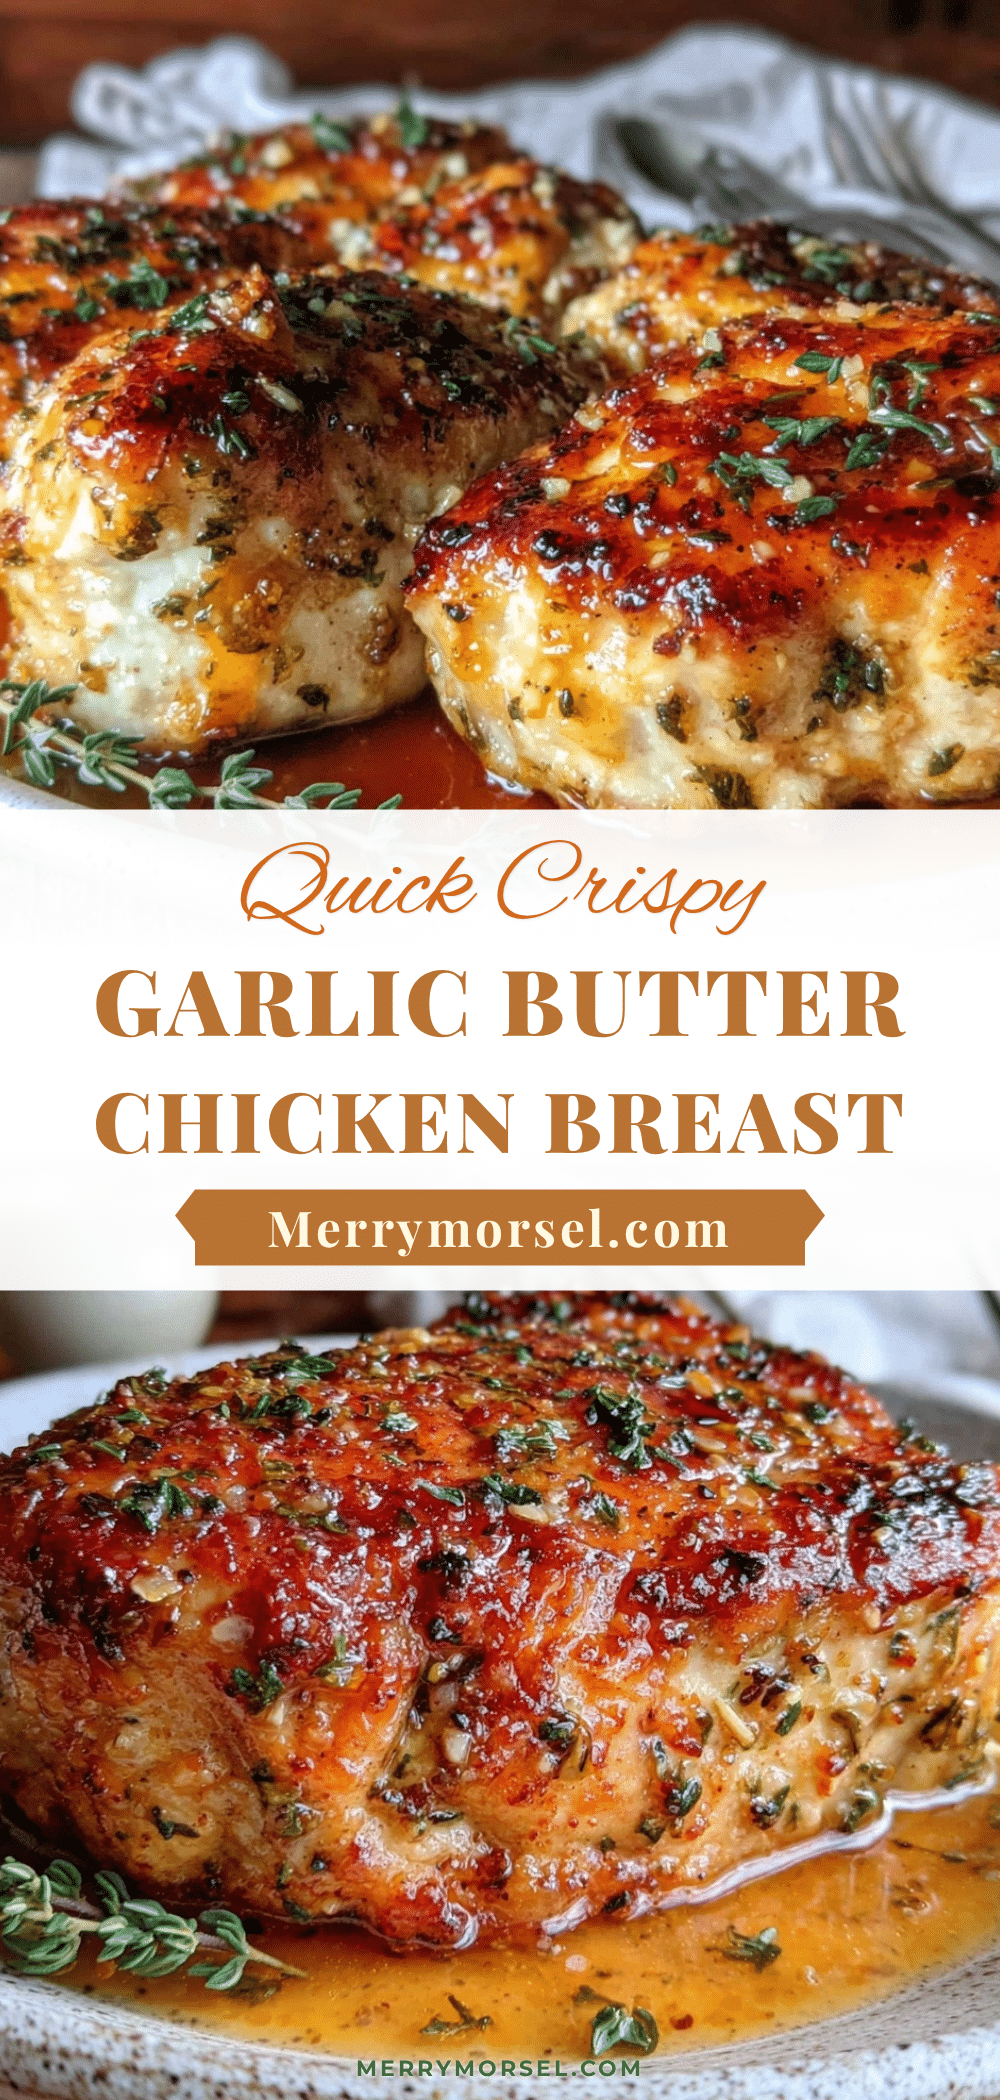
Quick Crispy Garlic Butter Chicken Breast Recipe Easy Perfect Dinner
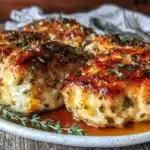
A quick and easy garlic butter pan-fried chicken breast recipe that delivers a golden-crisp crust with juicy, tender meat inside, perfect for busy weeknights.
- Prep Time: 5 minutes
- Cook Time: 12 minutes
- Total Time: 17 minutes
- Yield: 2 servings 1x
- Category: Main Course
- Cuisine: American
Ingredients
- 2 large boneless skinless chicken breasts (6–8 ounces / 170–225 grams each)
- Salt and black pepper to taste
- 3 large garlic cloves, minced or finely chopped
- 3 tablespoons unsalted butter
- 2 tablespoons olive oil
- 1 teaspoon dried Italian herbs (optional)
- 2 tablespoons fresh parsley, chopped
- Lemon wedges for serving
Instructions
- If chicken breasts are uneven in thickness, gently pound them to about ¾ inch (2 cm) thickness. Pat dry with paper towels.
- Season both sides generously with salt, pepper, and Italian herbs if using.
- Heat a 10-inch skillet over medium heat and add olive oil. Heat until shimmering but not smoking, about 2 minutes.
- Place chicken breasts in the pan without overcrowding. Cook undisturbed for 5-6 minutes until edges look opaque and bottom is golden brown.
- Flip the chicken breasts. Immediately add butter and minced garlic to the pan. Tilt the pan and spoon garlic butter over chicken repeatedly.
- Continue cooking for another 5-6 minutes or until internal temperature reaches 165°F (74°C).
- Remove chicken from pan and let rest for 5 minutes.
- Sprinkle chopped fresh parsley on top and serve with lemon wedges.
Notes
Pat chicken dry before seasoning to ensure crispiness. Add garlic after flipping to prevent burning. Use a combination of olive oil and butter for a golden crust without burning. Rest chicken for 5 minutes to lock in juices. If garlic browns too quickly, reduce heat. For even cooking, pound chicken to uniform thickness.
Nutrition
- Serving Size: 1 chicken breast (6-
- Calories: 350
- Sodium: 400
- Fat: 24
- Saturated Fat: 13
- Carbohydrates: 2
- Protein: 28
Keywords: garlic butter chicken, crispy chicken breast, quick chicken recipe, easy dinner, pan-fried chicken, weeknight meal