Love this? Save it for later!
Share the inspiration with your friends
Introduction
“I wasn’t planning on cooking lunch that day,” I admit. It was a hectic Wednesday, the kind where your to-do list feels endless and the clock seems to tick faster. I had just grabbed my takeout menu when my friend Jess popped by unexpectedly. She whipped up this quick crispy chicken Caesar wrap in under 15 minutes, using ingredients she had just lying around. Honestly, I was skeptical at first—wrapped salads always sounded a bit sad to me. But then, the crunch of the chicken, the tangy Caesar dressing, and the fresh lettuce all rolled into a warm tortilla hit me like a flavor jackpot.
Maybe you’ve been there, too—rushing between meetings or errands, craving something satisfying but easy. That random afternoon became a game changer for my lunch routine. Since then, this recipe has become my go-to for busy days when I want something fast but still tasty enough to close my eyes over after the first bite (you know that feeling?). I even messed up once by forgetting the dressing, and honestly, it was a dry disaster that made me appreciate the full flavor combo even more.
So, if you’re hunting for a quick crispy chicken Caesar wrap that’s both crunchy and creamy, with a little homemade charm, this recipe might just become your new best friend in the kitchen. Let me tell you, it’s simple, fast, and just right for those busy lunch moments we all juggle.
Why You’ll Love This Recipe
After testing this quick crispy chicken Caesar wrap countless times (including some late-night kitchen experiments), I can confidently say it nails the balance between convenience and flavor. Here’s why this recipe stands out:
- Quick & Easy: Ready in under 20 minutes, perfect when you’re short on time but need a filling meal.
- Simple Ingredients: No fancy or hard-to-find items—most are pantry and fridge staples you probably already have.
- Perfect for Busy Lunches: Ideal for packing at home or whipping up just before heading out.
- Crowd-Pleaser: Even picky eaters love the crunchy chicken paired with classic Caesar flavors.
- Unbelievably Delicious: The crispy coating on the chicken paired with the creamy dressing gives you that satisfying texture combo every time.
What really makes this quick crispy chicken Caesar wrap special is the crispy chicken itself. Instead of deep frying, I use a skillet method that keeps things lighter but still crispy. The homemade Caesar dressing, with just the right zing, brings it all together without needing bottled sauces. This isn’t just another wrap—it’s a lunch that feels thoughtfully made, even when you’re pressed for time.
Honestly, this recipe feels like a little lunchtime celebration. Whether you’re eating solo or sharing with friends, it’s the kind of quick meal that leaves you feeling good and ready to tackle the rest of your day.
What Ingredients You Will Need
This recipe uses simple, wholesome ingredients to deliver bold flavor and satisfying texture without the fuss. Most are easy to find year-round and can be swapped to fit dietary needs or what you have on hand.
- For the Crispy Chicken:
- 2 boneless, skinless chicken breasts (about 12 oz / 340 g), sliced into strips
- 1/2 cup all-purpose flour (60 g) (or almond flour for gluten-free)
- 1 large egg, beaten, room temperature
- 1 cup panko breadcrumbs (100 g) (I recommend Japanese-style panko for extra crunch)
- 1/2 teaspoon garlic powder
- 1/2 teaspoon smoked paprika
- Salt and freshly ground black pepper, to taste
- 2 tablespoons olive oil or avocado oil for frying
- For the Caesar Dressing:
- 1/3 cup mayonnaise (I like Hellmann’s for creaminess)
- 2 tablespoons grated Parmesan cheese
- 1 teaspoon Dijon mustard
- 1 teaspoon Worcestershire sauce
- 1 clove garlic, minced
- 1 tablespoon fresh lemon juice
- Salt and pepper, to taste
- For Assembly:
- 4 large flour tortillas (10-inch / 25 cm) (whole wheat or gluten-free options work well)
- 2 cups Romaine lettuce, chopped (about 90 g)
- 1/4 cup shaved Parmesan (optional, for extra cheesiness)
- Fresh cracked black pepper, to garnish
Feel free to swap the Romaine for kale if you want a twist or add some cherry tomatoes for a fresh burst. For a dairy-free version, choose vegan mayo and skip the Parmesan or use a plant-based alternative.
Equipment Needed
- Large skillet or frying pan (non-stick preferred for easy cleanup)
- Mixing bowls (one for flour, one for egg, one for breadcrumbs)
- Whisk or fork (to beat the egg and mix dressing)
- Measuring cups and spoons
- Spatula or tongs (for flipping chicken strips)
- Knife and cutting board (for slicing chicken and chopping lettuce)
- Optional: grater for fresh Parmesan
If you don’t have panko breadcrumbs, regular breadcrumbs can work but expect less crunch. A cast iron skillet will make the chicken extra crispy but a regular non-stick pan does the job just fine. I keep a small silicone brush handy to lightly oil the pan without excess grease, which helps keep the wrap from feeling too heavy.
Preparation Method
- Prep the Chicken: Start by slicing the chicken breasts into strips about 1 inch (2.5 cm) thick. Pat them dry with paper towels; this helps the coating stick better. (Time: 5 minutes)
- Set Up Breading Stations: In three separate shallow bowls, place the flour mixed with a pinch of salt and pepper, the beaten egg, and the panko breadcrumbs combined with garlic powder, smoked paprika, salt, and pepper. This triple station makes the breading process smooth. (Time: 3 minutes)
- Bread the Chicken: Dip each strip first in the flour, shaking off excess, then in the egg, and finally coat well with the panko mixture. Press the breadcrumbs gently for an even crust. Place breaded strips on a plate ready for cooking. (Time: 7 minutes)
- Cook the Chicken: Heat 2 tablespoons of olive oil in a large skillet over medium heat. Once hot (you’ll see a slight shimmer), add chicken strips without crowding the pan. Cook about 3-4 minutes per side until golden brown and cooked through (internal temperature 165°F / 74°C). Flip carefully with tongs; avoid moving too much to keep crust intact. Drain on paper towels if needed. (Time: 10 minutes)
- Make the Caesar Dressing: While the chicken cooks, whisk together mayonnaise, Parmesan, Dijon mustard, Worcestershire sauce, minced garlic, and lemon juice in a small bowl. Taste and adjust salt and pepper. (Time: 5 minutes)
- Prepare the Lettuce: Chop the Romaine lettuce into bite-sized pieces. You want it crisp and fresh to contrast the warm chicken. (Time: 2 minutes)
- Assemble the Wraps: Lay out the tortillas on a clean surface. Spread about 1 tablespoon of Caesar dressing on each tortilla, then layer with lettuce, crispy chicken strips, and shaved Parmesan if using. Drizzle a little extra dressing on top and sprinkle with cracked black pepper. (Time: 5 minutes)
- Wrap It Up: Fold the bottom edge over the filling, then fold the sides in tightly, rolling to close. For easier eating, you can wrap each in parchment paper or foil. (Time: 2 minutes)
Tip: If your chicken cools too much before assembling, pop the strips back in the skillet for a quick 1-minute reheat to bring back the crunch. Also, don’t rush flipping the chicken – let it form a golden crust before moving it!
Cooking Tips & Techniques
Getting that perfect quick crispy chicken Caesar wrap isn’t just about tossing ingredients together. Here are some tips I’ve picked up after plenty of trial and error:
- Keep the Chicken Dry: Moisture is the enemy of crispiness. Patting the chicken dry before breading is crucial for that crunchy crust.
- Season Each Layer: Don’t just salt the chicken or the flour; season the panko mixture too. It adds depth to every bite.
- Use Medium Heat: Too high, and the crust burns before the chicken cooks through; too low, and you lose crunch. Medium heat keeps it balanced.
- Don’t Crowd the Pan: Cook chicken strips in batches if needed. Crowding causes steaming, which ruins crispiness.
- Homemade Dressing Makes a Difference: The garlic and lemon in the dressing freshen up the whole wrap. Pre-made dressings are fine, but I find homemade gives it a nicer zing.
- Multitask Wisely: Whisk the dressing while the chicken cooks to save time. Prep your veggies while breading chicken.
- Use Fresh Ingredients: Fresh Romaine and good Parmesan really up the game here. I once tried this with a wilted lettuce bag, and it was a sad wrap experience.
Variations & Adaptations
This quick crispy chicken Caesar wrap is super versatile, so you can tweak it to fit your needs or mood:
- Grilled Chicken Option: Skip the breading and grill the chicken strips for a lighter, low-carb version. Just marinate briefly in olive oil, lemon, and garlic.
- Vegetarian Version: Use crispy baked tofu or cauliflower florets breaded with the same panko mix. The dressing stays great as is.
- Spicy Twist: Add a pinch of cayenne or chili powder to the panko coating or mix a few dashes of hot sauce into the Caesar dressing for a little kick.
- Wrap Alternatives: Try whole wheat, spinach, or sun-dried tomato tortillas for extra flavor and color.
- Dairy-Free Adaptation: Use vegan mayo and nutritional yeast instead of Parmesan for a dairy-free Caesar dressing.
One time, I swapped the Romaine for crunchy napa cabbage and it added an unexpected crunch that my family loved. Feel free to experiment a bit with what you have in your fridge!
Serving & Storage Suggestions
This wrap tastes best warm, right after assembly when the chicken is still crispy and the lettuce is fresh. Serve it with a side of crunchy veggie sticks or a light soup for a complete lunch.
To store leftovers, wrap tightly in plastic wrap or foil and keep in the refrigerator for up to 2 days. The chicken will lose some crispiness, but reheating in a skillet for a few minutes brings back some crunch. Avoid microwaving as it tends to make the coating soggy.
If you want to prepare ahead, store cooked chicken and dressing separately from the lettuce and tortillas, then assemble right before eating. This keeps everything fresh and prevents sogginess.
The flavors in the dressing deepen a bit after sitting, so if you pack this for lunch, you might notice an even tastier bite by the afternoon!
Nutritional Information & Benefits
Per serving (1 wrap): approximately 450 calories, 30g protein, 30g carbohydrates, 20g fat (depends on exact ingredients and portion sizes).
This quick crispy chicken Caesar wrap is a balanced meal with lean protein from chicken, fresh greens for fiber and vitamins, and calcium from Parmesan cheese. Using olive oil adds heart-healthy fats, and the homemade dressing avoids excess preservatives and sugars found in many store-bought versions.
Gluten-free and dairy-free substitutions make it accessible for many dietary needs. It’s a nourishing, flavorful choice that keeps you energized during busy afternoons without weighing you down.
Conclusion
In a world where lunch often falls victim to rushed choices or boring leftovers, this quick crispy chicken Caesar wrap stands out as a reliable, tasty option. It’s easy to make, uses ingredients you likely have, and offers that perfect balance of crunch, creaminess, and freshness.
I love this recipe because it never fails to satisfy me on hectic days—plus, it’s flexible enough to suit different tastes and dietary needs. I hope you find it just as handy and delicious for your busy lunches.
Give it a try, and please share your tweaks or stories—I’d love to hear how you make it your own!
FAQs
Can I make the crispy chicken ahead of time?
Yes! Cook the chicken strips and store them in an airtight container in the fridge for up to 2 days. Reheat in a skillet before assembling the wrap to keep the crunch.
What can I use if I don’t have panko breadcrumbs?
Regular breadcrumbs work, though the texture won’t be quite as crispy. You can also crush cornflakes or use crushed crackers as a crunchy alternative.
Is this recipe suitable for meal prep?
Definitely. Keep the chicken, dressing, and lettuce separate until you’re ready to eat to prevent sogginess and enjoy a fresh wrap every time.
How do I make this wrap dairy-free?
Swap the mayonnaise for a vegan version and replace Parmesan with nutritional yeast or omit it altogether. The wrap will still be delicious and creamy.
Can I use leftover rotisserie chicken instead of cooking fresh?
Absolutely. Just shred the chicken and toss it with a bit of seasoning before assembling. It’s a great shortcut for even faster lunches.
For a different take on quick chicken meals, you might enjoy my crispy garlic chicken recipe, which also works great for busy weeknights.
Pin This Recipe!
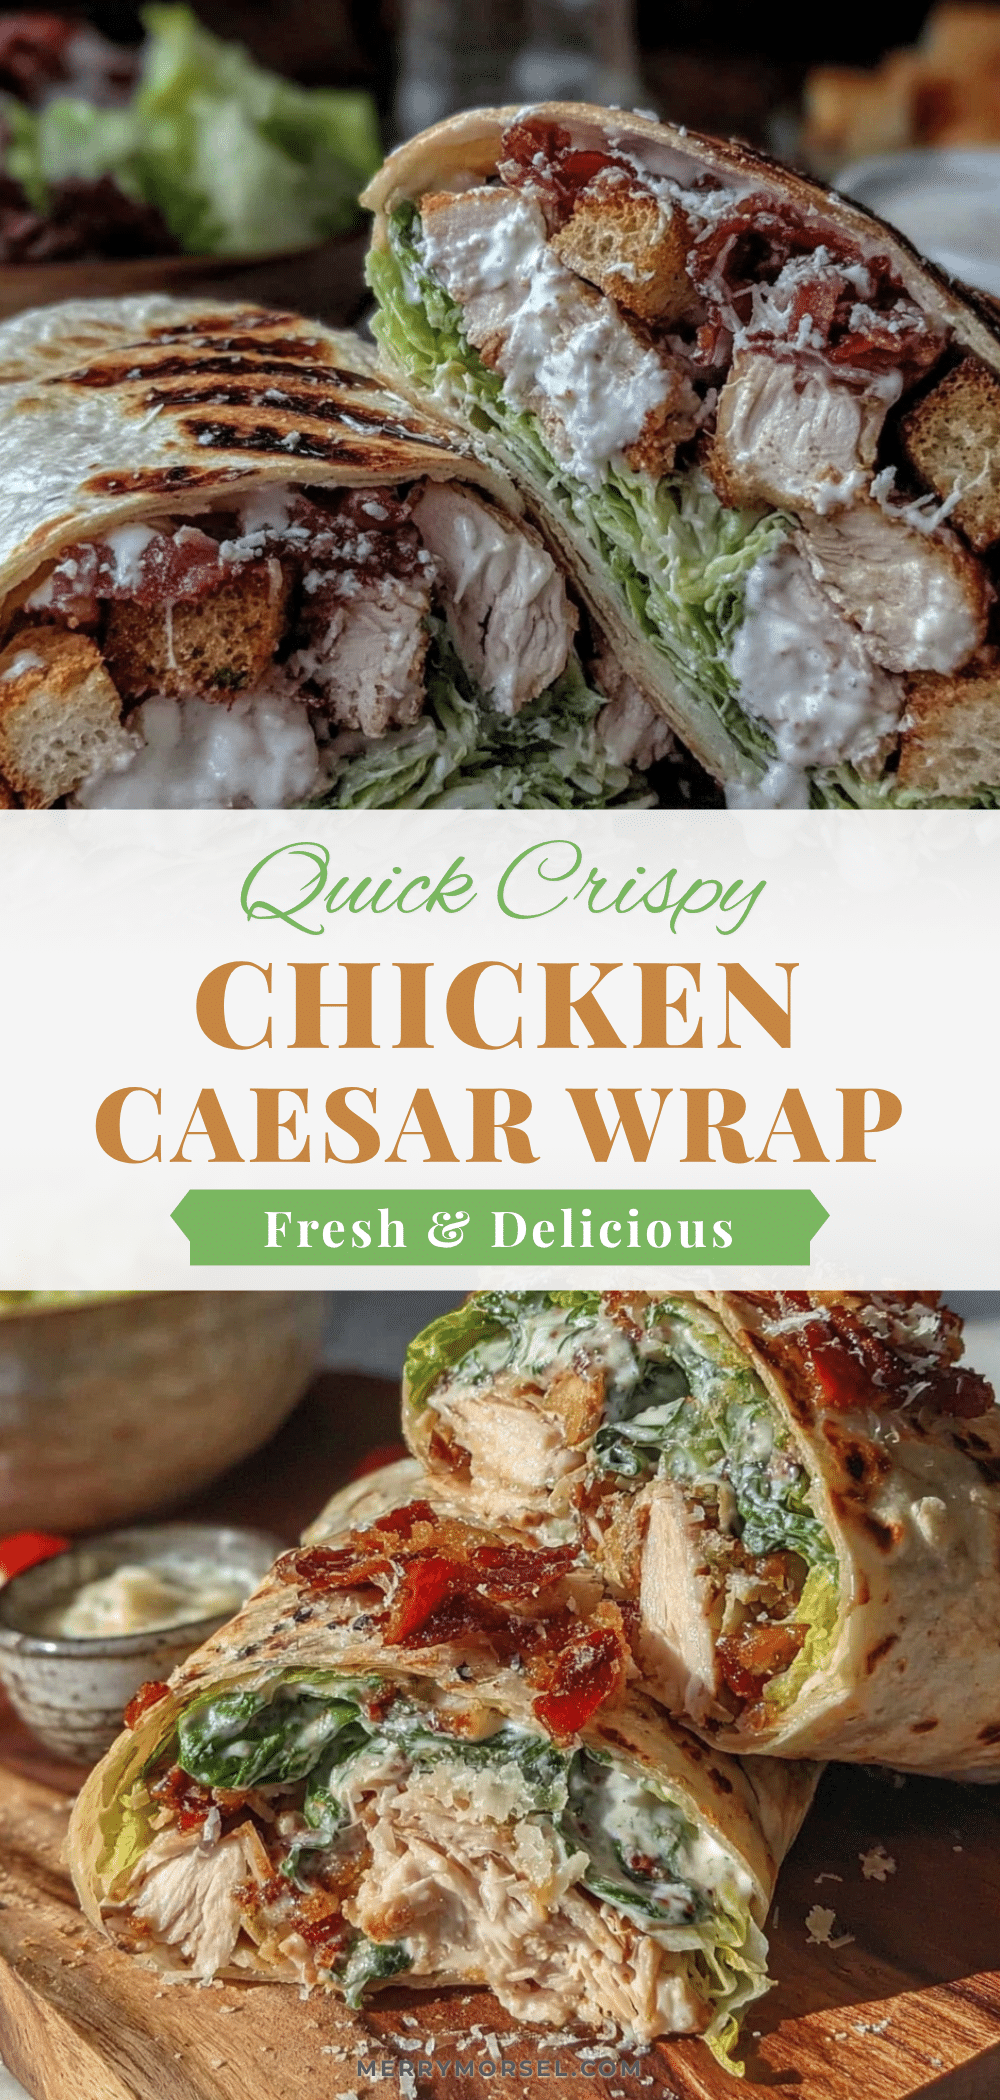
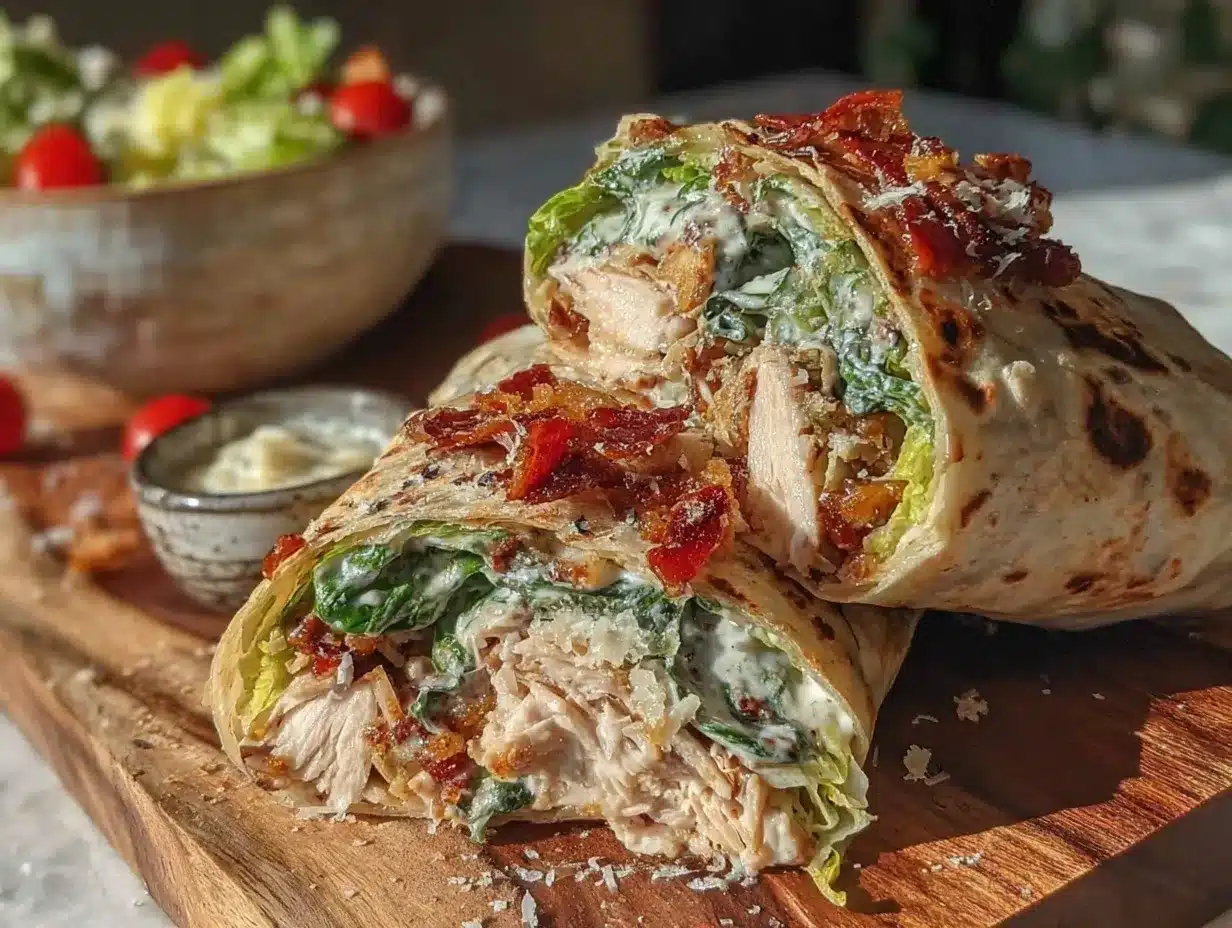
Quick Crispy Chicken Caesar Wrap

A fast and flavorful crispy chicken Caesar wrap perfect for busy lunches, combining crunchy chicken, creamy homemade Caesar dressing, and fresh lettuce wrapped in a warm tortilla.
- Prep Time: 15 minutes
- Cook Time: 10 minutes
- Total Time: 25 minutes
- Yield: 4 servings 1x
- Category: Main Course
- Cuisine: American
Ingredients
- 2 boneless, skinless chicken breasts (about 12 oz / 340 g), sliced into strips
- 1/2 cup all-purpose flour (60 g) (or almond flour for gluten-free)
- 1 large egg, beaten, room temperature
- 1 cup panko breadcrumbs (100 g) (Japanese-style recommended)
- 1/2 teaspoon garlic powder
- 1/2 teaspoon smoked paprika
- Salt and freshly ground black pepper, to taste
- 2 tablespoons olive oil or avocado oil for frying
- 1/3 cup mayonnaise
- 2 tablespoons grated Parmesan cheese
- 1 teaspoon Dijon mustard
- 1 teaspoon Worcestershire sauce
- 1 clove garlic, minced
- 1 tablespoon fresh lemon juice
- Salt and pepper, to taste
- 4 large flour tortillas (10-inch / 25 cm) (whole wheat or gluten-free options work well)
- 2 cups Romaine lettuce, chopped (about 90 g)
- 1/4 cup shaved Parmesan (optional)
- Fresh cracked black pepper, to garnish
Instructions
- Slice the chicken breasts into strips about 1 inch thick and pat dry with paper towels.
- Set up three shallow bowls: one with flour mixed with salt and pepper, one with beaten egg, and one with panko breadcrumbs combined with garlic powder, smoked paprika, salt, and pepper.
- Dip each chicken strip first in the flour, shaking off excess, then in the egg, and finally coat well with the panko mixture. Press breadcrumbs gently for an even crust.
- Heat 2 tablespoons of olive oil in a large skillet over medium heat. Add chicken strips without crowding the pan and cook about 3-4 minutes per side until golden brown and cooked through (internal temperature 165°F / 74°C). Drain on paper towels if needed.
- While the chicken cooks, whisk together mayonnaise, Parmesan, Dijon mustard, Worcestershire sauce, minced garlic, and lemon juice in a small bowl. Adjust salt and pepper to taste.
- Chop the Romaine lettuce into bite-sized pieces.
- Lay out the tortillas and spread about 1 tablespoon of Caesar dressing on each. Layer with lettuce, crispy chicken strips, and shaved Parmesan if using. Drizzle extra dressing on top and sprinkle with cracked black pepper.
- Fold the bottom edge over the filling, then fold the sides in tightly and roll to close. Optionally wrap in parchment paper or foil for easier eating.
Notes
Pat chicken dry before breading for crispiness. Use medium heat to avoid burning crust. Cook chicken in batches to prevent steaming. Homemade dressing adds fresh flavor. Reheat chicken in skillet for 1 minute if cooled before assembling. Avoid microwaving leftovers to keep coating crispy.
Nutrition
- Serving Size: 1 wrap
- Calories: 450
- Fat: 20
- Carbohydrates: 30
- Protein: 30
Keywords: quick chicken wrap, crispy chicken, Caesar wrap, easy lunch, homemade Caesar dressing, skillet chicken, busy lunch recipe