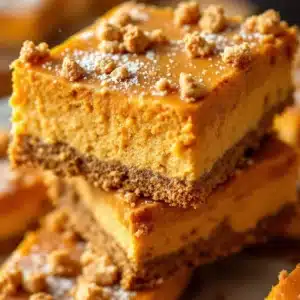
Love this? Save it for later!
Share the inspiration with your friends
I did not trust pumpkin cheesecake. Honestly, I thought it sounded like a mistake until the first bite.
Let’s face it, pumpkin desserts usually lean too heavy on the spices or turn out grainy in the middle. I’ve eaten my share of dry, dense slices that tasted more like canned soup than dessert. My husband is a purist when it comes to classic New York cheesecake. He doesn’t do “flavor variations,” and he certainly didn’t think he’d enjoy a pumpkin version.
I wanted to make him happy for the holidays without risking a failed bake. So I decided to try these creamy pumpkin cheesecake bars with gingersnap crust. I was worried the texture would be weird, like a weird pudding sitting on a cracker.
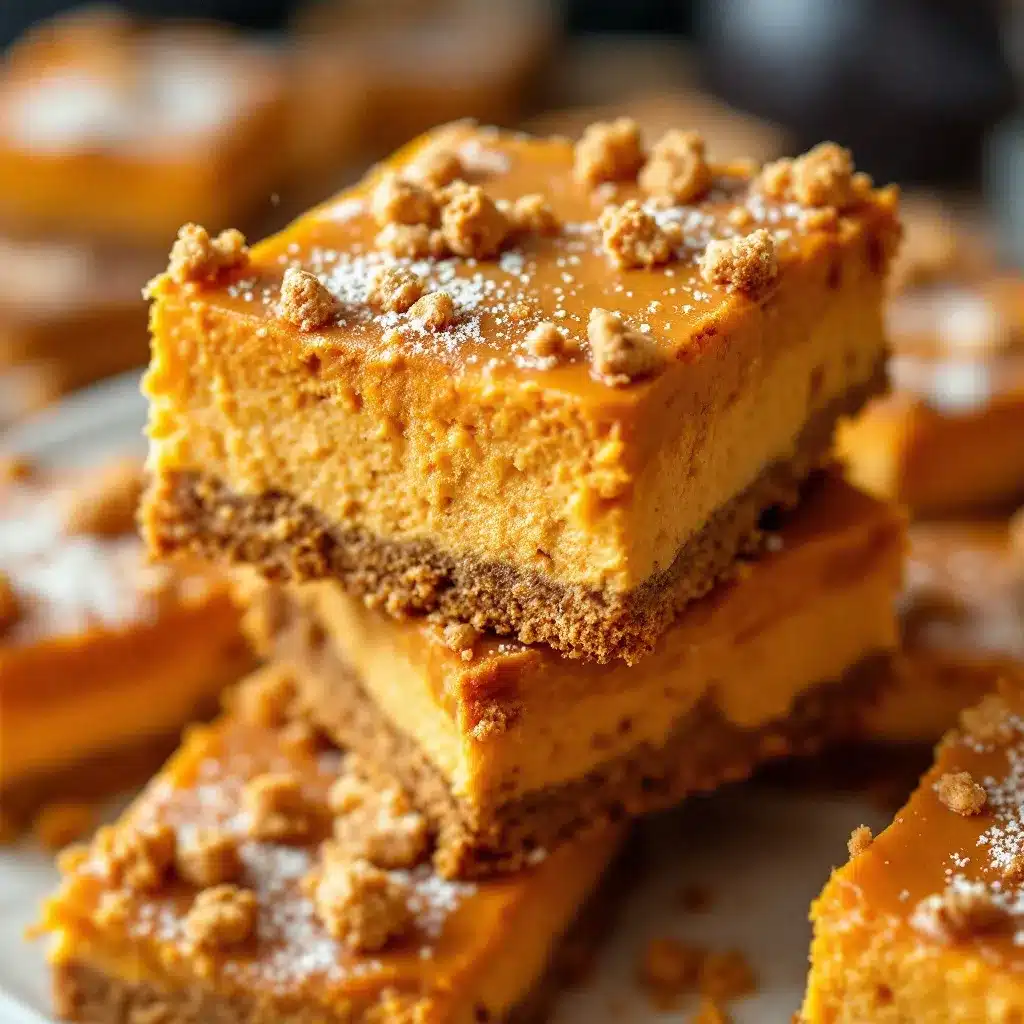
But then I cut into the chilled slab. The crust crunched satisfyingly against the knife. The filling was impossibly smooth, not dense or heavy at all. It had that tangy kick from the cream cheese that balances the sweet pumpkin perfectly.
My husband took one bite and actually stopped talking. He just nodded. That was the moment I knew this recipe was the real deal. It’s not just another fall gimmick. It’s a solid, reliable dessert that actually tastes like autumn comfort.
The gingersnap crust adds a spicy crunch that keeps every bite interesting. And because it’s in bar form, it’s way easier to serve than a whole round cake. I realized I didn’t need to worry about slicing it perfectly. You just pull them out and let everyone grab what they want.
I’ve made this three times now. Each time, the leftovers vanish faster than the first batch. It’s become our go-to for Thanksgiving because it’s less intimidating than a full pie. You know how some recipes are just “eh”? This one is definitely not. It’s the kind of dessert that makes you close your eyes after the first bite.
Why You’ll Love This Recipe
This recipe isn’t just good—it is the kind of dessert that feels like a hug in October. I’ve tested dozens of pumpkin variations, from muffins to breads, but these bars hit a sweet spot that nothing else does. The secret isn’t just the ingredients; it’s the technique. I spent years figuring out how to keep cheesecake creamy without it cracking or weeping water.
Here is why this version stands out from the crowd:
* **Quick & Easy**: While baking takes time, the prep is straightforward. You don’t need fancy tools or hours of whisking. It comes together in under 45 minutes of active work, perfect for busy weeknights or last-minute holiday prep.
* **Simple Ingredients**: No fancy grocery trips needed. You likely already have cream cheese, pumpkin puree, and gingersnaps in your pantry or fridge. It’s wholesome and accessible.
* **Perfect for Holiday Gatherings**: Great for Thanksgiving potlucks, office parties, or cozy dinners. The bar format is much easier to handle than a whole cake, which reduces stress for the host.
* **Crowd-Pleaser**: Always gets rave reviews from kids and adults alike. Even the picky eaters who claim they “don’t like pumpkin” end up asking for seconds.
* **Unbelievably Delicious**: The texture and flavor combo is next-level comfort food. The contrast between the spicy, crunchy crust and the silky, tangy filling is what makes it addictive.
What makes this recipe different from the rest is the balance. Many pumpkin cheesecakes are too sweet or lack the classic cheesecake tang. By using full-fat cream cheese and a touch of vanilla, we keep that traditional flavor profile intact. The gingersnap crust adds a necessary spice element that complements the pumpkin without overpowering it.
It’s comfort food reimagined—healthier in portion control (because it’s bars!), faster to serve, but with the same soul-soothing satisfaction. It’s perfect for impressing guests without the stress of carving a perfect slice.
What Ingredients You Will Need
This recipe uses simple, wholesome ingredients to deliver bold flavor and satisfying texture without the fuss. The magic happens when the earthy pumpkin meets the sharp tang of cream cheese and the spicy crunch of ginger.
Here is what you need to gather:
**For the Gingersnap Crust:**
* **Gingersnap cookies**: About 2 cups of crumbs. I recommend using store-bought gingersnaps for consistency, but homemade ones work too if you crush them finely. They provide that essential spice kick.
* **Unsalted butter**: Melted. This binds the crumbs together. Use real butter, not margarine, for the best flavor and crunch.
* **Granulated sugar**: Just a tablespoon. This helps the crust caramelize slightly and hold its shape.
* **Pinch of salt**: Enhances the sweetness and brings out the ginger flavor.
**For the Creamy Pumpkin Cheesecake Filling:**
* **Cream cheese**: 16 ounces (two 8-ounce blocks). This is the star. Make sure it is full-fat and softened to room temperature. Brands like Philadelphia work reliably. Low-fat versions will make the filling grainy and sad.
* **Granulated sugar**: 3/4 cup. Pumpkin needs a good amount of sugar to balance its natural earthiness.
* **Brown sugar**: 1/2 cup, packed. Adds moisture and a deeper, caramel-like flavor that pairs beautifully with the spices.
* **Pumpkin puree**: 15 ounces (one standard can). Do not use pumpkin pie filling. That already has sugar and spices added, which will throw off the balance. Use 100% pure pumpkin.
* **Large eggs**: 3 large eggs, room temperature. Cold eggs can cause the mixture to curdle when mixed. Room temperature eggs blend smoother.
* **Vanilla extract**: 1 teaspoon. Pure vanilla is best here. It adds warmth and depth.
* **Ground cinnamon**: 1 teaspoon.
* **Ground ginger**: 1/2 teaspoon.
* **Ground nutmeg**: 1/4 teaspoon.
* **Ground cloves**: 1/8 teaspoon. Don’t skip this; it adds that classic holiday aroma.
* **Salt**: 1/2 teaspoon.
Do I need specific brands?
For the cream cheese, stick to a reputable brand to ensure the fat content is consistent. For the pumpkin, look for a can that says “100% Pure Pumpkin” on the label. Avoid “Pumpkin Pie Mix” at all costs.
Substitution ideas:
If you are gluten-sensitive, you can use gluten-free gingersnap cookies for the crust. For a dairy-free option, try using a high-quality plant-based cream cheese, though the texture may be slightly less rich.
Equipment Needed
You don’t need a professional kitchen to make these bars. Here is what you’ll need to get started:
* **9×13 inch baking pan**: This is the standard size for bar cookies. A metal pan works best for even baking. Glass pans may require a slightly lower oven temperature.
* **Parchment paper**: Essential for lifting the bars out later. Line the pan with a cross of parchment paper, leaving overhang on the sides. This acts as a sling.
* **Stand mixer or hand mixer**: While you can whisk by hand, a mixer ensures the cream cheese is completely smooth. Lumps of cream cheese are the enemy of creamy cheesecake.
* **Rubber spatula**: For scraping down the sides of the bowl and folding in the pumpkin.
* **Food processor or zip-top bag**: To crush the gingersnap cookies into fine crumbs. A food processor is faster, but a rolling pin and a bag work fine if you have patience.
* **Measuring cups and spoons**: Precision matters in baking. Level off your dry ingredients for accurate results.
I used to use a springform pan for cheesecakes, but for bars, the 9×13 is much easier. No leaking issues, and easier to store leftovers. If you don’t have a mixer, you can use a strong whisk and elbow grease, but it will take longer to get that smooth texture.
Preparation Method
Follow these steps carefully to ensure your bars turn out perfectly every time.
1. **Prep the Pan**: Preheat your oven to 350°F (175°C). Line your 9×13 inch baking pan with parchment paper. Leave a slight overhang on the long sides so you can lift the bars out later. This is a lifesaver for clean removal.
2. **Make the Crust**: Place your gingersnap cookies into a food processor. Pulse until you have fine crumbs. If you don’t have a processor, put them in a zip-top bag and crush them with a rolling pin until they are sandy. Transfer the crumbs to a medium bowl.
3. **Mix the Crust**: Add the melted butter, sugar, and pinch of salt to the crumbs. Stir until the mixture looks like wet sand. It should hold together when pressed. Press this mixture firmly into the bottom of your prepared pan. Use the bottom of a measuring cup to pack it down tight. This prevents the crust from crumbling later.
4. **Bake the Crust**: Bake the crust for 8-10 minutes. It should look set and fragrant. Remove it from the oven and let it cool while you make the filling. Do not turn off the oven.
5. **Beat the Cream Cheese**: In a large bowl, beat the softened cream cheese on medium speed until it is completely smooth and creamy. This takes about 2-3 minutes. Scrape down the sides of the bowl with a rubber spatula. Make sure there are no lumps. This step is crucial for a silky texture.
6. **Add Sugars**: Add the granulated sugar and brown sugar to the cream cheese. Beat on low speed until combined. Scrape the bowl again. Over-beating at this stage can incorporate too much air, which might cause cracking later.
7. **Add Eggs**: Add the eggs one at a time, mixing on low speed just until incorporated. Do not over-mix after adding the eggs. This is a common mistake that leads to dense cheesecake.
8. **Mix in Pumpkin and Spices**: Add the pumpkin puree, vanilla extract, cinnamon, ginger, nutmeg, cloves, and salt. Mix on low speed until everything is just combined. The batter should be smooth and orange. Taste it now; it should taste like pumpkin pie batter but tangy.
9. **Pour and Bake**: Pour the filling over the cooled crust. Smooth the top with your spatula. Place the pan back in the oven and bake for 35-40 minutes. The edges should be set, but the center should still have a slight jiggle. It will firm up as it cools.
10. **Cool Completely**: Remove from the oven and let it cool in the pan on a wire rack for at least 1 hour. Then, refrigerate for at least 4 hours, preferably overnight. This chilling time is non-negotiable for clean slicing.
Troubleshooting Tips:
If the center looks wet after baking, give it more time. Cheesecake continues to cook as it cools. If it cracks, don’t worry. The flavor is still great. Just cover any cracks with a dollop of whipped cream before serving.
Cooking Tips & Techniques
Getting the texture right is the hardest part of cheesecake. Here are some professional tips I’ve learned through trial and error.
* **Room Temperature Ingredients**: This is the golden rule. Your cream cheese and eggs must be room temperature. Cold ingredients create lumps that you cannot whisk out. If you forget, microwave the cream cheese in 10-second bursts until it’s soft but not melted.
* **Don’t Overmix**: Once you add the eggs, mix only until combined. Overmixing adds air bubbles. As the cheesecake bakes, these bubbles expand and then collapse, causing cracks. Low and slow is the way to go.
* **Water Bath Option**: For extra creaminess, you can bake these bars in a water bath. Wrap the bottom of your pan in heavy-duty foil and place it in a roasting pan. Fill the roasting pan with hot water halfway up the sides of the pan. This creates steam and keeps the temperature even. It’s not strictly necessary for bars, but it helps if you want restaurant-quality results.
* **Cooling Gradually**: Sudden temperature changes can cause cracking. Let the cheesecake cool in the turned-off oven with the door cracked open for 30 minutes after baking. Then move it to the counter.
* **Chill Before Cutting**: I know it’s tempting to dig in early, but you need patience. The bars need to set fully in the fridge. If you cut them warm, they will be mushy. Overnight chilling is best.
I once tried to rush the cooling process and put a warm cheesecake in the fridge. The top condensed water and became soggy. Lesson learned. Always let it come to room temperature first.
Variations & Adaptations
While the classic version is my favorite, there are plenty of ways to tweak this recipe.
* **Gluten-Free Option**: Use gluten-free gingersnap cookies or a gluten-free gingerbread cookie mix for the crust. Ensure your pumpkin puree is certified gluten-free if you have celiac disease.
* **Dairy-Free Twist**: Substitute the cream cheese with a plant-based alternative like Kite Hill or Violife. Use coconut oil instead of butter for the crust. The flavor will be slightly different, but still delicious.
* **Maple Pecan Variation**: Add 1/2 cup of chopped pecans to the crust mixture. Toast them lightly in a pan before adding for extra nutty flavor. You can also swirl 1/4 cup of maple syrup into the filling for a richer taste.
* **White Chocolate Swirl**: Before baking, drop small spoonfuls of softened white chocolate onto the pumpkin batter. Use a knife to swirl it in. This adds a sweet, creamy contrast to the tangy pumpkin.
* **Mini Cupcakes**: You can scale this recipe down to make mini cheesecake cupcakes. Use a muffin tin and reduce the baking time to 20-25 minutes. This is great for portion control and party servings.
I once made the maple pecan version for a fall brunch, and it was a huge hit. The nuts added a nice crunch that broke up the smoothness of the bars.
Serving & Storage Suggestions
These bars are best served chilled. The cold temperature helps them hold their shape and enhances the creamy texture.
* **Presentation**: Dust the top with a little extra cinnamon or powdered sugar before serving. It adds a nice visual touch. You can also garnish with a small gingersnap cookie on top of each bar.
* **Pairings**: Serve with a cup of hot coffee or tea. The spices in the bars pair perfectly with the bitterness of coffee. I also like a side of lightly whipped cream for those who want extra richness.
* **Storage**: Store leftovers in an airtight container in the refrigerator for up to 5 days. The flavors actually get better after a day or two as the spices meld together.
* **Freezing**: You can freeze these bars for up to 2 months. Wrap individual bars in plastic wrap and then place them in a freezer-safe bag. Thaw them in the refrigerator overnight before serving.
* **Reheating**: I recommend eating these cold. Reheating can make the texture soft and lose its structure. If you must warm them, microwave for 10 seconds just to take the chill off.
I usually keep a few bars in a separate container so my husband doesn’t eat them all before dinner. They are that good.
Nutritional Information & Benefits
While these bars are a treat, they do offer some nutritional benefits compared to other desserts.
* **Estimated Values**: Each bar (making 12 bars) contains approximately 350-400 calories. The exact count depends on the size of your slices.
* **Protein**: The cream cheese provides a good amount of protein, which helps keep you full longer than a simple sugar cookie.
* **Calcium**: Dairy products are a good source of calcium, which is important for bone health.
* **Pumpkin Benefits**: Pumpkin is rich in vitamin A and fiber. It adds moisture without needing excessive butter or oil.
* **Dietary Notes**: This recipe contains dairy, gluten, and eggs. It is not suitable for vegans or those with severe allergies. For a lower-sugar option, you can reduce the sugar by 1/4 cup, though the texture may be slightly less tender.
I try to balance my treats with healthy meals during the day. These bars are a great way to satisfy a sweet tooth without feeling overly guilty, especially when paired with a glass of milk or a strong black coffee.
Conclusion
These creamy pumpkin cheesecake bars with gingersnap crust are a fall favorite for a reason. They are easy to make, incredibly delicious, and perfect for sharing. I hope you give this recipe a try and see why I was so skeptical at first but now love it so much.
Feel free to customize it with your favorite spices or add-ins. Let me know how you like to serve yours. Did you add whipped cream? Did you try the pecan variation? Share your thoughts in the comments below. I love hearing from you and seeing your creations.
If you make this recipe, please tag me on social media or share a photo. It makes my day to see you enjoying my recipes. Happy baking, and enjoy every bite of this cozy dessert.
Frequently Asked Questions
Can I use pumpkin pie filling instead of pure pumpkin?
No, do not use pumpkin pie filling. It contains added sugars and spices that will throw off the flavor balance of the cheesecake. Always use 100% pure pumpkin puree from a can.
Why did my cheesecake crack?
Cracking is usually caused by overmixing the batter, which incorporates too much air. It can also happen if the oven temperature is too high. Make sure to mix on low speed and let the cheesecake cool gradually.
Can I make these bars ahead of time?
Yes, these bars are even better the next day. You can make them up to 3 days in advance. Store them in the refrigerator in an airtight container.
How do I cut clean bars?
Use a sharp knife and wipe it clean between each cut. You can also dip the knife in hot water and dry it off for smoother slices. Chill the bars completely before cutting for the best results.
Can I freeze the cheesecake bars?
Yes, you can freeze them for up to 2 months. Wrap individual bars tightly in plastic wrap and then place them in a freezer bag. Thaw in the refrigerator overnight before serving.
Pin This Recipe!
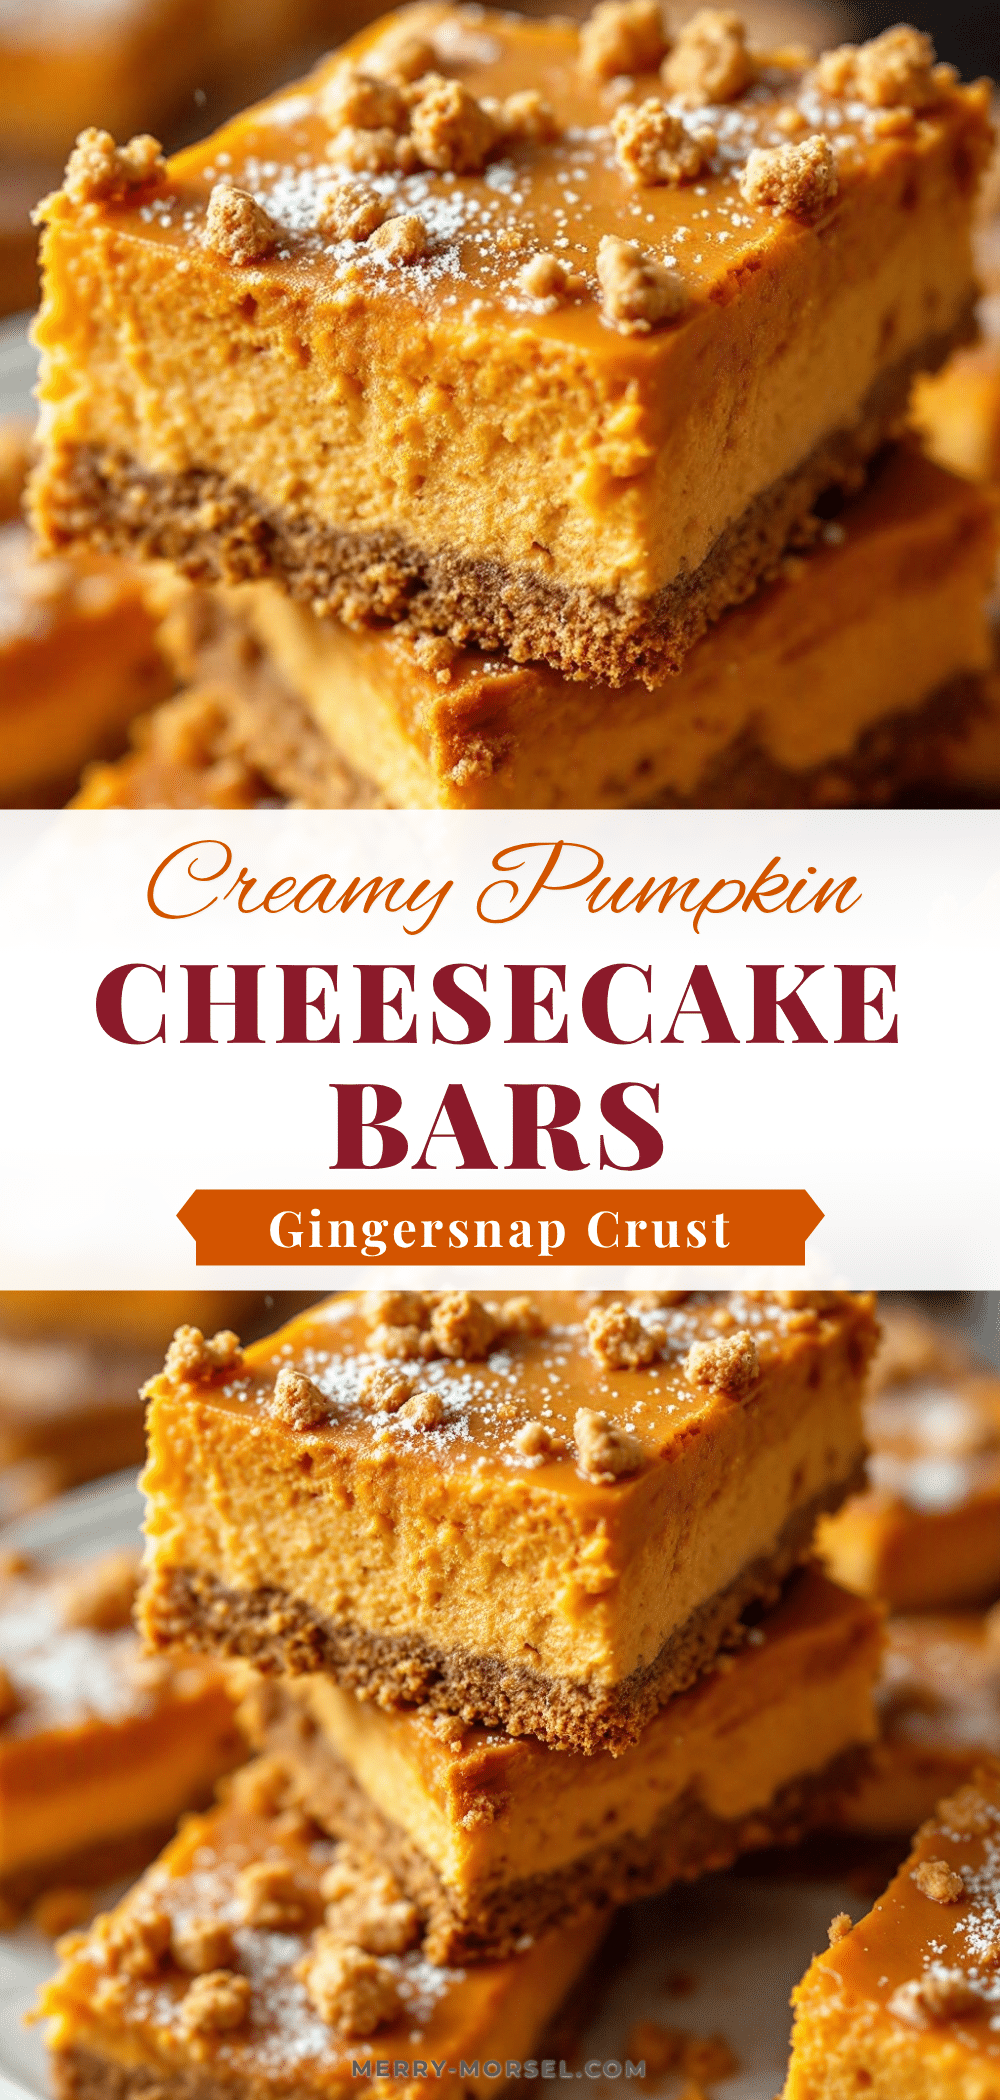
Creamy Pumpkin Cheesecake Bars with Gingersnap Crust
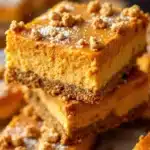
These creamy pumpkin cheesecake bars feature a spicy gingersnap crust and a silky, tangy pumpkin cheesecake filling. They are easy to make, perfect for holiday gatherings, and offer a reliable, delicious fall dessert.
- Prep Time: 45 minutes
- Cook Time: 50 minutes
- Total Time: 5 hours 35 minutes
- Yield: 12 servings 1x
- Category: Dessert
- Cuisine: American
Ingredients
- For the Gingersnap Crust:
- 2 cups gingersnap cookie crumbs
- 1/2 cup unsalted butter, melted
- 1 tablespoon granulated sugar
- Pinch of salt
- For the Creamy Pumpkin Cheesecake Filling:
- 16 ounces (two 8-ounce blocks) full-fat cream cheese, softened to room temperature
- 3/4 cup granulated sugar
- 1/2 cup packed brown sugar
- 15 ounces (one standard can) 100% pure pumpkin puree
- 3 large eggs, room temperature
- 1 teaspoon vanilla extract
- 1 teaspoon ground cinnamon
- 1/2 teaspoon ground ginger
- 1/4 teaspoon ground nutmeg
- 1/8 teaspoon ground cloves
- 1/2 teaspoon salt
Instructions
- Preheat oven to 350°F (175°C). Line a 9×13 inch baking pan with parchment paper, leaving an overhang on the long sides.
- Crush gingersnap cookies into fine crumbs using a food processor or a zip-top bag with a rolling pin.
- In a medium bowl, mix the cookie crumbs, melted butter, sugar, and pinch of salt until it resembles wet sand.
- Press the crust mixture firmly into the bottom of the prepared pan using the bottom of a measuring cup.
- Bake the crust for 8-10 minutes until set and fragrant. Remove from oven and let cool while making the filling.
- In a large bowl, beat the softened cream cheese on medium speed until completely smooth (2-3 minutes). Scrape down the sides.
- Add granulated sugar and brown sugar to the cream cheese. Beat on low speed until combined. Scrape the bowl again.
- Add eggs one at a time, mixing on low speed just until incorporated. Do not over-mix.
- Add pumpkin puree, vanilla extract, cinnamon, ginger, nutmeg, cloves, and salt. Mix on low speed until just combined and smooth.
- Pour the filling over the cooled crust and smooth the top.
- Bake for 35-40 minutes. The edges should be set, but the center should have a slight jiggle.
- Cool in the pan on a wire rack for at least 1 hour.
- Refrigerate for at least 4 hours, preferably overnight, before slicing.
Notes
Ensure cream cheese and eggs are at room temperature to prevent lumps. Do not overmix after adding eggs to avoid cracking. For clean cuts, use a sharp knife wiped clean between cuts, or dip the knife in hot water. The bars must be chilled completely before serving.
Nutrition
- Serving Size: 1 bar
- Calories: 375
- Sugar: 32
- Sodium: 280
- Fat: 22
- Saturated Fat: 13
- Carbohydrates: 40
- Fiber: 1
- Protein: 6
Keywords: pumpkin cheesecake, gingersnap crust, fall dessert, holiday baking, pumpkin bars, easy cheesecake recipe, Thanksgiving dessert