Love this? Save it for later!
Share the inspiration with your friends
The pumpkin patch field trip got cancelled last minute. I had six kids under the age of eight descending on my house, and a bag of Oreos staring at me from the pantry. No pumpkins, no hayrides, no cute little gourds to arrange on the table. Just a rainy afternoon and a whole lot of disappointed faces.
So I did what any slightly chaotic aunt would do. I grabbed the pudding mix, the cream cheese, and those gummy worms I’d hidden for a rainy day (literally). And honestly? We made our own pumpkin patch right there on the kitchen counter. No mud, no cold wind, no toddler tantrums over wet socks. Just chocolate dirt, creamy pumpkin layers, and the triumphant squirm of a gummy worm being “planted” into its patch.
These Easy Pumpkin Patch Dirt Cups with Gummy Worms became the absolute hero of the afternoon. They’re silly, they’re sweet, and they somehow make a rainy Tuesday feel like a festival. Every single kid (and adult, let’s be honest) dug into their little cup with the kind of joy you can’t fake. That’s the thing about this dessert — it doesn’t need a perfect occasion. It creates one.
Why You’ll Love This Recipe
These dirt cups are more than just a cute Halloween treat. They’re a full-on experience that comes together in about fifteen minutes of active work. No baking, no complicated steps, and definitely no stress.
- Quick & Easy : From start to finish, you’re looking at under 20 minutes of prep. The hardest part is crushing the Oreos — and honestly, that’s kind of fun.
- Simple Ingredients : You probably have most of this stuff in your pantry already. Pudding mix, cream cheese, milk, Oreos, and gummy worms. No fancy grocery run required.
- Perfect for Fall Parties : These little cups are a showstopper at Halloween parties, Thanksgiving kids’ tables, or just a regular Tuesday that needs a pumpkin-flavored pick-me-up.
- Crowd-Pleaser : I’ve served these to kids, grandparents, and everyone in between. The combination of creamy pumpkin cheesecake filling and crunchy chocolate “dirt” is universally loved.
- Unbelievably Delicious : The pumpkin flavor isn’t overpowering — it’s perfectly balanced with the tangy cream cheese and the rich chocolate. Plus, that gummy worm surprise at the bottom? Pure magic.
What sets this recipe apart is the texture. I use a secret trick — blending the cream cheese until it’s silky smooth before adding the pumpkin. No lumps, no bumps, just a velvety filling that feels like a fancy pumpkin cheesecake but takes a fraction of the time.
This is the kind of dessert that makes people close their eyes after the first bite. It’s comfort food disguised as a kids’ craft — and honestly, that’s the best kind of dessert there is.
What Ingredients You Will Need
This recipe uses simple, wholesome ingredients to create layers of flavor and texture that feel way more complicated than they actually are. Most of these are pantry staples, especially if you do any kind of fall baking.
- For the Pumpkin Cheesecake Filling:
- 8 oz cream cheese, softened (the full-fat block kind works best for that creamy texture)
- 1 cup pumpkin puree (not pumpkin pie filling — just plain puree)
- 1/2 cup powdered sugar (adds sweetness without grittiness)
- 1 teaspoon vanilla extract (pure, if you’ve got it)
- 1/2 teaspoon pumpkin pie spice (or a mix of cinnamon, nutmeg, and ginger)
- 1/4 teaspoon ground cinnamon (for that extra warmth)
- Pinch of salt (balances the sweetness)
- For the Chocolate Dirt Layer:
- 1 package (14.3 oz) Oreo cookies (about 36 cookies)
- 3 tablespoons unsalted butter, melted (helps the crumbs clump together like real dirt)
- For the Pudding Layer:
- 1 box (3.4 oz) instant vanilla pudding mix
- 1 1/2 cups cold milk (whole milk makes it extra creamy)
- For Decoration:
- Gummy worms (I recommend the sour ones for a tangy pop)
- Optional: crushed graham crackers, candy pumpkins, or chocolate shavings
For the cream cheese, I really recommend using Philadelphia or another full-fat brand. The lighter versions can get a little watery when mixed with the pumpkin. And for the Oreos? Honestly, any chocolate sandwich cookie works. I’ve even used the generic store brand in a pinch, and nobody complained.
If you want to make this gluten-free, use gluten-free chocolate sandwich cookies. The filling stays exactly the same, so nobody will know the difference. And if you’re dairy-free, swap the cream cheese for a good plant-based version and use coconut milk in the pudding. Just make sure everything is well-chilled.
Equipment Needed
You don’t need any fancy gadgets for these dirt cups, which is exactly how I like my desserts. Here’s what you’ll need:
- Food processor or rolling pin: For crushing the Oreos into fine “dirt.” A food processor makes it quick and even, but a sturdy ziplock bag and a rolling pin works great too. Honestly, I’ve used a wine bottle in a pinch.
- Electric hand mixer or stand mixer: For whipping the cream cheese filling until it’s perfectly smooth. A whisk will work if you’ve got strong arms, but the mixer saves time and elbow grease.
- Small cups or jars: Clear plastic cups are perfect so you can see the layers. I use 8-ounce disposable cups for parties, but little mason jars or even small glass bowls work beautifully.
- Mixing bowls: One large, one medium, and one small. Nothing fancy.
- Spatula: For scraping every last bit of that pumpkin filling into the cups. Waste not, want not.
- Measuring cups and spoons: Standard set for accuracy.
If you don’t have a food processor, just put the Oreos in a ziplock bag, seal it tight, and go to town with a rolling pin. It’s a great stress reliever, honestly. And for the cups, I found a pack of 50 clear plastic cups at the dollar store that work perfectly for parties. They’re cheap, they’re cute, and nobody has to do dishes afterward.
Preparation Method
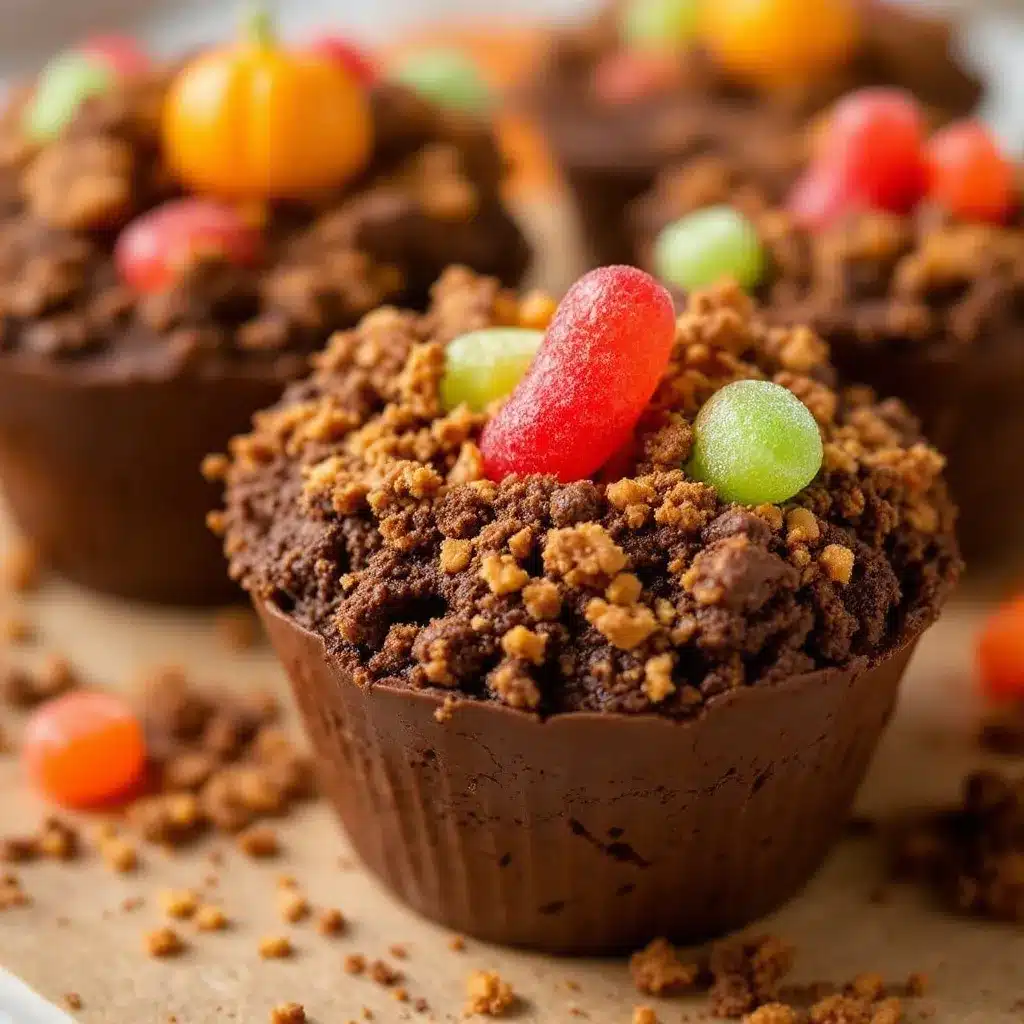
This recipe moves fast, so I like to have everything measured and ready before I start. It’s a great one to make with kids because each step is simple and satisfying.
- Make the chocolate dirt. Place the Oreos (filling and all) in a food processor and pulse until they become fine crumbs. You want them to look like dark, rich soil — some slightly larger pieces are fine for texture. Transfer to a medium bowl and stir in the melted butter until evenly moistened. Set aside.
- Prepare the pudding. In a small bowl, whisk together the instant vanilla pudding mix and cold milk. Whisk for about 2 minutes until it thickens. Pop it in the fridge to set while you work on the next step. It needs at least 5 minutes to firm up.
- Make the pumpkin cheesecake filling. In a large bowl, beat the softened cream cheese with an electric mixer until it’s completely smooth — about 2 minutes. Scrape down the sides of the bowl. Add the pumpkin puree, powdered sugar, vanilla extract, pumpkin pie spice, cinnamon, and salt. Beat on medium speed until everything is fully combined and silky. Taste it. I dare you not to eat a spoonful.
- Layer the cups. Now comes the fun part. Spoon about 2 tablespoons of the chocolate dirt into the bottom of each cup. Press it down gently with the back of a spoon to create a solid base. This is where the gummy worms will hide.
- Add the pudding layer. Spoon about 2 tablespoons of the vanilla pudding over the dirt layer. Spread it evenly. This creates a creamy middle layer that separates the dirt from the pumpkin filling.
- Add the pumpkin layer. Spoon about 3 tablespoons of the pumpkin cheesecake filling over the pudding. Smooth the top gently.
- Top with more dirt. Sprinkle a generous layer of the chocolate Oreo crumbs over the top of each cup. You want to completely cover the pumpkin filling so it looks like a little patch of earth.
- Plant the worms. Gently push 2 or 3 gummy worms into the top layer of dirt, letting some wiggle out as if they’re crawling out of the ground. For extra effect, leave one worm half-buried and one fully peeking out.
- Chill before serving. Refrigerate the cups for at least 30 minutes before serving. This lets the layers set and the flavors meld together. They’re even better after an hour or two.
One thing I learned the hard way — don’t overmix the pumpkin filling once you add the powdered sugar. Just mix until it’s combined. Overmixing can make it a little runny, and we want that layer to hold its shape in the cup.
If you’re making these for a party, you can assemble them up to 24 hours in advance. Just wait to add the gummy worms until right before serving, or they’ll get a little soggy. Unless you like soft worms — no judgment here.
Cooking Tips & Techniques
After making these dirt cups about a dozen times (for science, obviously), I’ve picked up a few tricks that make the process even easier.
Use room temperature cream cheese. This is the number one tip for a smooth, lump-free filling. If you forget to take it out of the fridge, microwave it for 10-15 seconds on low power. Just don’t melt it — you want it soft, not liquid.
Don’t skip the butter in the dirt. The melted butter helps the Oreo crumbs clump together slightly, giving them that real-dirt texture. Without it, the crumbs stay powdery and don’t stick to the spoon as nicely. Plus, it adds a little richness that makes the whole thing taste more decadent.
Chill your bowl for the pudding. If you’re in a hurry, pop your mixing bowl in the freezer for 5 minutes before making the pudding. The cold bowl helps the pudding set up faster, which means less waiting time.
Layer with intention. I like to use a piping bag for the pumpkin filling because it gives me more control and keeps the layers clean. But a spoon works perfectly fine — just spoon it in gently and spread it to the edges without disturbing the layers below.
Make extra dirt. Seriously. You’ll want extra for the tops, and the kids (and adults) will snack on it while you’re assembling. I always make a little extra and stash it in the fridge for later.
One mistake I made the first time was using too much pudding. The layers got all mixed up and looked more like a swamp than a pumpkin patch. Keep the pudding layer thin — just enough to separate the dirt from the pumpkin. It’s a supporting player, not the star.
Variations & Adaptations
These dirt cups are incredibly forgiving, so feel free to play around with the flavors and textures.
- Chocolate Pumpkin Version: Swap the vanilla pudding for chocolate pudding. The chocolate-pumpkin combo is surprisingly good — like a pumpkin brownie in a cup.
- No-Bake Cheesecake Version: Skip the pudding layer entirely and double the pumpkin cheesecake filling. It makes the cups richer and more decadent, perfect for a special treat.
- Gluten-Free Adaptation: Use gluten-free chocolate sandwich cookies. The rest of the ingredients are naturally gluten-free, so this is an easy swap.
- Dairy-Free Version: Use dairy-free cream cheese, coconut milk in the pudding, and dairy-free butter in the dirt. It’s still creamy and delicious, just a little lighter.
- Kid-Friendly Assembly: Let the kids layer their own cups. Set up a little “dirt cup bar” with all the components in separate bowls and let everyone build their own. It’s messy, but it’s so much fun.
- Fall Flavor Twist: Add a layer of crushed graham crackers mixed with cinnamon and a little melted butter. It gives the cups a subtle graham cracker crust vibe that pairs beautifully with the pumpkin.
I once made a batch with crushed peanut butter cookies instead of Oreos, and honestly? It was incredible. The peanut butter-chocolate-pumpkin combination is dangerously good. Just make sure the cookies are crunchy, not chewy, so they crumble properly.
If you’re looking for other fun fall treats, you might enjoy my Perfect Chocolate Chip Pumpkin Bread with Cream Cheese Swirl or the Perfect Pumpkin Cream Cheese Muffins. Both are perfect for using up leftover pumpkin puree.
Serving & Storage Suggestions
These dirt cups are best served cold, straight from the fridge. The layers hold their shape beautifully, and the chill makes the pumpkin filling taste almost like a frozen cheesecake bite.
For presentation, I like to arrange the cups on a large platter or wooden board. Scatter a few extra gummy worms around the base for a fun, playful look. If you’re serving these at a Halloween party, add some fake spider webs or plastic spiders for extra spooky vibes.
They pair wonderfully with a warm cup of Cozy Pumpkin Spice Cold Foam Coffee for the adults, or a glass of cold milk for the kids. The creamy, sweet dessert balances perfectly with something warm and slightly bitter.
Storage: Cover the cups with plastic wrap or pop on lids if you have them. They’ll keep in the fridge for up to 3 days. The layers might settle a bit over time, but the flavor actually gets better as the pumpkin and cream cheese meld together.
Freezing: You can freeze these cups for up to a month. Just wrap each cup tightly in plastic wrap and then foil. Thaw in the fridge overnight before serving. The texture might be slightly softer after freezing, but they’re still delicious.
Reheating: Don’t. These are meant to be served cold. If you want a warm dessert, try my Classic Peach Cobbler with Buttermilk Biscuit Topping instead.
One note — the gummy worms will soften after a day or two in the fridge. If you want them to stay chewy, add them right before serving. But honestly, my kids don’t mind soft worms at all.
Nutritional Information & Benefits
Let’s be real — these are a treat, not a health food. But they’re made with real ingredients, and there’s some nutritional value hiding in all that deliciousness.
- Estimated per serving (1 cup): Approximately 380 calories, 18g fat, 48g carbohydrates, 6g protein, 2g fiber, 30g sugar.
- Pumpkin puree is packed with vitamin A, fiber, and antioxidants. It’s actually one of the healthiest ingredients in this recipe — which makes me feel slightly better about the Oreos.
- Cream cheese provides calcium and a little protein. It also makes everything taste amazing, which is its own kind of benefit.
- Dark chocolate cookies (if you use dark Oreos) offer a small amount of antioxidants. I’m not saying they’re a superfood, but every little bit counts.
This recipe is naturally nut-free (check your Oreo labels to be sure), and can easily be made gluten-free or dairy-free with simple swaps. It’s also a great option for kids with egg allergies, since there are no eggs in the recipe.
From a wellness perspective, I love that this dessert feels indulgent but isn’t loaded with artificial ingredients. The pumpkin adds real nutrients, and the portion size is naturally controlled since it’s served in individual cups. One cup is plenty satisfying — no need to go back for seconds (though you might want to).
Conclusion
These Easy Pumpkin Patch Dirt Cups with Gummy Worms are the kind of recipe that makes you feel like a kitchen wizard without actually having to do much work. They’re fun, they’re festive, and they taste like a pumpkin cheesecake had a baby with a childhood favorite.
I love that this recipe brings people together. Whether you’re making them with your own kids, serving them at a Halloween party, or just treating yourself on a cozy fall evening, there’s something about digging into a cup of creamy pumpkin “dirt” that makes the world feel a little bit more magical.
Don’t be afraid to make these your own. Swap the gummy worms for candy corn. Use chocolate pudding instead of vanilla. Add a layer of crushed graham crackers. The beauty of this recipe is that it’s endlessly adaptable — and always delicious.
I’d love to hear how yours turn out. Drop a comment below and tell me about your favorite variation, or tag me in your photos on social media. Happy fall, friends — now go make some dirt!
Frequently Asked Questions
Can I make these dirt cups ahead of time?
Absolutely. You can assemble them up to 24 hours in advance. Just wait to add the gummy worms until right before serving so they stay chewy.
Can I use homemade pudding instead of instant?
You can, but it changes the texture. Homemade pudding is thinner and won’t hold its layers as well. Instant pudding is really the way to go for that perfect, sliceable consistency.
What if I don’t have pumpkin pie spice?
No problem. Mix together 1/2 teaspoon cinnamon, 1/4 teaspoon nutmeg, 1/4 teaspoon ginger, and a pinch of cloves. That’s basically pumpkin pie spice in a pinch.
Can I use a different type of cookie for the dirt?
Yes! Chocolate wafer cookies, crushed graham crackers, or even crushed pretzels work great. Just make sure they’re crunchy so they crumble into that “dirt” texture.
How do I keep the layers from mixing together?
The key is patience. Let the pudding set completely before adding the pumpkin layer. And when you spoon the pumpkin filling on top, do it gently — don’t pour it in all at once. A piping bag gives you the most control, but a spoon works if you’re careful.
Pin This Recipe!
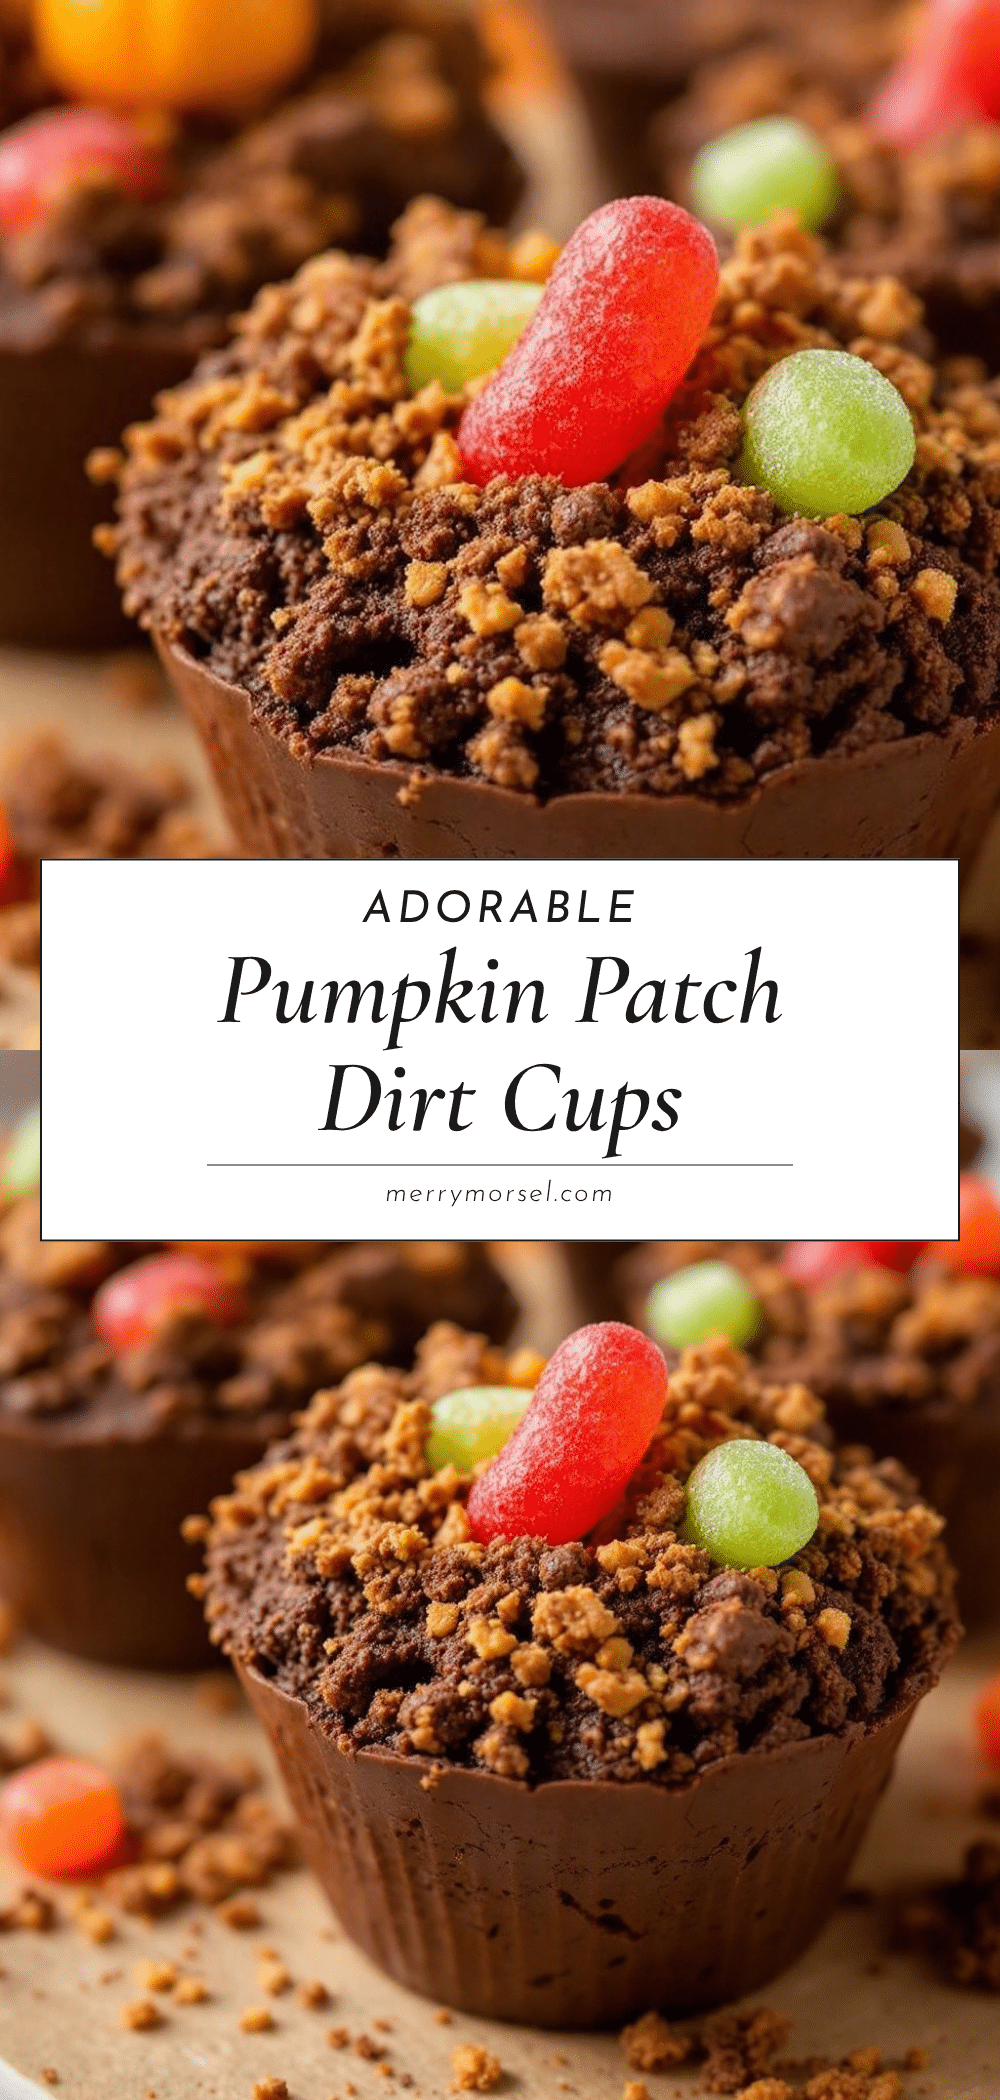
Easy Pumpkin Patch Dirt Cups with Gummy Worms

These no-bake dirt cups feature layers of creamy pumpkin cheesecake filling, vanilla pudding, and chocolate Oreo ‘dirt,’ topped with gummy worms for a fun and festive fall treat that comes together in under 20 minutes.
- Prep Time: 15 minutes
- Cook Time: 0 minutes
- Total Time: 45 minutes (includes chilling)
- Yield: 6 servings 1x
- Category: Dessert
- Cuisine: American
Ingredients
- 8 oz cream cheese, softened
- 1 cup pumpkin puree (not pumpkin pie filling)
- 1/2 cup powdered sugar
- 1 teaspoon vanilla extract
- 1/2 teaspoon pumpkin pie spice
- 1/4 teaspoon ground cinnamon
- Pinch of salt
- 1 package (14.3 oz) Oreo cookies (about 36 cookies)
- 3 tablespoons unsalted butter, melted
- 1 box (3.4 oz) instant vanilla pudding mix
- 1 1/2 cups cold milk
- Gummy worms (sour recommended)
- Optional: crushed graham crackers, candy pumpkins, or chocolate shavings
Instructions
- Make the chocolate dirt: Place Oreos (filling and all) in a food processor and pulse until fine crumbs form. Transfer to a medium bowl and stir in melted butter until evenly moistened. Set aside.
- Prepare the pudding: In a small bowl, whisk together instant vanilla pudding mix and cold milk for about 2 minutes until thickened. Refrigerate for at least 5 minutes to set.
- Make the pumpkin cheesecake filling: In a large bowl, beat softened cream cheese with an electric mixer until smooth (about 2 minutes). Add pumpkin puree, powdered sugar, vanilla extract, pumpkin pie spice, cinnamon, and salt. Beat on medium speed until fully combined and silky.
- Layer the cups: Spoon about 2 tablespoons of chocolate dirt into the bottom of each cup. Press down gently with the back of a spoon.
- Add the pudding layer: Spoon about 2 tablespoons of vanilla pudding over the dirt layer and spread evenly.
- Add the pumpkin layer: Spoon about 3 tablespoons of pumpkin cheesecake filling over the pudding and smooth the top.
- Top with more dirt: Sprinkle a generous layer of chocolate Oreo crumbs over the top to completely cover the pumpkin filling.
- Plant the worms: Gently push 2-3 gummy worms into the top layer of dirt, letting some wiggle out.
- Chill before serving: Refrigerate cups for at least 30 minutes before serving. They are even better after 1-2 hours.
Notes
Use room temperature cream cheese for a smooth filling. Don’t overmix the pumpkin filling once powdered sugar is added. For best results, chill the cups for at least 30 minutes. Gummy worms can be added just before serving to keep them chewy. Can be assembled up to 24 hours in advance.
Nutrition
- Serving Size: 1 cup
- Calories: 380
- Sugar: 30
- Sodium: 320
- Fat: 18
- Saturated Fat: 10
- Carbohydrates: 48
- Fiber: 2
- Protein: 6
Keywords: pumpkin dirt cups, Halloween dessert, no-bake pumpkin dessert, gummy worms, fall treat, easy dessert, kids dessert


