Love this? Save it for later!
Share the inspiration with your friends
The teacher appreciation luncheon was in two hours and I’d completely forgotten. I was staring at my pantry like it held the answers to the universe, which, honestly, it kind of needed to. Everyone else would be bringing elaborate casseroles, themed desserts with apple-shaped cookies, and those fancy store-bought platters that cost a small fortune. I had a block of cheddar, some salami that was nearing its expiration date, and a bag of baby carrots that looked a little sad. My son was counting on me, and I could already picture the disappointed looks from the PTA moms.
Then I spotted the small paper cups leftover from a birthday party last summer. And it just clicked. Why fight the charcuterie board trend when I could make it portable, personal, and absolutely adorable? I mean, teachers love snacks they can grab between wrangling kids, right? So I started layering. A little cheese here, a fold of salami there, some grapes tucked in the corner. It was messy, my counter looked like a deli counter exploded, and I definitely dropped a cracker on the floor (five-second rule, obviously). But by the time I was done, I had twelve perfect little cups of goodness.
Here’s the thing — those little cups were the first thing to disappear. Not the fancy quiche. Not the gourmet cookies. My silly, last-minute charcuterie cups. A teacher actually came up to me and asked for the recipe. That’s when I knew this was more than a panic-driven hack. It was a keeper. And honestly, maybe you’ve been there too — scrambling for a contribution that looks thoughtful without actually requiring a full day in the kitchen. These easy teacher appreciation charcuterie lunch cups are your save. They’re proof that simple can be spectacular.
Why You’ll Love This Recipe
Let me tell you why these charcuterie lunch cups have become my go-to for every school event, and why they’ll become yours too. I’ve tested this concept at three different teacher appreciation luncheons, a soccer team snack day, and even a book club meeting. Each time, the result was the same — people absolutely love them.
- Quick & Easy: These come together in under 15 minutes. Seriously, that’s faster than deciding what to order for takeout. Perfect for those mornings when you realize the event is today, not tomorrow.
- Simple Ingredients: No fancy grocery trips needed. You likely already have everything in your kitchen or can grab it in one quick aisle at the store. Cheddar, salami, crackers, and some fruit — that’s it.
- Perfect for Teacher Appreciation: These are individually portioned, mess-free, and easy to grab during a busy lunch break. Teachers can eat them at their desks between classes without any fuss.
- Crowd-Pleaser: I’ve watched kids, teachers, and even picky eaters devour these. The combination of savory and sweet hits everyone’s happy spot.
- Unbelievably Delicious: Don’t let the simplicity fool you. When you layer good-quality cheese with cured meat and a touch of sweetness from grapes or berries, it’s next-level comfort food in a cup.
What makes this different from just throwing ingredients on a platter? It’s the presentation. The portability. The fact that each person gets their own curated selection without anyone double-dipping or hogging the good cheese. This isn’t just another charcuterie board — it’s a thoughtful, personalized treat that shows you care without stressing yourself out. It’s comfort food reimagined for busy schedules. Perfect for impressing the PTA without losing your sanity.
What Ingredients You Will Need
This recipe uses simple, wholesome ingredients to deliver big flavor and satisfying texture without any fuss. Most of these are pantry staples or easy-to-find items at any grocery store.
- Cheese cubes (cheddar or gouda, 4 oz) — I recommend sharp cheddar from a block you cut yourself. Pre-shredded just doesn’t have the same texture, and cubes feel more special. (Adds richness and a familiar comfort factor)
- Salami slices (4 oz) — Genoa salami is my personal favorite, but pepperoni works in a pinch. Look for pre-sliced to save time, or ask the deli counter for thick slices you can quarter. (Brings that savory, cured meat punch)
- Crackers (about 12-15 mini crackers per cup) — I like buttery Ritz-style or whole wheat for a healthier twist. Mini ones fit perfectly in the cups. (Provides the crunch factor)
- Red grapes (1 cup, washed and dried) — Seedless are non-negotiable here. Cut larger grapes in half so they fit nicely. (Adds sweetness and a pop of color)
- Cherry tomatoes (1/2 cup) — Halved or quartered depending on size. They add acidity that balances the richness of the cheese and meat. (Brings freshness and juiciness)
- Almonds or walnuts (1/4 cup) — Raw or roasted, your choice. I prefer roasted almonds for extra crunch. (Adds healthy fats and texture contrast)
- Small paper cups (4 oz size) — The kind you’d use for snacks at a party. Make sure they’re sturdy enough to hold everything without collapsing.
Ingredient Selection Tips: For the best flavor, use cheese you’d actually enjoy eating on its own. If you’re buying pre-cubed cheese, check the package date — fresh matters. For the salami, I’ve tried both prepackaged and deli-counter slices. The deli slices are slightly more flavorful and easier to fold into little ribbons. If you’re making these for a crowd, consider mixing two types of cheese for variety — cheddar and gouda is a winning combo.
Substitution Guidance: Need a vegetarian version? Skip the salami and add extra cheese or roasted red peppers. For a nut-free option, swap almonds for sunflower seeds or omit entirely. You can also use turkey pepperoni for a lower-fat option. If grapes aren’t in season, try dried cranberries or apple slices tossed in lemon juice to prevent browning.
Equipment Needed
You don’t need any fancy gadgets for these charcuterie lunch cups. That’s part of the beauty.
- Small paper cups (4 oz size) — These are the star of the show. I found a pack of 50 at the dollar store for under three bucks. They’re perfect for portion control and easy transport.
- Cutting board — Any size works. I use a large wooden one because it gives me room to spread out, but a plastic one is fine too.
- Sharp knife — A good chef’s knife makes cutting cheese cubes and slicing grapes effortless. Dull knives are dangerous and frustrating.
- Small bowl for mixing — Optional, but helpful if you want to toss grapes or tomatoes with a little seasoning before adding them to the cups.
- Serving tray or platter — To arrange the finished cups for presentation. A simple white tray makes the colors pop.
Budget-Friendly Tip: Don’t have paper cups? Use small mason jars or even clean yogurt containers. I’ve also used silicone muffin cups in a pinch — they’re reusable and adorable. For the knife, a basic kitchen knife from any store will work as long as it’s sharp. You don’t need a $200 chef’s knife for this.
Preparation Method
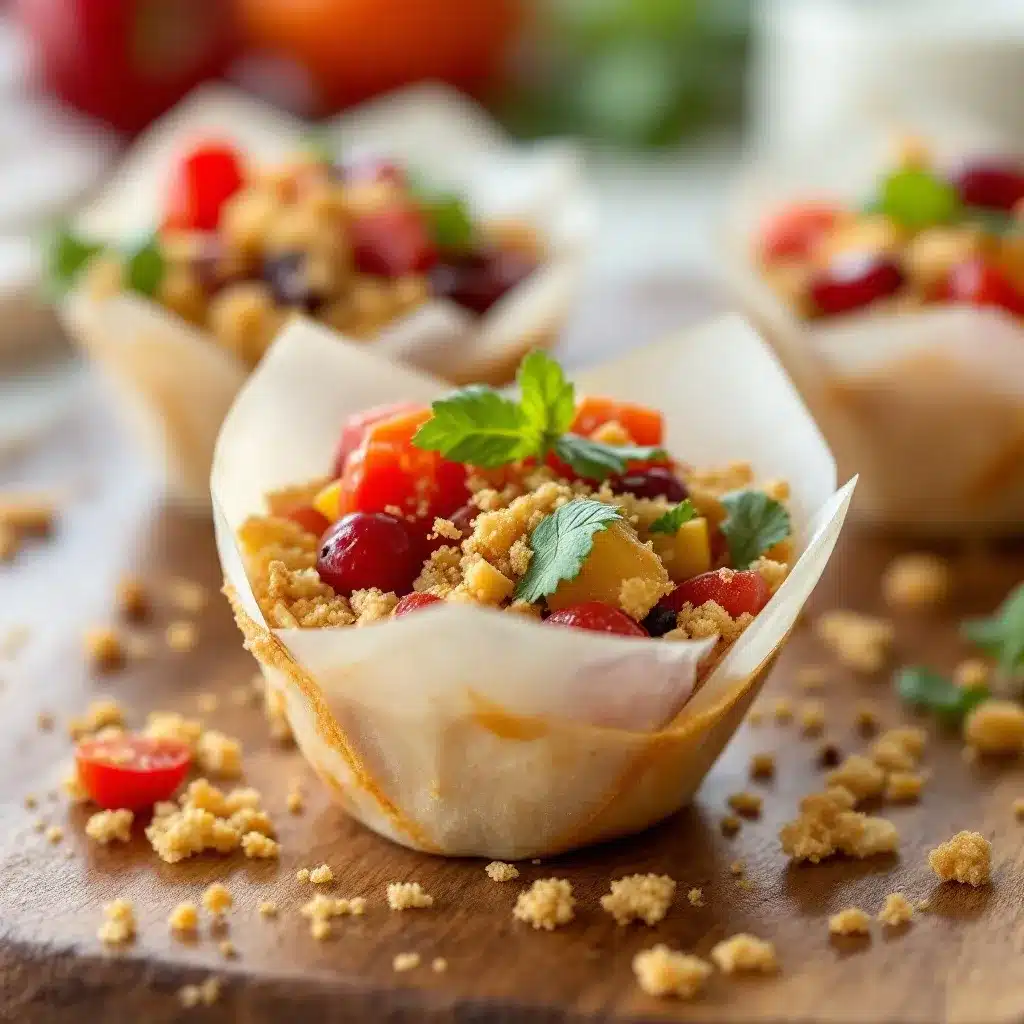
Let me walk you through this step by step. Trust me, it’s easier than assembling a regular charcuterie board because there’s no arranging and rearranging involved.
- Prep your ingredients (5 minutes) — Start by cutting your cheese into small cubes, about 1/2 inch each. If you’re using a block of cheddar, slice it into sticks first, then cut across to make cubes. Wash and dry your grapes thoroughly — wet grapes make the cups soggy. Cut the cherry tomatoes in half. If your salami slices are large, cut them into quarters or fold them into little ribbons.
- Layer the base (2 minutes) — Take your paper cups and place a small handful of crackers at the bottom of each one. Don’t overfill — you want about 3-4 crackers per cup. This creates a crunchy foundation that stays crisp because it’s not touching any wet ingredients.
- Add the protein (2 minutes) — Drop in 3-4 pieces of cheese cubes and 2-3 folded salami pieces per cup. Arrange them so they’re visible from the top. This is where the visual appeal starts coming together. I like to tuck the salami between the cheese cubes so everything looks intentional.
- Add the fruits and veggies (2 minutes) — Place 3-4 grape halves and 2-3 tomato halves in each cup. Distribute them evenly so every cup gets a good mix. The red and green colors create a beautiful contrast against the cheese and salami.
- Top with nuts (1 minute) — Sprinkle a few almonds or walnuts on top of each cup. This adds that final crunch and makes the cups look complete. Don’t skip this step — the nuts tie everything together texturally.
- Final touch (1 minute) — If you want to get fancy, add a small sprig of fresh rosemary or a basil leaf to each cup for garnish. It’s optional but makes them look restaurant-quality. Arrange the cups on a serving tray and you’re done.
Sensory Cues: When you’re layering the ingredients, listen for the gentle crunch of crackers settling. The cheese should feel firm but not hard when you cut it. The grapes should be plump and give slightly when pressed. If your salami feels sticky or slimy, toss it and use fresh — that’s a sign it’s past its prime.
Troubleshooting Tip: If your cups feel too crowded, use slightly larger cups or reduce the cracker count. If they look sparse, add another cheese cube or two. The beauty of this recipe is that it’s endlessly adjustable. I’ve made these with toddlers in mind (smaller pieces, no nuts) and for adults (added olives and pickled onions).
Cooking Tips & Techniques
Here are some things I’ve learned the hard way so you don’t have to. My first batch of these cups was a disaster — I used wet grapes and the crackers got soggy within an hour. Now I know better.
Dry your fruit thoroughly. This is the most important tip I can give you. After washing grapes or tomatoes, pat them dry with a paper towel. Any excess moisture will seep into the crackers and turn them into sad, mushy disappointments. I learned this after a particularly embarrassing PTA meeting where my cups were the only thing left uneaten.
Layer strategically. Always put crackers at the bottom, then cheese and meat, then fruit on top. This keeps the crackers away from moisture and ensures they stay crunchy. I once layered fruit first and the whole cup was a soggy mess within 20 minutes. Never again.
Don’t overfill. It’s tempting to pack as much as possible into each cup, but leave a little breathing room. Overfilled cups are hard to eat from and ingredients tend to spill out. Aim for each cup to be about 3/4 full.
Prep ahead tip: You can cut all your ingredients the night before and store them separately in the fridge. Assemble the cups the morning of the event. This takes the pressure off and ensures everything is fresh. I’ve done this for three different school events now and it works perfectly.
Temperature matters. If you’re serving these at an outdoor event, keep them in a cooler until serving time. Cheese and salami don’t do well in direct sunlight. For indoor events, they can sit out for about 2 hours safely.
Variations & Adaptations
One of the best things about these charcuterie lunch cups is how customizable they are. I’ve tried several variations and each one has its own charm.
Mediterranean Twist: Swap the cheddar for feta cheese cubes, use turkey pepperoni instead of salami, and add kalamata olives and cucumber slices. A sprinkle of dried oregano on top takes it over the top. This version is lighter and feels more refreshing.
Sweet & Savory Combo: Replace the crackers with mini pretzels, add dried apricots or figs, and use brie cheese instead of cheddar. The combination of salty pretzels, creamy brie, and sweet dried fruit is absolutely addictive. I made this for a book club meeting and got three requests for the recipe.
Kid-Friendly Version: Skip the nuts (choking hazard) and use mild cheddar or colby jack. Add apple slices tossed in lemon juice to prevent browning, and use mini pepperoni instead of salami. My son’s kindergarten class loved these — they felt like they were getting a special treat.
Low-Carb Option: Replace crackers with cucumber rounds or bell pepper strips. Use extra cheese and meat to compensate. This works great for keto friends or anyone watching their carb intake.
Serving & Storage Suggestions
These charcuterie lunch cups are best served at room temperature, so take them out of the fridge about 15 minutes before serving. The cheese and meat taste better when they’re not ice-cold.
Presentation Ideas: Arrange the cups on a large wooden board or white platter in rows. If you’re feeling extra creative, group them by flavor variation — all the Mediterranean ones together, all the sweet and savory ones together. Add a small sign labeling each type so people know what they’re grabbing.
Complementary Dishes: These cups pair beautifully with a simple fruit salad, mini quiches, or a veggie platter. For drinks, iced tea or lemonade is perfect for daytime events. For evening gatherings, a light white wine or sparkling water works well.
Storage Instructions: If you have leftovers (unlikely, but possible), store them in an airtight container in the refrigerator for up to 24 hours. The crackers will soften overnight, so if you’re prepping ahead, store the crackers separately and add them just before serving. I don’t recommend freezing these — the texture of the fruit and cheese will suffer.
Reheating: These are served cold or at room temperature, so no reheating needed. If you’ve stored them in the fridge, just let them sit out for 10-15 minutes before serving to take the chill off.
Nutritional Information & Benefits
Here’s an estimated breakdown per cup (based on one serving with cheddar, salami, crackers, grapes, tomatoes, and almonds):
- Calories: Approximately 250-300 calories per cup
- Protein: 12-15 grams (thanks to cheese and salami)
- Fat: 18-22 grams (mostly from cheese and nuts)
- Carbohydrates: 15-20 grams (from crackers, grapes, and tomatoes)
- Fiber: 2-3 grams (from grapes, almonds, and tomatoes)
Health Benefits: This snack actually has some surprising perks. Cheese provides calcium and protein for sustained energy. Grapes and tomatoes are packed with antioxidants and vitamin C. Almonds offer healthy fats and vitamin E. It’s a balanced mini-meal that keeps you full without feeling heavy.
Dietary Considerations: This recipe is naturally gluten-free if you use gluten-free crackers. It can be made vegetarian by omitting the salami. For dairy-free, use vegan cheese or skip the cheese entirely and add extra nuts and fruit. Always check labels if serving to someone with allergies.
Conclusion
These easy teacher appreciation charcuterie lunch cups have saved me more times than I can count. They’re proof that you don’t need hours in the kitchen or a gourmet budget to create something thoughtful and delicious. Whether you’re scrambling for a last-minute school event or planning ahead for a special occasion, this recipe delivers every single time.
I love how these cups make people feel special. There’s something about having your own personal charcuterie selection that feels indulgent and cared for. And knowing it took me less time than a coffee run? That’s the kind of win I’ll take any day.
Now I’d love to hear from you! Have you tried making these? What variations did you come up with? Drop a comment below and share your creations. And if you found a teacher who loved these as much as mine did, tag me in your photos. Happy snacking, friends!
Frequently Asked Questions
Can I make these charcuterie lunch cups the night before?
Yes, but store the crackers separately and add them just before serving to keep them crunchy. Assemble everything else, cover with plastic wrap, and refrigerate overnight.
How long do these stay fresh at room temperature?
They’re safe to eat for about 2 hours at room temperature. If you’re serving them outdoors or in warm weather, keep them in a cooler until serving time.
Can I use different types of cheese?
Absolutely! Gouda, brie, mozzarella balls, or even pepper jack all work great. Just make sure whatever cheese you choose cuts into easy-to-eat cubes.
What if I don’t have paper cups?
Small mason jars, silicone muffin cups, or even clean yogurt containers work perfectly. Just make sure they’re food-safe and the right size for portion control.
Are these suitable for kids with nut allergies?
Simply omit the nuts and replace them with sunflower seeds, pumpkin seeds, or extra cheese cubes. Always check with the event organizer about any known allergies before serving.
Pin This Recipe!
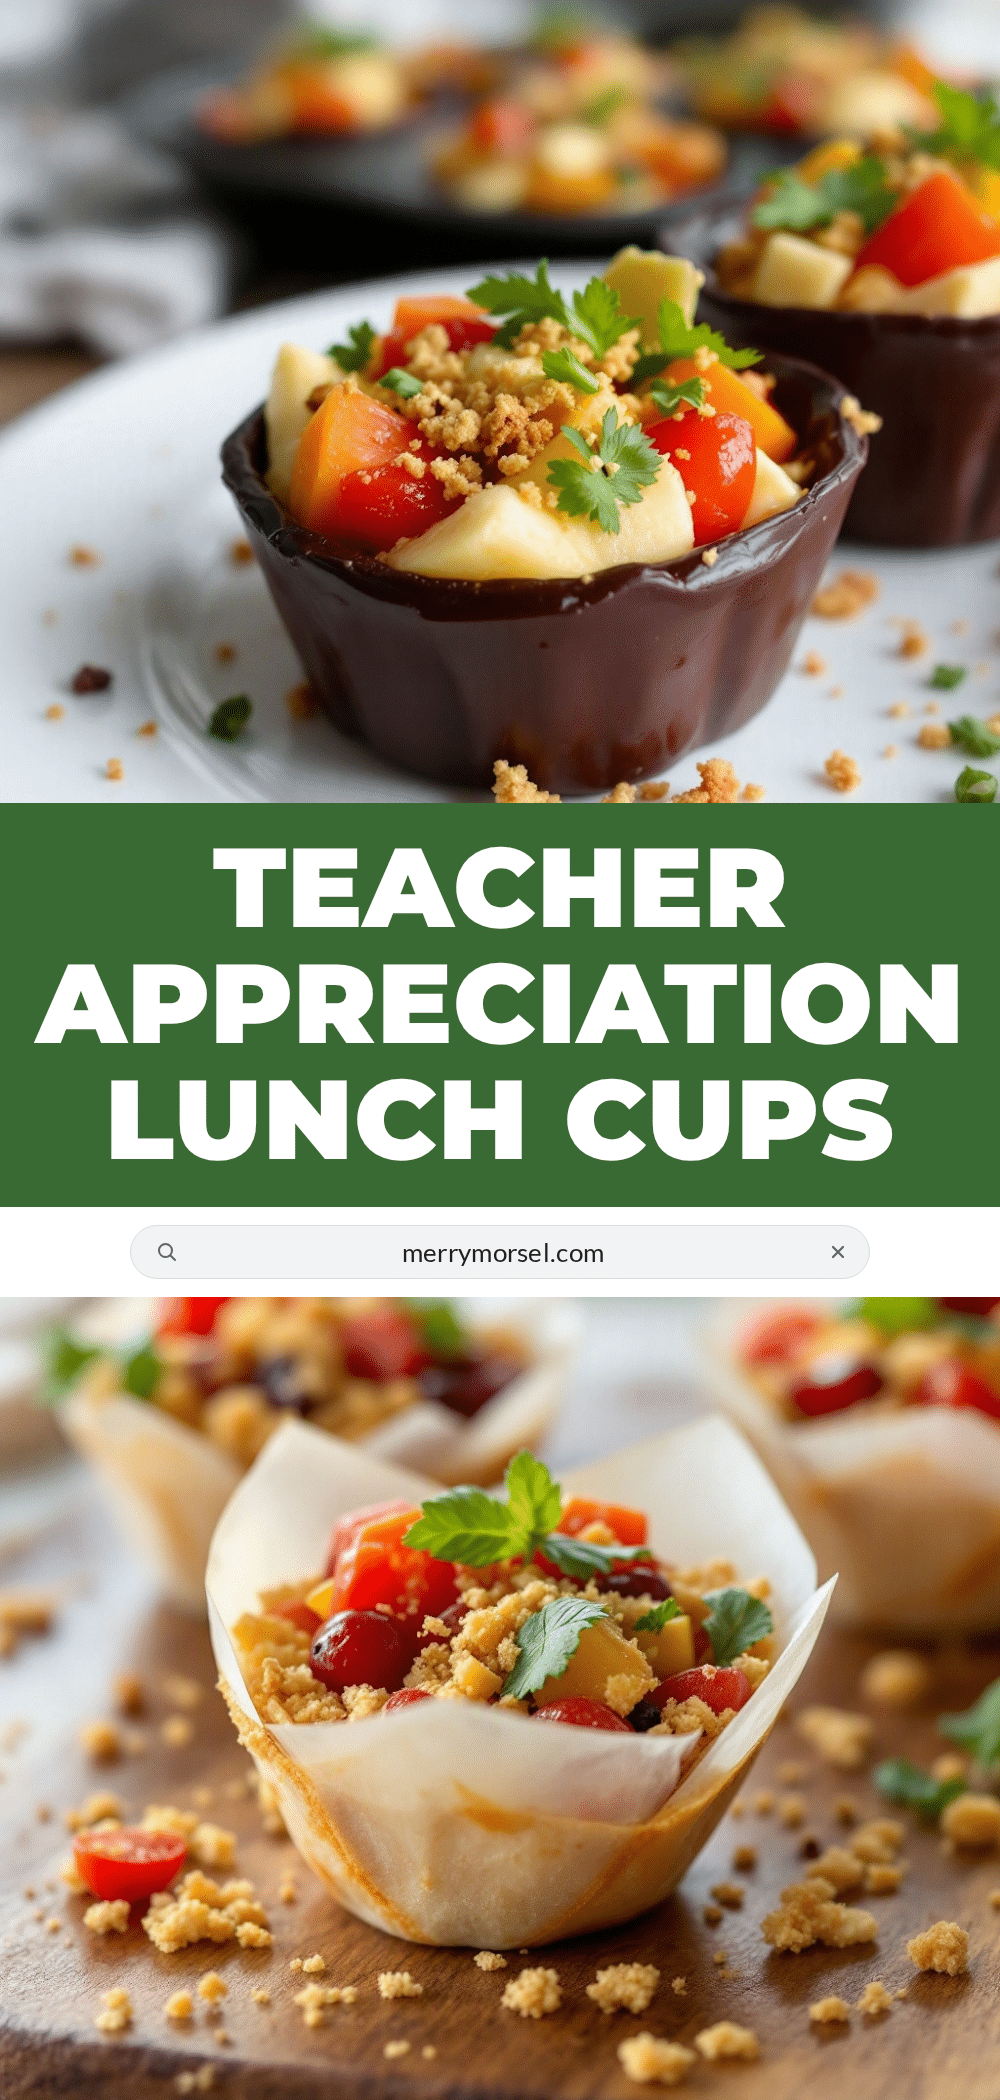
Easy Teacher Appreciation Charcuterie Lunch Cups

These portable charcuterie cups are perfect for teacher appreciation luncheons or any event where you need a quick, thoughtful, and delicious snack. Made with simple ingredients like cheese, salami, crackers, grapes, and nuts, they come together in under 15 minutes and are always a crowd-pleaser.
- Prep Time: 15 minutes
- Cook Time: 0 minutes
- Total Time: 15 minutes
- Yield: 12 servings
- Category: Appetizer
- Cuisine: American
Ingredients
- Cheese cubes (cheddar or gouda, 4 oz)
- Salami slices (4 oz)
- Crackers (about 12-15 mini crackers per cup)
- Red grapes (1 cup, washed and dried)
- Cherry tomatoes (1/2 cup)
- Almonds or walnuts (1/4 cup)
- Small paper cups (4 oz size)
Instructions
- Prep your ingredients: Cut cheese into small cubes (about 1/2 inch each). Wash and dry grapes thoroughly. Cut cherry tomatoes in half. If salami slices are large, cut into quarters or fold into ribbons.
- Layer the base: Place a small handful of crackers (about 3-4) at the bottom of each paper cup.
- Add the protein: Drop in 3-4 pieces of cheese cubes and 2-3 folded salami pieces per cup, arranging them so they are visible from the top.
- Add the fruits and veggies: Place 3-4 grape halves and 2-3 tomato halves in each cup, distributing evenly.
- Top with nuts: Sprinkle a few almonds or walnuts on top of each cup.
- Final touch: Optionally, add a small sprig of fresh rosemary or a basil leaf for garnish. Arrange cups on a serving tray.
Notes
Dry fruit thoroughly to prevent soggy crackers. Layer crackers at the bottom to keep them crunchy. Can be prepped the night before by cutting ingredients and storing separately; assemble the morning of the event. For outdoor events, keep cups in a cooler until serving. Leftovers can be stored in an airtight container in the refrigerator for up to 24 hours, but crackers will soften.
Nutrition
- Serving Size: 1 cup
- Calories: 275
- Sugar: 8
- Sodium: 450
- Fat: 20
- Saturated Fat: 8
- Carbohydrates: 17
- Fiber: 2.5
- Protein: 13
Keywords: charcuterie cups, teacher appreciation, easy snack, portable charcuterie, last-minute appetizer


