Love this? Save it for later!
Share the inspiration with your friends
My sister-in-law, Jen, wasn’t trying to impress anyone that Tuesday afternoon. I’d stopped by to borrow a drill, of all things, and the smell of melted cheese and warm pasta hit me before I even got through the mudroom. She was packing lunches for the next day, casually spooning this glorious, creamy mac and cheese into a thermos like it was nothing. I mean, she barely looked up from her conversation about soccer practice. But I was completely stopped in my tracks. The kitchen smelled like the best kind of comfort, the kind that makes you feel like everything is going to be okay.
I asked her what she was making, and she just shrugged. “Oh, just mac and cheese for the kids’ lunches. It’s the only way it stays warm.” She didn’t realize she had just handed me a secret weapon for the next school year. Honestly, I’d been struggling with cold lunches that came back half-eaten. You know that feeling when you open your kid’s lunchbox and see a sad, squished sandwich? This was the exact opposite of that. This was a warm hug in a thermos.
We ended up chatting for another hour, and I kept sneaking glances at that thermos. The secret, she finally admitted, was not just the cheese but how she prepped the pasta. It wasn’t a complicated recipe, not at all. But it was a game-changer. That little tip—adding a bit more sauce than usual—was the key to keeping it from turning into a gluey mess by lunchtime. I went home, tried it the very next day, and I’ve been making this easy thermos mac and cheese for school lunch ever since. It’s the recipe that finally made me feel like I had the whole packed-lunch thing figured out.
Why You’ll Love This Recipe
This isn’t just another mac and cheese recipe. It’s been tested in the trenches of elementary school cafeterias and after-school sports practices. I’ve made it for picky eaters, hungry teenagers, and even for my own lunch on a busy work-from-home day. It’s the one recipe that consistently gets an empty thermos and a happy kid.
- Stays Warm for Hours: The special sauce-to-pasta ratio is designed specifically for a thermos. It stays perfectly warm and creamy until lunchtime, no microwave needed.
- Super Simple Ingredients: You probably already have everything in your pantry and fridge. No fancy cheeses or special trips to the store required.
- Kid-Approved & Parent-Trusted: It’s a crowd-pleaser that even the most selective eaters will devour. Plus, you control the ingredients, so you know exactly what’s going into their lunch.
- Budget-Friendly: This recipe uses basic staples like elbow macaroni, butter, flour, milk, and shredded cheddar. It’s a fraction of the cost of those boxed lunch kits.
- Unbelievably Creamy: The texture is the real star here. It’s not dry, not soupy, but perfectly coated and luscious. That first bite is pure comfort.
What makes this recipe different from the rest is the “thermos hack.” Most mac and cheese dries out or gets gummy when stored. My method uses a slightly looser sauce that the pasta absorbs as it sits, ensuring the final result is just as creamy at noon as it was at 7 AM. It’s the kind of recipe that makes you feel like a super-parent without any of the stress. Honestly, it’s comfort food that works for your schedule, not against it.
What Ingredients You Will Need
This recipe relies on simple, wholesome ingredients to create a rich and satisfying flavor. Most of these are pantry staples, making it a perfect go-to for busy mornings. The key is using a good quality block of cheddar cheese that you shred yourself—it melts so much smoother than pre-shredded bags.
- Elbow Macaroni (2 cups, dry): The classic choice! You can also use small shells, ditalini, or any small pasta shape. (Gluten-free pasta works perfectly here too.)
- Unsalted Butter (3 tablespoons): This forms the base of our roux, which thickens the cheese sauce. I prefer using unsalted to control the overall salt level.
- All-Purpose Flour (3 tablespoons): The thickening agent. It helps create a smooth, velvety sauce that won’t separate.
- Whole Milk (2 ½ cups): Whole milk gives the richest, creamiest sauce. For a lighter option, 2% milk works well, but avoid skim milk as it can make the sauce watery.
- Sharp Cheddar Cheese (2 cups, freshly shredded): This is the star. I recommend a good sharp cheddar from a block, like Cabot or Tillamook. Pre-shredded cheese has anti-caking agents that prevent smooth melting.
- Salt (½ teaspoon): Enhances all the flavors.
- Black Pepper (¼ teaspoon): A touch of warmth and depth.
- Optional Pinch of Mustard Powder (⅛ teaspoon): This is my secret ingredient! It doesn’t make it taste like mustard; it just brightens the cheese flavor and adds a little tang.
Ingredient Substitutions
- Dairy-Free: Use a high-quality plant-based butter, unsweetened oat milk or cashew milk, and a dairy-free cheddar shred that melts well (like Daiya or Violife).
- Gluten-Free: Swap the all-purpose flour for a 1:1 gluten-free baking flour blend and use gluten-free pasta.
- Extra Protein: Stir in ½ cup of plain Greek yogurt or a cup of shredded rotisserie chicken right before packing the thermos.
Equipment Needed
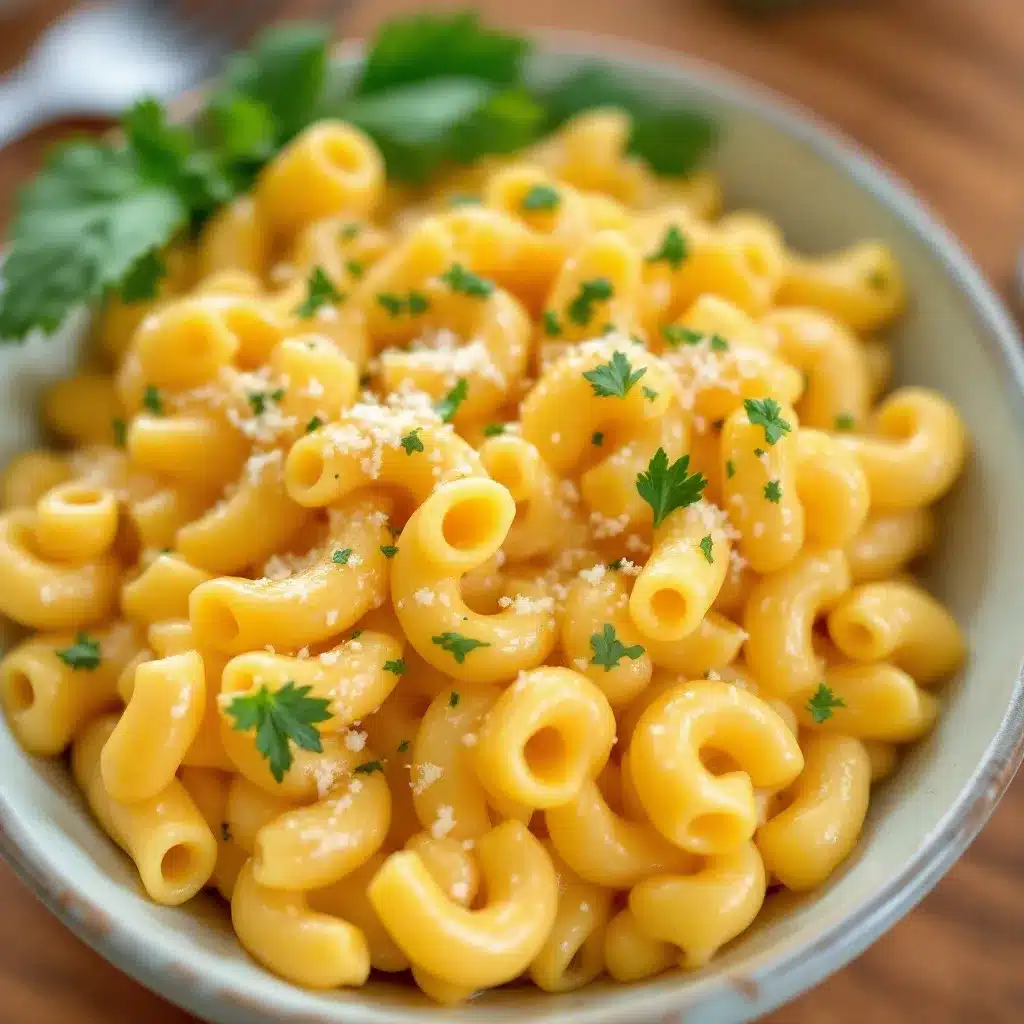
You don’t need any fancy gadgets for this recipe, which is part of its beauty. Here’s what you’ll need to get the job done right.
- Large Pot: For boiling the pasta. A 4-quart pot is perfect.
- Medium Saucepan or Dutch Oven: For making the cheese sauce. A heavy-bottomed pan helps prevent scorching.
- Whisk: Essential for creating a smooth, lump-free roux and cheese sauce. A silicone whisk is my favorite because it’s gentle on non-stick pans.
- Cutting Board & Knife: For no other reason than to cut the block of cheese!
- Box Grater or Microplane: For shredding your block of cheese. A box grater is faster for larger amounts.
- Measuring Cups & Spoons: For accuracy, which is key in this recipe.
- Wooden Spoon or Spatula: For stirring the pasta and sauce together.
- Thermos: A good quality, wide-mouth thermos is crucial. I recommend the Stanley or Thermos brand, as they keep food hot for 5-7 hours. Pre-heating the thermos with hot water is a non-negotiable step for success.
Preparation Method
Follow these steps carefully, and you’ll have a perfect thermos lunch every single time. The secret is in the order of operations and that little extra bit of sauce.
Step 1: Prep Your Thermos
This is the most important step! While you start boiling water, fill your thermos with boiling water from the kettle. Close the lid and let it sit for at least 5 minutes. This warms the interior, so your mac and cheese doesn’t lose heat the second you put it in. Just before you fill it, dump the water out.
Step 2: Cook the Pasta
Bring a large pot of generously salted water to a rolling boil. Add 2 cups of dry elbow macaroni. Cook it for 1-2 minutes less than the package directions for al dente. You want it to be firm, not mushy, because it will continue to cook slightly in the hot sauce. Drain the pasta, but do not rinse it. You want that starchy goodness to help the sauce cling.
Step 3: Make the Roux
While the pasta is cooking, melt 3 tablespoons of unsalted butter in your medium saucepan over medium heat. Once it’s fully melted and bubbling, add 3 tablespoons of all-purpose flour. Whisk constantly for 1-2 minutes. You’re looking for a paste that smells slightly nutty and is a pale golden color. This cooks out the raw flour taste.
Step 4: Create the Creamy Base
Slowly pour in the 2 ½ cups of whole milk, whisking the entire time to prevent lumps. Keep whisking until the mixture is smooth. Increase the heat to medium-high and bring the sauce to a gentle simmer. You’ll see small bubbles around the edges. Let it cook for 2-3 minutes, whisking often, until it has thickened enough to coat the back of a spoon.
Step 5: Add the Cheese
Remove the saucepan from the heat. This is critical—if the sauce is too hot, the cheese will become grainy. Add your 2 cups of freshly shredded sharp cheddar cheese, a handful at a time, stirring gently until each addition is fully melted. Stir in the ½ teaspoon of salt, ¼ teaspoon of pepper, and the optional pinch of mustard powder.
Step 6: Combine and Adjust
Pour the drained pasta into the pot of cheese sauce. Stir everything together until every piece of macaroni is beautifully coated. Take a look at the consistency. It should look a little looser and saucier than you think it should be. That’s perfect. The pasta will absorb that extra liquid as it sits in the thermos.
Step 7: Pack the Thermos
Quickly dump the hot water out of your pre-heated thermos. Immediately spoon the hot mac and cheese into the thermos, filling it right to the top. You want as little air as possible. Close the lid tightly right away. That’s it! Your kid will have a hot, creamy lunch hours later.
Cooking Tips & Techniques
I’ve learned a few things the hard way so you don’t have to. My first attempt at a thermos lunch was a sad, clumpy disaster. Here’s how to avoid that.
- Don’t Overcook the Pasta: This is the number one mistake. Overcooked pasta turns to mush in the thermos. Cooking it just shy of al dente gives it the perfect texture after it sits.
- Freshly Shredded Cheese is Non-Negotiable: I know it’s tempting to buy the bag, but please don’t. The anti-caking agents (like potato starch and cellulose) in pre-shredded cheese prevent it from melting into a smooth sauce. You’ll end up with a gritty, clumpy mess.
- The “Saucier” Rule: If you’re thinking, “Wow, this is a lot of sauce,” you’re on the right track. The pasta will drink up that extra sauce over the next few hours. A dry mac and cheese is a sad mac and cheese.
- Hot Thermoses are Happy Thermoses: Never skip pre-heating the thermos. I once forgot, and my daughter’s lunch was lukewarm by 10 AM. A pre-heated thermos is your best friend for a warm lunch.
- Use a Wide-Mouth Thermos: It makes filling and eating so much easier for little hands. It also helps the heat distribute more evenly.
Variations & Adaptations
Once you’ve mastered the basic recipe, the possibilities are endless! This is where you can really make it your own. I love adding a little something extra to keep it exciting.
- Broccoli & Cheddar: Steam some small broccoli florets for 2 minutes and stir them in with the pasta. It’s a great way to sneak in some veggies, and the cheese sauce makes them irresistible.
- Protein-Packed Version: Add 1 cup of shredded rotisserie chicken, cooked ground beef, or crumbled bacon. This turns it into a full meal that will keep them full all afternoon.
- Tex-Mex Mac: Stir in ½ cup of canned black beans (rinsed and drained), ¼ cup of corn, and a pinch of cumin and chili powder. Top with a little shredded pepper jack cheese for a kick.
- Lobster or Crab Mac (for a Special Treat): I made this for my son’s birthday lunch. Stir in ½ cup of cooked, chopped lobster or crab meat. It feels so decadent!
- Spicy Buffalo Chicken: Mix in ½ cup of shredded chicken and 2 tablespoons of buffalo wing sauce. It’s a fun, grown-up twist that older kids might love.
Serving & Storage Suggestions
This recipe is designed for the thermos, but it’s also wonderful straight from the pot. Here’s how to handle it for the best experience.
- Serving Temperature: Serve immediately from the pot for a classic, cozy dinner, or pack it hot into a thermos for a lunch that stays warm for 4-5 hours. Do not let the mac and cheese cool down before packing.
- Presentation: In a thermos, it’s ready to eat! If serving at home, a simple bowl with a sprinkle of extra shredded cheddar or a dash of paprika on top looks lovely.
- Storage: If you have leftovers (which is rare!), let the mac and cheese cool completely, then transfer it to an airtight container. It will keep in the refrigerator for up to 4 days.
- Reheating: The best way to reheat is on the stovetop with a splash of milk. Warm it over medium-low heat, stirring often, until it’s creamy again. The microwave works in a pinch, but the texture won’t be quite as smooth.
- Flavor Development: Honestly, this mac and cheese tastes even better the next day. The flavors meld together beautifully overnight. If you can, making it a day ahead for a special lunch is a fantastic idea.
Nutritional Information & Benefits
This homemade mac and cheese is a much healthier option than the boxed stuff. You control the quality of the ingredients, which means less sodium, no preservatives, and real food.
Estimated per serving (1 cup):
- Calories: 450
- Fat: 22g
- Carbohydrates: 45g
- Protein: 18g
- Calcium: 30% DV
The main health benefits come from the cheese, which is a fantastic source of calcium and protein for growing bones and muscles. Using whole milk adds Vitamin D, which helps your body absorb that calcium. Plus, this is a great way to get some complex carbs from the pasta, providing sustained energy for the school day. It’s comfort food you can feel good about packing. For a lighter version, you can swap the whole milk for 2% and use a reduced-fat cheddar, though the texture will be slightly less creamy.
Conclusion
This easy thermos mac and cheese for school lunch has genuinely made our mornings less stressful and our lunchboxes happier. It’s one of those simple recipes that feels like a secret weapon, turning a regular weekday into something a little bit special. I love knowing my kids are getting a warm, homemade meal that I made with love, even when I’m not there to see them eat it.
Don’t be afraid to play around with the add-ins and make it your own. That’s the beauty of a good base recipe. You can keep it classic or dress it up for a party. I’d love to hear how it turns out for you! Did your kids love it? What fun variations did you try? Drop a comment below and share your thermos lunch wins. And if you’re looking for another easy lunch idea, you might also love our crispy garlic chicken for a warm dinner the night before. Happy packing!
Frequently Asked Questions
Can I use any type of pasta?
Absolutely! While elbow macaroni is the classic choice, small shells, ditalini, rotini, or even cavatappi work wonderfully. Just make sure it’s a small shape that fits easily into a spoon for little mouths.
How long will the mac and cheese stay hot in the thermos?
With a good quality, pre-heated thermos, you can expect the mac and cheese to stay warm for 4 to 5 hours. This is perfect for a standard school day. For best results, fill the thermos completely to minimize air space.
Can I make this recipe gluten-free?
Yes, it’s very easy to adapt! Use a 1:1 gluten-free all-purpose flour blend for the roux and your favorite gluten-free pasta. Just be sure to cook the pasta slightly less than the package directions to avoid it becoming mushy in the thermos.
My cheese sauce turned out grainy. What went wrong?
This usually happens for two reasons: either the sauce was too hot when you added the cheese, or you used pre-shredded cheese. Always remove the pan from the heat before adding the cheese, and use a block of cheese that you shred yourself for the smoothest, creamiest result.
Can I freeze this mac and cheese for later?
You can, but the texture will change slightly upon thawing. The sauce can become a bit grainy. If you do freeze it, let it cool completely, then store it in a freezer-safe container for up to 2 months. Thaw in the refrigerator overnight and reheat gently on the stovetop with a splash of milk to help bring back the creaminess.
Pin This Recipe!
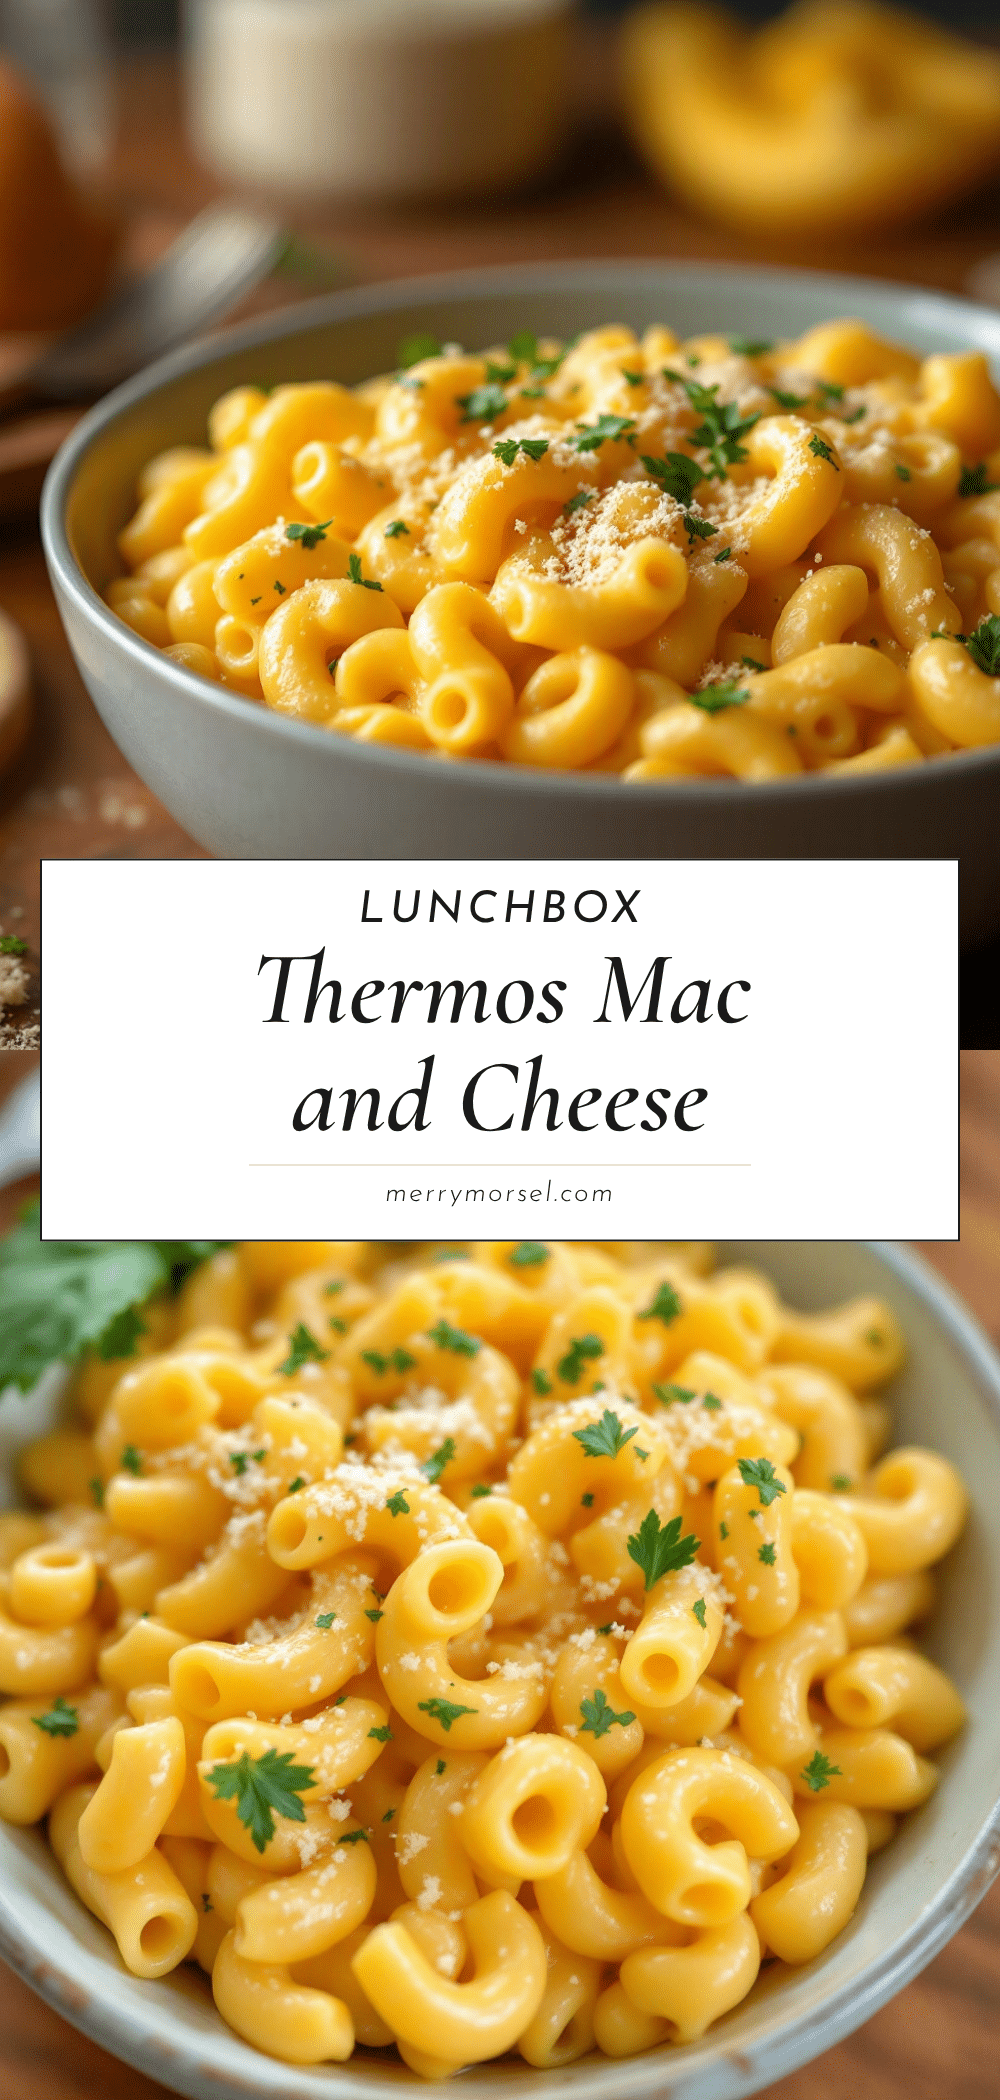
Easy Thermos Lunch Recipe: Perfect Mac and Cheese

This creamy, kid-approved mac and cheese is specially designed to stay warm and delicious in a thermos for hours. With a simple sauce-to-pasta ratio, it’s the perfect packed lunch solution for busy school days.
- Prep Time: 10 minutes
- Cook Time: 20 minutes
- Total Time: 30 minutes
- Yield: 4 servings 1x
- Category: Main Course
- Cuisine: American
Ingredients
- 2 cups dry elbow macaroni
- 3 tablespoons unsalted butter
- 3 tablespoons all-purpose flour
- 2 ½ cups whole milk
- 2 cups sharp cheddar cheese, freshly shredded
- ½ teaspoon salt
- ¼ teaspoon black pepper
- ⅛ teaspoon mustard powder (optional)
Instructions
- Fill your thermos with boiling water, close the lid, and let it sit for at least 5 minutes to pre-heat.
- Bring a large pot of generously salted water to a rolling boil. Add the elbow macaroni and cook for 1-2 minutes less than the package directions for al dente. Drain the pasta (do not rinse).
- While the pasta cooks, melt the butter in a medium saucepan over medium heat. Add the flour and whisk constantly for 1-2 minutes until the mixture is pale golden and smells nutty.
- Slowly pour in the milk while whisking continuously to prevent lumps. Increase heat to medium-high and bring to a gentle simmer. Cook for 2-3 minutes, whisking often, until the sauce thickens enough to coat the back of a spoon.
- Remove the saucepan from the heat. Add the shredded cheddar cheese a handful at a time, stirring gently until each addition is fully melted. Stir in the salt, pepper, and optional mustard powder.
- Pour the drained pasta into the cheese sauce and stir until every piece is well coated. The sauce should look slightly looser than usual.
- Dump the hot water out of the pre-heated thermos. Immediately spoon the hot mac and cheese into the thermos, filling it to the top. Close the lid tightly right away.
Notes
Pre-heating the thermos is crucial for keeping the mac and cheese warm. The sauce should be slightly looser than usual because the pasta will absorb extra liquid as it sits. Use freshly shredded cheese for the smoothest sauce. For best results, fill the thermos completely to minimize air space.
Nutrition
- Serving Size: 1 cup
- Calories: 450
- Sugar: 6
- Sodium: 480
- Fat: 22
- Saturated Fat: 13
- Carbohydrates: 45
- Fiber: 2
- Protein: 18
Keywords: thermos lunch, mac and cheese, school lunch, easy lunch, kid-friendly, creamy mac and cheese, packed lunch


