Love this? Save it for later!
Share the inspiration with your friends
I was supposed to be making a fancy grain bowl. You know the kind—quinoa, roasted veggies, a drizzle of tahini, all arranged in neat little rows like something out of a magazine. I had the whole plan in my head, and I was feeling pretty good about myself. But then the power went out halfway through cooking the quinoa. Just like that, my perfectly healthy, aesthetically pleasing lunch idea was a no-go. I stood there in the dark kitchen, staring at a block of cheddar cheese and some deli ham, feeling that familiar panic rise up. What was I going to do? Order takeout again? Honestly, I was this close to giving up when I just grabbed a bento box from the back of the cabinet, threw in the ham and cheese, added some crackers and grapes, and called it a day. I mean, it felt like a cop-out at the time. But when I sat down to eat, I realized I had accidentally created something better than my original plan. It was simple, satisfying, and took almost no effort. That was the day I stopped overcomplicating lunch.
This easy ham and cheese bento box lunch is now my go-to, and I bet you’ll feel the same way once you try it. Maybe you’ve been there too, spending way too much time on a meal that ends up being just okay. This is the opposite of that. It’s the lunch you make when you have zero energy but still want something that feels like a real meal. It’s proof that you don’t need a fancy recipe to eat well. You just need a few good ingredients and a container to put them in. That happy accident in the dark kitchen turned into a habit I still rely on every single week.
Why You’ll Love This Recipe
Let me tell you why this simple lunch has earned a permanent spot in my weekly rotation. It’s not just about the taste—though that part is pretty great too. After years of testing lunch ideas for my family and myself, I’ve learned that the best meals are the ones that don’t make you think too hard. This bento box checks all the boxes.
- Quick & Easy: It comes together in under 5 minutes. Seriously. If you can stack ham on cheese, you can make this lunch. Perfect for those mornings when you’re running late or those evenings when you just can’t deal with meal prep.
- Simple Ingredients: No fancy grocery trips needed. You likely already have everything in your kitchen right now. Ham, cheese, crackers, and a fruit or veggie of your choice. That’s it.
- Perfect for Busy Days: Great for work, school, picnics, or road trips. It travels well and doesn’t need to be reheated. Just grab and go.
- Crowd-Pleaser: Kids love it, adults love it, and it’s easy to customize so everyone gets what they want. I’ve packed these for picky eaters and foodies alike, and they always come back empty.
- Unbelievably Satisfying: The combination of salty ham, creamy cheese, and crunchy crackers is next-level comfort food. It hits that spot between a snack and a full meal without weighing you down.
What makes this bento box different from just throwing random stuff in a container? It’s the balance. I’ve tested different ratios of protein to carbs to crunch, and this version is the sweet spot. The ham provides lean protein, the cheese adds richness, and the crackers give you that satisfying bite. Plus, adding a small sweet element like grapes or apple slices keeps things interesting. This isn’t just another lunch idea—it’s the best version of a no-cook meal you’ll ever make. It’s the kind of lunch that makes you close your eyes after the first bite and think, “Why don’t I do this more often?”
What Ingredients You Will Need
This recipe uses simple, wholesome ingredients to deliver bold flavor and satisfying texture without the fuss. Most of these are pantry staples or fridge basics you probably already have on hand. Here’s what you’ll need to build the perfect easy ham and cheese bento box lunch.
- Ham slices: About 4 to 6 thin slices of your favorite deli ham. I prefer black forest ham for its slightly smoky flavor, but honey ham or regular roasted ham works great too. Look for slices that aren’t too thick so they roll up easily. (Pro tip: ask for fresh-sliced at the deli counter for the best taste.)
- Cheese slices: 2 to 3 slices of cheese. Cheddar is my go-to because it holds up well and has a nice sharpness, but Swiss, provolone, or even pepper jack work beautifully. If you’re using block cheese, just cut it into thin slices or cubes.
- Crackers: A handful of your favorite crackers. I love buttery Ritz crackers or whole wheat ones for a bit more fiber. You can also use rice cakes, pretzel thins, or even tortilla chips if that’s what you have.
- Fresh fruit: A small handful of grapes, apple slices, or berries. The sweetness balances the salty ham and cheese perfectly. In summer, I use fresh strawberries or melon cubes. In winter, apple slices with a squeeze of lemon to prevent browning are my go-to.
- Crunchy vegetable: Carrot sticks, cucumber rounds, or bell pepper strips. This adds color and extra nutrition. I usually prep a batch of veggie sticks at the start of the week so I can grab them quickly.
- Optional extras: A small spoonful of mustard, mayonnaise, or honey for dipping. Pickles or olives add a nice tangy pop. A handful of nuts or seeds for extra protein and crunch.
For the best texture, I recommend using room-temperature cheese if you have time to let it sit out for a few minutes. Cold cheese straight from the fridge is fine, but it’s a little firmer and less creamy. Also, if you’re packing this for later, keep the crackers separate until you’re ready to eat so they stay crunchy. Nobody likes soggy crackers—trust me on that one.
Equipment Needed
You don’t need much to put this lunch together. Honestly, the equipment list is almost as simple as the ingredient list. Here’s what you’ll need:
- Bento box or lunch container: A divided container is ideal for keeping everything separate and fresh. I use a standard three-compartment bento box, but any lunch container with dividers works. If you don’t have one, just use a regular container and add silicone cupcake liners to separate the items.
- Cutting board: For slicing the cheese and any fruit or vegetables. A small plastic or wooden board is fine.
- Sharp knife: A good paring knife or chef’s knife makes slicing cheese and fruit a breeze. Dull knives are more dangerous than sharp ones, so keep yours honed.
- Small bowls or silicone cups: For holding dips, sauces, or small items like olives and nuts. I have a set of silicone muffin liners that I use over and over for this purpose.
- Paper towels or reusable cloth: For drying fruit and vegetables after washing. Wet produce can make everything soggy, so pat them dry first.
If you’re new to bento packing, don’t worry about buying special equipment. I packed lunches for years using just a plastic container and some parchment paper to separate items. The fancy boxes are nice, but they’re not necessary. Start with what you have and upgrade later if you feel like it.
Preparation Method

Making this easy ham and cheese bento box lunch is almost too simple to call a recipe, but I’ll walk you through it step by step so you get the best results. The whole process takes less than 5 minutes once you have your ingredients ready.
- Wash and prep your produce. Start by washing your grapes, berries, or any fruit you’re using. If you’re using apple slices, cut them into wedges and toss them with a little lemon juice to prevent browning. For vegetables, wash and cut carrot sticks, cucumber rounds, or bell pepper strips into bite-sized pieces. Pat everything dry with a paper towel—moisture is the enemy of a good bento box.
- Prepare the ham and cheese. Take your ham slices and lay them flat on the cutting board. Place a slice of cheese on top of each ham slice, then roll them up tightly. If you prefer, you can fold the ham around the cheese instead of rolling. For younger kids, you might want to cut the rolls into smaller pinwheels by slicing them crosswise into rounds. This makes them easier to eat and looks cute too.
- Arrange the crackers. Place your crackers in one compartment of the bento box. If you’re packing the lunch for later in the day, consider putting the crackers in a small resealable bag or a separate compartment to keep them from getting soft. Nobody likes a sad, soggy cracker.
- Add the fruit and vegetables. Put your prepared fruit in one compartment and your vegetable sticks in another. If you only have two compartments, you can combine the fruit and veggies together—they don’t mind sharing space. Just make sure the fruit isn’t sitting directly on the crackers.
- Include any extras. If you’re adding a dip like mustard or honey, spoon a small amount into a silicone cup or small container and place it in an empty spot. Add any pickles, olives, nuts, or other extras you like. This is where you can get creative and use up leftovers from your fridge.
- Pack and store. Close the lid tightly and refrigerate until you’re ready to eat. If you’re packing this for a lunch that won’t be eaten for several hours, keep it in the fridge until you leave, and use an ice pack if you don’t have access to refrigeration. The ham and cheese will stay fresh for several hours at room temperature, but the fruit and veggies are best kept cool.
One thing I learned the hard way: if you’re adding anything juicy like sliced tomatoes or pickles, put them in their own small container inside the bento box. I once packed sliced tomatoes right next to the crackers, and by lunchtime, everything was a mushy mess. Live and learn, right?
Cooking Tips & Techniques
After making this easy ham and cheese bento box lunch dozens of times, I’ve picked up a few tricks that make a big difference. Some of these I learned from my own mistakes—like the time I packed everything together and ended up with wet crackers. Here are my best tips for bento box success.
Keep wet and dry items separate. This is the golden rule of bento packing. Moisture from fruit, vegetables, or dips can ruin crunchy crackers and make bread or wraps soggy. Use the compartments in your bento box wisely, or add small silicone cups to create barriers. I keep a stash of these cups in my drawer and grab them without thinking now.
Roll the ham and cheese tightly. When you roll the ham around the cheese, make sure it’s snug but not so tight that the cheese squishes out the sides. A tight roll holds together better and is easier to eat. If you’re making these for kids, cutting the rolls into smaller pieces makes them more manageable and less likely to fall apart.
Prep ingredients ahead of time. This is the real time-saver. On Sunday evening, I wash and cut all my fruit and vegetables for the week. I store them in separate containers in the fridge so I can grab them quickly each morning. I also pre-portion my crackers into small bags. When it’s time to pack lunch, I just assemble everything in under two minutes.
Use a variety of textures and colors. A good bento box is visually appealing and satisfying to eat. Aim for a mix of soft and crunchy, sweet and savory, bright and neutral. The contrast keeps your taste buds interested and makes the meal feel more complete. I once made a box with all soft foods—ham, cheese, banana, yogurt—and it felt like eating baby food. Never again.
Watch the portion sizes. It’s easy to overfill a bento box, but that can make it hard to close and messy to eat. Stick to reasonable portions: about 3 to 4 ounces of protein, 1 to 2 ounces of cheese, a serving of crackers, and a handful each of fruit and vegetables. You can always pack a little extra on the side if you’re still hungry.
Variations & Adaptations
One of the best things about this easy ham and cheese bento box lunch is how easy it is to change up. You can make it different every day of the week without getting bored. Here are some of my favorite variations that I’ve tested in my own kitchen.
Turkey and Swiss Bento: Swap the ham for sliced turkey breast and use Swiss cheese instead of cheddar. Add a small container of honey mustard for dipping. This version feels lighter but just as satisfying. I make this one when I want something a little less salty than ham.
Vegetarian Version: Skip the ham altogether and use extra cheese, hummus, or hard-boiled eggs as your protein. Add roasted red peppers, cucumber slices, and cherry tomatoes. You can also add a small container of olives or marinated artichoke hearts for extra flavor. My vegetarian friend taught me this version, and honestly, I sometimes prefer it to the original.
Gluten-Free Option: Replace the crackers with gluten-free rice crackers, corn chips, or cucumber slices for dipping. Make sure your ham and cheese are gluten-free as well—most are, but it’s always good to check the labels. This version is just as crunchy and satisfying.
Low-Carb/Keto Version: Skip the crackers and add extra cheese, nuts, and vegetables instead. Use full-fat cheese and add avocado slices for healthy fats. Roll the ham around cream cheese for a keto-friendly treat. I tried this during a low-carb phase and was surprised by how filling it was.
Kid-Friendly Fun Bento: Use cookie cutters to cut the cheese and ham into fun shapes like stars or hearts. Add a small treat like a few chocolate chips or a fruit leather. Include colorful fruit like blueberries and strawberries. My nephew goes crazy for this version, and honestly, I’ve made it for myself a few times too.
Serving & Storage Suggestions
This easy ham and cheese bento box lunch is best served cold or at room temperature. I like to take it out of the fridge about 10 minutes before eating so the cheese softens slightly and the flavors come through better. If you’re eating it at work or school, just let it sit on your desk for a few minutes before diving in.
For the best presentation, arrange the items in a way that looks appealing. Place the ham and cheese rolls in one compartment, the crackers in another, and the fruit and vegetables in the remaining spaces. If you have a small empty spot, tuck in a few nuts or a small pickle for visual interest. A well-arranged bento box feels like a gift you’ve given yourself.
Storage instructions: Keep the assembled bento box in the refrigerator for up to 3 days. If you’re packing it for the next day, it’s fine to assemble it the night before. Just remember to keep the crackers separate if you’re worried about them getting soft. For longer storage, prep the ingredients individually and assemble fresh each morning.
Freezing: I don’t recommend freezing the assembled bento box because the texture of the ham, cheese, and fresh produce will suffer. However, you can freeze the ham slices and cheese separately if you want to buy them in bulk. Thaw them overnight in the fridge before using.
One thing I’ve noticed: the flavors actually meld together a bit after a few hours in the fridge. The ham gets slightly more flavorful, and the cheese softens just enough to be creamy. So if you’re packing this the night before, you might actually get a better result than if you made it fresh. Just don’t tell anyone I said that—I don’t want to ruin the magic of “fresh” lunches.
Nutritional Information & Benefits
This easy ham and cheese bento box lunch is a balanced meal that provides protein, healthy fats, carbohydrates, and fiber. Here’s an approximate breakdown for one serving based on typical portions.
| Nutrient | Amount per Serving |
|---|---|
| Calories | 380-450 |
| Protein | 25-30g |
| Fat | 18-22g |
| Carbohydrates | 30-35g |
| Fiber | 4-6g |
| Sodium | 800-1000mg |
The ham provides lean protein that keeps you full and satisfied throughout the afternoon. Cheese adds calcium and healthy fats for bone health and brain function. The fruit and vegetables contribute essential vitamins, antioxidants, and fiber for digestion and immune support. Crackers offer quick energy from carbohydrates, making this a well-rounded meal.
If you’re watching your sodium intake, look for low-sodium ham or reduce the amount of cheese. You can also add more fresh vegetables to increase the fiber and nutrient content without adding many calories. For a lower-carb option, skip the crackers and add extra nuts or cheese instead.
I personally love that this lunch doesn’t leave me feeling sluggish after eating. It’s substantial enough to get me through the afternoon but light enough that I don’t need a nap. That’s the sweet spot for a workday lunch, if you ask me.
Frequently Asked Questions
Can I make this bento box lunch ahead of time?
Yes, you can assemble it the night before and store it in the refrigerator. Just keep the crackers separate if you want them to stay crunchy. The ham and cheese rolls actually taste better after sitting for a few hours as the flavors meld together.
How long will this bento box stay fresh without refrigeration?
It’s safe at room temperature for about 2 hours. If you’re packing it for a longer period, use an insulated lunch bag with an ice pack. The ham and cheese are perishable, so keep them cool if you’re not eating within a couple of hours.
Can I use different types of meat or cheese?
Absolutely. Turkey, roast beef, salami, or chicken all work well. For cheese, try provolone, mozzarella, gouda, or pepper jack. Just make sure whatever you use pairs well with your crackers and fruit. I’ve made versions with leftover rotisserie chicken and brie that were amazing.
What can I use instead of crackers for a low-carb option?
Try cucumber slices, bell pepper strips, celery sticks, or cheese crisps. You can also use lettuce cups or endive leaves for wrapping the ham and cheese. These alternatives are crunchy and satisfying without the carbs.
How can I make this lunch more filling?
Add extra protein like a hard-boiled egg, nuts, or seeds. Include a small container of Greek yogurt or cottage cheese on the side. You can also add a piece of fruit like an apple or orange for more fiber and volume.
Conclusion
This easy ham and cheese bento box lunch is proof that you don’t need a complicated recipe or hours in the kitchen to eat well. It started as a desperate attempt to salvage a failed meal plan, and now it’s one of my most reliable go-to lunches. It’s quick, customizable, and satisfying in a way that feels almost too simple to be true. But trust me—it works.
I hope you give this a try and make it your own. Add your favorite crackers, swap in different cheese, or throw in whatever fruit and vegetables you have on hand. That’s the beauty of this lunch—it’s a template, not a strict rule. The more you make it, the more you’ll figure out what combinations you love best.
Have you tried this bento box lunch? I’d love to hear about your favorite variations. Drop a comment below and let me know how you customize yours. And if you’re looking for another easy lunch idea, you might enjoy this creamy tuna salad recipe that’s just as simple to throw together. Happy packing, friends!
Pin This Recipe!
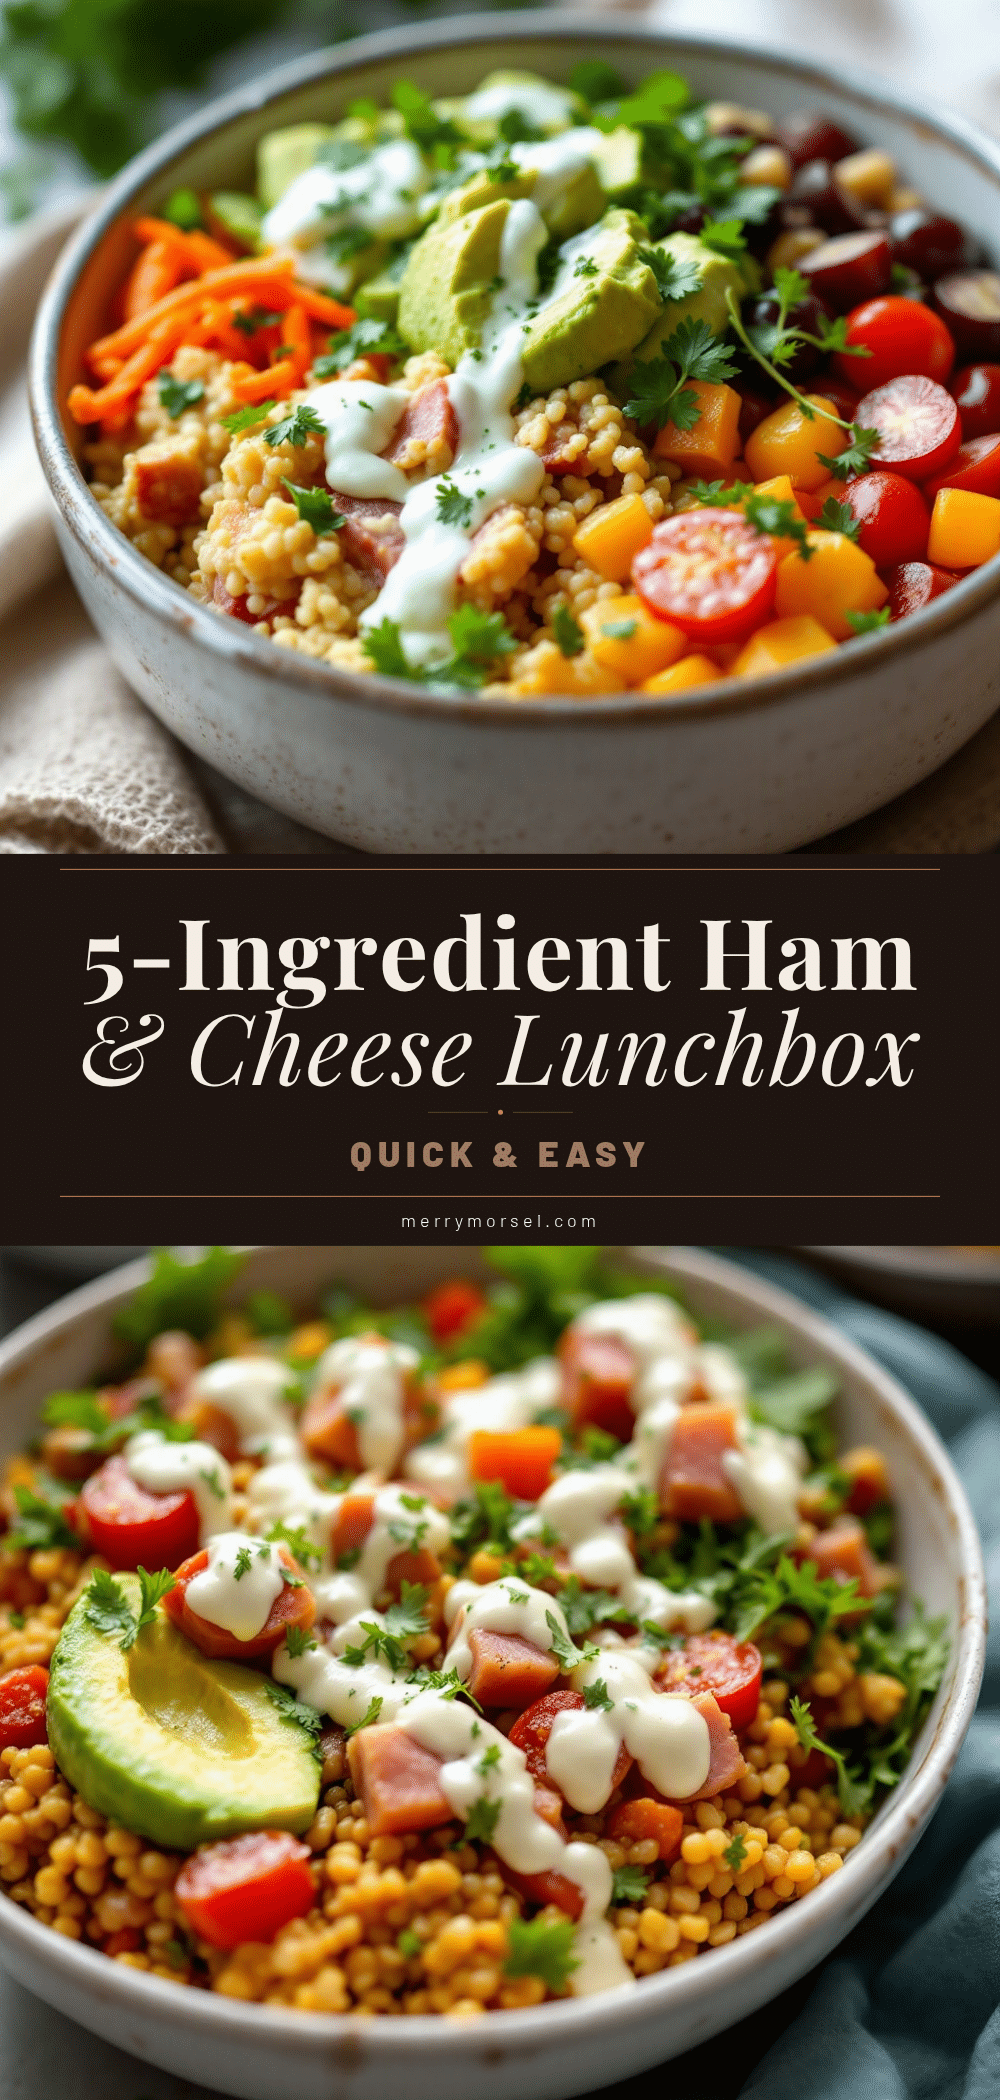
Easy Ham and Cheese Bento Box Lunch: 5-Minute Meal Prep

A quick and satisfying no-cook lunch featuring ham, cheese, crackers, and fresh fruit and vegetables, all packed in a bento box for a balanced meal ready in under 5 minutes.
- Prep Time: 5 minutes
- Cook Time: 0 minutes
- Total Time: 5 minutes
- Yield: 1 serving 1x
- Category: Lunch
- Cuisine: American
Ingredients
- 4 to 6 thin slices deli ham (e.g., black forest ham)
- 2 to 3 slices cheese (e.g., cheddar, Swiss, provolone, or pepper jack)
- A handful of crackers (e.g., buttery Ritz or whole wheat)
- A small handful of fresh fruit (e.g., grapes, apple slices, berries, or melon cubes)
- Crunchy vegetables (e.g., carrot sticks, cucumber rounds, or bell pepper strips)
- Optional: mustard, mayonnaise, honey, pickles, olives, nuts, or seeds for dipping or extra flavor
Instructions
- Wash and prep your produce: Wash grapes or berries; cut apple wedges and toss with lemon juice to prevent browning; wash and cut carrot sticks, cucumber rounds, or bell pepper strips into bite-sized pieces. Pat everything dry with a paper towel.
- Prepare the ham and cheese: Lay ham slices flat on a cutting board. Place a slice of cheese on each ham slice, then roll them up tightly. For younger kids, cut rolls crosswise into smaller pinwheels.
- Arrange the crackers: Place crackers in one compartment of the bento box. For later use, keep crackers in a separate bag or compartment to prevent sogginess.
- Add the fruit and vegetables: Put prepared fruit in one compartment and vegetable sticks in another. If using two compartments, combine fruit and veggies together.
- Include any extras: Spoon a small amount of dip (mustard, honey) into a silicone cup and place in an empty spot. Add pickles, olives, nuts, or other extras as desired.
- Pack and store: Close the lid tightly and refrigerate until ready to eat. Use an ice pack if not refrigerated for several hours.
Notes
Keep wet and dry items separate to avoid soggy crackers. Roll ham and cheese tightly for best results. Prep ingredients ahead of time for quicker assembly. Use a variety of textures and colors for visual appeal. Watch portion sizes to avoid overfilling. For best flavor, let the bento box sit at room temperature for 10 minutes before eating. Store in the refrigerator for up to 3 days; do not freeze assembled box.
Nutrition
- Serving Size: 1 bento box
- Calories: 380450
- Sugar: 1215
- Sodium: 8001000
- Fat: 1822
- Saturated Fat: 810
- Carbohydrates: 3035
- Fiber: 46
- Protein: 2530
Keywords: ham and cheese bento box, easy lunch, no-cook lunch, meal prep, bento box lunch, quick lunch, kid-friendly lunch, healthy lunch


