Love this? Save it for later!
Share the inspiration with your friends
The neighborhood block party was in six hours and I’d completely forgotten the sign-up sheet said “bring pickles.” Not chips, not dip—pickles. Everyone else would be bringing those fancy charcuterie boards with the little cheese knives and the prosciutto roses. I had a bag of cucumbers from my overachieving garden vine and a half-empty jar of garlic powder. Let me tell you, I stood in my kitchen at 9 AM on a Saturday, staring at those cucumbers like they owed me money.
I’d seen a recipe for refrigerator pickles floating around somewhere—something about a 48-hour brine and a secret for keeping them crunchy. I didn’t have 48 hours, obviously. I had six. But I figured, what’s the worst that could happen? Soggy pickles that I’d have to apologize for? I’d done worse at potlucks. So I grabbed my biggest Mason jar, sliced those cucumbers into spears (unevenly, because who has time for precision when panicking?), and started throwing things in the brine. Garlic, dill, peppercorns, a pinch of something I couldn’t even remember later.
Here’s the thing—I forgot to put them in the fridge. For about three hours. They sat on the counter, sweating in their brine, while I ran to the store for paper plates. When I came back and realized my mistake, I almost dumped the whole batch. But I shoved them in the fridge anyway, muttered a few choice words, and went to the party with a backup bag of chips in my trunk. You can guess what happened next. Those pickles—the ones I’d made in a rush, with uneven cuts and a countertop detour—disappeared first. People were asking for the recipe. Someone actually said “these are better than my grandmother’s.” I didn’t correct them about the countertop thing.
That’s the thing about these crunchy 48-hour refrigerator dill pickles. They’re forgiving. They don’t care if you’re in a panic or if you forgot an ingredient. They turn out crispy, tangy, garlicky, and absolutely perfect every single time. I’ve been making them ever since, and honestly, they’re the reason I’m never stressed about what to bring to anything anymore. Maybe you’ve been there—standing in your kitchen, out of ideas, with cucumbers staring at you. These pickles are your answer.
Why You’ll Love This Recipe
I’ve tested this recipe more times than I care to admit. I’ve used different cucumbers, different salts, different vinegars. I’ve left them on the counter (accidentally), forgotten to add garlic, and once used dried dill because I was out of fresh. And you know what? They still came out crunchy. That’s the kind of recipe this is—it’s tested, it’s trusted, and it’s honestly foolproof.
- Quick & Easy : The active prep time is about 15 minutes. After that, your refrigerator does all the work. Perfect for busy weeks or last-minute party prep.
- Simple Ingredients : You probably have most of these in your pantry right now. Vinegar, salt, garlic, dill. No fancy canning equipment required.
- Perfect for Summer Gatherings : These pickles are a hit at barbecues, picnics, potlucks, and block parties. They’re the side dish nobody expects but everyone loves.
- Crowd-Pleaser : I’ve served these to kids, grandparents, and picky eaters. They all go back for seconds. There’s something about that crunch that gets everyone.
- Unbelievably Crunchy : The 48-hour brine is the secret. It gives the cucumbers time to absorb flavor without getting soggy. Every bite has that satisfying snap.
What makes this recipe different from all the other pickle recipes out there? It’s the balance. The vinegar isn’t too sharp, the salt isn’t too heavy, and the garlic comes through without overpowering everything else. It’s not just another version—it’s the version I’ve perfected after years of making pickles for every occasion. This is the recipe that makes people close their eyes after the first bite and say “wow.” It’s comfort food in pickle form. It’s crunchy, tangy, and it makes you feel like you actually know what you’re doing in the kitchen.
What Ingredients You Will Need
This recipe uses simple, wholesome ingredients to deliver that perfect crunch and tangy flavor. Most of these are pantry staples, so you won’t need to make a special trip to the store. Here’s what you’ll need:
For the Pickles
- 1 ½ pounds Kirby cucumbers (or pickling cucumbers) — These are the best for crunch. They’re smaller, firmer, and have fewer seeds. If you can’t find Kirby, Persian cucumbers work well too. Avoid English hothouse cucumbers—they get too soft.
- 4 cloves garlic, peeled and smashed — The smashed cloves release more flavor than whole cloves. I use fresh garlic here, not the pre-minced stuff.
- 2 tablespoons fresh dill (or 1 tablespoon dried dill) — Fresh dill gives a brighter flavor. If you’re using dried, crush it a bit between your fingers before adding.
- 1 teaspoon black peppercorns — Whole peppercorns add a subtle heat that builds as the pickles sit.
- ½ teaspoon red pepper flakes (optional) — For a little kick. I add these when I’m feeling spicy.
- 1 bay leaf — Adds a subtle earthy note. Don’t skip it—it makes a difference.
For the Brine
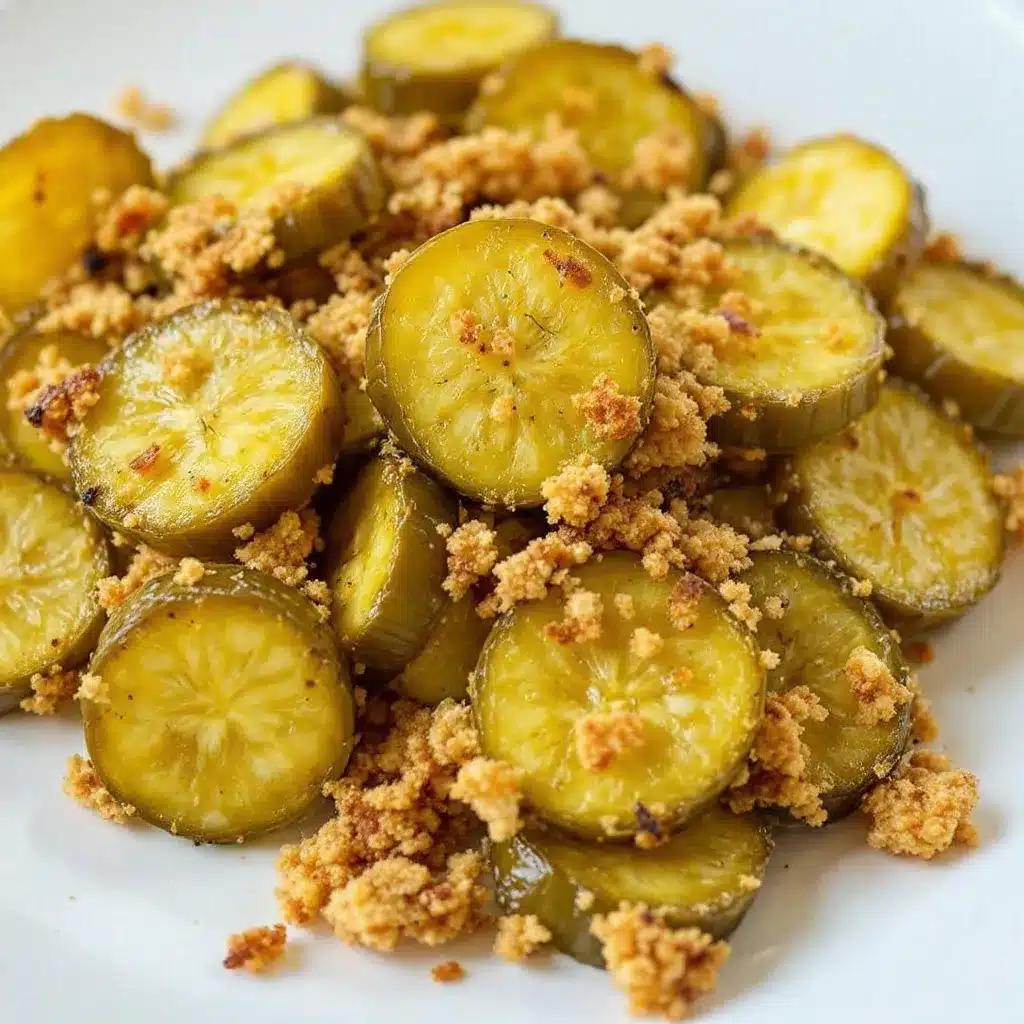
- 1 cup white vinegar (5% acidity) — White vinegar gives the cleanest, brightest flavor. I’ve tried apple cider vinegar, and it works but changes the taste. Stick with white vinegar for the classic dill pickle flavor.
- 1 cup water — Tap water is fine. If your water is heavily chlorinated, use filtered water for the best taste.
- 1 ½ tablespoons kosher salt — I recommend Diamond Crystal or Morton’s kosher salt. Table salt is too fine and can make the brine too salty. The coarse flakes dissolve evenly and give the perfect saltiness.
- 1 tablespoon sugar (optional) — A tiny bit of sugar balances the vinegar without making the pickles sweet. I use it every time, but you can skip it if you prefer a sharper pickle.
Ingredient Selection Tips
I’ve learned a few things from making these pickles over and over. First, always use the smallest cucumbers you can find. Big cucumbers have more water and bigger seeds, which means soggier pickles. Second, don’t skip the salt. It’s not just for flavor—it helps draw out moisture and keeps the pickles firm. And third, if you’re using dried dill, add a little extra. Fresh dill is more potent, so dried needs a boost to match the flavor.
Substitution Guidance
If you’re out of fresh dill, dried works fine—just use half the amount. No kosher salt? Use sea salt, but reduce the amount slightly since it’s denser. Want a sweeter pickle? Add another tablespoon of sugar. Want it spicier? Double the red pepper flakes. This recipe is flexible, so feel free to adjust based on what you have.
Equipment Needed
You don’t need much for this recipe, which is part of what makes it so great. Here’s what you’ll need:
- 1-quart Mason jar (or two pint jars) — I use a wide-mouth quart jar because it’s easier to pack the cucumbers in. If you’re using pint jars, just divide the ingredients evenly. I’ve also used repurposed pickle jars—just make sure they’re clean.
- Sharp knife and cutting board — For slicing the cucumbers. A mandoline works too if you want even slices, but I honestly prefer the rustic look of hand-cut spears.
- Small saucepan — For heating the brine. Any small pot works. I use my 1-quart saucepan.
- Measuring cups and spoons — For accurate measurements. I’ve eyeballed it before, and it’s not the same. Trust the measurements.
- Wooden skewer or chopstick — For removing air bubbles from the jar. This is important—air bubbles can cause uneven brining. I use a chopstick from my takeout drawer.
If you don’t have a Mason jar, any glass jar with a tight-fitting lid will work. I’ve used old spaghetti sauce jars and jam jars. Just make sure they’re clean and the lids seal well. Plastic containers aren’t recommended—they can absorb the vinegar smell and flavor.
Preparation Method
Making these pickles is almost embarrassingly easy. Here’s how to do it:
- Prepare the cucumbers — Wash the cucumbers thoroughly and trim off the blossom end (the end opposite the stem). This end contains enzymes that can make pickles soft. Cut the cucumbers into spears or slices, depending on your preference. For spears, cut each cucumber lengthwise into quarters or sixths, depending on size. For chips, slice them into ¼-inch rounds. I prefer spears because they’re easier to grab out of the jar.
- Pack the jar — Place the smashed garlic cloves, fresh dill, black peppercorns, red pepper flakes (if using), and bay leaf in the bottom of your clean jar. Then pack the cucumber spears tightly into the jar, standing them upright if possible. Leave about ½ inch of headspace at the top. Don’t cram them in too hard—you want the brine to flow around them. I usually pack them in layers, adding a few more dill sprigs in the middle for extra flavor.
- Make the brine — In a small saucepan, combine the white vinegar, water, kosher salt, and sugar (if using). Bring to a boil over medium-high heat, stirring occasionally to dissolve the salt and sugar. Once it boils, remove from heat immediately. Don’t let it boil for long—you just want the salt and sugar dissolved.
- Pour the brine — Carefully pour the hot brine over the cucumbers in the jar, making sure they’re completely covered. Use your wooden skewer or chopstick to gently poke around the jar to release any air bubbles. Tap the jar on the counter a few times to help them rise. Add more brine if needed to ensure the cucumbers are fully submerged.
- Cool and seal — Let the jar cool on the counter for about 30 minutes. You’ll see the brine turn slightly cloudy—that’s normal. Once cooled, screw on the lid tightly and place the jar in the refrigerator.
- Wait — This is the hardest part. Let the pickles sit in the refrigerator for at least 48 hours before opening. I know, I know—it feels like forever. But trust me, the flavor needs time to develop. The first 24 hours, they’ll taste mostly like vinegar. By 48 hours, the garlic and dill will have worked their magic. By 72 hours, they’re at their peak.
Troubleshooting tip: If your pickles seem soft after 48 hours, they might have been packed too loosely or the brine wasn’t hot enough. Next time, make sure the brine is boiling when you pour it, and pack the cucumbers tightly. Also, always use fresh, firm cucumbers. Soft cucumbers make soft pickles.
Sensory cue: At 48 hours, your pickles should look slightly translucent at the edges. The brine should be fragrant with garlic and dill. When you open the jar, you should hear a faint pop—that’s the seal releasing. The first bite should be crisp, with a clean snap and a burst of tangy, garlicky flavor.
Cooking Tips & Techniques
I’ve made a lot of mistakes with pickles over the years. Here’s what I’ve learned so you don’t have to make them yourself:
The biggest mistake is using the wrong cucumbers. I once used English hothouse cucumbers because they were on sale, and the pickles came out mushy and sad. Kirby cucumbers are non-negotiable for crunch. They have a natural firmness that holds up to the brine. If you can’t find Kirby, Persian cucumbers are your next best bet. Stay away from large slicing cucumbers—they’re too watery.
Don’t skip the salt. I know some recipes try to cut back on salt for health reasons, but in pickling, salt is structural. It draws moisture out of the cucumbers and helps the brine penetrate. Without enough salt, your pickles will be bland and soft. Stick with the recipe amount.
Temperature matters. The brine should be hot when you pour it over the cucumbers. This helps the flavors infuse faster. But don’t boil the cucumbers—that would cook them and make them soft. Pour the hot brine, let it cool, then refrigerate. It’s a balance between heat for infusion and cold for crunch.
Multitasking tip: While the brine is heating, pack your jar. This saves time and keeps the process smooth. I usually wash my cucumbers, slice them, and pack the jar while the brine comes to a boil. By the time the brine is ready, I’m ready to pour.
Consistency trick: For the crunchiest pickles, soak your sliced cucumbers in ice water for 30 minutes before packing them in the jar. This firms them up even more. I do this when I have extra time, but it’s not necessary for the basic recipe. It’s a little extra step that makes a noticeable difference.
Variations & Adaptations
One of the best things about this recipe is how easy it is to customize. Here are some variations I’ve tried:
Spicy Garlic Pickles
Add 2-3 sliced jalapeños or 1 teaspoon of red pepper flakes to the jar along with the garlic. The heat builds as the pickles sit, so after 48 hours, you’ll get a nice kick. I made these for a tailgate once, and they were gone before the chips.
Sweet & Tangy Pickles
Increase the sugar to 2 tablespoons and add ½ teaspoon of mustard seeds and ½ teaspoon of celery seeds to the jar. This gives you a bread-and-butter pickle flavor with the same crunchy texture. My kids actually prefer these to the original.
Dill Pickle Chips
Instead of spears, slice the cucumbers into ¼-inch rounds. These are perfect for sandwiches or burgers. The brine time stays the same. I use these on my pulled pork sandwiches, and they’re incredible.
Low-Sodium Version
Reduce the salt to 1 tablespoon and add 1 teaspoon of calcium chloride (pickle crisp) to the jar. This helps maintain crunch without the extra salt. I’ve tested this for a friend on a low-sodium diet, and it works well.
Herb-Infused Pickles
Add a sprig of fresh tarragon, a few slices of fresh ginger, or a cinnamon stick to the jar. These add unexpected flavor layers. My favorite is tarragon—it gives the pickles a subtle anise flavor that’s amazing with cheese plates.
Serving & Storage Suggestions
These pickles are best served cold, straight from the refrigerator. I love pulling out a jar when I’m making sandwiches, burgers, or grilled meats. They’re also fantastic on a cheese board—the tangy crunch cuts through rich, creamy cheeses like brie or aged cheddar.
For presentation, I like to serve them in a small bowl with a few extra sprigs of fresh dill on top. It looks pretty and lets people know they’re homemade. If I’m taking them to a party, I leave them in the Mason jar with a ribbon tied around the neck. It’s rustic and charming.
Storage: These pickles will keep in the refrigerator for up to 3 weeks. The flavor continues to develop over the first week, so they actually get better with time. After about 2 weeks, the crunch starts to fade slightly, but they’re still delicious. I’ve never had a batch last longer than 2 weeks because we eat them too fast.
Reheating: Don’t. These are cold pickles. If you want warm pickles (which some people do for certain dishes), just let them sit at room temperature for 15 minutes before serving. But honestly, cold is best.
Flavor development note: The pickles will taste different at different stages. At 48 hours, they’re bright and tangy. At 1 week, the garlic and dill have fully melded. At 2 weeks, they’re mellow and complex. I love tasting them at each stage—it’s like watching a flavor story unfold.
Nutritional Information & Benefits
These pickles are a guilt-free snack. Here’s the approximate nutritional breakdown per serving (about 4 spears):
| Nutrient | Amount |
|---|---|
| Calories | 15 |
| Total Fat | 0g |
| Sodium | 350mg |
| Total Carbohydrates | 3g |
| Dietary Fiber | 1g |
| Sugars | 1g |
| Protein | 1g |
The main nutritional benefit here is the low calorie count and the probiotic potential. Fermented pickles are a great source of gut-friendly bacteria, but since these are vinegar-based (not fermented), the probiotic content is minimal. Still, cucumbers are hydrating and contain vitamin K and antioxidants. The garlic adds allicin, which is known for its immune-boosting properties.
These pickles are naturally gluten-free, dairy-free, and vegan. They’re also low in sugar (especially if you skip the optional sugar). The main consideration is the sodium content, so if you’re watching your salt intake, check the low-sodium variation above.
Conclusion
These crunchy 48-hour refrigerator dill pickles are the kind of recipe that makes you feel like a kitchen genius with almost no effort. They’re crunchy, tangy, garlicky, and absolutely perfect for summer gatherings, sandwich toppings, or just snacking straight from the jar. I’ve made them for block parties, barbecues, and quiet nights at home, and they’ve never let me down.
What I love most about this recipe is how forgiving it is. You can tweak the spices, adjust the salt, or swap the dill for something else, and it still works. It’s a recipe that invites experimentation. So go ahead—make it your own. Add extra garlic. Throw in some jalapeños. Use apple cider vinegar if you’re feeling adventurous. The pickles will thank you.
I’d love to hear how yours turn out. Did you add something unexpected? Did you serve them at a party and watch them disappear? Drop a comment below and let me know. And if you’re looking for another easy homemade snack, check out my crispy garlic chicken recipe—it’s another one that always gets rave reviews. Happy pickling!
Frequently Asked Questions
Can I use regular cucumbers instead of Kirby?
You can, but the texture won’t be as crunchy. Kirby cucumbers have a naturally firm texture and fewer seeds, which makes them ideal for pickling. If you use regular cucumbers, try soaking them in ice water for 30 minutes before brining to help firm them up.
Do I need to sterilize the jars?
For refrigerator pickles, you don’t need to sterilize the jars like you would for canning. Just make sure your jar and lid are thoroughly washed with hot soapy water and dried completely. Since these pickles are stored in the refrigerator, the risk of spoilage is very low.
Can I reuse the brine?
Technically yes, but the flavor will be weaker. If you want to reuse the brine, add fresh garlic and dill to the jar with new cucumbers. The brine will also be slightly diluted after the first batch, so you might want to add a pinch more salt and a splash of vinegar.
Why are my pickles soft?
Soft pickles usually result from one of three things: using the wrong type of cucumber, not packing them tightly enough, or not using enough salt. Make sure you’re using fresh, firm Kirby cucumbers, pack them tightly in the jar, and don’t skimp on the salt. Also, always remove the blossom end of the cucumber—it contains enzymes that cause softening.
How long do these pickles last?
These refrigerator pickles will stay fresh and crunchy for up to 3 weeks when stored in the refrigerator. The flavor will continue to develop over the first week, so they actually get better with time. After 2 weeks, the crunch may start to fade, but they’re still delicious.
Pin This Recipe!
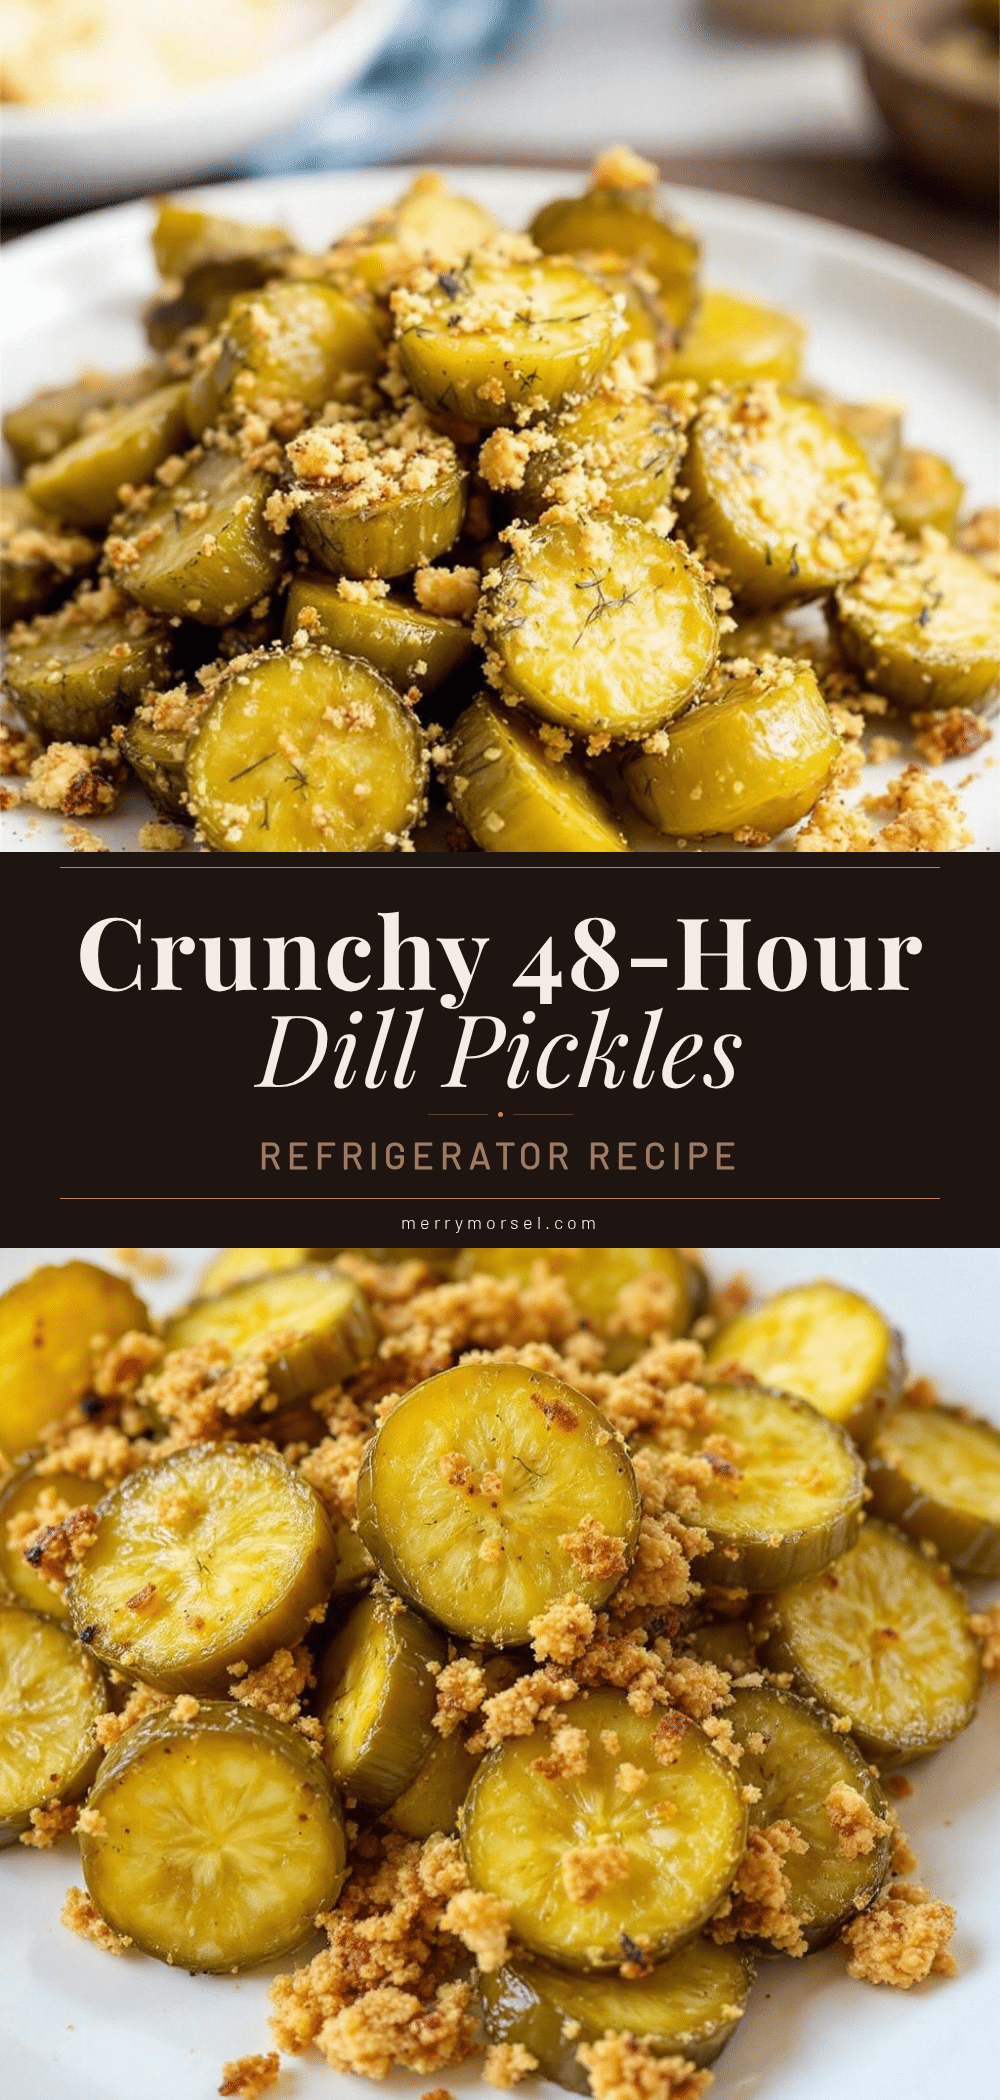
Crunchy 48-Hour Refrigerator Dill Pickles – Easy Homemade Recipe

These crunchy 48-hour refrigerator dill pickles are forgiving, crispy, tangy, garlicky, and absolutely perfect every single time. They’re a hit at barbecues, picnics, potlucks, and block parties.
- Prep Time: 15 minutes
- Cook Time: 5 minutes
- Total Time: 48 hours 20 minutes
- Yield: 4 servings 1x
- Category: Appetizer
- Cuisine: American
Ingredients
- 1 ½ pounds Kirby cucumbers (or pickling cucumbers)
- 4 cloves garlic, peeled and smashed
- 2 tablespoons fresh dill (or 1 tablespoon dried dill)
- 1 teaspoon black peppercorns
- ½ teaspoon red pepper flakes (optional)
- 1 bay leaf
- 1 cup white vinegar (5% acidity)
- 1 cup water
- 1 ½ tablespoons kosher salt
- 1 tablespoon sugar (optional)
Instructions
- Prepare the cucumbers: Wash the cucumbers thoroughly and trim off the blossom end. Cut the cucumbers into spears or slices.
- Pack the jar: Place the smashed garlic cloves, fresh dill, black peppercorns, red pepper flakes (if using), and bay leaf in the bottom of your clean jar. Then pack the cucumber spears tightly into the jar, leaving about ½ inch of headspace.
- Make the brine: In a small saucepan, combine the white vinegar, water, kosher salt, and sugar (if using). Bring to a boil over medium-high heat, stirring occasionally to dissolve the salt and sugar. Once it boils, remove from heat immediately.
- Pour the brine: Carefully pour the hot brine over the cucumbers in the jar, making sure they’re completely covered. Use a wooden skewer or chopstick to gently poke around the jar to release any air bubbles. Tap the jar on the counter a few times to help them rise.
- Cool and seal: Let the jar cool on the counter for about 30 minutes. Once cooled, screw on the lid tightly and place the jar in the refrigerator.
- Wait: Let the pickles sit in the refrigerator for at least 48 hours before opening. The flavor needs time to develop.
Notes
For the crunchiest pickles, soak sliced cucumbers in ice water for 30 minutes before packing. Always use fresh, firm Kirby cucumbers. Remove the blossom end to prevent softening. The pickles will keep in the refrigerator for up to 3 weeks.
Nutrition
- Serving Size: 4 spears
- Calories: 15
- Sugar: 1
- Sodium: 350
- Carbohydrates: 3
- Fiber: 1
- Protein: 1
Keywords: refrigerator pickles, dill pickles, homemade pickles, crunchy pickles, easy pickles, quick pickles, no canning pickles


