Love this? Save it for later!
Share the inspiration with your friends
It was exactly 11:17 PM on a blustery Tuesday night, and I was hit by a craving so weirdly specific it felt like a cosmic joke: black velvet cupcakes with spiderweb frosting. I didn’t have any black cocoa powder—the go-to for that deep, dark color everyone raves about— but I did have a stash of dutch-processed cocoa and a dash of activated charcoal powder that I’d picked up on a whim from a tiny health store downtown. Honestly, I wasn’t sure if mixing those two would work, but the late-night kitchen silence and the oddly calming hum of the fridge gave me the courage to just wing it. The frosting design? I’d never tried piping a spiderweb before, but with a shaky hand and a grimy, cracked piping bag, I gave it a shot. Maybe you’ve been there—trying to pull off a Pinterest-worthy dessert with half the tools and a head full of doubts.
What started as a kitchen experiment turned into a Halloween favorite that’s stuck with me year after year. The cupcakes came out impossibly moist, with just the right balance of cocoa bitterness and sweetness. The spiderweb frosting looked spooky but was surprisingly simple to master in the quiet hours when the world outside felt miles away. This recipe isn’t just about the treats; it’s about those late-night moments when creativity sneaks in under the radar and makes something unexpectedly special. If you, too, crave a Halloween bake that feels both eerie and utterly irresistible, this one’s got your name on it.
Why You’ll Love This Recipe
Having tested this recipe multiple times (sometimes with midnight tweaks), I can say it reliably delivers that wow factor without demanding a full day in the kitchen. Here’s what makes these black velvet cupcakes with spiderweb frosting a standout:
- Quick & Easy: Comes together in under 45 minutes, perfect for last-minute spooky treats.
- Simple Ingredients: No mysterious baking powders or weird extracts—just pantry staples and a little black magic.
- Perfect for Halloween Parties: The dramatic black color and spiderweb design make them the star of any spooky gathering.
- Crowd-Pleaser: Kids love the fun design, and adults appreciate the rich, velvety flavor.
- Unbelievably Delicious: The moist crumb and smooth cocoa flavor keep everyone coming back for seconds.
Unlike other chocolate cupcakes that can be dry or overly sweet, this recipe nails the texture and taste. The use of buttermilk adds a subtle tang that complements the cocoa’s depth, and the frosting is light yet creamy enough to pipe those delicate spiderwebs with ease. Honestly, it’s the kind of treat that makes you pause mid-bite and savor the moment—perfect for Halloween vibes but equally good any time you want to impress without the fuss.
What Ingredients You Will Need
This recipe uses simple, wholesome ingredients to deliver bold flavor and that signature black color without complicated steps or odd imports. Most of these are pantry basics, with a few handy tips to get the colors just right.
- All-purpose flour – 1¾ cups (220 g), for structure and tender crumb
- Unsweetened dutch-processed cocoa powder – ¾ cup (75 g), for rich chocolate flavor (I prefer Valrhona or Hershey’s Special Dark)
- Activated charcoal powder – 1 tsp, for deep black color (optional but recommended for that true black velvet look)
- Baking soda – 1 tsp, to help the cupcakes rise
- Baking powder – ½ tsp, for a light texture
- Salt – ½ tsp, to balance sweetness
- Unsalted butter – ½ cup (115 g), softened, adds richness
- Granulated sugar – 1¼ cups (250 g), for sweetness and tenderness
- Eggs – 2 large, room temperature, binders and structure
- Buttermilk – 1 cup (240 ml), room temperature, for moisture and tang
- Vanilla extract – 2 tsp, enhances flavor depth
- White vinegar – 1 tsp, reacts with baking soda to help rise and tenderize
- For the frosting:
- Cream cheese – 8 oz (225 g), softened (Philadelphia brand works great)
- Unsalted butter – ½ cup (115 g), softened
- Powdered sugar – 3 cups (360 g), sifted for smooth frosting
- Vanilla extract – 1 tsp
- Black gel food coloring – a few drops (if you want extra black frosting for the spiderweb)
If you’re short on buttermilk, you can make a quick substitute by mixing 1 cup of milk with 1 tbsp lemon juice or white vinegar and letting it sit for 5 minutes. For a dairy-free twist, swap butter and cream cheese with plant-based alternatives and use coconut or almond milk for the buttermilk substitute.
Equipment Needed
- Standard 12-cup muffin tin – the base for your cupcakes
- Parchment paper or silicone cupcake liners – to prevent sticking and ease cleanup
- Mixing bowls – preferably one large and one medium-sized
- Electric mixer or stand mixer – makes creaming butter and frosting easier, but a sturdy whisk works too
- Measuring cups and spoons – accuracy matters for baking success
- Spatula – for scraping down bowl sides and folding ingredients gently
- Piping bag with a small round tip or a plastic sandwich bag with the corner snipped – essential for spiderweb frosting design
- Cooling rack – helps cupcakes cool evenly and prevents sogginess
I’ve tried piping spiderwebs with everything from disposable bags to fancy pastry sets. Honestly, a simple sandwich bag with a tiny hole works just fine when you’re making these late-night. If you’re on a budget, silicone liners are reusable and eco-friendly. Also, keeping your frosting at the right consistency—neither too runny nor too stiff—makes piping those delicate webs way less stressful.
Preparation Method
- Preheat your oven to 350°F (175°C). Line your muffin tin with cupcake liners or grease it lightly. This usually takes about 10 minutes including prep.
- Mix dry ingredients: In a medium bowl, sift together 1¾ cups (220 g) all-purpose flour, ¾ cup (75 g) dutch-processed cocoa powder, 1 tsp baking soda, ½ tsp baking powder, ½ tsp salt, and 1 tsp activated charcoal powder (if using). Set aside. The sifting step prevents clumps, especially important with charcoal powder.
- Cream butter and sugar: In a large bowl, beat ½ cup (115 g) softened unsalted butter and 1¼ cups (250 g) granulated sugar on medium speed until light and fluffy, about 3-4 minutes. You’ll notice the mixture lighten in color and smell sweet and buttery.
- Add eggs: Beat in 2 large eggs, one at a time, mixing well after each addition. Add 2 tsp vanilla extract. The batter may look a bit thick here but don’t worry.
- Combine wet and dry: Alternately add the dry ingredients and 1 cup (240 ml) room-temperature buttermilk to the butter mixture, beginning and ending with dry. Mix on low speed just until combined; overmixing can make cupcakes dense.
- Finish with vinegar: Stir in 1 tsp white vinegar gently with a spatula. It reacts with the baking soda to create a tender crumb.
- Fill cupcake liners: Spoon batter evenly into the 12 cups, filling about ⅔ full to allow room for rising.
- Bake: Place in the oven and bake for 18-22 minutes. Check doneness by inserting a toothpick into the center; it should come out clean or with a few moist crumbs. The kitchen will start smelling like rich chocolate heaven.
- Cool: Let cupcakes cool in the tin for 5 minutes, then transfer to a wire rack to cool completely before frosting (about 30 minutes). Frosting warm cupcakes can cause melting and sliding.
- Prepare frosting: Beat together 8 oz (225 g) softened cream cheese and ½ cup (115 g) softened unsalted butter until creamy, about 2-3 minutes. Gradually add 3 cups (360 g) powdered sugar and 1 tsp vanilla extract, beating until smooth and fluffy. Add black gel food coloring a drop at a time until you reach your preferred spiderweb color.
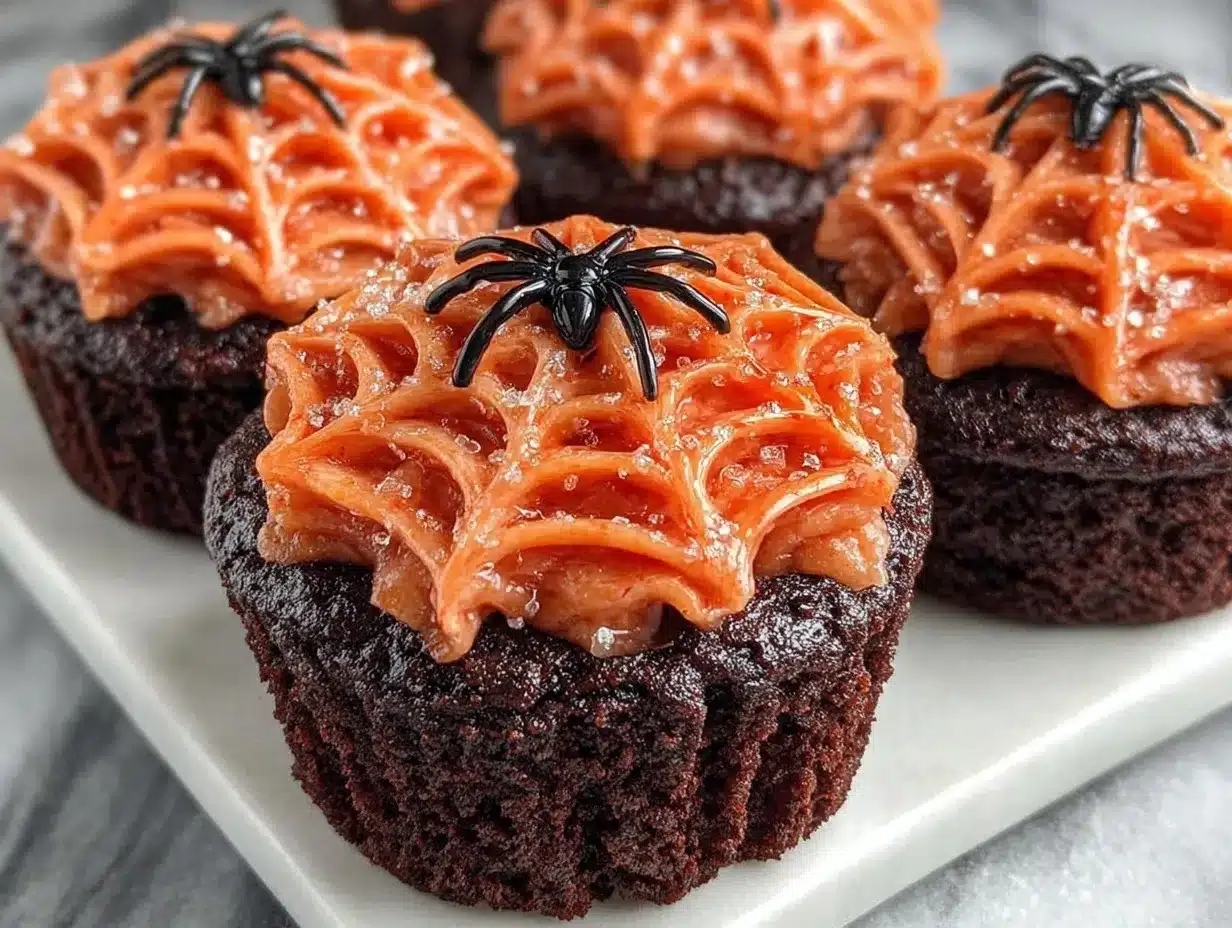
- Pipe spiderweb design: Fill your piping bag with frosting. Start by piping a spiral circle from the center outward. Then, using a toothpick or skewer, drag lines from the center to the edge at regular intervals, creating a spiderweb effect. It’s okay if your first attempts aren’t perfect — practice makes spooky!
One late bake, I accidentally grabbed baking powder instead of soda—cupcakes still rose but had a slightly different texture. Lesson learned: double-check those labels, especially when baking in the dark!
Cooking Tips & Techniques
Here are some tips I’ve picked up to make your black velvet cupcakes with spiderweb frosting turn out just right:
- Use room temperature ingredients: Eggs, butter, and buttermilk blend more evenly when not cold, giving you a smoother batter.
- Don’t overmix: Once you combine wet and dry ingredients, mix until just incorporated. Overmixing can lead to tough cupcakes.
- Activated charcoal caution: Use sparingly; too much can taste bitter. It’s mainly for that deep black color.
- Test your oven temperature: Every oven is different. If you get uneven baking, rotate your pan halfway through.
- Frosting consistency is key: If the frosting is too soft, chill it briefly before piping. If too stiff, add a teaspoon of milk to loosen.
- Practice the spiderweb design: Pipe the spiral first, then use a toothpick to draw lines outward. If the frosting is too thick, it won’t spread smoothly.
- Multitask: While cupcakes bake, prep frosting ingredients or clean up to save time.
One time, I tried using natural black cocoa alone but the cupcakes came out more dark brown than black—combining it with activated charcoal really makes a difference in the look without affecting flavor much.
Variations & Adaptations
Want to switch things up? Here are some fun and easy ways to customize these cupcakes:
- Vegan version: Use flax eggs (1 tbsp ground flaxseed + 3 tbsp water per egg), plant-based butter, and dairy-free cream cheese. Substitute buttermilk with almond or soy milk plus lemon juice.
- Spiced Black Velvet: Add ½ tsp cinnamon and a pinch of nutmeg to the dry ingredients for a subtle autumn warmth.
- Orange Spiderweb Frosting: Tint the cream cheese frosting with a touch of orange gel color and pipe a spiderweb with contrasting black lines for a Halloween pop.
- Gluten-free option: Replace all-purpose flour with a 1:1 gluten-free baking flour blend. Add 1 tsp xanthan gum if your blend doesn’t contain it.
- Chocolate Ganache Drip: Instead of frosting, top cupcakes with a shiny dark chocolate ganache drip and pipe spiderwebs using white chocolate.
I once made a batch with pumpkin puree folded into the batter—super moist and festive! Just reduce buttermilk by ¼ cup to keep the batter balanced.
Serving & Storage Suggestions
These cupcakes are best served at room temperature so the frosting stays creamy and the crumb tender. Arrange them on a dark platter or vintage cake stand for dramatic Halloween flair. Pair with a hot cup of spiced tea or rich coffee to complement the cocoa notes.
Store leftover cupcakes in an airtight container in the refrigerator for up to 4 days. Before serving, let them sit at room temperature for 15-20 minutes to soften the frosting. You can also freeze unfrosted cupcakes wrapped tightly in plastic wrap for up to 3 months; thaw and frost when ready.
The flavors actually deepen after a day, making them even more luscious. Just be sure to keep the spiderweb design covered to avoid smudging.
Nutritional Information & Benefits
Each cupcake (without frosting) contains approximately 220 calories, 10 grams fat, 30 grams carbohydrates, and 3 grams protein. The cream cheese frosting adds about 120 calories and 9 grams fat per serving.
Key ingredients like cocoa powder provide antioxidants, and using buttermilk adds beneficial probiotics. This recipe can be adapted to gluten-free and dairy-free diets, making it accessible for many. Just watch for allergens like eggs and dairy if serving guests with sensitivities.
Personally, I appreciate a treat that tastes indulgent without being overly heavy, and these cupcakes strike that balance nicely—comforting yet not too rich.
Conclusion
If you’re looking for a Halloween treat that’s both spooky and surprisingly simple, these black velvet cupcakes with spiderweb frosting should be on your radar. They blend classic chocolate flavor with a dramatic look that brings the holiday spirit to your table without stress. Let yourself experiment with the frosting design—you might just find that late-night, slightly imperfect baking magic.
Feel free to tweak the recipe to match your taste and dietary needs. I’d love to hear how your spooky creations turn out or any twists you add to make them your own. Go ahead, give these cupcakes a try—you might discover your new Halloween tradition.
So, what are you waiting for? Grab your mixing bowl and let’s get baking!
FAQs
Can I make these cupcakes ahead of time?
Yes! You can bake and frost the cupcakes a day ahead. Store them in an airtight container in the refrigerator and bring them to room temperature before serving.
What if I don’t have activated charcoal powder?
You can skip it and rely on dutch-processed cocoa powder for color. The cupcakes will be very dark brown but not jet black.
How do I avoid the frosting from melting?
Keep the frosting chilled until you’re ready to pipe and serve. Avoid frosting warm cupcakes, and store finished cupcakes in a cool place.
Can I use regular cocoa powder instead of dutch-processed?
Regular cocoa can be used but expect a more acidic and slightly lighter color. Adjust baking soda amount accordingly if needed.
What’s the best way to pipe the spiderweb?
Pipe a smooth spiral from center outward, then drag a toothpick from the center to the edges at regular intervals. Practice on parchment paper first if you’re nervous!
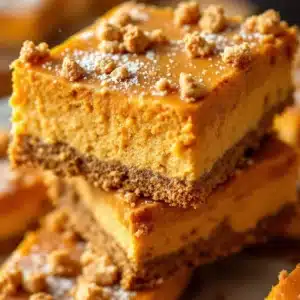
If you want more creative baking ideas, my recipe for creamy pumpkin cheesecake is perfect for autumn, and my crispy garlic chicken is a crowd-pleaser year-round.
Pin This Recipe!
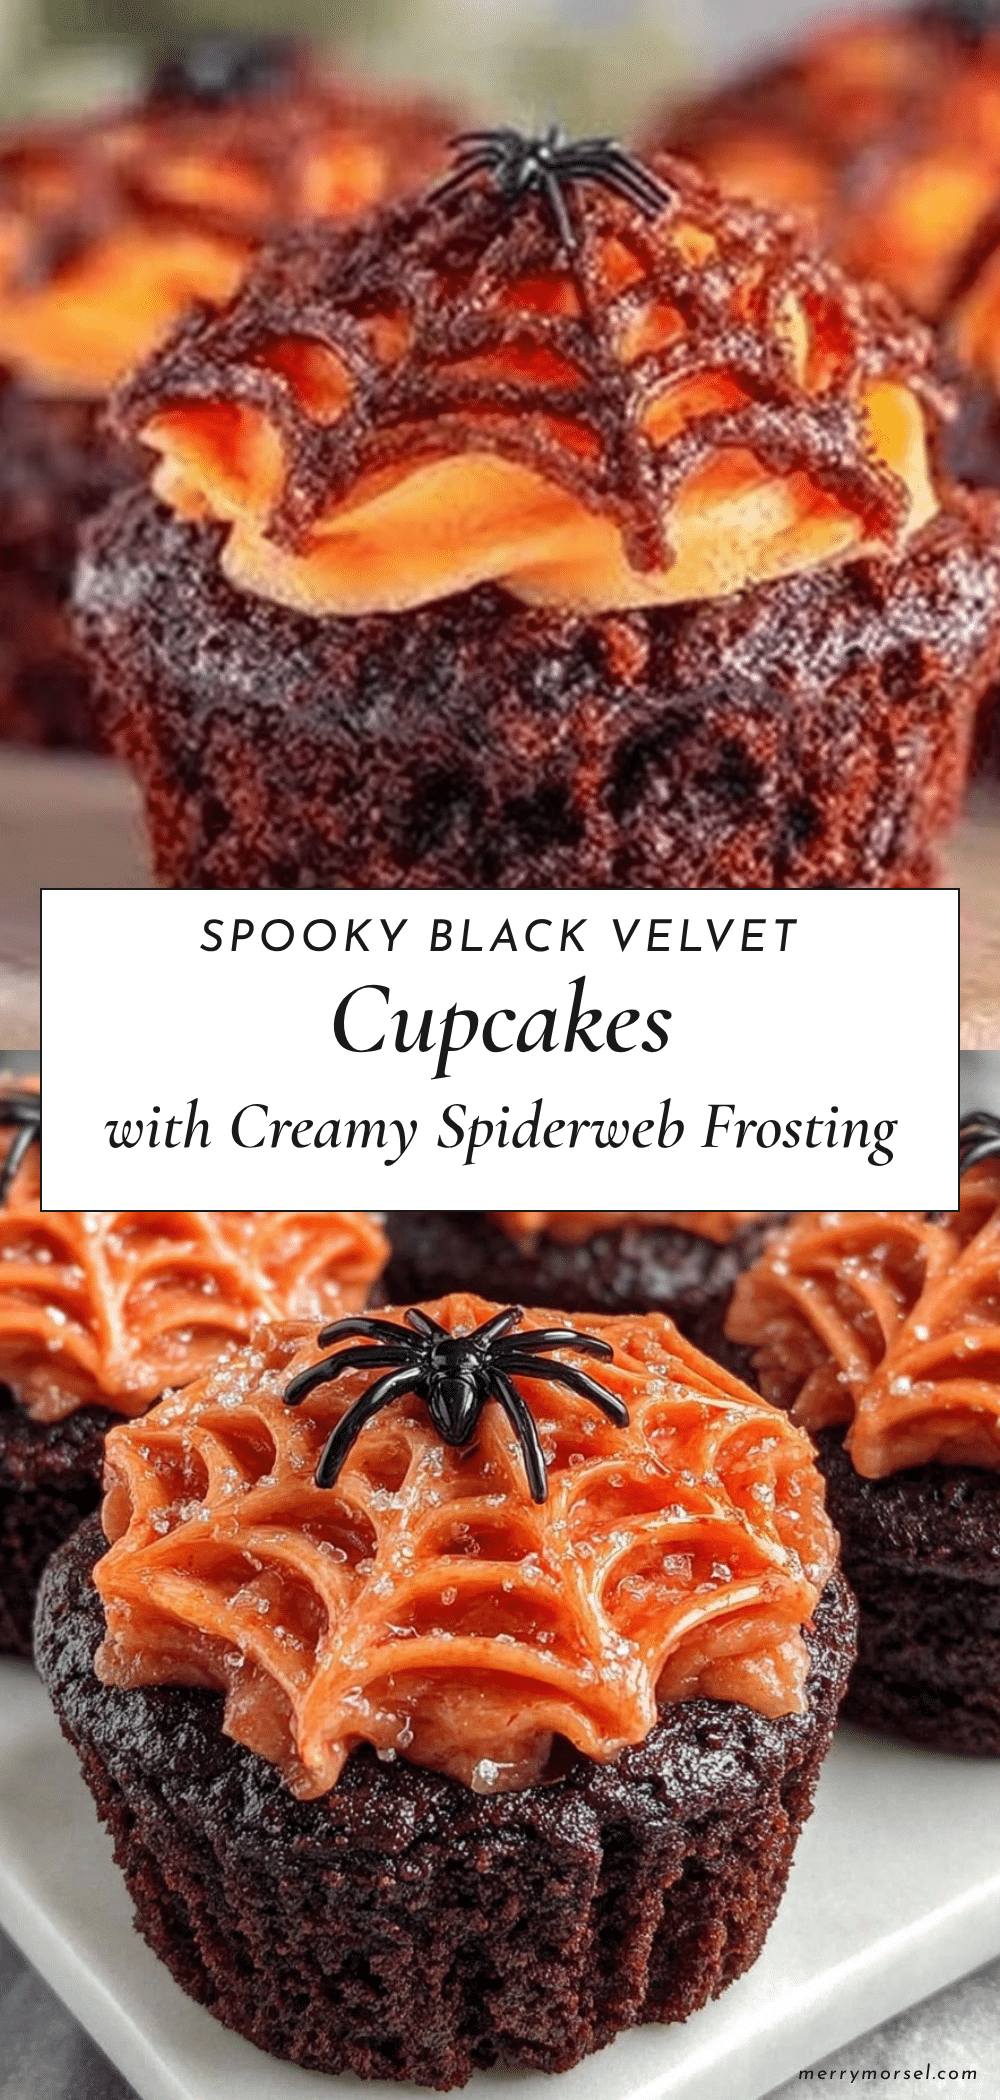
Perfect Halloween Black Velvet Cupcakes with Spiderweb Frosting
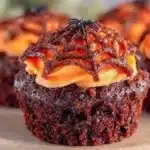
These black velvet cupcakes are moist, rich, and feature a spooky spiderweb cream cheese frosting, perfect for Halloween parties or any time you want an eerie yet delicious treat.
- Prep Time: 15 minutes
- Cook Time: 22 minutes
- Total Time: 37 minutes
- Yield: 12 servings 1x
- Category: Dessert
- Cuisine: American
Ingredients
- 1¾ cups (220 g) all-purpose flour
- ¾ cup (75 g) unsweetened dutch-processed cocoa powder
- 1 tsp activated charcoal powder (optional)
- 1 tsp baking soda
- ½ tsp baking powder
- ½ tsp salt
- ½ cup (115 g) unsalted butter, softened
- 1¼ cups (250 g) granulated sugar
- 2 large eggs, room temperature
- 1 cup (240 ml) buttermilk, room temperature
- 2 tsp vanilla extract
- 1 tsp white vinegar
- For the frosting:
- 8 oz (225 g) cream cheese, softened
- ½ cup (115 g) unsalted butter, softened
- 3 cups (360 g) powdered sugar, sifted
- 1 tsp vanilla extract
- Black gel food coloring, a few drops (optional)
Instructions
- Preheat oven to 350°F (175°C). Line a 12-cup muffin tin with cupcake liners or grease lightly.
- In a medium bowl, sift together flour, dutch-processed cocoa powder, baking soda, baking powder, salt, and activated charcoal powder (if using). Set aside.
- In a large bowl, beat softened butter and granulated sugar on medium speed until light and fluffy, about 3-4 minutes.
- Add eggs one at a time, beating well after each addition. Mix in vanilla extract.
- Alternately add dry ingredients and buttermilk to the butter mixture, beginning and ending with dry ingredients. Mix on low speed just until combined.
- Gently stir in white vinegar with a spatula.
- Fill cupcake liners about two-thirds full with batter.
- Bake for 18-22 minutes or until a toothpick inserted in the center comes out clean or with a few moist crumbs.
- Cool cupcakes in the tin for 5 minutes, then transfer to a wire rack to cool completely, about 30 minutes.
- For frosting, beat cream cheese and butter until creamy, about 2-3 minutes.
- Gradually add powdered sugar and vanilla extract, beating until smooth and fluffy.
- Add black gel food coloring a drop at a time until desired color is reached.
- Fill a piping bag with frosting. Pipe a spiral from the center outward on each cupcake.
- Using a toothpick, drag lines from the center to the edges at regular intervals to create a spiderweb effect.
Notes
[‘Use room temperature ingredients for best results.’, ‘Do not overmix batter to avoid dense cupcakes.’, ‘Activated charcoal powder is optional but recommended for a true black color; use sparingly to avoid bitterness.’, ‘If frosting is too soft, chill briefly before piping; if too stiff, add a teaspoon of milk to loosen.’, ‘Practice piping the spiderweb design on parchment paper before decorating cupcakes.’, ‘Cupcakes can be baked and frosted a day ahead; store in airtight container in refrigerator and bring to room temperature before serving.’, ‘For dairy-free or vegan versions, substitute butter and cream cheese with plant-based alternatives and use almond or soy milk with lemon juice as buttermilk substitute.’, ‘To make gluten-free, replace all-purpose flour with gluten-free baking flour blend and add 1 tsp xanthan gum if needed.’]
Nutrition
- Serving Size: 1 cupcake with frost
- Calories: 340
- Sugar: 24
- Sodium: 210
- Fat: 19
- Saturated Fat: 11
- Carbohydrates: 30
- Fiber: 3
- Protein: 6
Keywords: black velvet cupcakes, Halloween cupcakes, spiderweb frosting, chocolate cupcakes, spooky treats, cream cheese frosting