Love this? Save it for later!
Share the inspiration with your friends
Introduction
The other day, I was unpacking groceries on a breezy Saturday morning when the sharp scent of fresh dill from a bunch on the counter suddenly hit me — and just like that, I was nine years old again, sitting cross-legged on the linoleum floor of Mrs. Anders’ kitchen. She was the quirky neighbor with a tiny garden that smelled like a mix of herbs, sun, and something tangy that made my nose twitch every summer. I remember watching her slice cucumbers with this precise, gentle flick of her wrist, then layering them in jars with garlic cloves and peppercorns. The kitchen smelled alive — crisp, green, and a little wild. I thought then, “How does she get those pickles so crunchy without all that boiling water and scary canning?”
Honestly, trying to replicate those pickles became a quiet quest for me over the years. Maybe you’ve been there too — chasing a taste that feels like a secret handshake from childhood, a bite that sparks a memory you can’t quite reach. I’m still not sure what made Mrs. Anders’ pickles so perfectly crunchy, but after plenty of trial and error (and a jar or two spilled in the fridge), I landed on this easy crunchy refrigerator dill pickles recipe. The best part? No canning needed — just fresh cucumbers, a briny bath, and a little patience in the fridge.
There’s something quietly satisfying about opening that jar and hearing the snap of a perfectly crunchy pickle. It’s not just about the flavor; it’s about holding onto that fleeting moment of summer freshness and simple magic. If you’ve ever wished you could bottle that feeling without the fuss, this recipe might just be your new favorite kitchen hack.
Why You’ll Love This Recipe
I tested this easy crunchy refrigerator dill pickles recipe over many weekends, tweaking brine ratios and timing to nail that perfect balance of tangy, salty, and fresh crunch. Here’s why it stands out:
- Quick & Easy: Ready to enjoy in as little as 48 hours, perfect for when you want fresh pickles without weeks of waiting.
- Simple Ingredients: Uses everyday pantry staples and fresh cucumbers—no fancy gadgets or hard-to-find spices needed.
- Perfect for Any Occasion: Whether you’re adding zing to sandwiches, snacking straight from the jar, or impressing guests at a casual get-together, these pickles deliver.
- Crowd-Pleaser: Kids and adults alike love the satisfying crunch and balanced flavor—plus, no need to worry about canning mishaps for messy beginners.
- Unbelievably Delicious: The dill and garlic give a fresh, punchy flavor that feels homemade but without the fuss.
This recipe is different because it skips the whole boiling water bath and pressure canning step that can be intimidating. Instead, it relies on refrigeration and a carefully balanced brine to preserve that fresh crunch and tang. Honestly, this is my go-to when I want pickles fast, fresh, and fuss-free without sacrificing that satisfying snap. If you’re curious about other easy, crave-worthy recipes with bold flavors, you might enjoy my crispy garlic chicken—another simple but delightful crowd-pleaser.
What Ingredients You Will Need
This easy crunchy refrigerator dill pickles recipe keeps it straightforward with fresh, wholesome ingredients that combine for bold flavor and crisp texture. Most are pantry staples or easy to find at your local market.
- Fresh cucumbers: About 2 pounds (900g) of pickling cucumbers or Kirby cucumbers (small, firm, and perfect for crunch)
- Fresh dill sprigs: 4-5 sprigs (if you can find fresh dill heads, even better—adds that authentic tang)
- Garlic cloves: 3-4, peeled and lightly crushed (brings savory depth)
- White vinegar: 1 ½ cups (360ml) (keeps the brine tangy and bright; I prefer Heinz for consistency)
- Water: 1 ½ cups (360ml), filtered or distilled for clean flavor
- Pickling salt or kosher salt: 2 tablespoons (keeps brine clear and enhances flavor; avoid iodized salt)
- Black peppercorns: 1 teaspoon (adds subtle warmth)
- Red pepper flakes: ½ teaspoon (optional, for a gentle kick)
- Mustard seeds: 1 teaspoon (optional, for extra tang and texture)
If you want to switch things up, you can swap the white vinegar with apple cider vinegar for a slightly sweeter note, or try adding a few slices of fresh jalapeño for heat. For a dairy-free twist on the brine, just stick with filtered water and vinegar. I’ve found that using pickling salt makes a notable difference in cloudy brines, and it’s worth the small extra step.
Equipment Needed
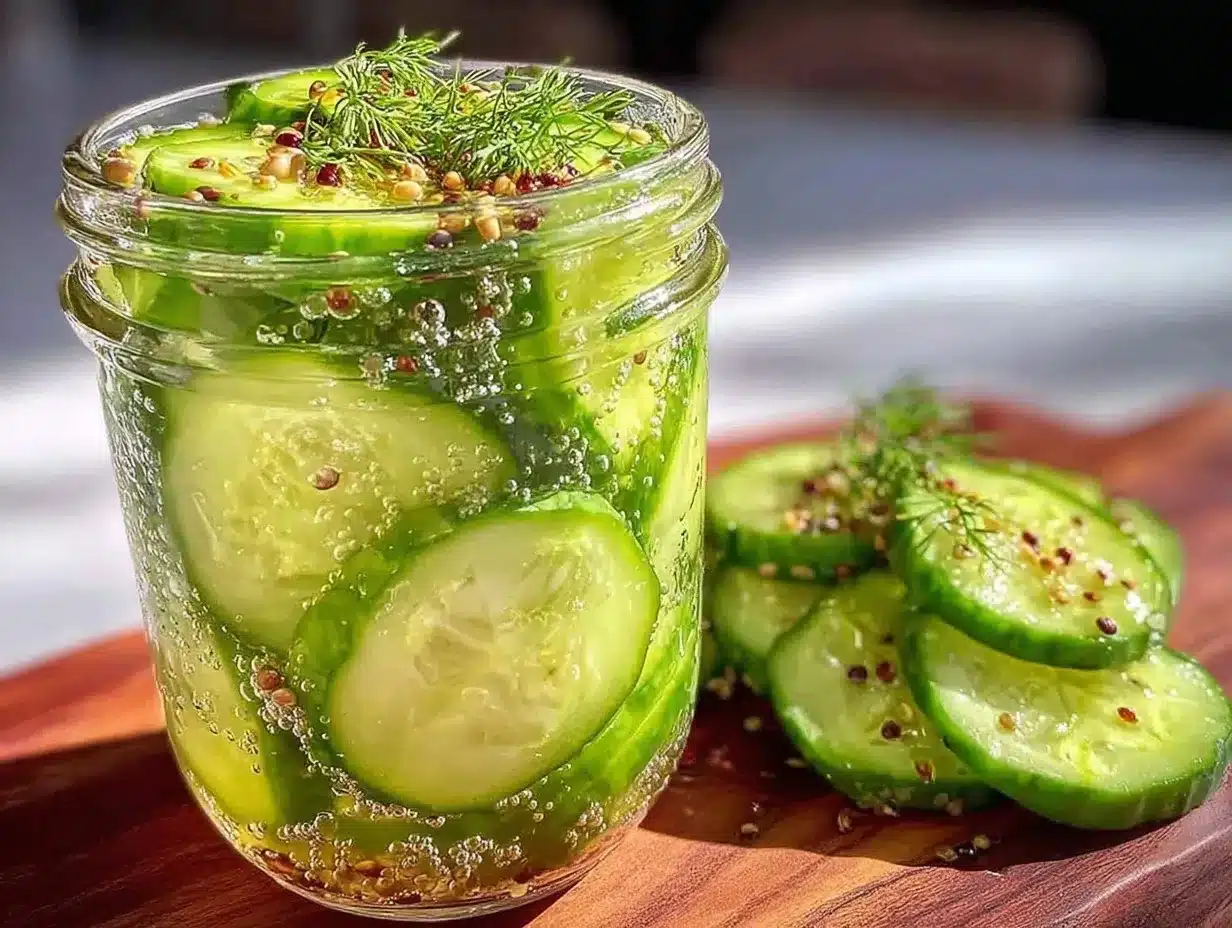
- Large glass jars with lids: Quart-size (about 1 liter) Mason jars work perfectly. Glass keeps flavors pure and is easy to clean.
- Measuring cups and spoons: For precise brine measurements—accuracy matters here!
- Mixing bowl: To combine the brine ingredients before pouring.
- Sharp knife or mandoline slicer: To slice cucumbers evenly (I prefer a serrated knife for a clean slice without squishing).
- Cutting board: Sturdy and easy to clean.
If you don’t have Mason jars, any clean, airtight glass container will do. Avoid metal lids that aren’t designed for pickling, as vinegar can react with them. I once tried plastic containers, but the pickles didn’t keep quite as well, so glass is my trusted pick. For budget-friendly options, thrift shops often have jars that work great after a good wash.
Preparation Method
- Wash and slice cucumbers: Rinse 2 pounds (900g) of cucumbers under cold water. Trim the blossom ends off to prevent softening. Slice into ¼-inch (6mm) thick rounds or spears, depending on your preference. This step usually takes about 10 minutes.
- Prepare the brine: In a mixing bowl, combine 1 ½ cups (360ml) white vinegar, 1 ½ cups (360ml) filtered water, and 2 tablespoons pickling salt. Stir until the salt fully dissolves—this should take about 2 minutes. If salt doesn’t dissolve, the pickles won’t pickle right.
- Fill jars with cucumbers and aromatics: Tightly pack sliced cucumbers into clean quart (1-liter) jars. Add 4-5 fresh dill sprigs, 3-4 lightly crushed garlic cloves, 1 teaspoon black peppercorns, ½ teaspoon red pepper flakes (optional), and 1 teaspoon mustard seeds (optional) evenly across the jars. This layering intensifies the flavor.
- Pour brine over cucumbers: Pour the brine into each jar, covering the cucumbers completely. Leave about ½-inch (1.25cm) of headspace at the top. Press the cucumbers gently to remove air pockets but don’t mash them.
- Seal and refrigerate: Screw the lids on tightly and place jars in the refrigerator. Refrigerate for at least 48 hours before tasting. The longer they chill, the more the flavors develop—up to 2 weeks is ideal.
- Check and enjoy: When you open the jar, expect a satisfying snap. If pickles taste too salty or vinegary, let them sit a little longer. If not salty enough, next time add a pinch more salt to the brine.
Tip: Sometimes I get distracted and forget the exact time, so I set a reminder on my phone. Also, pressing the cucumbers down after pouring the brine helps avoid floating slices, which can get soft. The perfect crunch comes from firm cucumbers and a balanced brine, so don’t skip those steps!
Cooking Tips & Techniques
Getting those easy crunchy refrigerator dill pickles just right is about paying attention to a few key details. Here’s what I’ve learned after a bunch of experiments:
- Choose the right cucumbers: Pickling cucumbers or Kirby cucumbers work best. Regular slicing cucumbers have more water and softer skins, which can lead to mushy pickles.
- Trim the blossom end: That little blossom end contains enzymes that can cause softening, so snip it off before slicing.
- Salt matters: Use pickling or kosher salt, not iodized. Iodized salt can cloud your brine and taste off.
- Keep the brine cold: Refrigeration is key for crunch. Letting the jars sit out at room temperature can soften the cucumbers.
- Don’t overfill jars: Leave some headspace so the brine can circulate and cover the cucumbers fully.
- Patience pays off: These pickles get better with time. The first day, they might be mild, but after 48 hours, flavors balance out beautifully.
- Experiment with spices: Dill is classic, but caraway seeds or coriander can add interesting twists if you like.
One time, I left my pickles in the fridge for just 24 hours and was disappointed by the weak flavor and soft texture. It taught me that those extra 24 hours really do make a difference. Also, if you want to speed things up, slicing cucumbers thinner helps brine penetrate faster but watch out—it can affect crunch.
Variations & Adaptations
This easy crunchy refrigerator dill pickles recipe is versatile and easy to customize for different tastes and dietary needs.
- Spicy Pickles: Add 1-2 sliced fresh jalapeños or increase red pepper flakes for heat lovers.
- Garlic Lovers’ Pickles: Double the garlic cloves for an extra punch of savory flavor.
- Low-Sodium Version: Reduce salt by half and add a splash of lemon juice for brightness—though shelf life shortens, so eat sooner.
- Vegan & Allergy-Friendly: This recipe is naturally vegan and gluten-free. Just double-check labels on your vinegar and spices if you have allergies.
- Whole Cucumber Pickles: If you prefer whole pickles, poke a few holes with a fork to help brine soak in and increase soaking time to 5-7 days in the fridge.
Once, I tried adding fresh thyme and a bay leaf for a more herbal note—it was surprisingly good! For a fun twist, try swapping fresh dill for dill seeds if fresh isn’t available, but keep in mind the flavor will be more subtle.
Serving & Storage Suggestions
These easy crunchy refrigerator dill pickles are best served chilled straight from the fridge. The crunch and tang are at their peak cold, making them the perfect sidekick for sandwiches, burgers, or as a snack on their own.
Pair them with creamy sandwiches or a bold crispy garlic chicken to balance flavors. They’re also fantastic chopped into potato salad or chopped fine as a topping for deviled eggs.
Store pickles in the refrigerator for up to 3 weeks. Make sure the cucumbers stay submerged in brine to prevent spoilage. If you notice any off smells or cloudiness, it’s best to discard.
To re-crisp slightly softened pickles, soak them in ice water for about 30 minutes before serving. Over time, flavors mellow and blend, so if you prefer a sharper bite, enjoy them sooner rather than later.
Nutritional Information & Benefits
These easy crunchy refrigerator dill pickles are low in calories—about 5-10 calories per medium slice—and fat-free, making them a guilt-free snack. The vinegar provides acetic acid, which some studies suggest may support digestion and blood sugar control. Fresh dill adds antioxidants and vitamins like A and C.
This recipe is naturally gluten-free and vegan, with no added sugars if you skip the optional spices. Keep in mind, the sodium content is moderate because of the salt in the brine, so enjoy in moderation if watching sodium intake.
As someone who tries to eat mindfully, I appreciate how this recipe lets me enjoy a flavorful snack that’s crunchy and satisfying without the heaviness—perfect for balancing indulgence with wellness.
Conclusion
If you’re after easy crunchy refrigerator dill pickles that don’t require canning but still deliver that satisfying snap and tang, this recipe is a keeper. I love how simple ingredients and a little patience can bring back those fleeting moments of summer freshness and a crunchy bite that’s pure comfort. Feel free to tweak the garlic, spice level, or cucumber cut to make it truly yours. I’d love to hear how your batch turns out or any fun twists you come up with—drop a comment and share your pickle stories!
So grab some fresh cucumbers and start your own fridge pickle adventure—you might just find it’s the snack that keeps on giving.
FAQs About Easy Crunchy Refrigerator Dill Pickles
- Q: How long do refrigerator dill pickles last?
A: They usually keep well in the fridge for up to 3 weeks when submerged in brine and properly sealed. - Q: Can I use regular cucumbers instead of pickling cucumbers?
A: You can, but regular cucumbers have higher water content and may result in softer pickles. - Q: Do I have to use fresh dill?
A: Fresh dill gives the best flavor, but dill seeds or dried dill can be used as a substitute with a milder taste. - Q: Can I make these pickles without garlic?
A: Yes, you can omit garlic if you prefer a milder flavor or have allergies. - Q: Why do my pickles sometimes turn out soft?
A: Soft pickles often result from overripe cucumbers, not trimming the blossom end, or insufficient salt in the brine.
Pin This Recipe!
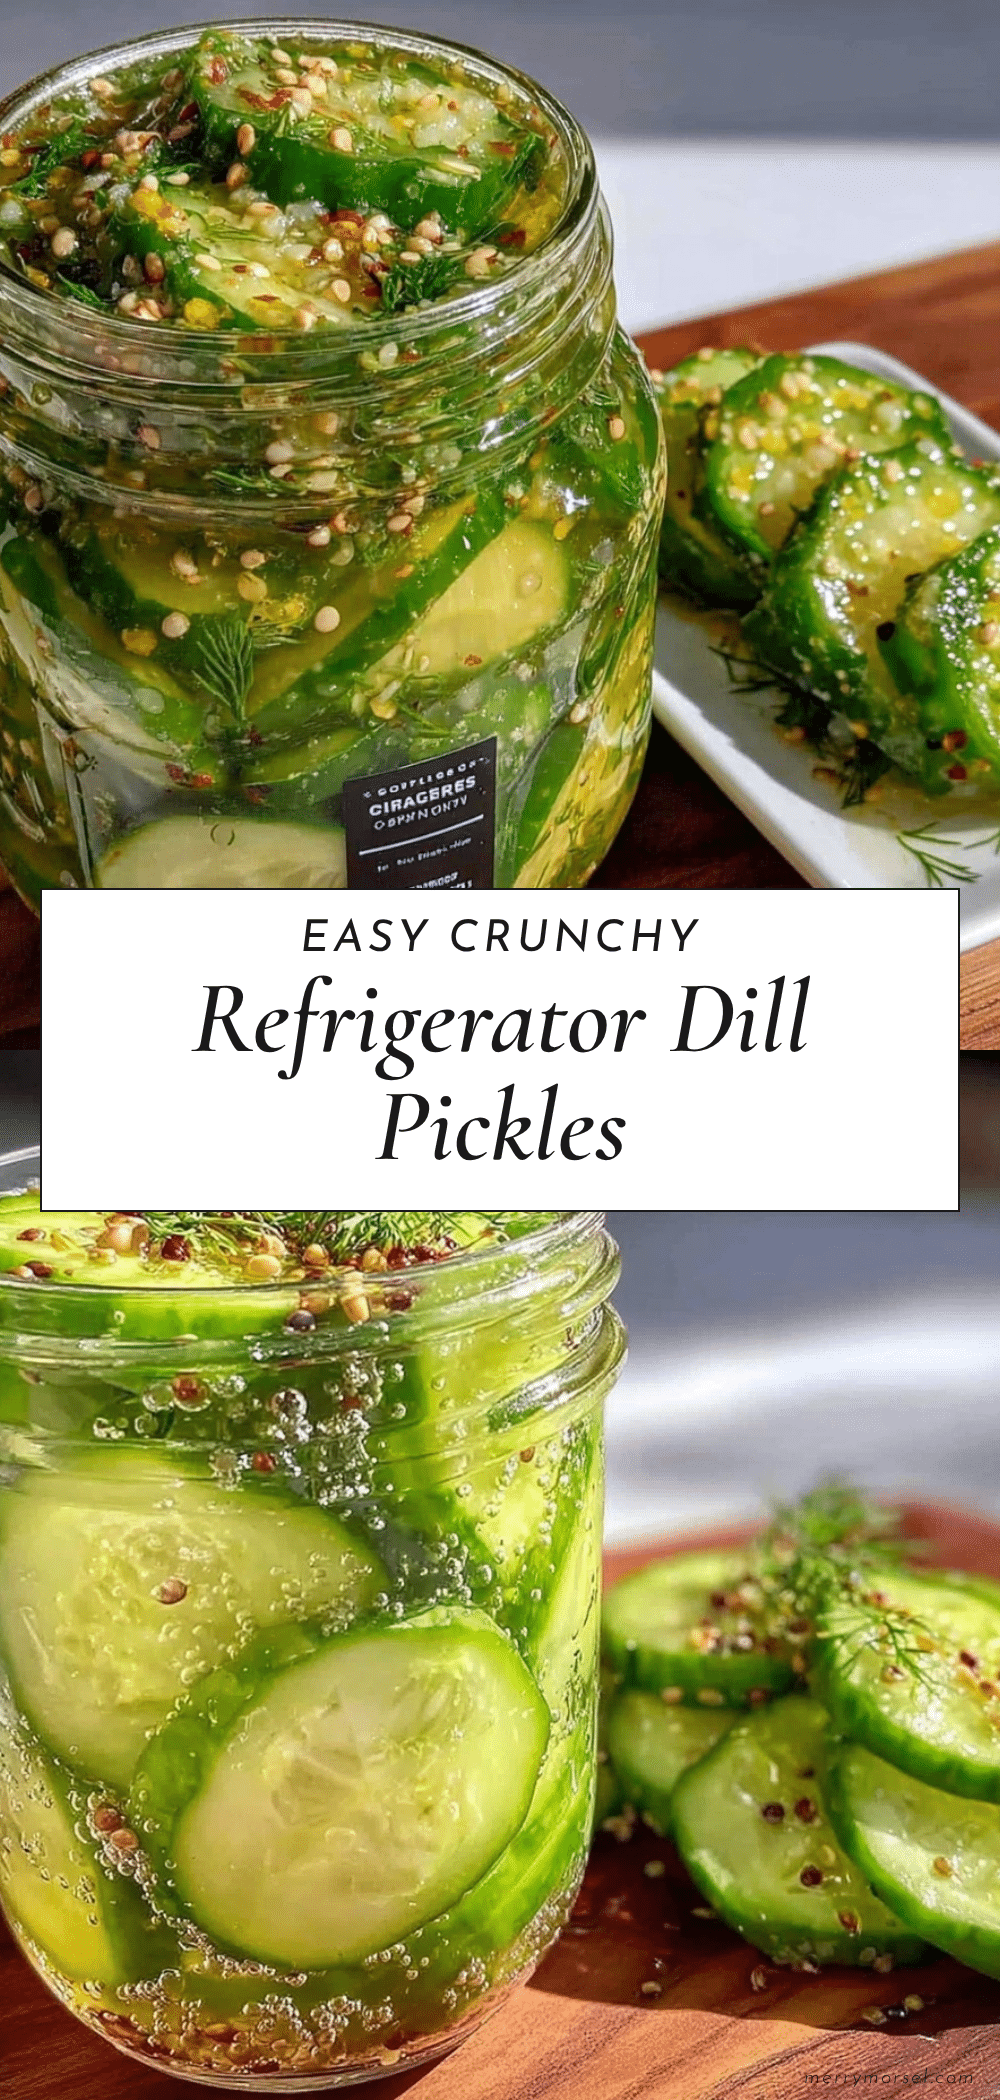
Easy Crunchy Refrigerator Dill Pickles Recipe No Canning Needed Guide
A quick and easy recipe for crunchy refrigerator dill pickles that requires no canning, just fresh cucumbers, a tangy brine, and refrigeration.
- Prep Time: 15 minutes
- Cook Time: 0 minutes
- Total Time: 48 hours (minimum refrigeration time)
- Yield: 4 servings 1x
- Category: Condiment
- Cuisine: American
Ingredients
- 2 pounds (900g) pickling cucumbers or Kirby cucumbers
- 4–5 fresh dill sprigs
- 3–4 garlic cloves, peeled and lightly crushed
- 1 ½ cups (360ml) white vinegar
- 1 ½ cups (360ml) filtered or distilled water
- 2 tablespoons pickling salt or kosher salt
- 1 teaspoon black peppercorns
- ½ teaspoon red pepper flakes (optional)
- 1 teaspoon mustard seeds (optional)
Instructions
- Wash and slice cucumbers: Rinse 2 pounds (900g) of cucumbers under cold water. Trim the blossom ends off to prevent softening. Slice into ¼-inch (6mm) thick rounds or spears, depending on your preference.
- Prepare the brine: In a mixing bowl, combine 1 ½ cups (360ml) white vinegar, 1 ½ cups (360ml) filtered water, and 2 tablespoons pickling salt. Stir until the salt fully dissolves.
- Fill jars with cucumbers and aromatics: Tightly pack sliced cucumbers into clean quart (1-liter) jars. Add 4-5 fresh dill sprigs, 3-4 lightly crushed garlic cloves, 1 teaspoon black peppercorns, ½ teaspoon red pepper flakes (optional), and 1 teaspoon mustard seeds (optional) evenly across the jars.
- Pour brine over cucumbers: Pour the brine into each jar, covering the cucumbers completely. Leave about ½-inch (1.25cm) of headspace at the top. Press the cucumbers gently to remove air pockets but don’t mash them.
- Seal and refrigerate: Screw the lids on tightly and place jars in the refrigerator. Refrigerate for at least 48 hours before tasting. The longer they chill, the more the flavors develop—up to 2 weeks is ideal.
- Check and enjoy: When you open the jar, expect a satisfying snap. If pickles taste too salty or vinegary, let them sit a little longer. If not salty enough, next time add a pinch more salt to the brine.
Notes
Use pickling or kosher salt to avoid cloudy brine. Trim blossom ends of cucumbers to prevent softening. Keep brine cold by refrigerating jars. Press cucumbers gently to remove air pockets but do not mash. For extra crunch, slice cucumbers thinner to speed brine penetration but watch texture. Store pickles submerged in brine and refrigerated for up to 3 weeks. To re-crisp softened pickles, soak in ice water for 30 minutes before serving.
Nutrition
- Serving Size: About 1/4 of the rec
- Calories: 10
- Sugar: 1
- Sodium: 600
- Carbohydrates: 2
- Fiber: 0.5
Keywords: refrigerator pickles, dill pickles, crunchy pickles, no canning pickles, easy pickles, quick pickles, homemade pickles