Love this? Save it for later!
Share the inspiration with your friends
Introduction
“I wasn’t planning on making banana bread that day,” I admit, “but those green bananas were glaring at me from the fruit bowl like they were mocking my patience.” It was a rainy Thursday afternoon, and the whole kitchen smelled faintly of damp earth and old paper from the stack of cookbooks I had just pulled out. I’d been hearing about quick tricks to ripen bananas fast, but honestly, I was skeptical. Who wants to wait days when you’re craving that sweet, mushy banana goodness for pancakes or smoothies right now? So there I was, poking around the oven, fingers crossed and a cracked mixing bowl on the counter from an earlier mishap.
Turns out, the oven method for quick ripening bananas really works—and it’s a total game-changer. This little kitchen hack came from a casual chat with my mail carrier, who swore by it for her last-minute baking marathons. I gave it a shot, and in less than an hour, those once firm and stubborn bananas transformed into perfectly soft, sweet treasures. Maybe you’ve been there too—green bananas staring you down just when you need them ripe. Let me tell you, this recipe stayed with me because it’s fast, it’s foolproof, and honestly, it makes those rushed mornings and spontaneous baking sessions way less stressful.
Why You’ll Love This Recipe
After trying a handful of methods to speed up banana ripening, this oven technique stood out for so many reasons. It’s simple but effective, and honestly, it feels like a little kitchen magic every time I do it. Here’s why this recipe will become your go-to:
- Quick & Easy: Bananas go from firm to perfectly ripe in just about 1 hour—no waiting around for days.
- Simple Ingredients: No special tools or ingredients needed, just your regular bananas and an oven.
- Perfect for Last-Minute Baking: Ideal for when you suddenly decide to bake banana bread, muffins, or pancakes without the wait.
- Crowd-Pleaser: Soft, sweet bananas that add natural sweetness and moisture to any recipe—kids and adults love the flavor boost.
- Unbelievably Delicious: The oven caramelizes the sugars just enough to deepen the flavor without turning mushy or bitter.
What makes this method different? Instead of just waiting or using a brown paper bag (which can be slow and unpredictable), the oven gently warms the bananas, speeding up the ripening enzymes in a way that’s consistent. I’ve tested it multiple times, and the results are reliably soft and sweet every time. It’s like giving your bananas a warm little sauna session!
Whether you need ripe bananas for a cozy weekend bake or a quick smoothie fix, this technique gives you that sweet satisfaction without the wait. Honestly, it’s the kind of trick that turns a frustrating fruit dilemma into a kitchen win, and I want you to have that same feeling.
What Ingredients You Will Need
This recipe uses just one main ingredient, but the quality of your bananas makes a difference—so here’s what to keep in mind:
- Green to Firm Bananas: Choose bananas that are mostly green or just starting to yellow with very little softness. Avoid fully green or overly hard bananas, as the ripening process won’t finish properly in the oven.
That’s really it! No fancy ingredients here—just your everyday bananas.
However, if you’re planning to use the ripened bananas for baking or smoothies, keep in mind these handy tips:
- Banana Size & Type: Larger bananas yield more pulp; I prefer the classic Cavendish variety for its sweetness and texture.
- Organic Bananas: If you can, go organic—ripening tends to be more even and flavorful.
- Optional Extras: When using ripe bananas in recipes, adding a pinch of cinnamon or nutmeg can complement their natural sweetness beautifully.
If you want to experiment, you can try this method on baby bananas or red bananas, but keep a close eye as they may ripen faster.
Equipment Needed
Luckily, this quick ripen bananas oven method requires minimal kitchen gear. Here’s what you’ll need:
- Oven: A basic kitchen oven works perfectly—no fancy settings required.
- Baking Sheet or Tray: A rimmed baking sheet is great for catching any drips.
- Parchment Paper or Foil (Optional): Helps keep the tray clean and prevents sticking.
- Tongs or Oven Mitts: For safely handling hot bananas when they come out.
- Bowl or Plate: To transfer the bananas after ripening.
If you don’t have a baking sheet, a sturdy oven-safe dish will do. Just make sure it can handle the heat and the bananas fit comfortably. I once used a cast iron skillet—did the trick perfectly!
Pro tip: Keep your oven thermometer handy to make sure the temperature stays right around 300°F (150°C). Ovens can be tricky, and this little check can save you from overcooked bananas.
Preparation Method
- Preheat your oven to 300°F (150°C). This moderate heat is key to gently ripening without cooking the bananas.
- Prepare your baking sheet. Line it with parchment paper or aluminum foil for easy cleanup.
- Place the bananas directly on the baking sheet. You can leave the peel on—don’t worry, it will darken and that’s part of the process. Just arrange them so they’re not touching to allow even heat circulation.
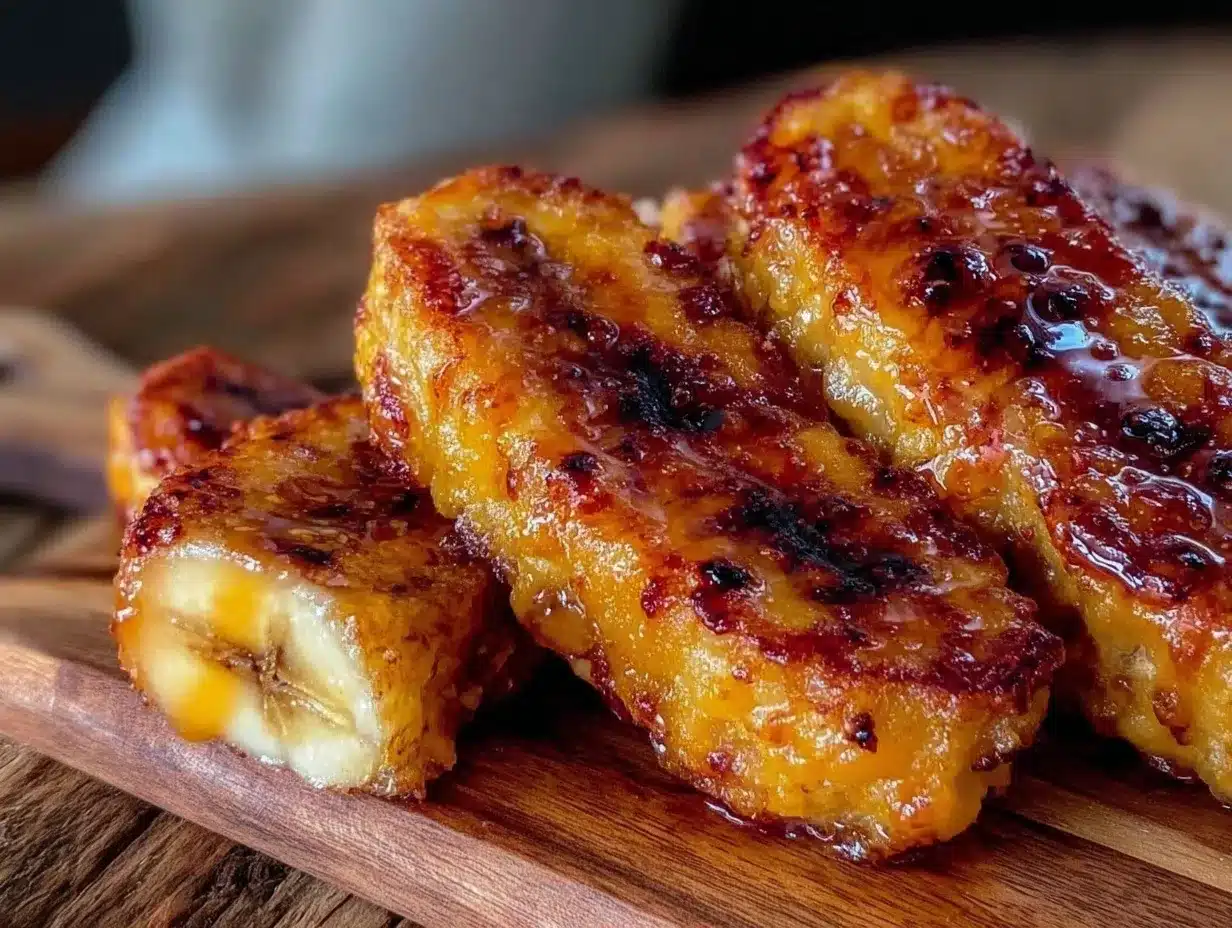
- Bake the bananas for 45 to 60 minutes. Keep an eye on them after 45 minutes—depending on your oven and banana size, ripening can vary. The peel will turn deep brown or black, and the bananas inside will feel soft to the touch.
- Remove the bananas from the oven. Use tongs or oven mitts—they’ll be hot! Let them cool for 10-15 minutes on a plate or bowl.
- Peel the bananas carefully. The skin will be dark and fragile, but inside you’ll find beautifully soft, sweet banana flesh ready for your recipe or snack.
- Use immediately or store. For baking, mash right away for best texture. For smoothies, you can slice and freeze them after cooling.
One time, I forgot the timer and left the bananas in for nearly 70 minutes—while they got a bit softer than usual, they were still delicious but almost too mushy for pancakes. So, timing really does matter. Also, if your kitchen feels smoky, crack a window open—the caramelizing sugars sometimes create a mild aroma.
Cooking Tips & Techniques
Here are some tricks I’ve picked up over the years working with bananas and ovens:
- Don’t overcrowd the pan. Give each banana some breathing room so heat distributes evenly. Crowding can cause uneven ripening or some bananas to get hotter than others.
- Temperature matters. Keep it steady at 300°F (150°C). Higher temps cook the bananas instead of ripening them, which changes texture and flavor.
- Peel or unpeeled? Always ripen with the peel on. It acts like a natural barrier protecting the flesh and trapping moisture.
- Use ripe bananas quickly. Once ripened, bananas will continue to soften. Use or freeze them within a day or two for best results.
- Test softness with a gentle squeeze. The banana should feel soft but not completely liquidy inside.
One thing I learned the hard way: don’t skip the cooling step. Hot bananas are tricky to handle and can burn your fingers. Plus, letting them cool slightly helps the flavors to settle.
Variations & Adaptations
Want to mix things up? Here are some ways I’ve adapted this quick ripen banana method:
- Slow Ripen in Microwave: If you’re in a real rush, poke holes in the peel and microwave for 30 seconds at a time, checking softness after each burst. Not as even as the oven but works in a pinch.
- Oven Ripen with Cinnamon: Sprinkle cinnamon or nutmeg on the bananas before baking for a warm, spiced flavor—perfect for fall baking.
- Freeze for Smoothies: After ripening and cooling, slice bananas and freeze them in an airtight container. Great for quick smoothie additions without thawing.
- Allergen-Friendly Baking: Use these ripened bananas as a natural sweetener in gluten-free or dairy-free recipes, pairing well with almond or oat flours.
- Personal Twist: I once added a drizzle of honey over the bananas right after baking—they caramelized beautifully and added a touch of extra sweetness for banana pancakes.
Serving & Storage Suggestions
Once your bananas are ripened using this oven method, here’s how to make the most of them:
- Serving Temperature: Use them slightly warm for baking, or chilled for smoothies and snacks.
- Presentation: For a quick dessert, slice and serve with a sprinkle of toasted nuts or a dollop of yogurt.
- Complementary Dishes: These bananas pair wonderfully with savory dishes like crispy garlic chicken for a sweet contrast or as a topping on oatmeal and pancakes.
- Storage: Store ripe bananas in an airtight container in the fridge for up to 2 days. For longer storage, peel and freeze in slices or mashed form.
- Reheating: Warm gently in the microwave or oven before using in recipes; avoid overheating as it changes texture.
- Flavor Development: Ripened bananas deepen in sweetness and flavor after resting a few hours, so letting them sit in the fridge can enhance taste.
Nutritional Information & Benefits
Ripened bananas are more than just tasty—they offer some solid nutritional perks:
- Calories: Roughly 105 calories per medium banana (about 118g).
- Natural Sugars: Ripening increases natural sugars, making bananas a great energy booster.
- Fiber: Provides about 3 grams of dietary fiber, aiding digestion.
- Potassium: High potassium content supports heart health and muscle function.
- Vitamins: Good source of vitamin B6 and vitamin C.
- Dietary Notes: Naturally gluten-free, dairy-free, and vegan.
I like to think of this as nature’s candy that also fuels you—just without the guilt. Plus, ripe bananas’ antioxidants increase with ripening, which is a nice little bonus.
Conclusion
So there you have it: a quick, no-fuss way to ripen bananas in just 1 hour using your oven. This method has saved me from the frustration of waiting days for bananas to soften and turned last-minute baking ideas into reality more times than I can count. Whether you’re whipping up a batch of banana muffins or blending a creamy smoothie, these perfectly ripened bananas will make the difference.
Feel free to tweak the process to fit your kitchen style—and please, share your own twists or questions in the comments below. I’m always curious how readers make this trick their own. Remember, sometimes the simplest kitchen hacks bring the biggest smiles.
Happy ripening and even happier baking!
FAQs
How do I know when the bananas are perfectly ripened in the oven?
The peel will darken to a deep brown or black, and the bananas will feel soft when gently squeezed (but not mushy). This usually happens between 45 and 60 minutes at 300°F (150°C).
Can I speed up banana ripening using the microwave instead?
Yes, poking holes in the peel and microwaving in 30-second intervals can soften bananas quickly, but it’s less even and can sometimes cook the fruit rather than ripen it.
Is this oven ripening method safe for all banana varieties?
It works best with common Cavendish bananas. Smaller varieties or plantains may respond differently, so watch closely to avoid over-softening.
Can I ripen bananas in the oven without the peel?
It’s not recommended. The peel protects the banana’s flesh and helps trap moisture during ripening. Without it, the bananas may dry out or cook unevenly.
How long can I store oven-ripened bananas?
Keep them in an airtight container in the fridge for up to 2 days, or peel and freeze them for longer storage. Use them quickly for best flavor and texture.
Pin This Recipe!
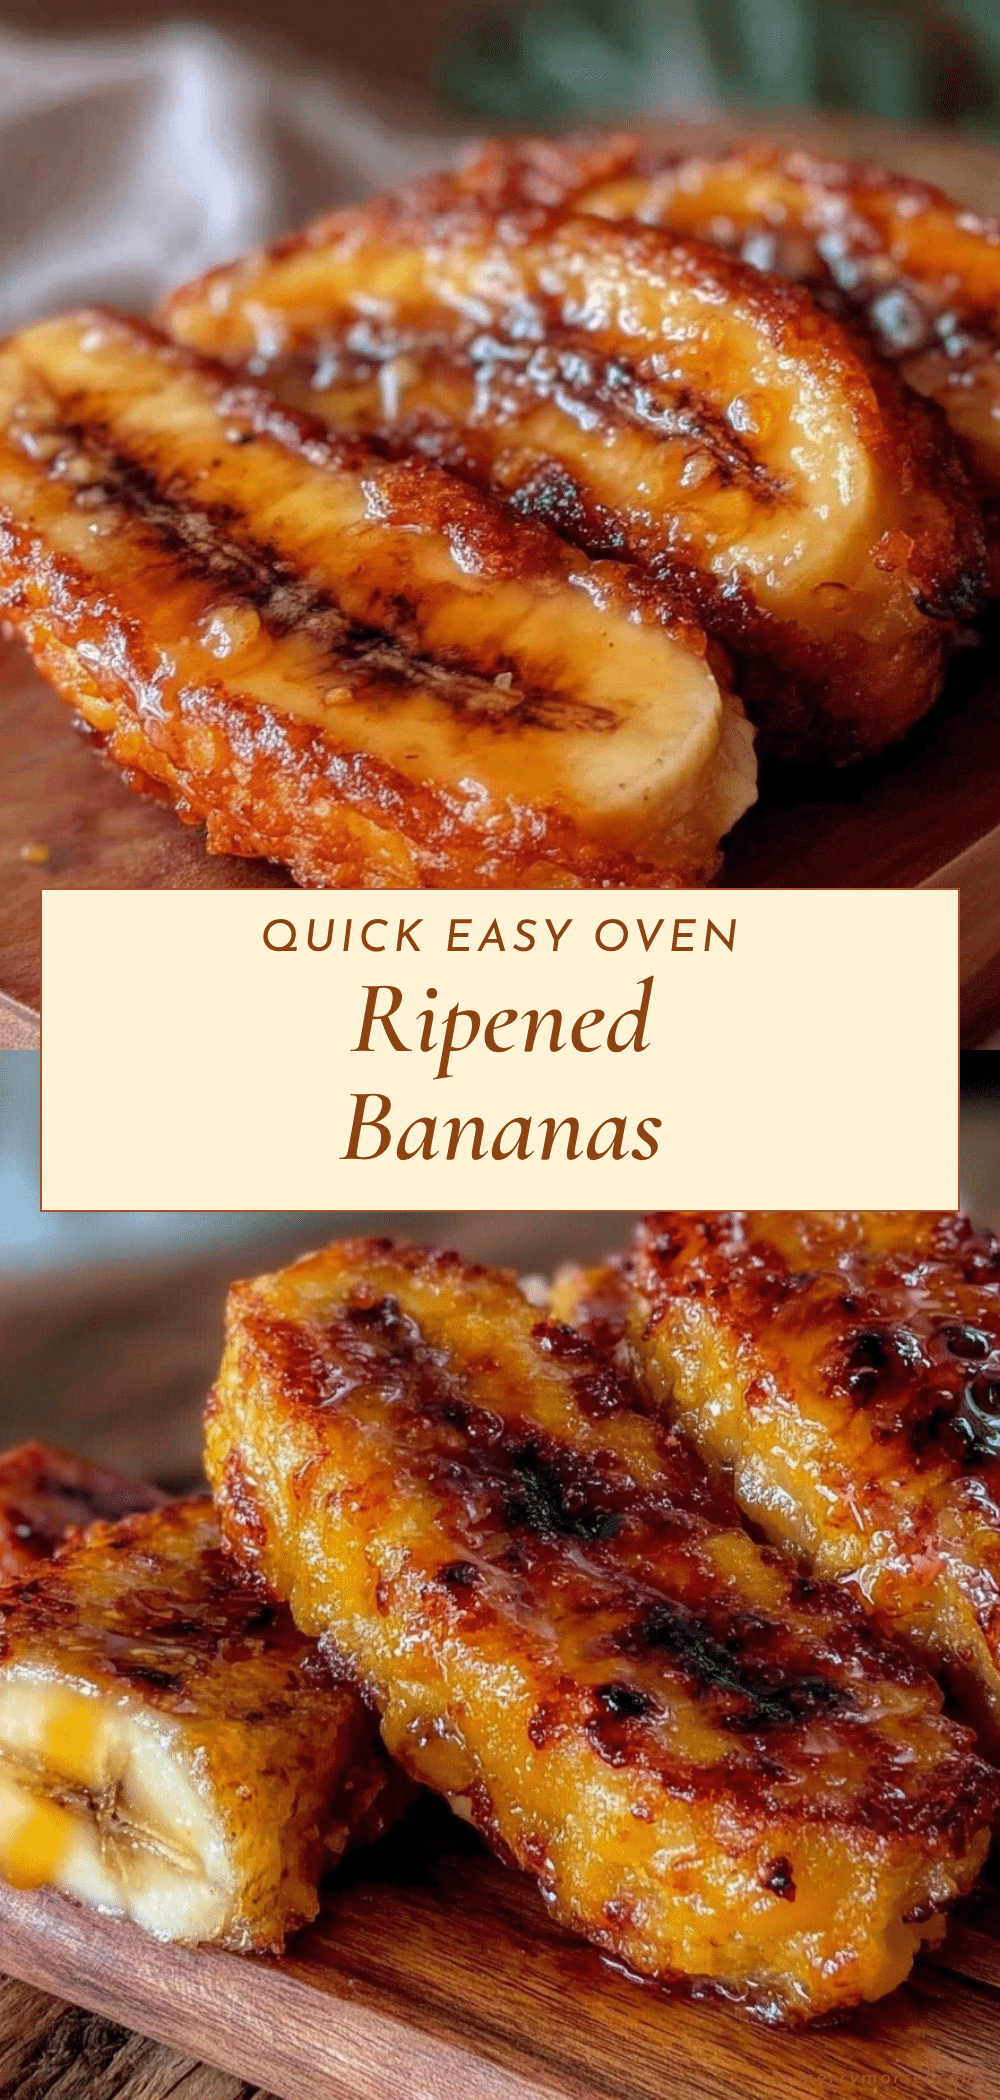
Quick Ripen Bananas in 1 Hour Oven Method Easy and Perfect Guide

A fast and foolproof oven method to ripen bananas in about 1 hour, perfect for last-minute baking or smoothies.
- Prep Time: 5 minutes
- Cook Time: 45-60 minutes
- Total Time: 50-65 minutes
- Yield: Varies depending on number of bananas
- Category: Ingredient Preparation
- Cuisine: Universal
Ingredients
- Green to firm bananas (mostly green or just starting to yellow with very little softness)
Instructions
- Preheat your oven to 300°F (150°C).
- Prepare your baking sheet by lining it with parchment paper or aluminum foil for easy cleanup.
- Place the bananas directly on the baking sheet with the peel on, arranging them so they are not touching to allow even heat circulation.
- Bake the bananas for 45 to 60 minutes, checking after 45 minutes. The peel will turn deep brown or black, and the bananas inside will feel soft to the touch.
- Remove the bananas from the oven using tongs or oven mitts and let them cool for 10-15 minutes on a plate or bowl.
- Peel the bananas carefully; the skin will be dark and fragile, revealing soft, sweet banana flesh.
- Use immediately for baking or smoothies, or store by slicing and freezing after cooling.
Notes
Do not overcrowd the pan to ensure even ripening. Keep oven temperature steady at 300°F (150°C). Always ripen bananas with the peel on to protect the flesh and trap moisture. Let bananas cool before peeling to avoid burns. Use ripe bananas quickly or freeze for longer storage.
Nutrition
- Serving Size: 1 medium banana (abo
- Calories: 105
- Sugar: 14
- Sodium: 1
- Fat: 0.3
- Saturated Fat: 0.1
- Carbohydrates: 27
- Fiber: 3
- Protein: 1.3
Keywords: quick ripen bananas, oven ripen bananas, banana ripening hack, fast banana ripening, banana baking prep