Love this? Save it for later!
Share the inspiration with your friends
Introduction
“You know that moment when you cut into a perfectly crisp apple, and within minutes, the slices start turning an unappetizing brown? Yeah, I’ve been there more times than I care to admit. It was last summer, on a lazy Sunday afternoon at my friend Jenna’s rooftop garden party. She was slicing a big basket of apples to share, and I noticed her dipping the slices in a bowl of salt water. Honestly, I thought, ‘Salt water? For apples?’ But she swore it was the easiest trick to keep them fresh and bright for hours. I was skeptical but intrigued.
That day, between bites and laughter, I watched those apple slices stay crisp and inviting, no weird taste, just pure, fresh fruit magic. Jenna mentioned it was a little trick her grandmother taught her—something she picked up from her childhood in coastal Maine. It stuck with me because, let’s face it, keeping apple slices looking fresh can feel like a losing battle. Maybe you’ve been there, prepping snacks for kids or a picnic, only to see disappointment in their eyes when the fruit looks less than fresh. Well, this simple salt water soak changed the game for me.
Since that day, I’ve tested and tweaked the method to the perfect balance—just enough salt to prevent browning without making the apples taste salty. Honestly, it’s become my go-to hack for lunchboxes, brunch platters, and even late-night cravings. I’ll share exactly how to do it in three easy steps so your apple slices can stay as vibrant as when you first cut them.
Why You’ll Love This Recipe
This easy method for keeping apple slices from browning with salt water is a little kitchen secret that saved me countless times. Not only does it keep your fruit looking fresh, but it’s quick and uses ingredients you probably already have around. Here’s why it stands out:
- Quick & Easy: Takes less than 5 minutes to prep, perfect when you’re rushing to get snacks ready.
- Simple Ingredients: Just salt and water—no need to hunt for lemon juice or special preservatives.
- Perfect for Any Occasion: Whether you’re packing school lunches, prepping for a picnic, or arranging a fruit platter for guests, this trick works every time.
- Crowd-Pleaser: Kids and adults alike won’t even notice the slight salt presence—it just keeps the apples tasting fresh and crisp.
- Unbelievably Delicious: The texture stays firm, and the flavor remains pure—no bitterness or weird aftertaste.
This isn’t just another tip you find tossed around; it’s a tried-and-true method that respects the apple’s natural flavor while preventing that annoying browning. I’ve also found it’s more reliable than lemon juice or commercial anti-browning sprays. Honestly, after a few tries, this salt water soak became my secret weapon for fresh fruit prep.
What Ingredients You Will Need
This recipe relies on the simplest of ingredients to keep your apple slices looking fresh and inviting. You don’t need a long list—just basics that are likely sitting in your kitchen right now. Here’s the breakdown:
- Water: About 4 cups (1 liter) of cold water, fresh and clean. I prefer filtered water if possible, but tap water works fine.
- Salt: 1/2 teaspoon of fine table salt (or kosher salt, just adjust slightly). Not too much or it’ll get salty, but just enough to prevent browning.
- Apples: Your choice of variety! Whether Granny Smith, Honeycrisp, Fuji, or Gala, this method works equally well. Just wash and slice them as desired.
Optional additions if you want to experiment:
- A splash of lemon juice for a hint of tanginess (not necessary but can add a fresh note).
- For a twist, try using sea salt flakes or pink Himalayan salt—though fine salt dissolves better.
When selecting apples, I personally like using firm, crisp varieties like Honeycrisp or Fuji because they keep their texture best after soaking. If you’re prepping for a crowd, mix varieties for color and flavor contrast. Just remember to slice evenly so they soak uniformly.
Equipment Needed
Luckily, this recipe doesn’t demand any fancy tools—just everyday kitchen basics you likely own. Here’s what you’ll need:
- A large mixing bowl or container big enough to hold your apple slices submerged in salt water.
- A sharp knife for slicing the apples evenly—this helps them soak consistently.
- A slotted spoon or tongs to easily remove the slices from the salt water without excess liquid.
- Optional: A cutting board and a colander to rinse the apple slices briefly after soaking if you want to remove excess salt.
Personally, I’ve used everything from simple glass bowls to plastic containers for soaking. Just make sure it’s non-reactive (avoid metal bowls) so the salt water doesn’t react oddly. Also, a sharp knife really makes a difference here—I tend to keep a trusty chef’s knife handy because a clean cut means the slices soak evenly and look prettier when served.
Preparation Method
- Prepare the Salt Water Soak: In a large bowl, combine 4 cups (1 liter) of cold water with 1/2 teaspoon of fine salt. Stir until the salt dissolves completely. This usually takes about 1-2 minutes. Make sure the salt is fully dissolved or you’ll get little salty spots on the apples.
- Slice the Apples: Wash your apples thoroughly. Using a sharp knife, slice them evenly—about 1/4 inch (6 mm) thick works well. You can peel them if you prefer, but I like keeping the skin on for texture and nutrients. This step takes about 5-7 minutes, depending on how many apples you’re prepping.
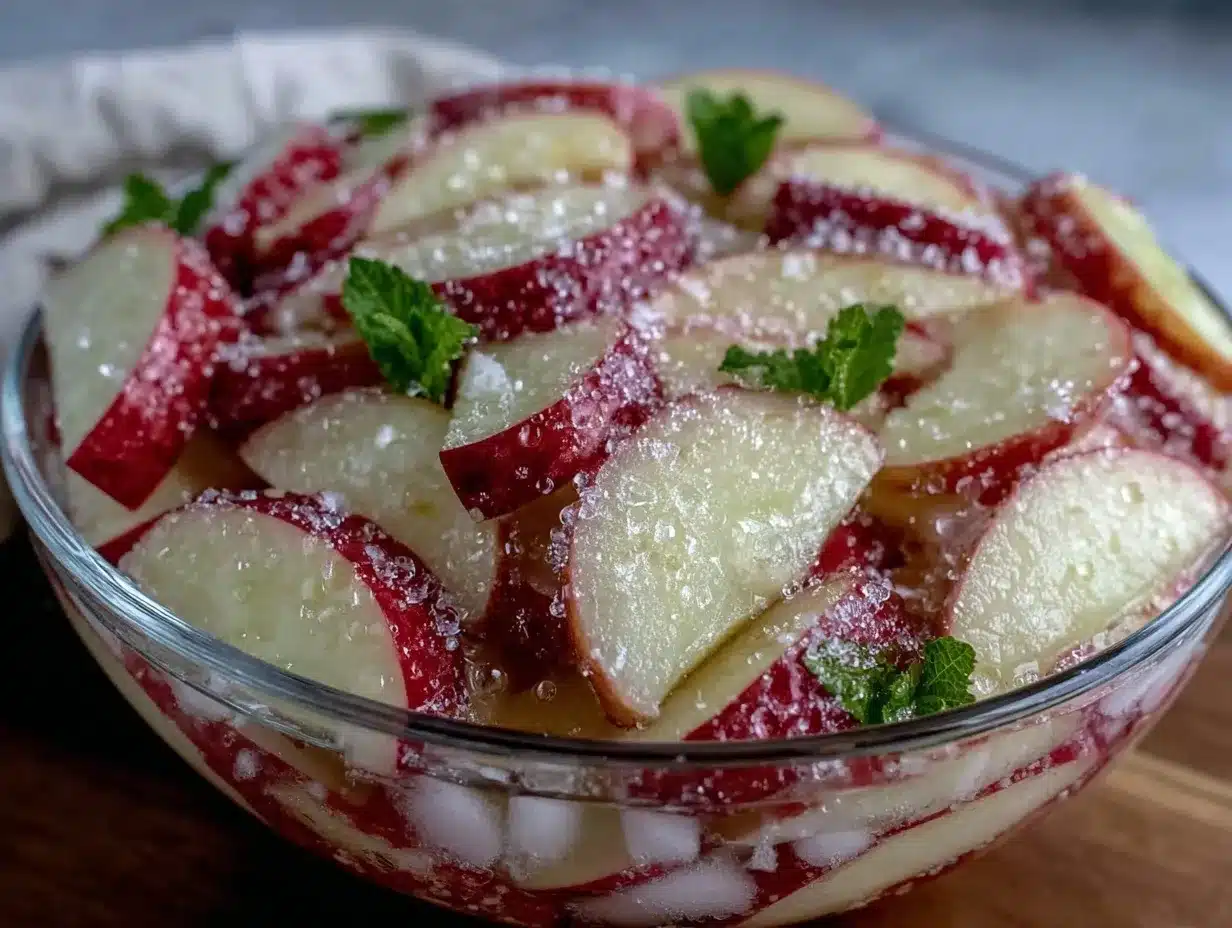
- Soak the Apple Slices: Submerge the apple slices in the salt water bowl immediately after slicing. Let them soak for 3-5 minutes. This is the magic window where the salt water prevents oxidation, which causes browning. I usually set a timer, but you can eyeball it once you get the hang of it.
- Drain and Rinse (Optional): After soaking, remove the slices with a slotted spoon or tongs and give them a quick rinse under cold running water to remove any salty residue. Pat dry gently with a clean towel or paper towels.
- Serve or Store: Your apple slices are now ready to enjoy or pack away. If storing, place them in an airtight container lined with a paper towel to absorb moisture and keep them crisp. They’ll stay fresh and visually appealing for up to 24 hours.
Quick tip: If you forget to soak immediately after cutting, the apples will start browning quickly, so try to work efficiently. Also, avoid soaking longer than 10 minutes or the slices might get a bit too soft.
Cooking Tips & Techniques
Keeping apple slices from browning using salt water is deceptively simple, but a few insider tips can make all the difference:
- Salt Balance Is Key: Too much salt and the apples taste off; too little and the browning happens anyway. Sticking to 1/2 teaspoon per 4 cups water is my sweet spot after testing.
- Use Cold Water: Warm or hot water softens the slices and messes with texture. Cold water keeps them crisp and fresh.
- Don’t Over-Soak: Five minutes is enough to do the job. Longer soaking can cause the slices to become mushy or salty.
- Rinse if Needed: If you’re sensitive to salt, a quick rinse after soaking removes excess salt without undoing the anti-browning effect.
- Slice Thickness Matters: Thinner slices soak through faster but can be fragile; thicker slices take longer but hold up better.
- Work Quickly: The moment you slice the apple, place it in salt water to keep browning at bay.
One time, I got distracted and left slices soaking for 15 minutes—turns out they were a bit too salty and soft. Lesson learned! Timing is everything here. Also, if you’re prepping a big batch, soak in smaller batches so all slices get fully submerged and treated equally.
Variations & Adaptations
Depending on your taste preferences or dietary needs, here are a few ways to customize this simple salt water apple slice method:
- Lemon Juice Addition: Add 1 tablespoon of lemon juice to the salt water for a slightly tangy flavor and extra antioxidant protection.
- Gluten-Free & Vegan Friendly: This recipe is naturally suitable for gluten-free and vegan diets—no changes needed!
- Herb-Infused Soak: For a fun twist, try adding a sprig of fresh rosemary or a cinnamon stick to the water to subtly scent the slices during soaking.
- Honey Water Soak: Substitute salt with a teaspoon of honey dissolved in water for a sweet anti-browning effect (works well but alters flavor).
- Salt-Free Option: If you prefer no salt, you can soak slices in pure cold water but expect the browning to happen sooner.
I once tried soaking slices with a pinch of smoked sea salt—unexpectedly delicious, especially for a fall fruit platter. So don’t hesitate to experiment a bit once you’ve mastered the basics.
Serving & Storage Suggestions
Once your apple slices are treated with salt water, serving and storing them properly keeps them fresh longer:
- Serve Chilled: Apple slices taste best cold and crisp. Keep them refrigerated until serving.
- Pairing Ideas: Serve with nut butters, cheese platters, or drizzle with honey for a quick snack or party platter.
- Storage: Store slices in an airtight container lined with paper towels to absorb moisture—keeps them fresh for up to 24 hours.
- Freezing: Not recommended after salt water soak, as texture changes.
- Reheating: Apples are best enjoyed raw after soaking; if you must warm them, do so gently to avoid softening.
Over time, the flavors mellow, and the texture softens slightly, so it’s best to consume within a day. For gatherings, prepping the night before works well if you keep them refrigerated.
Nutritional Information & Benefits
Here’s a quick look at what you’re getting with these fresh apple slices:
- Calories: Approximately 50 calories per medium apple (about 150 grams).
- Rich in Fiber: Apples provide dietary fiber which is great for digestion.
- Vitamin C Boost: Keeps your immune system happy and supports skin health.
- Low in Fat & Sodium: The small amount of salt used here has negligible impact on sodium intake.
Apples are naturally gluten-free and vegan, making this snack accessible to many diets. The salt water soak doesn’t change the nutritional profile, just helps the slices look and taste fresh longer. From a wellness perspective, I appreciate having a quick, healthy snack option that’s both visually appealing and nourishing.
Conclusion
Keeping apple slices from browning doesn’t have to be a headache or require odd ingredients. With just salt, water, and three simple steps, you can have fresh, crisp apple slices ready for any occasion. I love this recipe because it’s straightforward, reliable, and downright practical—no weird flavors, no fuss. Honestly, it feels like a little kitchen win every time I pull out a perfectly fresh fruit platter.
Give it a try and tweak it to your taste. Maybe you’ll find a new favorite way to prep apples just like I did that Sunday on Jenna’s rooftop. I’d love to hear how it goes for you—leave a comment or share your own apple slice hacks below. Here’s to fresh fruit that looks as good as it tastes!
FAQs
How long will apple slices soaked in salt water stay fresh?
They typically stay fresh and crisp for up to 24 hours when stored properly in an airtight container in the refrigerator.
Will the salt water make my apple slices taste salty?
If you use the recommended 1/2 teaspoon salt per 4 cups of water and don’t soak for too long, the apples will not taste salty. Rinsing briefly after soaking can reduce any mild saltiness.
Can I use this method with other fruits?
Yes! This salt water soak works well with pears, peaches, and even avocados to prevent browning.
Is it okay to peel the apples before soaking?
Absolutely. Peeling is a personal preference and won’t affect the anti-browning effect of the salt water.
Can I prepare apple slices ahead of time for a party?
Yes, soaking and storing apple slices up to 24 hours ahead is perfect for parties or picnics. Just keep them cold until serving.
Pin This Recipe!
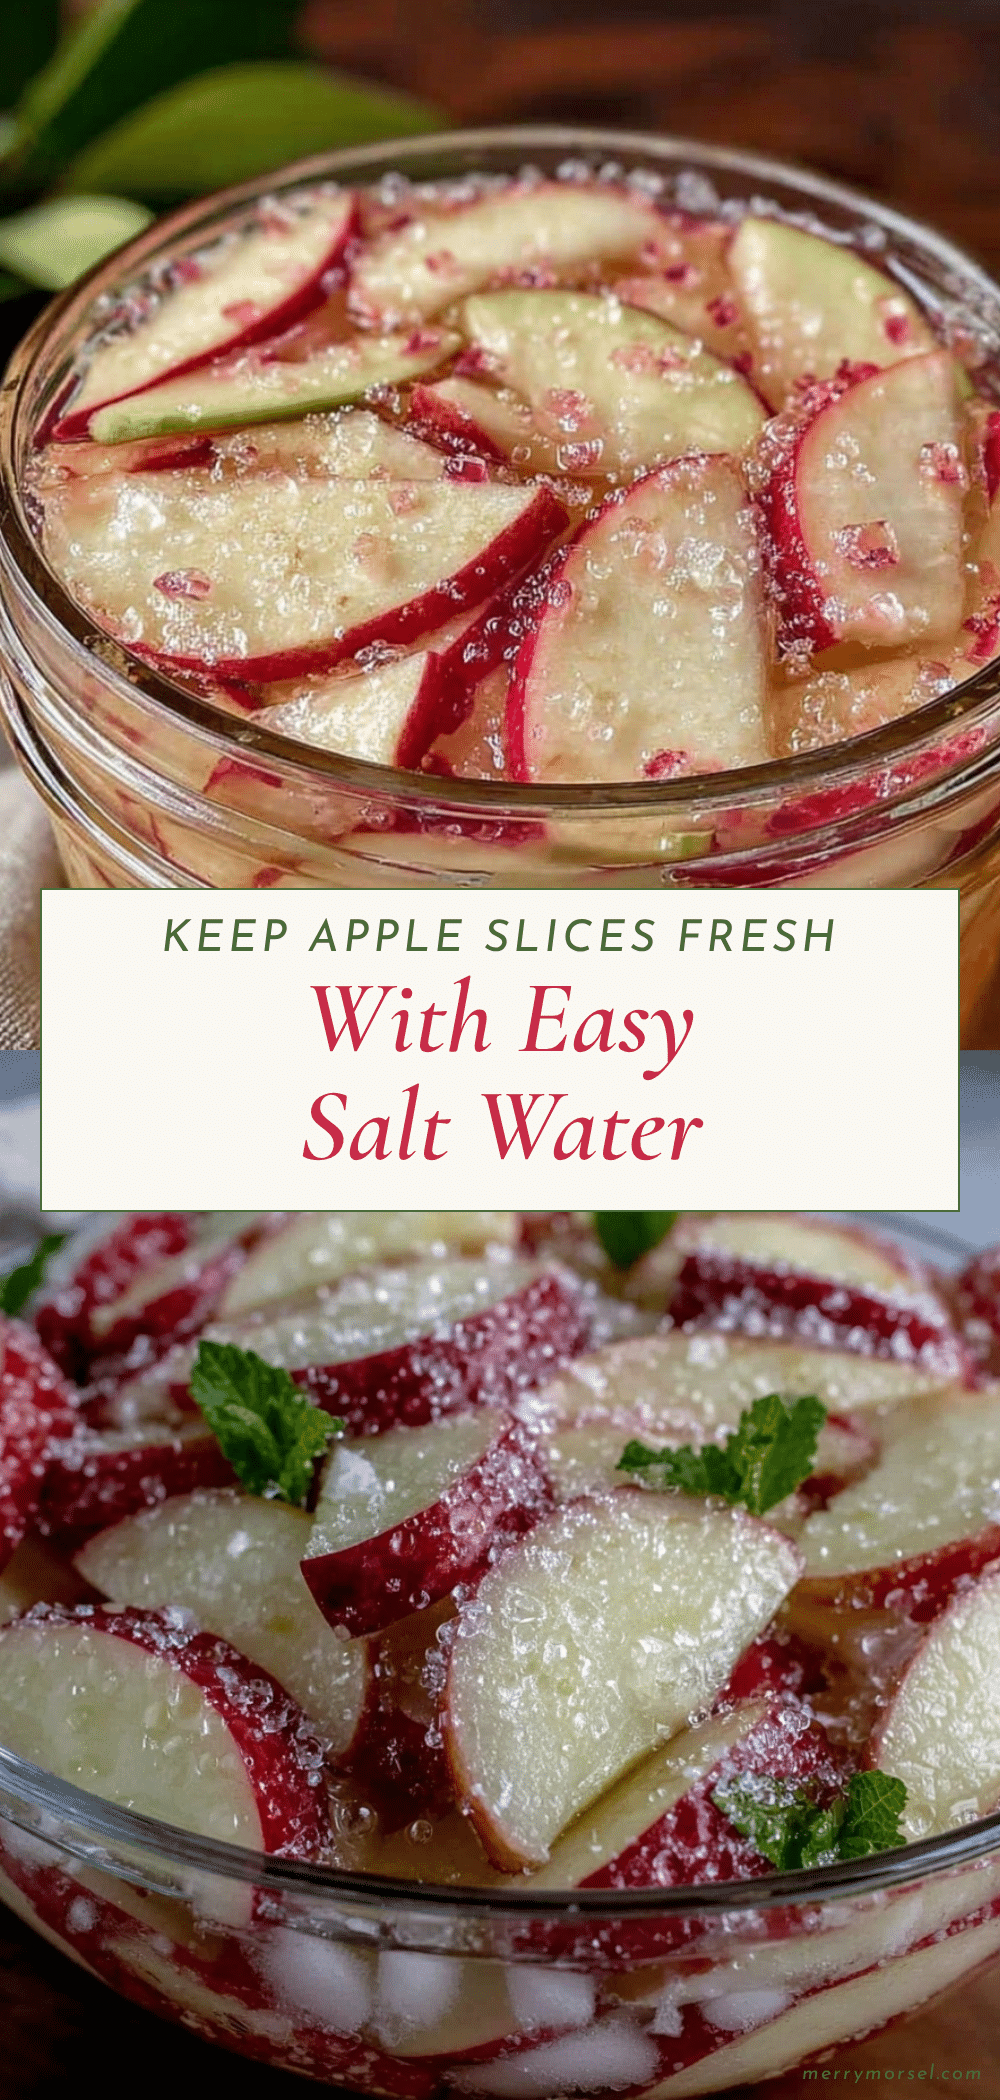
Easy Keep Apple Slices from Browning with Salt Water 3 Simple Steps

A simple and effective method to keep apple slices fresh and crisp by soaking them in a salt water solution, preventing browning without altering flavor.
- Prep Time: 7 minutes
- Cook Time: 5 minutes
- Total Time: 12 minutes
- Yield: 4 servings 1x
- Category: Snack
- Cuisine: American
Ingredients
- 4 cups (1 liter) cold water
- 1/2 teaspoon fine table salt (or kosher salt, adjust slightly)
- Apples of your choice (e.g., Granny Smith, Honeycrisp, Fuji, Gala)
Instructions
- Prepare the salt water soak by combining 4 cups (1 liter) of cold water with 1/2 teaspoon of fine salt in a large bowl. Stir until the salt dissolves completely (about 1-2 minutes).
- Wash your apples thoroughly. Using a sharp knife, slice them evenly about 1/4 inch (6 mm) thick. Peeling is optional.
- Submerge the apple slices in the salt water immediately after slicing. Let them soak for 3-5 minutes to prevent browning.
- Remove the slices with a slotted spoon or tongs and optionally rinse under cold running water to remove any salty residue. Pat dry gently.
- Serve immediately or store in an airtight container lined with a paper towel to absorb moisture. Keep refrigerated and consume within 24 hours.
Notes
Use cold water to keep apple slices crisp. Do not soak longer than 5 minutes to avoid soft or salty slices. Rinse after soaking if sensitive to salt. Slice apples evenly for uniform soaking. Store in airtight container lined with paper towels to absorb moisture and keep fresh up to 24 hours. Avoid metal bowls to prevent reaction with salt water.
Nutrition
- Serving Size: About 1 medium apple
- Calories: 50
- Sugar: 10
- Sodium: 120
- Carbohydrates: 14
- Fiber: 2.5
- Protein: 0.3
Keywords: apple slices, prevent browning, salt water soak, fresh apples, fruit preservation, easy snack, healthy snack