Love this? Save it for later!
Share the inspiration with your friends
Introduction
“It was the middle of July, and honestly, the kitchen felt like a sauna,” I remember thinking as the air conditioner sputtered and gave up on me. I was gearing up to host a backyard party, and the last thing I wanted was to crank up the oven and turn my place into an inferno. So there I was, rummaging through my pantry, half-expecting to find some miracle ingredient that would save me from the sweltering heat.
That’s when I stumbled upon an old recipe card tucked inside a weathered cookbook I’d borrowed from a quirky little library downtown. It was scribbled in faded ink and titled “Chill Out Desserts.” Intrigued, I gave the recipe a shot—and honestly, it was a game-changer. No baking, no mess, and best of all, these desserts stayed perfectly cool and delicious despite the blazing sun outside.
Maybe you’ve been there, too—wanting a sweet treat that won’t melt into a sad puddle the minute you step outside. These easy no-bake desserts that stay perfect in heat are just what you need. Trust me, after that first sweaty afternoon, they became my go-to for every warm-weather get-together. Let me tell you, nothing beats the relief of serving a dessert that looks as good as it tastes, even when the temperature’s soaring.
Why You’ll Love This Recipe
After testing these recipes through several hot summers, I can say they’re total lifesavers. Whether you’re a novice cook or a seasoned pro, these no-bake treats bring a lot to the table—literally and figuratively.
- Quick & Easy: Most come together in under 20 minutes, perfect for last-minute cravings or busy days.
- Simple Ingredients: You probably already have everything on hand—no fancy, hard-to-find stuff.
- Perfect for Outdoor Gatherings: These desserts won’t melt or lose shape, making them ideal for picnics, barbecues, or pool parties.
- Crowd-Pleaser: They get rave reviews from kids and adults alike, so you’re covered on all fronts.
- Unbelievably Delicious: The textures and flavors are balanced to keep you coming back for more—creamy, crunchy, and just sweet enough.
What sets these apart? Well, I’ve fine-tuned each recipe to avoid common pitfalls like soggy crusts or overly sweet fillings. For example, blending cream cheese with a touch of lemon zest adds a fresh zing that keeps things lively. And for crusts, I use crushed nuts mixed with a little coconut oil instead of butter—that way, they hold up better in heat without refrigeration.
Honestly, these no-bake desserts aren’t just recipes—they’re my secret weapon for summer entertaining that doesn’t leave me wiping sweat off my brow. If you want desserts that hold their cool (literally) and impress without the hassle, you’re in the right place.
What Ingredients You Will Need
This collection of easy no-bake desserts uses simple, wholesome ingredients to deliver bold flavor and satisfying texture without any oven fuss. Most are pantry staples or easy-to-find items, with a few fresh touches to brighten things up.
- Crust Bases:
- Graham cracker crumbs or digestive biscuits (finely crushed)
- Crushed nuts (almonds, pecans, or walnuts for crunch and flavor)
- Coconut oil or unsalted butter (helps hold the crust together; coconut oil is great for heat resilience)
- Brown sugar or powdered sugar (for sweetness and slight caramel notes)
- Fillings:
- Cream cheese, softened (adds creaminess and tang)
- Greek yogurt or sour cream (adds lightness and slight tartness)
- Sweetened condensed milk (for richness and sweetness)
- Heavy cream or coconut cream (whipped for fluffy texture)
- Fresh citrus zest and juice (lemon, lime, or orange for brightness)
- Gelatin or agar-agar powder (for setting without baking)
- Flavor Enhancers & Toppings:
- Fresh berries (blueberries, raspberries, or strawberries – in summer, swap frozen if needed)
- Chocolate chips or shavings (use heat-resistant chocolate if possible)
- Vanilla extract (pure for best flavor)
- Honey or maple syrup (natural sweeteners)
- Chopped toasted coconut or nuts (adds texture)
I usually grab ingredients from trusted brands like Horizon Organic cream cheese or Bob’s Red Mill gelatin for consistent results. Plus, if you need a dairy-free version, swapping cream cheese for a coconut-based alternative works like a charm. The key is balancing richness with a hint of acidity to keep things light and fresh, especially in the heat.
Equipment Needed
You don’t need a fancy setup for these easy no-bake desserts, which is part of what makes them so appealing.
- Mixing bowls (medium and large sizes)
- Hand mixer or stand mixer (for whipping cream and blending fillings smoothly)
- Measuring cups and spoons (precision is key, but eyeballing works with experience)
- Springform pan or small baking dishes (for shaping desserts)
- Rubber spatula (great for scraping bowls clean)
- Food processor or blender (optional, for crushing cookies or nuts finely)
- Refrigerator space (to chill and set desserts)
If you don’t have a stand mixer, a good hand mixer will do just fine—I’ve made these dozens of times with one and it holds up. For crushing, I sometimes just use a rolling pin and a plastic bag when I’m feeling old-school. Also, make sure your springform pan seal is tight to avoid any leaks. If you’re on a budget, these tools are easy to find secondhand or at local markets, and they last forever with proper care.
Preparation Method
- Prepare the Crust: In a medium bowl, combine 1 1/2 cups (150g) of crushed graham crackers or digestives with 1/2 cup (60g) of finely chopped nuts. Add 1/3 cup (75g) melted coconut oil or unsalted butter and 1/4 cup (50g) brown sugar. Mix thoroughly until the mixture sticks together when pressed. This usually takes about 5 minutes. Tip: If the crust feels too dry, add a teaspoon more melted oil.
- Press the Crust: Transfer the crust mixture into an 8-inch (20cm) springform pan or pie dish. Use the bottom of a glass or your fingers to press it evenly along the base and slightly up the sides. Aim for a compact, firm layer to prevent crumbling later. Chill in the fridge for 15 minutes to set.
- Make the Filling: In a large bowl, beat 8 oz (225g) softened cream cheese with 1 cup (240ml) sweetened condensed milk until smooth and creamy—about 3 to 4 minutes. Add 1 teaspoon vanilla extract and the zest and juice of one lemon (or lime) for brightness. For a lighter texture, fold in 1 cup (240ml) whipped heavy cream or whipped coconut cream if dairy-free. This step should take 5-7 minutes total.
- Set the Filling: Sprinkle 1 teaspoon gelatin powder over 2 tablespoons cold water and let bloom for 5 minutes. Warm gently (either in the microwave for 10 seconds or over a double boiler) until dissolved. Slowly mix the gelatin into the filling mixture, stirring continuously to avoid clumps. Pour the filling over the chilled crust, smoothing the top with a spatula.
- Chill to Set: Cover the dessert with plastic wrap and refrigerate for at least 4 hours, preferably overnight. The filling should firm up nicely but remain creamy. If you’re in a rush, a freezer stint of 1-2 hours can speed things up, but watch it carefully to avoid freezing solid.
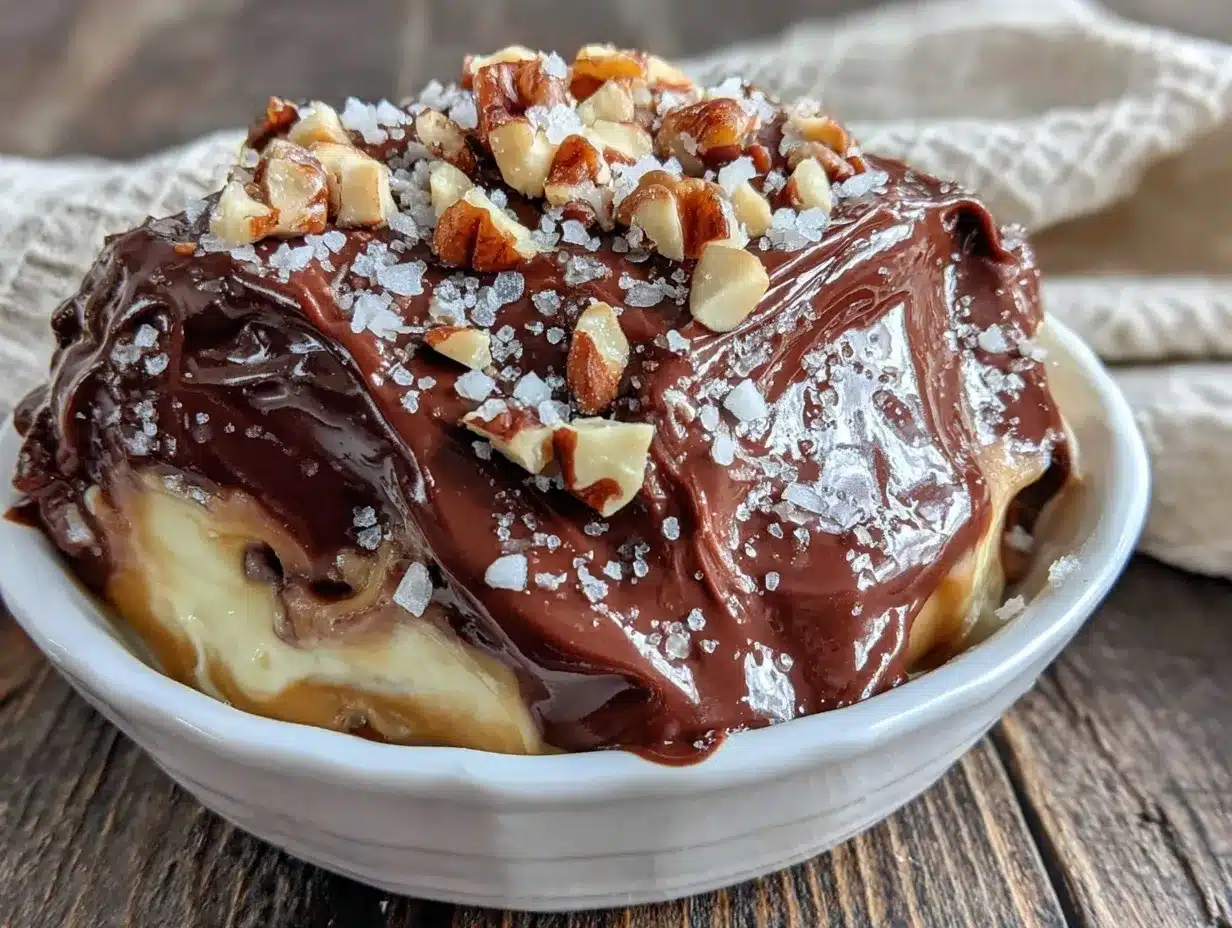
- Add Toppings: Just before serving, garnish with fresh berries, chopped nuts, or chocolate shavings. The contrast in textures makes a big difference. I like to sprinkle a pinch of flaky sea salt on top for an unexpected pop.
Quick troubleshooting: If your filling is too runny, it might mean the gelatin wasn’t properly dissolved or bloomed. Just warm and stir again, then re-chill. And if your crust starts to soften after sitting out, try incorporating a bit more coconut oil next time for better heat resistance.
Cooking Tips & Techniques
Making no-bake desserts that stay perfect in heat requires a little finesse, but it’s nothing you can’t handle with some friendly pointers.
- Choose the Right Setting Agent: Gelatin is great for a smooth, firm finish, but agar-agar works well if you prefer plant-based options. Just remember agar sets faster and firmer, so adjust quantities accordingly.
- Don’t Skip the Chilling: Patience is key. Rushing the chilling process can lead to runny fillings and sad-looking desserts. I always set a reminder to avoid the temptation of early tasting.
- Balance Sweetness and Acidity: Adding citrus juice or zest cuts through the richness and keeps the dessert refreshing, especially in warmer weather. I learned this the hard way after one overly sweet attempt.
- Press the Crust Firmly: This helps it hold together better, especially since there’s no baking to bind it. I usually press with the bottom of a small glass for even pressure.
- Use Full-Fat Dairy: Low-fat options tend to be watery and less stable. Full-fat cream cheese, cream, or coconut cream give that luscious mouthfeel and better texture.
- Multitasking Tip: Bloom your gelatin while preparing the crust to save time. Just don’t let it sit too long before dissolving, or it loses its power.
Variations & Adaptations
These easy no-bake desserts are wonderfully forgiving, so feel free to tweak them to your taste or dietary needs.
- Vegan Version: Swap cream cheese for a vegan alternative like cashew cream or coconut-based spreads. Use agar-agar instead of gelatin and coconut oil for the crust. I tried this once and was pleasantly surprised at how creamy and satisfying it turned out.
- Chocolate Lover’s Twist: Add 1/3 cup (30g) cocoa powder to the filling mixture and top with dark chocolate shavings. For the crust, mix in some crushed chocolate wafers. It’s rich but holds up well in heat.
- Fruit Variations: In summer, fresh berries work beautifully. For fall, I like to fold in mashed pumpkin or apple puree with warming spices like cinnamon. Just be sure to adjust the gelatin slightly as fruit moisture content varies.
- Nut-Free Option: Use crushed oats or gluten-free graham crackers for the crust instead of nuts. Toasted coconut flakes add great texture without triggering allergies.
- Mini Dessert Cups: Instead of a large pan, layer crust and filling in small jars or ramekins for individual servings—perfect for parties and easier to keep chilled.
Serving & Storage Suggestions
These no-bake desserts are best served chilled, straight from the fridge. Let them sit at room temperature for 5-10 minutes before digging in if you want a creamier bite—not too long or they’ll soften too much.
For presentation, fresh berry clusters, mint leaves, or a light dusting of powdered sugar add charm and color. Pair with a cup of iced tea or a refreshing sparkling water with lemon to keep things light.
Store leftovers covered in the fridge for up to 3 days. These treats freeze well, too—just wrap tightly and thaw overnight in the fridge. Reheat isn’t really needed here, but if you want a softer texture, let them sit a bit longer at room temp.
Interestingly, I’ve noticed the flavors deepen and meld after a day, making the dessert even better the next day. So if you’re planning ahead, these hold up beautifully.
Nutritional Information & Benefits
Each serving (about 1/8 of an 8-inch dessert) contains roughly 250-300 calories, with a balance of fats, proteins, and sugars. Using full-fat dairy and nuts provides healthy fats and some protein, while the modest sugar content keeps it indulgent but not over the top.
Key ingredients like nuts and berries add antioxidants and vitamins, making these desserts a slightly smarter choice when you want to treat yourself. Plus, by avoiding baking, you’re saving energy and keeping the kitchen cooler—a win-win in my book.
For those with dietary needs, these recipes can be adapted gluten-free, dairy-free, or vegan with simple swaps, making them inclusive for many preferences without compromising taste or texture.
Conclusion
Honestly, these easy no-bake desserts that stay perfect in heat are a lifesaver when the last thing you want is to turn on the oven. They’re simple to make, require minimal equipment, and bring a fresh, satisfying finish to any meal or gathering.
Feel free to make them your own—add your favorite flavors, swap ingredients, or present them in creative ways. I love that no two batches have been exactly the same, yet every time, they deliver that cool, creamy comfort I crave during the hot months.
If you try any of these recipes, I’d love to hear how they turn out for you—maybe you’ve got a twist I haven’t thought of yet! Leave a comment, share your photos, or tell me your favorite no-bake dessert hacks.
Here’s to sweet moments that don’t heat up your kitchen. Happy chilling!
Frequently Asked Questions
Can I make these desserts ahead of time?
Absolutely! These desserts actually taste better after chilling overnight. Just keep them covered in the fridge and add any fresh toppings before serving.
How do I prevent the crust from getting soggy?
Press the crust firmly and chill it before adding the filling. Using coconut oil instead of butter also helps it hold up better in heat.
Are these recipes suitable for vegans?
Yes, with simple swaps like vegan cream cheese and agar-agar instead of gelatin, you can easily make these desserts vegan-friendly.
Can I use fresh fruit instead of frozen?
Fresh fruit is great, especially in season. Just be mindful of moisture content, which may affect the setting time and texture.
What if I don’t have a hand mixer?
You can whisk by hand, though it will take more effort. A stand mixer or hand mixer just makes the process quicker and smoother.
Pin This Recipe!
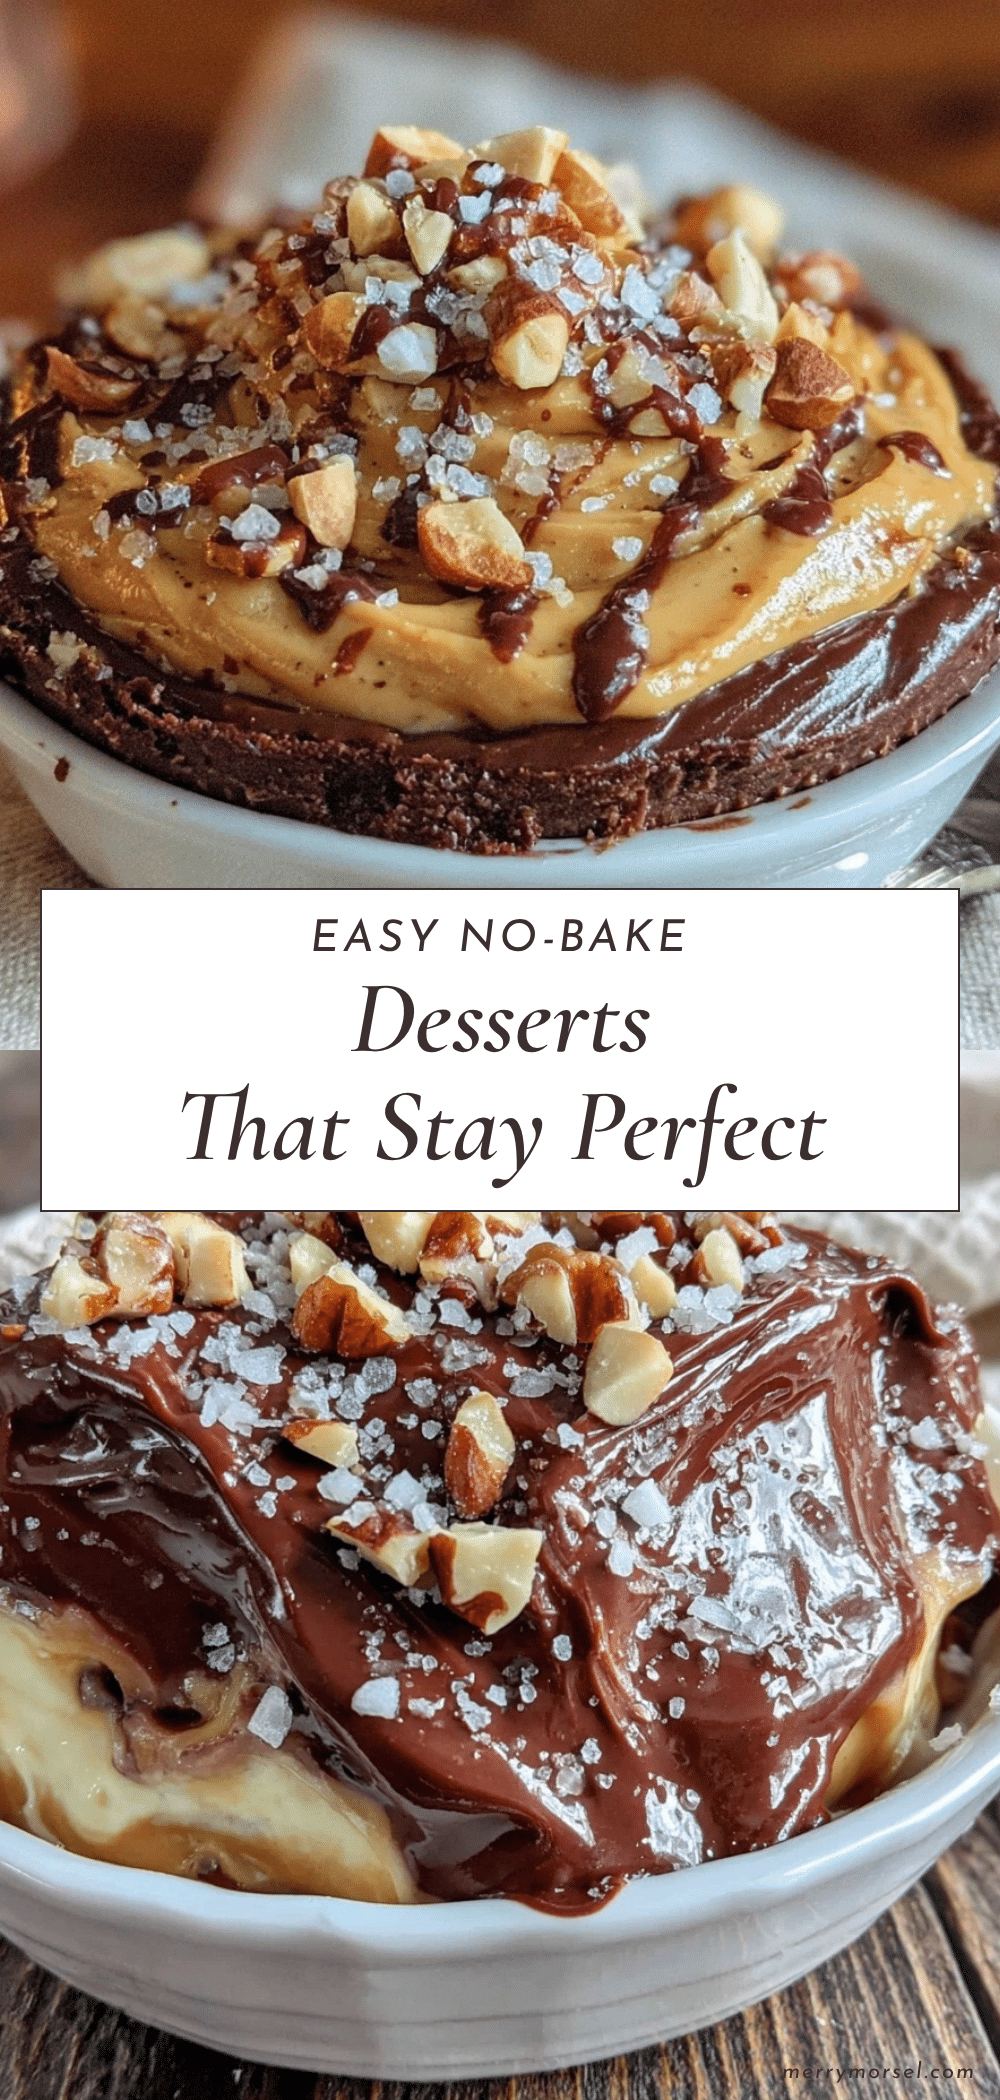
Easy No-Bake Desserts That Stay Perfect in Heat

These easy no-bake desserts are perfect for hot weather, requiring no oven and staying cool and delicious even in the heat. They are quick to prepare, use simple ingredients, and are ideal for outdoor gatherings.
- Prep Time: 15 minutes
- Cook Time: 0 minutes
- Total Time: 4 hours 15 minutes
- Yield: 8 servings 1x
- Category: Dessert
- Cuisine: American
Ingredients
- 1 1/2 cups (150g) crushed graham crackers or digestive biscuits
- 1/2 cup (60g) finely chopped nuts (almonds, pecans, or walnuts)
- 1/3 cup (75g) melted coconut oil or unsalted butter
- 1/4 cup (50g) brown sugar
- 8 oz (225g) softened cream cheese
- 1 cup (240ml) sweetened condensed milk
- 1 teaspoon vanilla extract
- Zest and juice of one lemon or lime
- 1 cup (240ml) whipped heavy cream or whipped coconut cream
- 1 teaspoon gelatin powder
- 2 tablespoons cold water
- Fresh berries (blueberries, raspberries, or strawberries)
- Chocolate chips or shavings
- Honey or maple syrup (optional)
- Chopped toasted coconut or nuts (optional)
- Powdered sugar (optional for dusting)
- Flaky sea salt (optional for garnish)
Instructions
- Prepare the crust by combining crushed graham crackers or digestives with finely chopped nuts, melted coconut oil or butter, and brown sugar in a medium bowl. Mix until the mixture sticks together when pressed, about 5 minutes. Add more oil if too dry.
- Press the crust mixture evenly into the base and slightly up the sides of an 8-inch springform pan or pie dish. Chill in the refrigerator for 15 minutes to set.
- Make the filling by beating softened cream cheese with sweetened condensed milk until smooth and creamy, about 3 to 4 minutes. Add vanilla extract, lemon or lime zest and juice. Fold in whipped heavy cream or coconut cream for a lighter texture.
- Bloom gelatin powder in cold water for 5 minutes. Warm gently until dissolved and slowly mix into the filling, stirring continuously to avoid clumps.
- Pour the filling over the chilled crust and smooth the top with a spatula. Cover with plastic wrap and refrigerate for at least 4 hours or overnight to set. For quicker setting, freeze for 1-2 hours but avoid freezing solid.
- Before serving, garnish with fresh berries, chopped nuts, chocolate shavings, and a pinch of flaky sea salt if desired.
Notes
Use coconut oil instead of butter in the crust for better heat resistance. Bloom gelatin properly to avoid runny filling. Chill desserts thoroughly for best texture. Agar-agar can be used as a vegan alternative to gelatin but sets faster and firmer. Press crust firmly to prevent crumbling. Full-fat dairy yields better texture and stability.
Nutrition
- Serving Size: 1/8 of an 8-inch des
- Calories: 275
- Sugar: 18
- Sodium: 150
- Fat: 18
- Saturated Fat: 9
- Carbohydrates: 22
- Fiber: 1
- Protein: 5
Keywords: no-bake dessert, easy dessert, summer dessert, heat-resistant dessert, no oven dessert, quick dessert, creamy dessert, chilled dessert