Love this? Save it for later!
Share the inspiration with your friends
“I wasn’t even planning to bring a snack to the graduation party,” I admitted to myself as I stood in my tiny kitchen, staring at the random ingredients scattered across the counter. It was a last-minute invite from my neighbor, Mimi, and honestly, I was scrambling for something quick but festive. Then I remembered a quirky idea I’d jotted down months ago after seeing a graduation cap-shaped cheese ball at a local deli. I thought, why not? I mean, who doesn’t want to impress a crowd with a snack that looks like a mini celebration?
The thing is, I’m usually a bit clumsy with party food—last Thanksgiving, I accidentally swapped sugar for salt in the pie crust (don’t ask). But this time, something clicked. I whipped up this perfect graduation cap cheese ball centerpiece that not only turned heads but became the star of the party. Mimi’s guests kept asking for the recipe, and I found myself grinning like a proud parent every time someone reached for a nibble.
Maybe you’ve been there—rushing to pull together a dish that’s both eye-catching and tasty. This cheese ball is just that: a fun and delicious way to celebrate grads without hours of prep. Plus, it’s easy to adapt to your favorite flavors or party themes. Honestly, it’s become my go-to when I want something simple but memorable. Let me tell you, once you try making this, you’ll keep it in your recipe arsenal for every celebration (and maybe even on a random Tuesday night!).
Why You’ll Love This Recipe
Through countless trial runs and party tests, this perfect graduation cap cheese ball recipe has proven to be a real winner. It’s the kind of snack that looks fancy but comes together in a snap. Here’s why it’s worth making:
- Quick & Easy: Ready in about 30 minutes, making it perfect for last-minute celebrations or spontaneous get-togethers.
- Simple Ingredients: Uses pantry staples and common dairy items—no need to hunt down specialty stores.
- Perfect for Parties: This cheese ball centerpiece adds a festive touch to graduation parties, potlucks, or even casual brunches.
- Crowd-Pleaser: Loved by kids and adults alike, the creamy texture and savory flavor combo always gets rave reviews.
- Unbelievably Delicious: The mix of cream cheese, sharp cheddar, and herbs balances rich and fresh flavors perfectly.
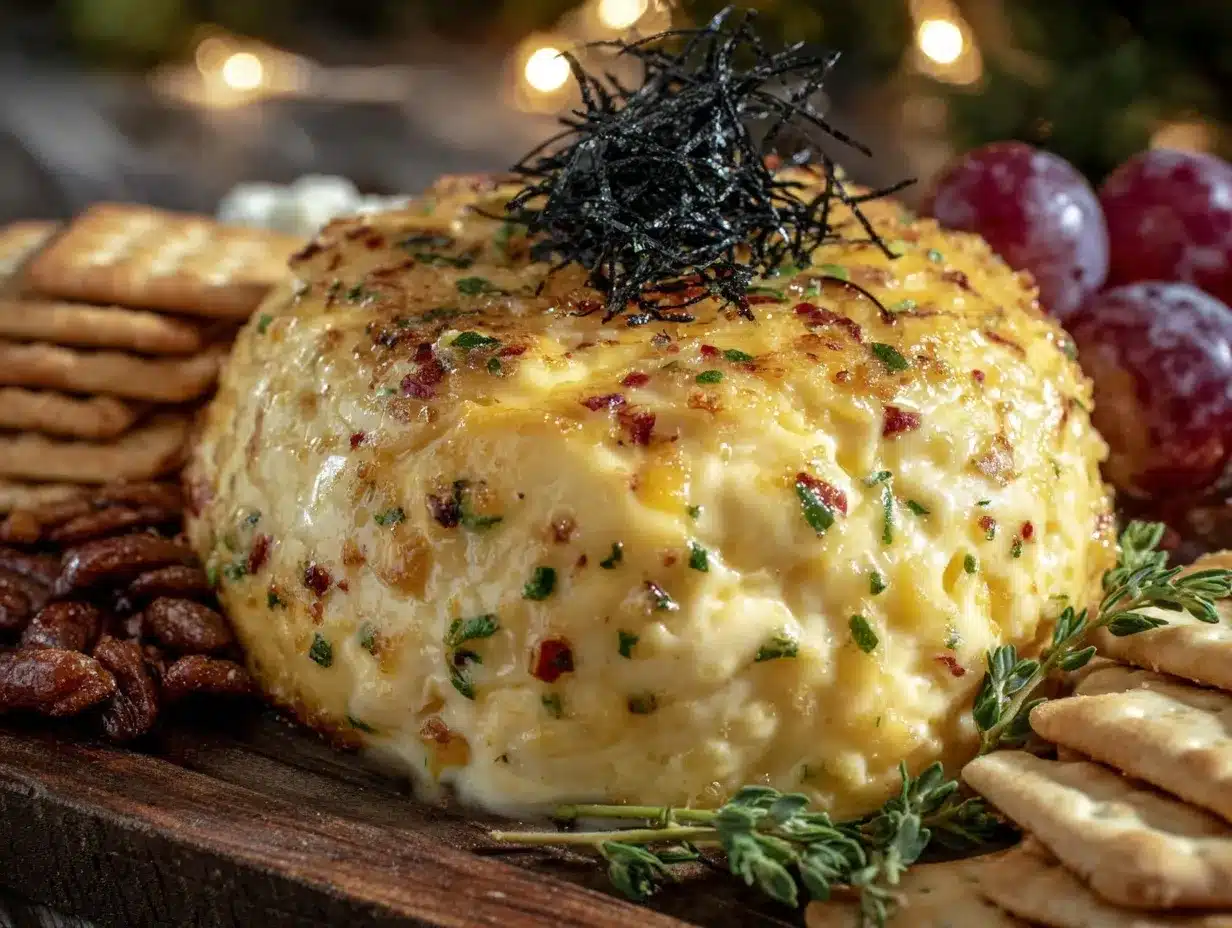
This isn’t just another cheese ball—it’s the kind that makes you pause and admire before diving in. The fun graduation cap shape adds personality without extra fuss, and the seasoning is just right—not too mild, not too overpowering. I like to think of it as a little edible celebration on your party table, ready to bring smiles and start conversations. Plus, the recipe is flexible enough to tweak based on your flavor preferences or dietary needs, making it a reliable crowd-pleaser every time.
What Ingredients You Will Need
This recipe uses simple, wholesome ingredients to deliver bold flavor and a satisfying texture without any hassle. Most are pantry staples or easy to find at any grocery store.
- Cream Cheese, softened (about 8 oz / 225 g) – the creamy base that holds everything together
- Sharp Cheddar Cheese, shredded (1 cup / 100 g) – for that classic tangy bite; I prefer Cabot brand for the best melt and flavor
- Garlic Powder (1 tsp) – adds a subtle savory depth
- Onion Powder (1 tsp) – complements the garlic nicely
- Worcestershire Sauce (1 tbsp) – brings umami richness; use Lea & Perrins for authentic taste
- Fresh Chives, finely chopped (2 tbsp) – adds a fresh, mild onion flavor and a pop of green color
- Black Pepper, freshly ground (½ tsp) – to taste, for a little kick
- Salt (¼ tsp) – balance the flavors without overpowering
- Crackers or Pretzels, for coating and serving (about 2 cups / 200 g) – crushed finely for a crunchy exterior
- Black Olives or Black Grapes (optional) – for decorating the graduation cap’s button on top
- Fresh Parsley or Additional Chives (optional garnish) – for a fresh finish around the base
Ingredient Tips: If you can’t find sharp cheddar, aged Gouda or Monterey Jack work well too. For a dairy-free version, swap cream cheese with a plant-based spread and use a vegan cheese alternative. In summer, adding finely chopped fresh herbs like dill or basil gives a nice seasonal twist.
Equipment Needed
To pull off this perfect graduation cap cheese ball centerpiece, you don’t need fancy gear, but a few basic tools will make your life easier:
- Mixing Bowl: Medium-sized, to combine all ingredients comfortably.
- Spoon or Spatula: For mixing and scraping the bowl clean.
- Small Plate or Board: To shape the cheese ball and graduation cap pieces.
- Sharp Knife: Essential for cutting the cheese ball’s square top and trimming details.
- Plastic Wrap: Helps chill and shape the ball without sticking.
- Food Processor (optional): For crushing crackers quickly if you don’t want to do it by hand.
If you don’t have a food processor, placing crackers in a sealed plastic bag and crushing them with a rolling pin works just fine. I once forgot my plastic wrap and ended up using parchment paper—messy but it did the trick! Budget-friendly options like a simple serrated knife and a sturdy mixing bowl are all you really need.
Preparation Method
- Soften the Cream Cheese: Let 8 oz (225 g) of cream cheese sit at room temperature for about 20 minutes until soft but not melted. This step is key for easy mixing and smooth texture.
- Mix the Base: In a medium bowl, combine the softened cream cheese with 1 cup (100 g) shredded sharp cheddar cheese. Add 1 tsp garlic powder, 1 tsp onion powder, 1 tbsp Worcestershire sauce, 2 tbsp finely chopped fresh chives, ½ tsp freshly ground black pepper, and ¼ tsp salt. Stir everything together until fully blended. It should look creamy with specks of herbs throughout.
- Shape the Cheese Ball: Lay a piece of plastic wrap on your work surface. Spoon the mixture onto the center and wrap it up, shaping it into a smooth ball about 5 inches (12 cm) in diameter. Chill in the fridge for 30 minutes to firm up (this helps with clean cutting later).
- Prepare the Coating: While chilling, crush about 2 cups (200 g) of crackers or pretzels into fine crumbs. Spread them out on a plate.
- Coat the Cheese Ball: Remove the ball from the fridge and unwrap. Roll it gently in the cracker crumbs until fully coated. This adds a nice crunchy texture and helps keep the shape.
- Create the Graduation Cap: Slice a 1-inch (2.5 cm) thick square from a block of cheddar or use a firm black olive slice for the top. Place it on the cheese ball like a cap. Use a small piece of cheese or olive for the button on top of the cap. You can secure it with a toothpick if needed.
- Final Chill: Return the completed cheese ball to the fridge for another 20 minutes to set everything firmly.
- Garnish and Serve: Before serving, scatter some fresh parsley or chives around the base for a touch of color and freshness. Serve with your favorite crackers or veggie sticks.
Tip: If the cheese ball feels too soft to cut precisely, pop it back in the fridge a bit longer. And if you get interrupted mid-shape (trust me, it happens), just take a deep breath and keep going—the rustic look adds charm!
Cooking Tips & Techniques
Making the perfect graduation cap cheese ball is mostly about attention to texture and flavor balance. Here are some tips I’ve learned the hard way:
- Don’t skip softening the cream cheese. Trying to mix it cold leads to lumps and uneven seasoning distribution.
- Chill the ball before coating. It firms up the shape and prevents the coating from sliding off.
- Use finely crushed crackers. Bigger chunks can fall off and make the ball look messy.
- When cutting the cap, use a sharp knife and steady hands. I once nicked my finger trimming the edges—ouch! But it’s worth the care for a clean square.
- Multitask by prepping garnishes while the ball chills. Saves time and keeps the party prep smooth.
- Don’t be afraid to taste and tweak seasonings. If it feels too mild, a little extra Worcestershire or chives goes a long way.
Honestly, the first time I made this, the cap slipped off before serving. I just pressed it back on and joked about it being a “graduation hat mishap.” The guests loved the story as much as the snack!
Variations & Adaptations
This recipe is super flexible, so you can customize it to fit your party style or dietary needs:
- Spicy Kick: Add ½ tsp cayenne pepper or chopped jalapeños for a little heat. Makes the cheese ball perfect for those who like a bold flavor.
- Herb Lover’s Version: Mix in fresh dill, parsley, and basil instead of just chives for a bright, garden-fresh taste.
- Gluten-Free: Use gluten-free crackers or crushed nuts like almonds or pecans for the coating.
- Vegan Friendly: Swap cream cheese with a plant-based spread and use vegan cheddar shreds. Add nutritional yeast for that cheesy flavor punch.
- Sweet & Savory: Mix in dried cranberries or chopped apricots for a subtle sweetness that pairs well with the sharp cheddar.
One time, I made a mini version using baby bell cheeses for an intimate gathering—same recipe, just smaller. It was a hit and looked adorable on the table!
Serving & Storage Suggestions
This cheese ball centerpiece shines best served chilled but allowed to sit at room temperature for about 10 minutes before guests dig in. This brings out the full flavor and creaminess.
Arrange it on a decorated platter surrounded by an assortment of crackers, pretzels, sliced veggies, or even apple slices for texture contrast. Pair with a light white wine or sparkling lemonade for a refreshing combo.
Store leftovers wrapped tightly in plastic wrap or in an airtight container in the refrigerator for up to 4 days. If you want to freeze it, wrap well and freeze for up to one month—thaw overnight in the fridge before serving.
Flavors actually deepen after a day, so if you can make it ahead, even better. Just don’t forget it in the back of the fridge like I’ve done more than once!
Nutritional Information & Benefits
Per serving (assuming 12 servings): approximately 150 calories, 12g fat, 3g protein, and 2g carbs.
This recipe offers a good dose of calcium and protein from the cheeses. The fresh herbs add antioxidants and vitamins, too. For those mindful of carbs, the cracker coating can be swapped for nut-based coatings to keep it low-carb.
Be aware it contains dairy and gluten (unless adjusted). It fits well into balanced diets when enjoyed in moderation as a party treat.
Personally, I appreciate that it satisfies that savory craving without turning to less nutritious snack options. It feels indulgent but still homemade and thoughtful.
Conclusion
This perfect graduation cap cheese ball centerpiece recipe is a fun, tasty way to celebrate milestones with friends and family. It’s approachable for cooks of any skill level and brings a festive flair that’s hard to beat. Honestly, I keep coming back to it because it hits the sweet spot between impressive and easy.
I encourage you to experiment with flavors and presentation to make it your own. Maybe add your grad’s school colors or a little edible glitter for extra sparkle. Whatever you do, this cheese ball will start conversations and bring smiles, just like it did at Mimi’s party.
If you try it, I’d love to hear how it turned out or what twists you added. Don’t hesitate to share your photos or tips in the comments below—let’s celebrate good food and good company together!
FAQs
Can I make the cheese ball ahead of time?
Absolutely! Make it a day ahead and keep it wrapped in the fridge. It actually tastes better after the flavors have melded overnight.
What’s the best way to keep the cheese ball from drying out?
Wrap it tightly in plastic wrap and store in an airtight container. Avoid leaving it uncovered in the fridge.
Can I use other cheeses besides cheddar?
Yes! Try Monterey Jack, Gouda, or even a blend of cheeses to suit your taste.
How do I make the cheese ball look like a graduation cap?
Shape the cheese ball into a round base, then cut a square piece of firm cheese for the cap and place it on top. Use an olive or small cheese piece for the button. Secure with a toothpick if needed.
Is this recipe suitable for gluten-free diets?
It can be! Use gluten-free crackers or crushed nuts for the coating to keep it gluten-free.
By the way, if you enjoy creative party snacks, you might also like my take on crispy garlic chicken for a savory crowd-pleaser or the homemade spinach artichoke dip for a creamy, flavorful dip option!
Pin This Recipe!
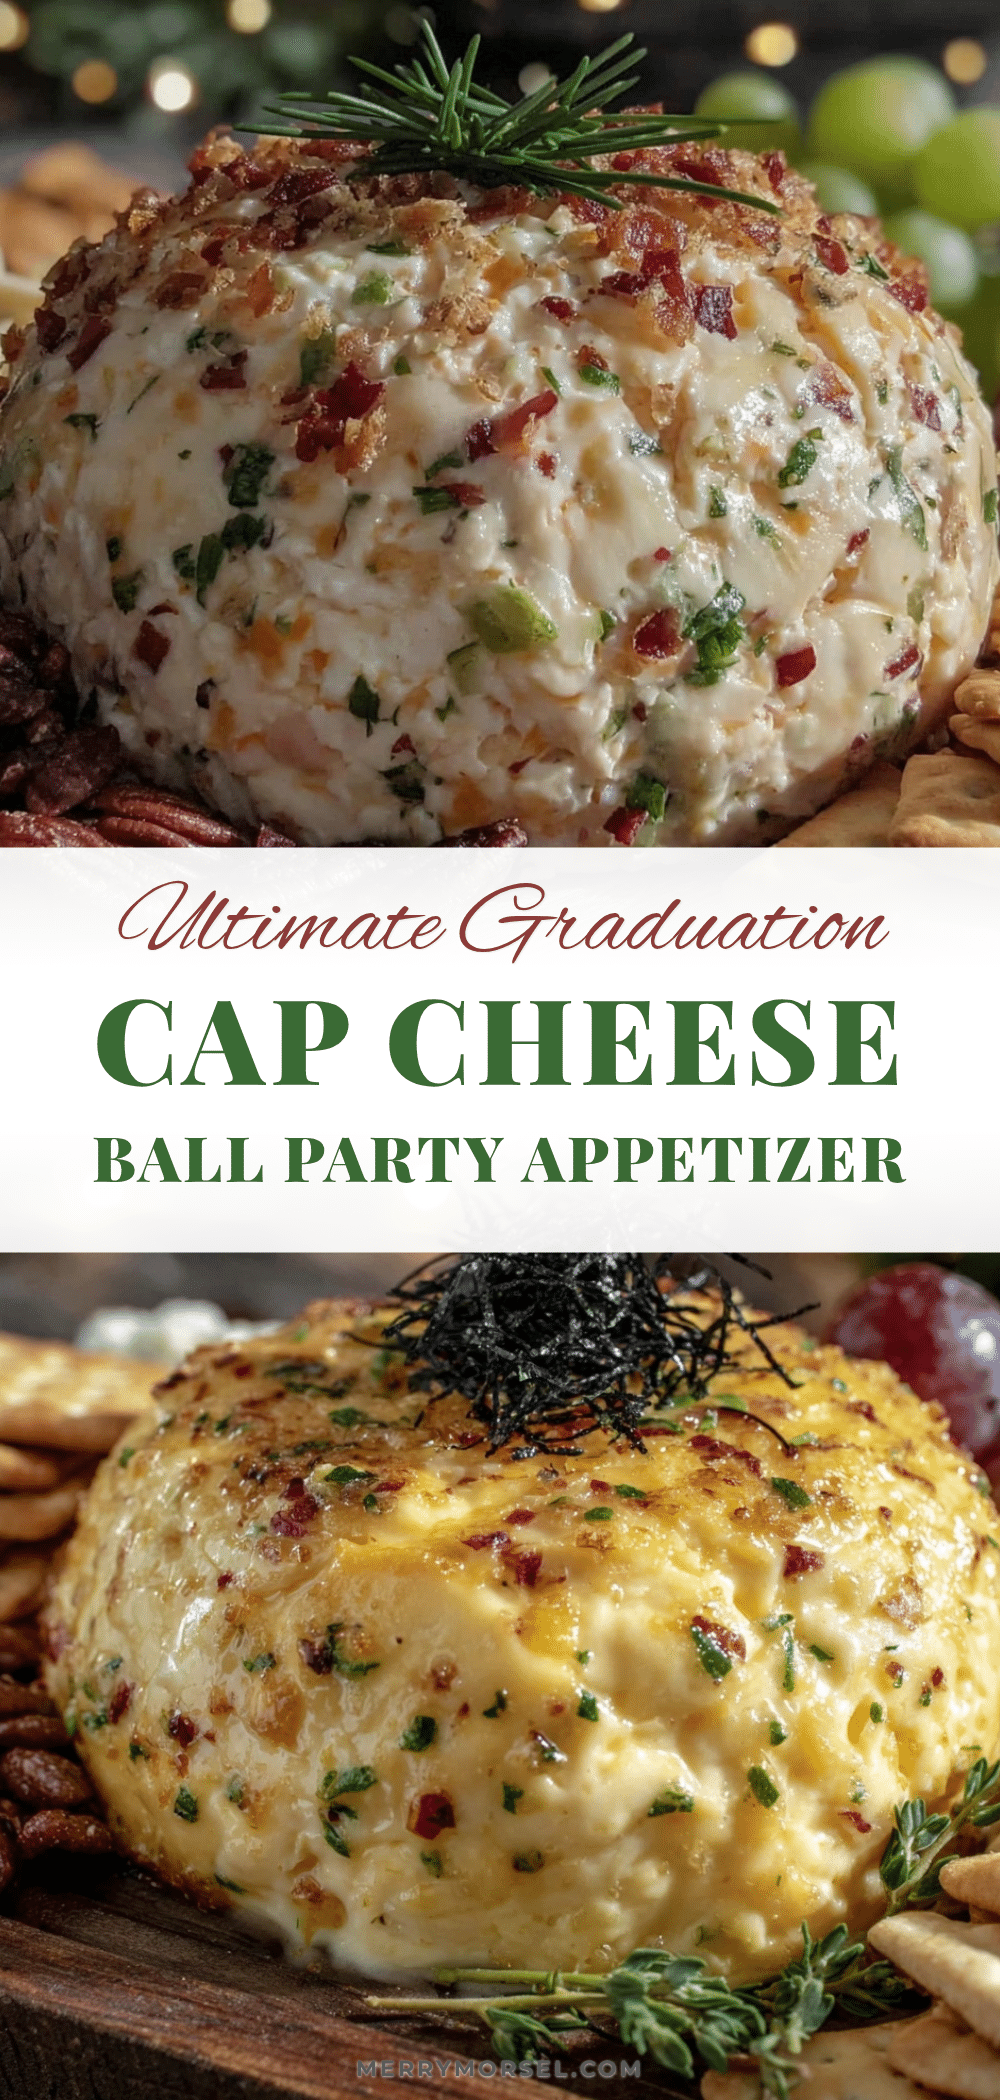
Perfect Graduation Cap Cheese Ball Centerpiece Recipe Easy Party Snack Idea
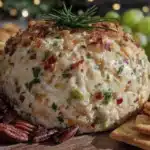
A fun and delicious graduation cap-shaped cheese ball that’s quick to make and perfect for parties. This easy snack combines cream cheese, sharp cheddar, and herbs for a creamy, savory treat that impresses guests.
- Prep Time: 20 minutes
- Cook Time: 30 minutes
- Total Time: 50 minutes
- Yield: 12 servings 1x
- Category: Appetizer
- Cuisine: American
Ingredients
- 8 oz (225 g) cream cheese, softened
- 1 cup (100 g) sharp cheddar cheese, shredded
- 1 tsp garlic powder
- 1 tsp onion powder
- 1 tbsp Worcestershire sauce
- 2 tbsp fresh chives, finely chopped
- ½ tsp freshly ground black pepper
- ¼ tsp salt
- 2 cups (200 g) crackers or pretzels, crushed finely
- Black olives or black grapes (optional, for decorating the cap button)
- Fresh parsley or additional chives (optional garnish)
Instructions
- Soften the cream cheese by letting it sit at room temperature for about 20 minutes until soft but not melted.
- In a medium mixing bowl, combine the softened cream cheese with shredded sharp cheddar cheese.
- Add garlic powder, onion powder, Worcestershire sauce, chopped fresh chives, black pepper, and salt. Stir until fully blended and creamy with herb specks.
- Lay plastic wrap on a work surface, spoon the mixture onto the center, and wrap it up shaping into a smooth ball about 5 inches (12 cm) in diameter.
- Chill the cheese ball in the refrigerator for 30 minutes to firm up.
- While chilling, crush crackers or pretzels into fine crumbs and spread them on a plate.
- Remove the cheese ball from the fridge, unwrap, and roll it gently in the cracker crumbs until fully coated.
- Create the graduation cap by slicing a 1-inch (2.5 cm) thick square from a block of cheddar or use a firm black olive slice for the top. Place it on the cheese ball like a cap and use a small piece of cheese or olive for the button on top, securing with a toothpick if needed.
- Return the completed cheese ball to the fridge for another 20 minutes to set firmly.
- Before serving, garnish around the base with fresh parsley or chives and serve with crackers or veggie sticks.
Notes
Soften cream cheese before mixing to avoid lumps. Chill the cheese ball before coating to keep shape. Use finely crushed crackers for coating to prevent falling off. Secure the cap with a toothpick if needed. The cheese ball tastes better after chilling overnight. Can be customized with different cheeses or coatings for dietary needs.
Nutrition
- Serving Size: Approximately 1/12th
- Calories: 150
- Fat: 12
- Carbohydrates: 2
- Protein: 3
Keywords: cheese ball, graduation party snack, party appetizer, easy cheese ball, festive snack, cream cheese appetizer, cheddar cheese ball